後でやればいいや
→いつまでもやらないのでまとめ
わかりやすいようにメモ
1.変数を開く
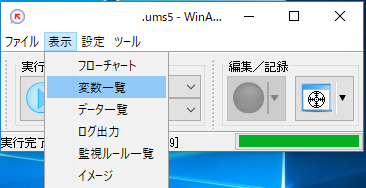
2.CSVを生成
雛型ファイル作成を押して

変数の一覧と中身が記入されたCSVを作成する。
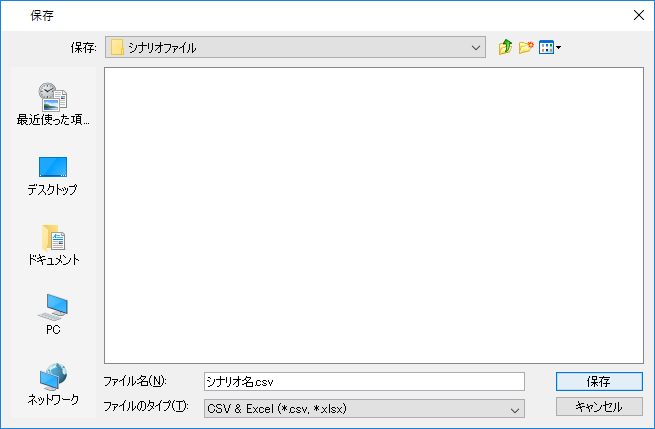
多分おすすめは
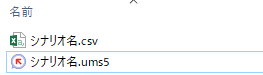
・シナリオファイルの置き場所にシナリオファイル名.csvに生成
拡張子を指定しないとxlsxで作成される。
テキストで編集できるのでCSVにした。
csv指定で作成してもエクセル対策済みのcsvなので
よくあるエクセルでCSVを編集しても問題は少ない。
と思ったけど読めるけど上書きするとTrue→TRUEとかがあるので注意
""も上書きで消える。
ただテキストエディタだと列が合わなくて正直書き換え
[xlsxにしない理由]
・csvはtextエディタがあれば書き換えられるがxlsxはofficeが必要
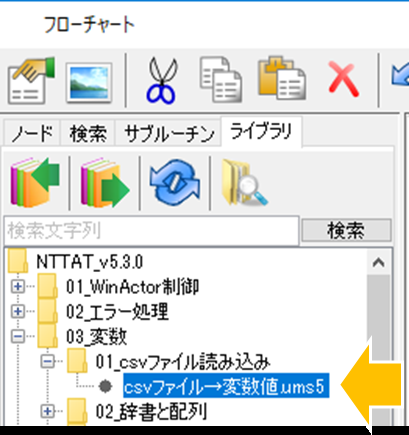
3.シナリオにCSVから変数へ適応するアクションを追加する
ライブラリ
→ NTTAT_vX.X.X
→ 03_変数
→ 01_csvファイル読み込み
→ csvファイル→変数値.ums5
4.アクションの設定
エクスポートしたcsvを使うならcsvファイル名と行数は以下になる。
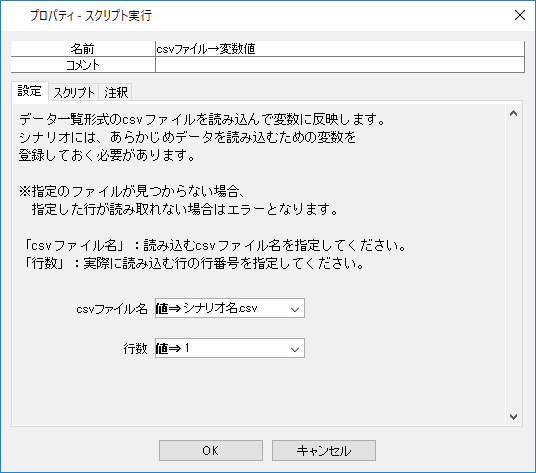
備考
絶対パスがいらないのでシナリオファイルと一緒に配布出来てよい。
そもそも論で機能実行版で変数書き換えられるようにすればこの作業無用だし、
シナリオファイル一つで簡潔になるからWinActorが変わってくれないかなという淡い思い。