はじめに
最近は、GPU搭載PCのWindows11でWSLが使えているので、ちょっとJupyterを使うくらいなら十分でした。
が、仕事の関係で、Kubernetesの環境が手元に必要になった。。。
ここで、問題。
WSL(Hyper-V)とVirtualBoxを共存させる手立ては提供されているものの、動作がちと不安定(筆者だけ…?)12
ここで思いつく。そうだ、古いPCがある、と。
思い立ったが吉日、古いPCにKubernetesの環境を作ってみることにした。
本稿は、そんな思いつきから始まった奮闘記(のつもり)である。
本稿で紹介すること
- PCへのホストOS/Ubuntuのインストール
- ホストOS/UbuntuへのVirtualBox/Vagrantのインストール
- ゲストOS/Ubuntuのインストール
- ゲストOS/UbuntuへのKubernetesのインストール
- KubernetesへのJupyterHubのインストール
本稿で紹介しないこと
- 各ソフトウェアの概要・仕組み
環境
ホストOS、ゲストOSのスペックをまとめて記載。
ホストOS(古くなったPC)
以下、HWスペック。
- CPU:インテル Core i5-650プロセッサー(2Core/4Thread)3
- MEM:8GB
- HDD:2TB(一度故障したため、筆者の手でHDDは1.5TB→2TBに換装済)
筆者が社会人になったとき、DELLさんでBTO購入したもの。
最近はマザーボードも老朽化してかなり不調だが、個人的には思い入れのあるPC。
ゲストOS(仮想PC)
以下、HWスペック for Kubernetes/Masterノード。
- CPU:2Core
- MEM:2GB
- HDD:100GB
以下、HWスペック for Kubernetes/Workerノード。
- CPU:2Core
- MEM:3GB
- HDD:100GB
ホストOSのリソースに余裕があれば、Masterノードのリソースを倍の方が動作が軽快かも。
PCへのホストOS/Ubuntuのインストール
各種OSのイメージファイルをその都度CD-RやDVD-Rに書き込んでゆくのは、ちと大変。
今回はRufus4を使って、USBメモリを起動Diskにして、PCへのホストOS/Ubuntuのインストールを実行しました。
以下の記事を参考に、古いPCにUbuntu 18.04.6をインストールしました。
基本はNextクリックという手順ですが、OpenSSH機能を選択してインストールすることはお忘れなきよう!
ホストOS/UbuntuへのVirtualBox/Vagrantのインストール
WindowsでVirtualBoxやVagrantをGUIで使うように、Ubuntuでも全て同じくとはならないと思うが。
以下、各ソフトウェアのVer。
- VirtualBox:6.1_6.1.32-149290
- Vagrant:2.2.19
以下、実行したコマンドライン。
# Vagrantインストール
$ sudo dpkg -i virtualbox-6.1_6.1.32-149290_Ubuntu_bionic_amd64.deb
$ sudo dpkg -i vagrant_2.2.19_x86_64.deb

$ sudo apt-get update
$ sudo apt update

# 続いて以下を実行すると、怒られる
#$ sudo apt install -y qemu libvirt-bin ebtables dnsmasq
# 案内に従って、まずは直す
$ sudo apt --fix-broken install

$ sudo apt-get update
$ sudo apt update
$ sudo apt-get upgrade
$ sudo apt upgrade

# 改めて順にインストール
$ sudo apt install -y qemu libvirt-bin ebtables dnsmasq
$ sudo apt install -y libvirt-clients qemu-utils qemu-kvm virtinst libvirt-bin
$ sudo apt install -y libxslt-dev libxml2-dev libvirt-dev zlib1g-dev ruby-dev

# VagrantPluginインストール(今後、ProviderとしてKVM<libvirt>も利用できるように)
$ sudo apt install -y vagrant-libvirt
$ vagrant plugin install vagrant-libvirt
$ vagrant plugin install vagrant-disksize
$ vagrant plugin install vagrant-proxyconf
$ vagrant plugin install vagrant-vbguest
$ vagrant plugin list

# VirtManagerインストール
$ sudo apt install -y virt-manager qemu-system

# Libvirtグループ追加
$ sudo usermod -a -G libvirt ubuntu
$ sudo usermod -a -G kvm ubuntu

# デフォルトProvider設定(任意)
#export VAGRANT_DEFAULT_PROVIDER=libvirt

# OS再起動
$ sudo reboot -h now
以下、参考までに各種PluginのVer。
$ vagrant plugin list
vagrant-disksize (0.1.3, global)
vagrant-libvirt (0.9.0, global)
vagrant-proxyconf (2.0.10, global)
vagrant-vbguest (0.30.0, global)
ゲストOS/Ubuntuのインストール
お馴染み、Vagrantfileを記述してプロビジョニングするだけ。
Kubernetes/Masterノードに対してのみポートフォワーディングの設定をしているのは、後程。
ゲストOS間の通信のために内部ネットワークを指定しているが、値(所属する範囲)にはご注意を5。
Vagrant.configure("2") do |config|
  config.vm.define "master" do |master|
    master.vm.box_download_insecure = true
    master.vm.box = "bento/ubuntu-20.04"
    master.vm.box_check_update = false
    master.vm.network "private_network", ip: "100.0.0.10"
    master.vm.network "forwarded_port", guest: 80, guest_ip: "100.0.0.10", host: 8080, host_ip: "192.168.10.17"
    master.vm.hostname = "master"
    master.disksize.size = '100GB'
    master.vm.provider "virtualbox" do |v|
      #v.kvm_hidden = true
      v.name = "master"
      v.memory = 2048
      v.cpus = 2
    end
  end

  config.vm.define "worker" do |worker|
    worker.vm.box_download_insecure = true
    worker.vm.box = "bento/ubuntu-20.04"
    worker.vm.box_check_update = false
    worker.vm.network "private_network", ip: "100.0.0.20"
    worker.vm.hostname = "worker"
    worker.disksize.size = '100GB'
    worker.vm.provider "virtualbox" do |v|
      #v.kvm_hidden = true
      v.name = "worker"
      v.memory = 3096
      v.cpus = 2
    end
  end
end
Vagrantfileを用意したら、以下のコマンドを実行して待つだけ。
$ vagrant up
以下、プロビジョニング完了したOSのVer。
$ cat /etc/os-release
NAME="Ubuntu"
VERSION="20.04.4 LTS (Focal Fossa)"
ID=ubuntu
ID_LIKE=debian
PRETTY_NAME="Ubuntu 20.04.4 LTS"
VERSION_ID="20.04"
HOME_URL="https://www.ubuntu.com/"
SUPPORT_URL="https://help.ubuntu.com/"
BUG_REPORT_URL="https://bugs.launchpad.net/ubuntu/"
PRIVACY_POLICY_URL="https://www.ubuntu.com/legal/terms-and-policies/privacy-policy"
VERSION_CODENAME=focal
UBUNTU_CODENAME=focal
ゲストOS/UbuntuへのKubernetesのインストール
以下の記事を参考に、ゲストOS/UbuntuへKubernetes 1.16.8をインストールしました。
(ちょっと古いかも、本稿執筆2022年6月12日時点で1.24まで登場している模様6)
「Troubleshooting kube-flannel.yml」の節で触れている事項を、Step 12とStep 13の間で予め対処するのがベター。
手順を無事に流し終えると、以下のような状態。
$ kubectl version
Client Version: version.Info{Major:"1", Minor:"16", GitVersion:"v1.16.8", GitCommit:"ec6eb119b81be488b030e849b9e64fda4caaf33c", GitTreeState:"clean", BuildDate:"2020-03-12T21:00:06Z", GoVersion:"go1.13.8", Compiler:"gc", Platform:"linux/amd64"}
Server Version: version.Info{Major:"1", Minor:"16", GitVersion:"v1.16.15", GitCommit:"2adc8d7091e89b6e3ca8d048140618ec89b39369", GitTreeState:"clean", BuildDate:"2020-09-02T11:31:21Z", GoVersion:"go1.13.15", Compiler:"gc", Platform:"linux/amd64"}

$ kubectl cluster-info
Kubernetes master is running at https://100.0.0.10:6443
KubeDNS is running at https://100.0.0.10:6443/api/v1/namespaces/kube-system/services/kube-dns:dns/proxy

To further debug and diagnose cluster problems, use 'kubectl cluster-info dump'.

$ kubectl get nodes
NAME     STATUS   ROLES    AGE     VERSION
master   Ready    master   5h26m   v1.16.8
worker   Ready    node     5h23m   v1.16.8
KubernetesへのJupyterHubのインストール
以下のDoc7を参考に、Helmを使ってJupyterHub 0.9.0をインストールしました。
何も考えずにLatestで手順を進めるとPodが起動しなかったので、敢えて古めのVerを選定した経緯でした。
(本稿執筆2022年6月12日時点で1.2.0まで登場している模様8)
以下、最終的に採用したconfig.yaml。
本稿では、認証はDummy、Storageはなし、の超簡易版で動かしました。
proxy:
  secretToken: "${YOUR RANDOM-HEX}"

hub:
  db:
    type: sqlite-memory
  extraConfig: |
    c.Spawner.start_timeout = 300
    c.Spawner.http_timeout = 300
    #c.Spawner.notebook_dir = "/home/jovyan/"
    c.Spawner.cmd = ['jupyter-labhub']
  extraEnv:
    JUPYTER_ENABLE_LAB: 1

auth:
  type: dummy
  dummy:
    password: 'p@ssw0rd'
  whitelist:
    users:
      - jupyter
      - admin
  admin:
    users:
      - jupyter
    access: false

singleuser:
  defaultUrl: "/lab"
  cpu:
    limit: .5
    guarantee: .5
  memory:
    limit: 256M
    guarantee: 256M
  image:
    name: jupyter/base-notebook
    tag: 2343e33dec46
  storage:
    type: sqlite-memory
  profileList:
    - display_name: "Jupyter(Python3.6) from DockerHub"
      description: "[Resource] CPU:0.5/Mem:512MB<br />Jupyter Notebook based on Ubuntu18."
      kubespawner_override:
        image: jupyter/base-notebook:2343e33dec46
        cpu_limit: .5
        mem_limit: '512M'
    - display_name: "Jupyter(Python3.8) from Quay.io"
      description: "[Resource] CPU:0.5/Mem:512MB<br />Jupyter Notebook based on RHEL8."
      kubespawner_override:
        image: quay.io/thoth-station/s2i-minimal-py38-notebook:v0.2.2
        cpu_limit: .5
        mem_limit: '512M'
    - display_name: "Jupyter(Python3.6) from Quay.io"
      description: "[Resource] CPU:0.5/Mem:512MB<br />Jupyter Notebook based on CentOS7."
      kubespawner_override:
        image: quay.io/jupyteronopenshift/s2i-minimal-notebook-py36:2.5.1
        cpu_limit: .5
        mem_limit: '512M'
    - display_name: "Jupyter(Python3.5) from Quay.io"
      description: "[Resource] CPU:0.5/Mem:512MB<br />Jupyter Notebook based on CentOS7."
      kubespawner_override:
        image: quay.io/jupyteronopenshift/s2i-minimal-notebook-py35:2.5.1
        cpu_limit: .5
        mem_limit: '512M'
config.yamlを用意したら、以下のコマンドを実行して待つだけ。
途中、処理が停止したかもなー、と心配になりましたが、何とか流れ切りました。
Kubernetes/Masterノードのスペックを上げるか、信じて待ちましょう。
$ helm upgrade --install jhub jupyterhub/jupyterhub --namespace jhub --version=0.9.0 --values config.yaml --timeout 600 --debug
ちなみに、HelmでJupyterHubを無事にインストールすると、こんなリソースがKubernetesで見えるようになりました。
(config.yamlをちょこちょこ微調整して起動しなおしているから、AGEのところはバラバラ)
$ kubectl get pv,pvc,pods,service -o wide --all-namespaces
NAMESPACE     NAME                                  READY   STATUS    RESTARTS   AGE     IP            NODE     NOMINATED NODE   READINESS GATES
jhub          pod/continuous-image-puller-hp5g7     1/1     Running   0          3m21s   10.244.1.14   worker   <none>           <none>
jhub          pod/hub-6c4c769795-sxd4r              1/1     Running   0          2m53s   10.244.1.15   worker   <none>           <none>
jhub          pod/proxy-64cfc7d79-5zj6p             1/1     Running   0          4h39m   10.244.1.7    worker   <none>           <none>
jhub          pod/user-scheduler-5d97fdd64f-sstz2   1/1     Running   0          4h39m   10.244.1.10   worker   <none>           <none>
jhub          pod/user-scheduler-5d97fdd64f-t79qb   1/1     Running   0          4h39m   10.244.1.8    worker   <none>           <none>
kube-system   pod/coredns-5644d7b6d9-b4jjx          1/1     Running   0          6h4m    10.244.0.3    master   <none>           <none>
kube-system   pod/coredns-5644d7b6d9-pgjwv          1/1     Running   0          6h4m    10.244.0.2    master   <none>           <none>
kube-system   pod/etcd-master                       1/1     Running   0          6h4m    100.0.0.10    master   <none>           <none>
kube-system   pod/kube-apiserver-master             1/1     Running   0          6h4m    100.0.0.10    master   <none>           <none>
kube-system   pod/kube-controller-manager-master    1/1     Running   0          6h4m    100.0.0.10    master   <none>           <none>
kube-system   pod/kube-flannel-ds-c26lm             1/1     Running   0          6h3m    100.0.0.20    worker   <none>           <none>
kube-system   pod/kube-flannel-ds-q6r6t             1/1     Running   0          6h3m    100.0.0.10    master   <none>           <none>
kube-system   pod/kube-proxy-cnmxt                  1/1     Running   0          6h3m    100.0.0.20    worker   <none>           <none>
kube-system   pod/kube-proxy-m9bks                  1/1     Running   0          6h4m    100.0.0.10    master   <none>           <none>
kube-system   pod/kube-scheduler-master             1/1     Running   0          6h4m    100.0.0.10    master   <none>           <none>
kube-system   pod/tiller-deploy-7868bd9bc6-wrztm    1/1     Running   0          5h57m   10.244.1.3    worker   <none>           <none>

NAMESPACE     NAME                    TYPE           CLUSTER-IP       EXTERNAL-IP   PORT(S)                      AGE     SELECTOR
default       service/kubernetes      ClusterIP      10.96.0.1        <none>        443/TCP                      6h5m    <none>
jhub          service/hub             ClusterIP      10.100.135.151   <none>        8081/TCP                     4h39m   app=jupyterhub,component=hub,release=jhub
jhub          service/proxy-api       ClusterIP      10.98.66.20      <none>        8001/TCP                     4h39m   app=jupyterhub,component=proxy,release=jhub
jhub          service/proxy-public    LoadBalancer   10.106.1.27      100.0.0.10    443:31985/TCP,80:31597/TCP   4h39m   component=proxy,release=jhub
kube-system   service/kube-dns        ClusterIP      10.96.0.10       <none>        53/UDP,53/TCP,9153/TCP       6h5m    k8s-app=kube-dns
kube-system   service/tiller-deploy   ClusterIP      10.109.194.249   <none>        44134/TCP                    5h58m   app=helm,name=tiller
できあがり
JupyterHubは古いPCの内部のゲストOS/Ubuntu、Kubernetes/Masterノードの80ポートで待ち受けているだけ(≒別のPCからつなげない)。
Kubernetes/Masterノードに対してのみポートフォワーディングの設定をしているのは、このため。
古いPC(CPU Only搭載PCのUbuntu18)のみならず、新しいPC(GPU搭載PCのWindows11)のWebブラウザでアクセスも可能とするため、ポートフォワーディングをしていました。
JupyterHubの画面に遷移できなければ、ホストOS上でVirtualBoxのポートフォワーディング設定とFirewall設定のご確認を。
以下のスクショ、URLに指定しているのは古いPCのIPAddrです。
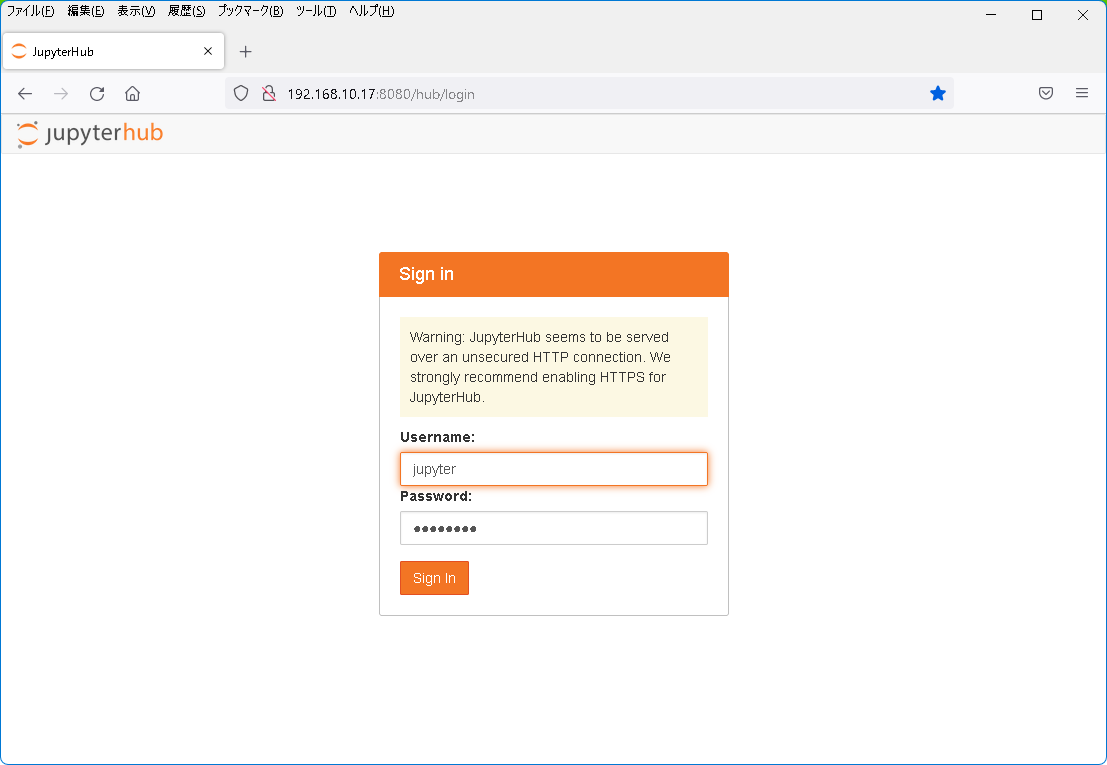
config.yamlに指定したDummu認証のパスワード文字列を入力すると、選択メニューに遷移しました。
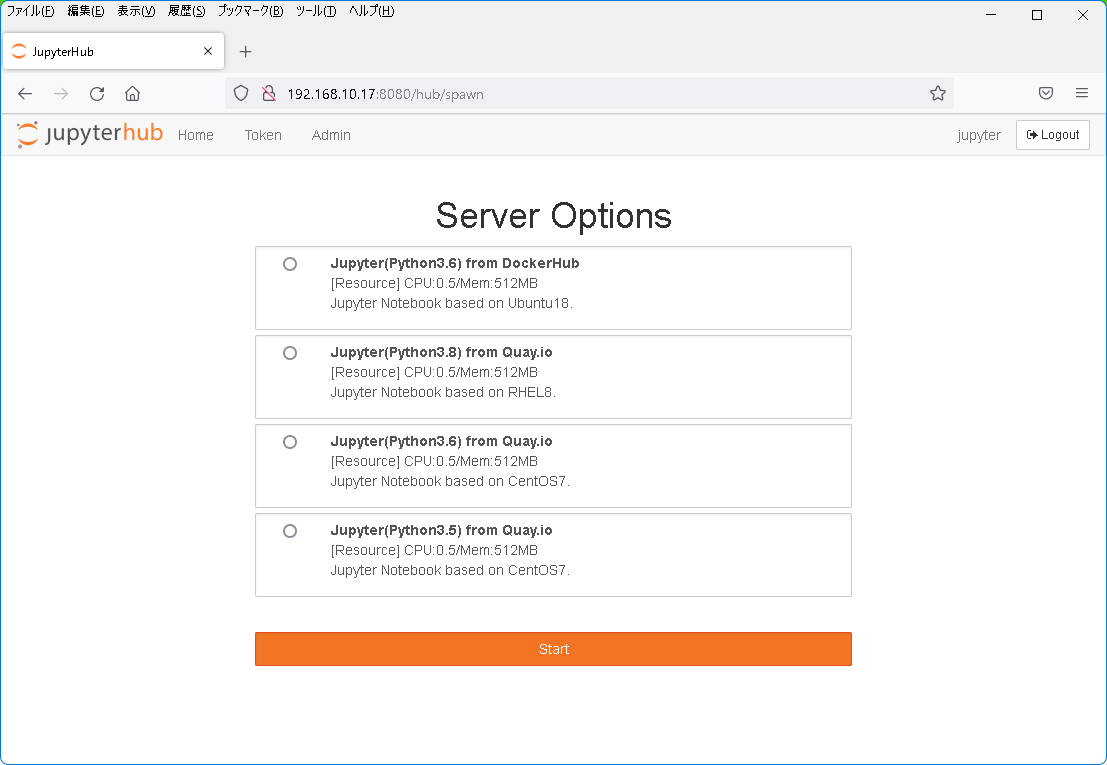
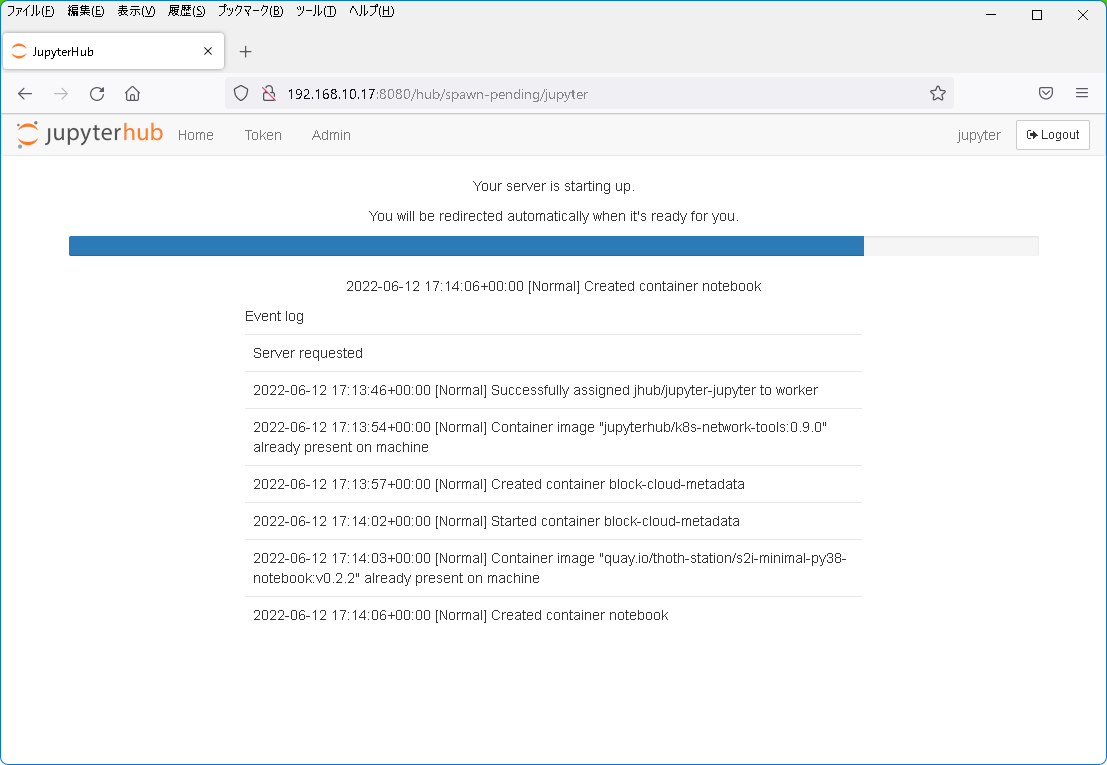
以下、2つ目のメニューを選択してJupyterコンテナを起動しました。ちゃんとJupyterコンテナにつながりました。
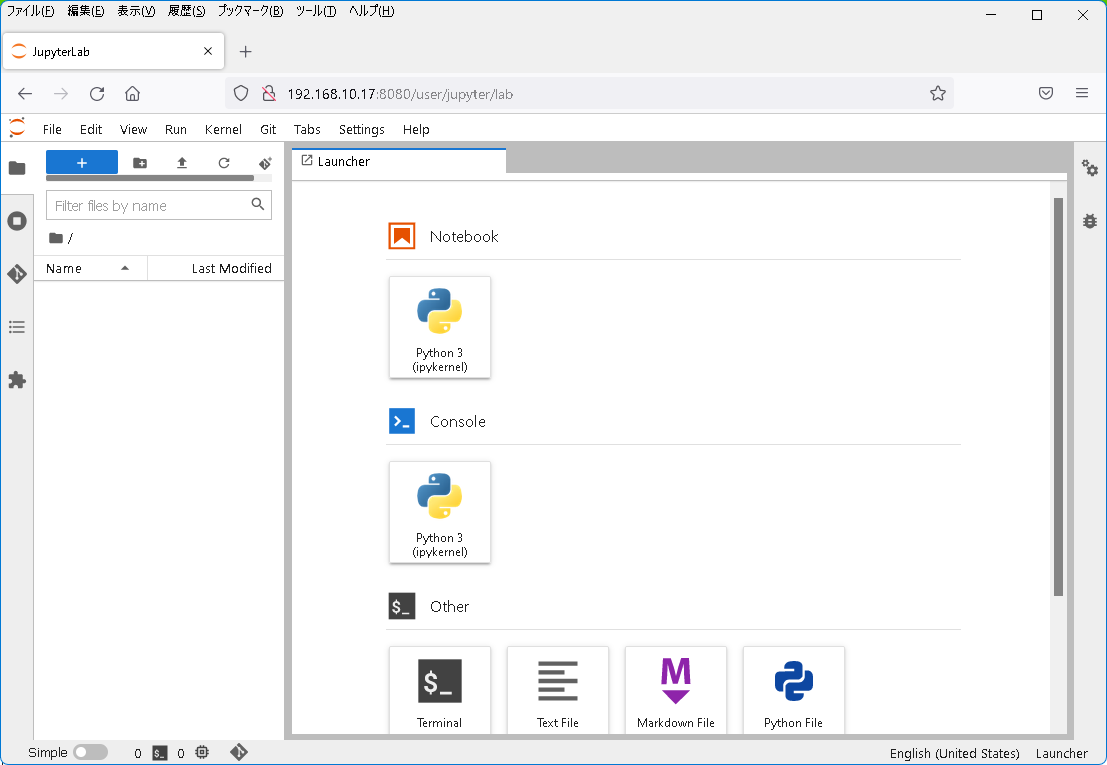
とりあえず、スタートラインに立てた(はず)。
再度、手元にKubernetesの環境が整ったので、体力の限りで続きをば。。。
Python 3.12の情報も出始めた9ので、それに呼応して新しいJupyter(のコンテナイメージ)が公開されてくのかな。。。
まとめ
試行錯誤を繰り返して環境を作っていたのは、もはや過去の話。
薄れた記憶を辿ってみたけれど、やはり奮闘する場面が多かったような。。。
コマンドラインでかなり格闘したけど、素直にVNCかXRDPかでGUIでもっとサクサクと進められたのではと、終わってから気づいたり。
ともあれ、当初の目標はクリア、古くなったPCを分析環境として復活させることに成功しました!めでたし、めでたし。
-
WSL2(Hyper-V)とVirtualBoxを共存させるには | https://daysput.com/blogs/environment/2020/0811.html ↩
-
Windows Hypervisor Platform API Definitions | https://docs.microsoft.com/en-us/virtualization/api/hypervisor-platform/hypervisor-platform ↩
-
インテル® Core™ i5-650 プロセッサー | https://www.intel.co.jp/content/www/jp/ja/products/sku/43546/intel-core-i5650-processor-4m-cache-3-20-ghz/specifications.html ↩
-
Rufus | https://rufus.ie/ja/ ↩
-
6.7. Host-Only Networking | https://www.virtualbox.org/manual/ch06.html#network_hostonly ↩
-
Releases | https://kubernetes.io/releases/ ↩
-
zero-to-jupyterhub | https://readthedocs.org/projects/zero-to-jupyterhub/ ↩
-
JupyterHub's Helm chart repository | https://jupyterhub.github.io/helm-chart/ ↩
-
What’s New In Python 3.12 | https://docs.python.org/3.12/whatsnew/3.12.html ↩