はじめに
筆者は日曜Pythonプログラマーのため、JupyterLabコンテナを普段使いしています。
で、プログラム用途を鑑み、PythonのVerやらPythonライブラリのVerやらを変えるのに、複数のJupyterLabコンテナイメージを切り替えることで対応してたりしました。
のですが、JupyterLabコンテナイメージはファイルサイズが大きのがちょっとネックでして。。。
もっと軽量なJupyterLabコンテナイメージを使ってみたい、というのが事の始まりです。(と、2021年12月でPython 3.6がEOLになったのも少し)
本稿では、「JupyterLabコンテナイメージ(Python 3.8)をJupyterHubから起動する」までの過程を紹介してゆく。
前提条件(環境準備)
筆者の過去投稿を参照いただけると。。。GPU搭載Windows11のPCが大活躍しますw
利用した素材
コンテナイメージ
本稿で参照・利用するコンテナイメージのリポジトリはこちらです。
Jupyter Notebooks for OpenShiftのForkしているようで、同じくOpenShiftでの扱いにメリットがある印象1234。
UBIに関してはこちらに詳説されているので、ご一読あれ。
筆者は、個人PCで金をかけずに趣味の範囲なので、サポートもないですが追加費用発生もないですねw
(商用利用だと、ライセンスを買って、Red Hat基盤の上で動かすのがサポートもついて安心なのでしょう。)
形態素解析エンジン
筆者の記事に度々登場、安心のMeCabです。
セットアップ
筆者は、Windows11/WSLのUbuntu上で作業しています。
以下、大まかな流れです。
- ベースのコンテナイメージの取得
- コンテナイメージのビルド
- JupyterHub/JupyterLabの環境設定
- JupyterHub/JupyterLabの起動
1. ベースのコンテナイメージの取得
以下、ベースのコンテナイメージ1の取得コマンドです。
$ docker pull quay.io/thoth-station/s2i-minimal-py38-notebook:v0.2.2
ちょっと起動してみる。
$ docker run -d -it --name test -e GRANT_SUDO=yes quay.io/thoth-station/s2i-minimal-py38-notebook:v0.2.2
以下、OSとPythonのVer情報です。
(app-root) bash-4.4# cat /etc/os-release
NAME="Red Hat Enterprise Linux"
VERSION="8.5 (Ootpa)"
ID="rhel"
ID_LIKE="fedora"
VERSION_ID="8.5"
PLATFORM_ID="platform:el8"
PRETTY_NAME="Red Hat Enterprise Linux 8.5 (Ootpa)"
ANSI_COLOR="0;31"
CPE_NAME="cpe:/o:redhat:enterprise_linux:8::baseos"
HOME_URL="https://www.redhat.com/"
DOCUMENTATION_URL="https://access.redhat.com/documentation/red_hat_enterprise_linux/8/"
BUG_REPORT_URL="https://bugzilla.redhat.com/"

REDHAT_BUGZILLA_PRODUCT="Red Hat Enterprise Linux 8"
REDHAT_BUGZILLA_PRODUCT_VERSION=8.5
REDHAT_SUPPORT_PRODUCT="Red Hat Enterprise Linux"
REDHAT_SUPPORT_PRODUCT_VERSION="8.5"
(app-root) bash-4.4# python -V
Python 3.8.8
(app-root) bash-4.4# python -m pip -V
pip 21.3.1 from /opt/app-root/lib64/python3.8/site-packages/pip (python 3.8)
2. コンテナイメージのビルド
MeCabのインストールとTimezoneの変更をしています。
Dockerfileは以下の通り。
FROM quay.io/thoth-station/s2i-minimal-py38-notebook:v0.2.2

USER root

# install MeCab
RUN mkdir -p /opt/app-root/src/source/mecab
WORKDIR /opt/app-root/src/source/mecab

RUN wget 'https://drive.google.com/uc?export=download&id=0B4y35FiV1wh7cENtOXlicTFaRUE' -O mecab-0.996.tar.gz
RUN tar zxvf mecab-0.996.tar.gz
WORKDIR /opt/app-root/src/source/mecab/mecab-0.996

RUN mkdir -p /opt/mecab
RUN /opt/app-root/src/source/mecab/mecab-0.996/configure --prefix=/opt/mecab --with-charset=utf8 --enable-utf8-only
RUN make
RUN make install

RUN sed -i '44a PATH="/opt/mecab/bin:/opt/mecab/libexec/mecab/:$VIRTUAL_ENV/bin:$PATH"' /opt/app-root/bin/activate
RUN sed -ie '44d' /opt/app-root/bin/activate

RUN bash -c "echo \"/opt/mecab/lib\" > /etc/ld.so.conf.d/libmecab.conf"
RUN ldconfig

RUN mkdir /opt/app-root/src/source/mecab-ipadic
WORKDIR /opt/app-root/src/source/mecab-ipadic

RUN wget 'https://drive.google.com/uc?export=download&id=0B4y35FiV1wh7MWVlSDBCSXZMTXM' -O mecab-ipadic-2.7.0-20070801.tar.gz
RUN tar zxvf mecab-ipadic-2.7.0-20070801.tar.gz
WORKDIR /opt/app-root/src/source/mecab-ipadic/mecab-ipadic-2.7.0-20070801

RUN /opt/app-root/src/source/mecab-ipadic/mecab-ipadic-2.7.0-20070801/configure --with-mecab-config=/opt/mecab/bin/mecab-config --with-charset=utf8
RUN make
RUN make install

WORKDIR /opt/app-root/src
RUN rm -rf /opt/app-root/src/source

# set Timezone
RUN ln -sf /usr/share/zoneinfo/Asia/Tokyo /etc/localtime

USER default

# install MeCab for Python
RUN python -m pip install mecab-python3==0.996.5
以下、コンテナイメージのビルドコマンドです。
$ docker build -t quay.io/thoth-station/s2i-minimal-py38-notebook:v1.0.0 -f Dockerfile.py38-mecab.lab .
無事に終わると、こんな感じ。約400MBのサイズ増(Before:1.9GB -> After:2.26GB)です。
が、それでもDockerHub公開のJupyterLabコンテナイメージ(jupyter/minimal-notebook:9e8682c9ea54、Ubuntu18.04ベース)よりも軽量なことがわかります。
$ docker images
REPOSITORY                                             TAG                       IMAGE ID       CREATED         SIZE
quay.io/thoth-station/s2i-minimal-py38-notebook        v1.0.0                    14a53ab4c452   6 hours ago     2.26GB
jupyterhub/jupyterhub                                  1.0-py38                  f180d65dd32a   7 hours ago     420MB
jupyterhub/jupyterhub                                  1.0-gpu                   301370c52353   4 days ago      420MB
jupyter/minimal-notebook                               9e8682c9ea54-MeCab-Slum   a2645c7160be   12 days ago     3.92GB
jupyter/minimal-notebook                               9e8682c9ea54-MeCab        d0e1a0e79bc8   12 days ago     3.55GB
quay.io/thoth-station/s2i-minimal-py38-notebook        v0.2.2                    29efc07478e5   5 weeks ago     1.9GB
postgres                                               9.6                       131ab388dac1   5 months ago    200MB
nvcr.io/nvidia/pytorch                                 20.11-py3-gpu             dd53c8b61c4b   5 months ago    15.3GB
nvcr.io/nvidia/tensorflow                              20.11-tf2-py3-gpu         f6aa8098fc48   5 months ago    12.3GB
adminer                                                4.8.1                     4727f36d62d9   5 months ago    90MB
nvcr.io/nvidia/tensorflow                              21.07-tf2-py3             887093b5693e   5 months ago    11.1GB
nvcr.io/nvidia/pytorch                                 21.07-py3                 7beec3ff8d35   5 months ago    15GB
jupyter/minimal-notebook                               python-3.8.8              0f07bb30bf38   8 months ago    1.52GB
nvcr.io/nvidia/tensorflow                              20.11-tf2-py3             98a7952f7f9c   14 months ago   11.6GB
nvcr.io/nvidia/pytorch                                 20.11-py3                 ae35b2b3cad1   14 months ago   13.2GB
jupyterhub/jupyterhub                                  1.0                       c399e04fda3c   2 years ago     283MB
quay.io/jupyteronopenshift/s2i-minimal-notebook-py36   2.5.1                     8290b34319aa   2 years ago     1.26GB
osixia/phpldapadmin                                    0.9.0                     78148b61fdb5   2 years ago     302MB
jupyter/minimal-notebook                               2343e33dec46              c3bbd3471e39   3 years ago     2.72GB
jupyter/minimal-notebook                               9e8682c9ea54              400c44c4a7a7   3 years ago     2.79GB
hrektts/fusiondirectory-openldap                       1.1.9-1.2-1               7f2e4370509d   4 years ago     226MB
hrektts/fusiondirectory                                0.2.0                     b56f1086a08d   4 years ago     345MB
3. JupyterHub/JupyterLabの環境設定
前項でビルドしたコンテナイメージを選択肢に登録するだけです。他の設定は過去の投稿記事と同じです。
以下、環境設定ファイル(jupyterhub_config.py)です567。
c.JupyterHub.authenticator_class = 'ldapauthenticator.LDAPAuthenticator'
c.LDAPAuthenticator.valid_username_regex = r'^[a-z0-9][.a-z0-9_-]*$'
c.LDAPAuthenticator.use_ssl = False
c.LDAPAuthenticator.server_address = '${WSL2/Ubuntuのeth0}'
c.LDAPAuthenticator.server_port = 389
c.LDAPAuthenticator.bind_dn_template = 'uid={username},ou=people,ou=jhub,dc=hoge,dc=com'
c.LDAPAuthenticator.lookup_dn = False

c.JupyterHub.hub_connect_ip = 'jupyterhub'
c.JupyterHub.hub_ip = '0.0.0.0'
c.Authenticator.admin_users = {'jupyter', 'admin'}

from dockerspawner import DockerSpawner

class DemoFormSpawner(DockerSpawner):
  def _options_form_default(self):
    default_stack = 'jupyter/minimal-notebook(w/MeCab)'
    return """
    <label for="stack">Select your desired stack</label>
    <select name="stack" size="1">
      <option value="jupyter/minimal-notebook:9e8682c9ea54-MeCab">jupyter/minimal-notebook(w/MeCab)</option>
      <option value="jupyter/minimal-notebook:9e8682c9ea54-MeCab-Slum">jupyter/minimal-notebook(w/MeCab/Selenium)</option>
      <option value="nvcr.io/nvidia/tensorflow:20.11-tf2-py3-gpu">nvcr.io/nvidia/tensorflow(w/Hub)</option>
      <option value="nvcr.io/nvidia/pytorch:20.11-py3-gpu">nvcr.io/nvidia/pytorch(w/Hub)</option>
      <option value="jupyter/minimal-notebook:python-3.8.8">jupyter/minimal-notebook(py3.8)</option>
      <option value="quay.io/thoth-station/s2i-minimal-py38-notebook:v0.2.2">jupyter/s2i-minimal-notebook(py3.8)</option>
      <option value="quay.io/thoth-station/s2i-minimal-py38-notebook:v1.0.0">jupyter/s2i-minimal-notebook(py3.8 w/MeCab)</option>
    </select>
    """.format(stack=default_stack)

  def options_from_form(self, formdata):
    options = {}
    options['stack'] = formdata['stack']
    container_image = ''.join(formdata['stack'])
    print('SPAWN: ' + container_image + 'IMAGE')
    self.image = container_image
    return options

c.JupyterHub.spawner_class = DemoFormSpawner

notebook_dir = '/home/jovyan'
c.DemoFormSpawner.notebook_dir = notebook_dir
c.DemoFormSpawner.volumes = {'jupyterhub-user-{username}':notebook_dir}
c.DemoFormSpawner.remove = True
c.DemoFormSpawner.default_url = '/lab'
c.DemoFormSpawner.start_timeout = 300
c.DemoFormSpawner.http_timeout = 120
c.DemoFormSpawner.network_name = 'jupyterhub'
4. JupyterHub/JupyterLabの起動
JupyterHub自体をコンテナとして起動するだけです。過去の投稿記事と同じです。
以下、環境設定(環境変数の定義)を含む起動コマンドです8。
$ docker image build -t jupyterhub/jupyterhub:1.0-py38 -f Dockerfile.hub .
$ docker run -v /var/run/docker.sock:/var/run/docker.sock -p 8000:8000 -p 8001:8001 -p 8081:8081 \
  -d --name jupyterhub --net jupyterhub jupyterhub/jupyterhub:1.0-py38
ちなみに、Dockerfileは以下の通り。DockerSpawnerやLDAP AuthenticatorといったPythonライブラリのインストールをしています。
FROM jupyterhub/jupyterhub:1.0

RUN python3 -m pip install IPython==7.16.1
RUN python3 -m pip install jupyter_client==6.1.12
RUN python3 -m pip install jupyterhub==1.0.0
RUN python3 -m pip install notebook==6.4.0
RUN python3 -m pip install jupyterlab==1.2.14
RUN python3 -m pip install dockerspawner==12.0.0
RUN python3 -m pip install PyOpenSSL==19.1.0 ldap3==2.7 jupyterhub-ldapauthenticator==1.3.0

WORKDIR /srv/jupyterhub
COPY ./jupyterhub_config.py /srv/jupyterhub/

EXPOSE 8000 8001 8081

CMD ["jupyterhub", "-f", "/srv/jupyterhub/jupyterhub_config.py", "--debug"]
いざ、動作確認
その①:JupyterLabコンテナを起動してみる
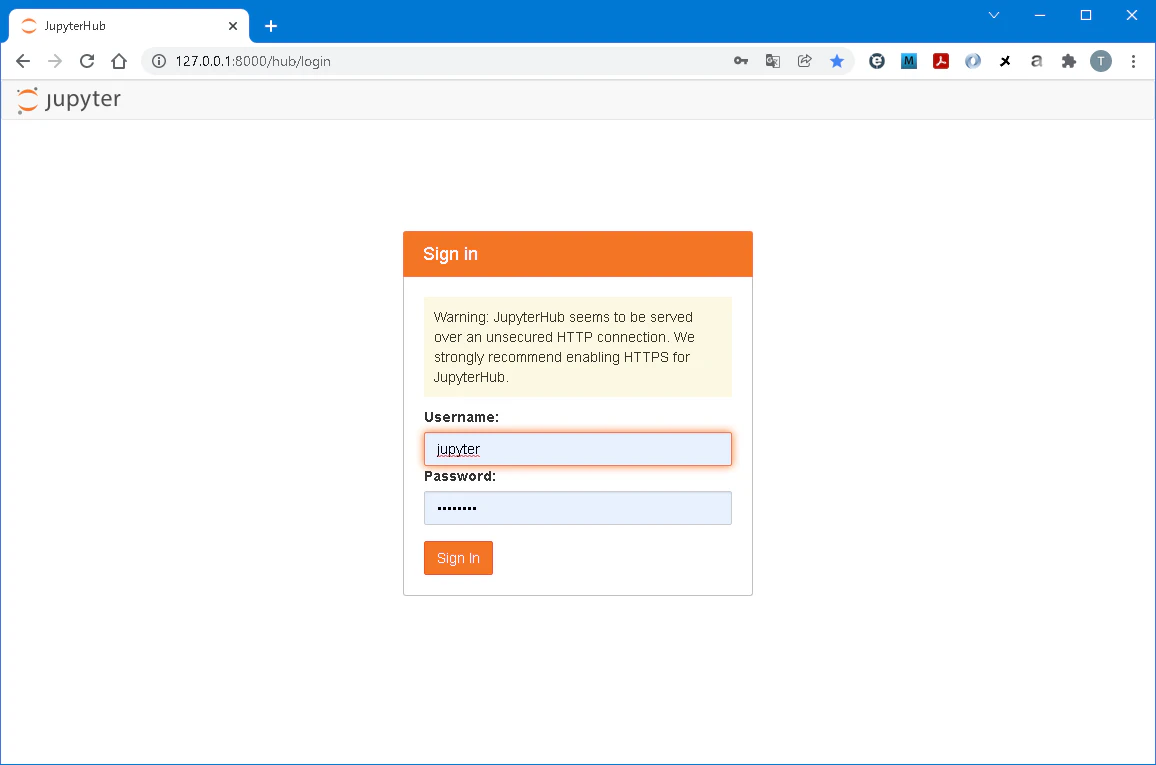
Google Chromeで http://127.0.0.1:8000/hub/login にアクセスして

UsernameとPasswordを入力したら「Sign In」ボタンを押下して、
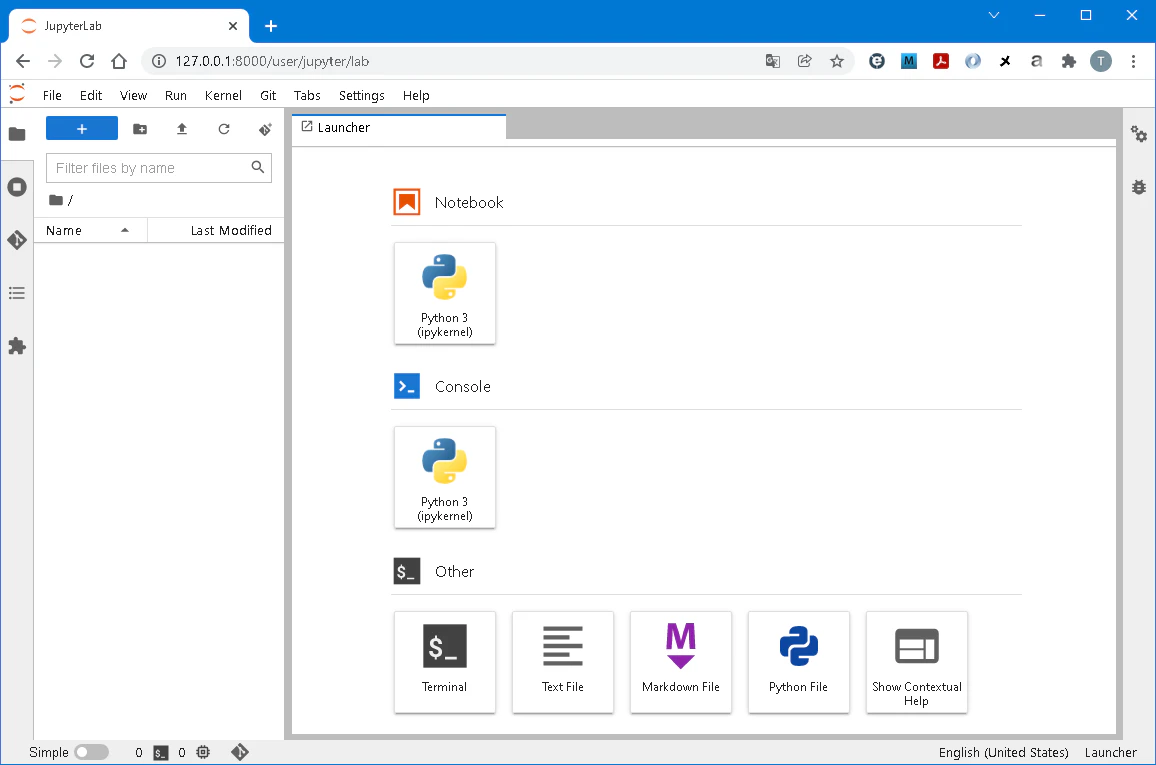
(起動対象の)コンテナイメージ選択画面が現れて、

最下の**jupyter/s2i-minimal-notebook(py3.8 w/MeCab)**を選択して、「Spawn」ボタンを押下します。

ドキドキしましたが、
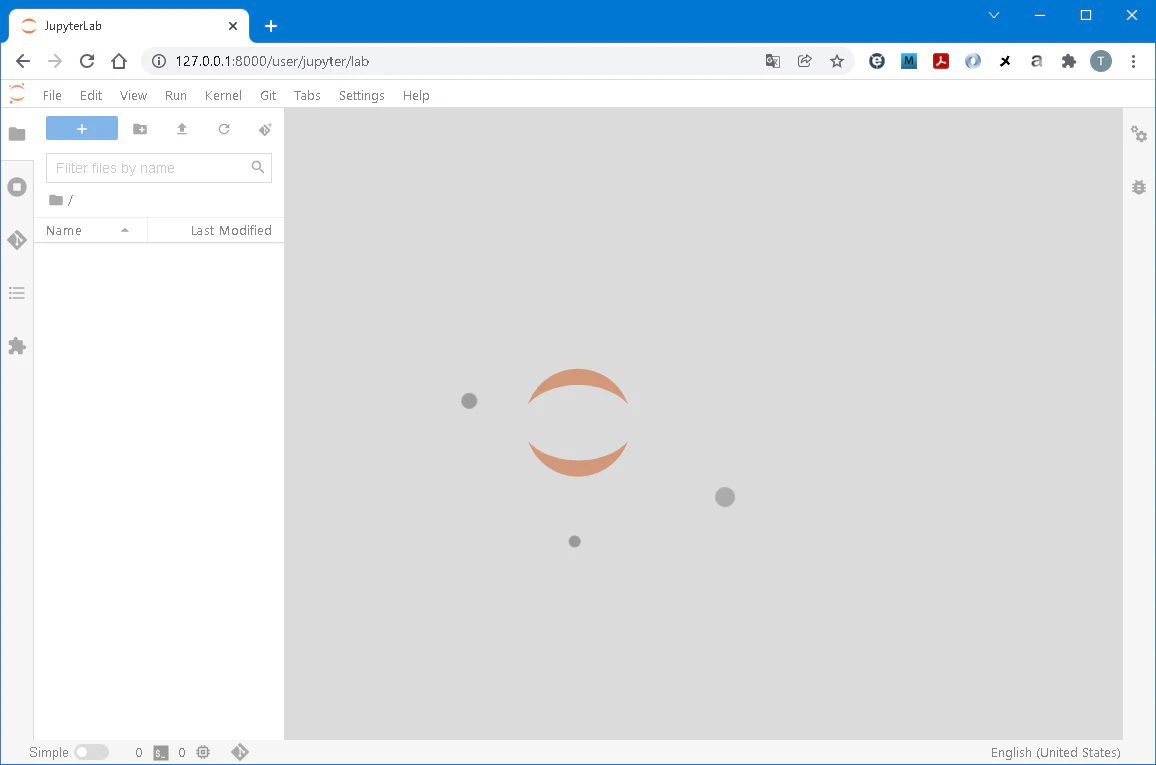
無事に起動しました。(UIはまた雰囲気が違うような。。。)
その②:Pythonプログラムを実行してみる
OSとPythonのVer情報です。事前に確認した情報に同じ、UBI8/Python 3.8になっています。

形態素解析はと言うと、、、MeCabも無事に使えています。

まとめ
思いつきでしたが、WSLでUBI8ベースの軽量JupyterLabコンテナイメージ(Python 3.8)を使うことができました。
きちんと流れるDockerfileを作り上げるのって、とっても大変。。。
-
thoth-station/s2i-minimal-py38-notebook | https://quay.io/repository/thoth-station/s2i-minimal-py38-notebook ↩ ↩2
-
jupyteronopenshift/s2i-minimal-notebook-py36 | https://quay.io/repository/jupyteronopenshift/s2i-minimal-notebook-py36 ↩
-
jupyter-on-openshift/jupyter-notebooks | https://github.com/jupyter-on-openshift/jupyter-notebooks ↩
-
jupyter-on-openshift/jupyterhub-quickstart | https://github.com/jupyter-on-openshift/jupyterhub-quickstart ↩
-
Read the Docs | https://readthedocs.org/projects/jupyterhub/ ↩
-
JupyterHub — JupyterHub 1.0.0 documentation | https://jupyterhub.readthedocs.io/en/1.0.0/ ↩
-
jupyter/docker-stacks | https://github.com/jupyter/docker-stacks ↩
-
Using Docker | https://jupyterhub.readthedocs.io/en/1.0.0/quickstart-docker.html ↩