免責事項
- 筆者は本記事の掲載内容を用いて行う一切の行為について, 何らの責任を負うものではありません.
- 本記事を公開するにあたり, 掲載されている情報の正確性については万全を期しておりますが, 筆者は掲載内容の正確性・完全性・信頼性・最新性を保証するものではありません.
- 筆者はリンク先サイトについて, その掲載情報の正確性・合法性等を保証するものではありません. リンク先サイトの利用によって生じた問題に対して筆者は責任を負いません.
Introduction
Ubuntu22.04を使ってmmdetection3dのDockerイメージを作成しようとしたところ, 公式のDockerfileのビルドでエラーが発生した.
そこでpytorchの公式イメージをベースにしてコンテナを作成し, mmdetection3d関係のライブラリをインストールした後, コミットすることでイメージとして保存した.
その方法を以下で紹介する.
Target Audience
- Dockerfileを書くことはできないが, Dockerを使った経験のある人
- mmdetection3d + Docker で開発を行いたい人
Abstract
- ベースとなるコンテナを作成
- コンテナに必要なライブラリをインストール
- コンテナをイメージとして保存
- (おまけ)エラーの詳細
1. ベースとなるコンテナを作成
pytorchの公式イメージをベースにする.
docker pull pytorch/pytorch:1.12.1-cuda11.3-cudnn8-devel

docker run -it \
--gpus all \
-e HOME=/home \
-e DISPLAY=$DISPLAY \
-v /tmp/.X11-unix:/tmp/.X11-unix \
-e NVIDIA_DRIVER_CAPABILITIES=utility,compute,graphics \
-e QT_X11_NO_MITSHM=1 \
-e LIBGL_ALWAYS_INDIRECT=1 \
--name test_mmdet3d \
--shm-size=4gb \
pytorch/pytorch:1.12.1-cuda11.3-cudnn8-devel
2. コンテナに必要なライブラリをインストール
Get Started — MMDetection3D 1.2.0 documentationにしたがって必要なライブラリをインストール
# /homeで作業するため, .bashrcをコピー
# /rootで作業する場合は不要
cp -v /root/.bashrc ~/.bashrc

# aptを使ってインストール
apt update && apt install git libgl1-mesa-dev libglib2.0-0 -y

# mimを使ったインストール
pip install -U openmim
mim install mmengine
mim install 'mmcv>=2.0.0rc4'
mim install 'mmdet>=3.0.0'

# クローンしてインストール
git clone https://github.com/open-mmlab/mmdetection3d.git
cd mmdetection3d
pip install -v -e .

# デモ
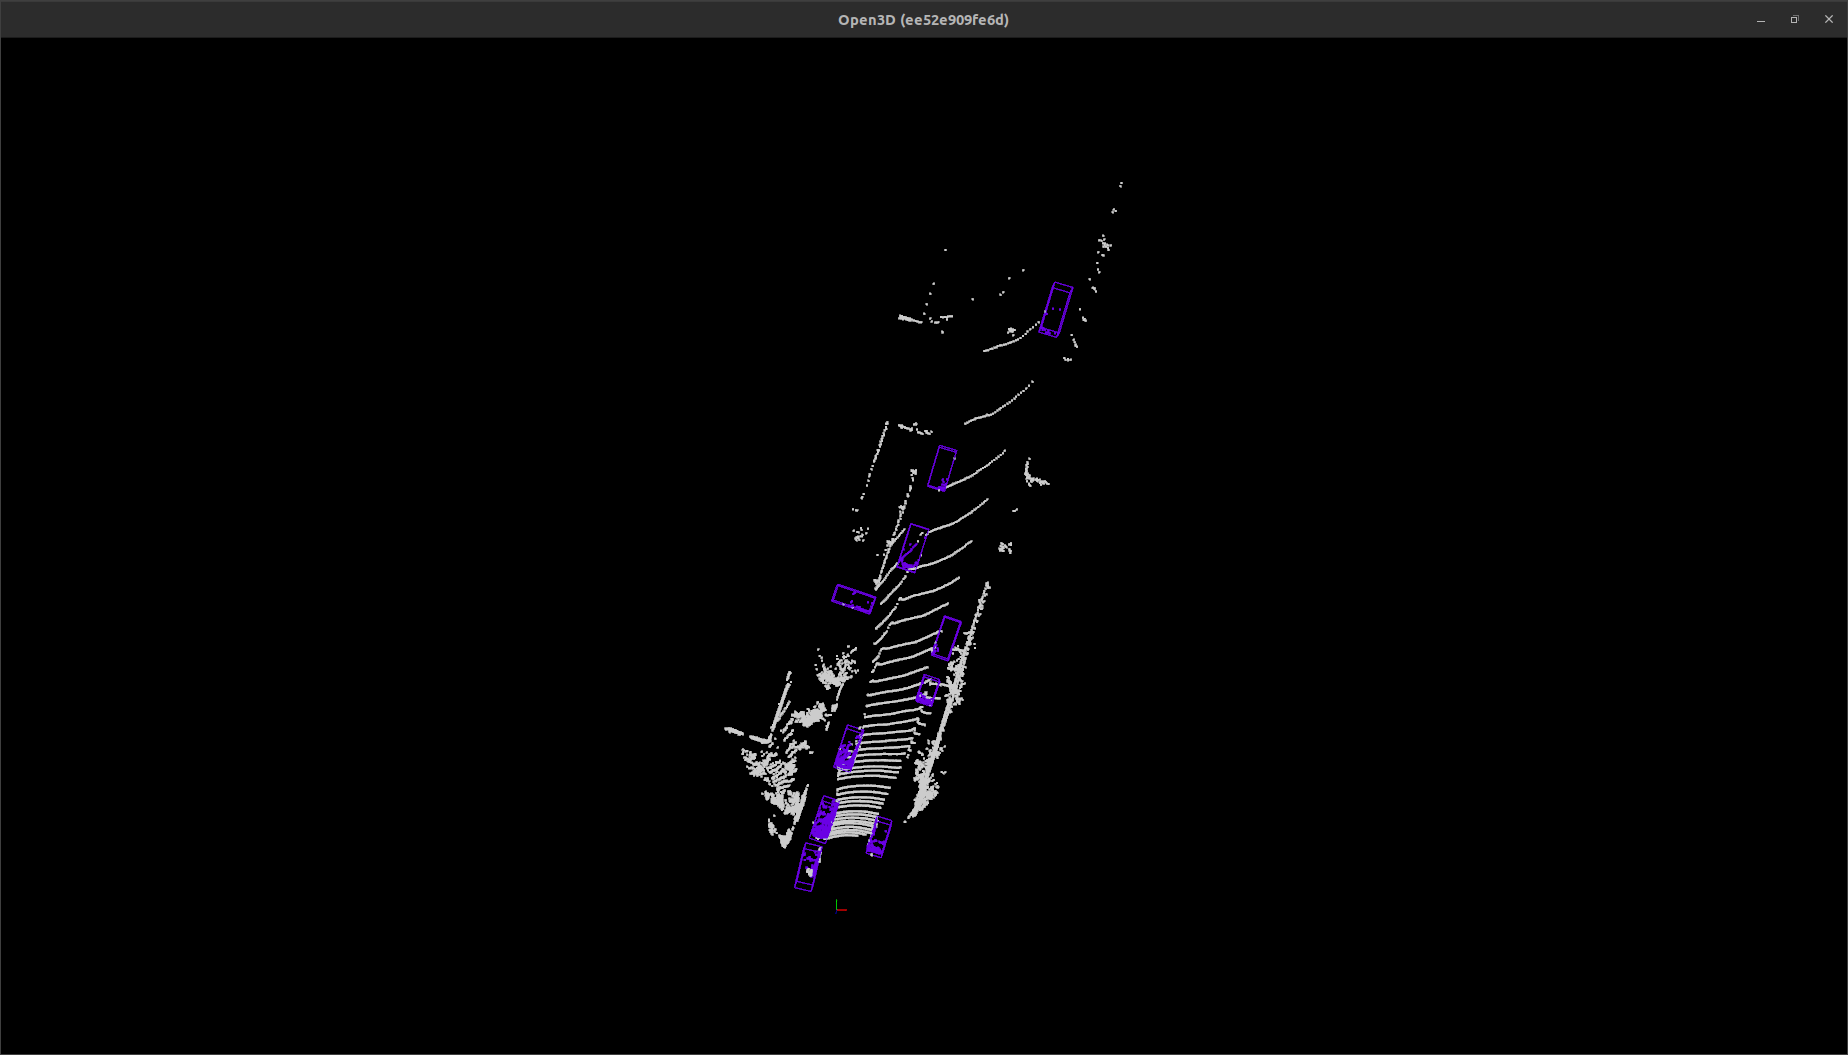
# 点群と3Dボックスが描画される
mim download mmdet3d --config pointpillars_hv_secfpn_8xb6-160e_kitti-3d-car --dest .
python demo/pcd_demo.py demo/data/kitti/000008.bin pointpillars_hv_secfpn_8xb6-160e_kitti-3d-car.py hv_pointpillars_secfpn_6x8_160e_kitti-3d-car_20220331_134606-d42d15ed.pth --show
3. コンテナをイメージとして保存
コンテナからデタッチして次のコマンドを実行
# コンテナをイメージとして保存
docker commit test_mmdet3d mmdet3d:1.2.0-pytorch1.12.1-cuda11.3-cudnn8-devel
4. (おまけ)エラーの詳細
公式のDockerfileをビルドしたときのエラーを示す.
いつかDockerfileの修正により解決したい.
cd
git clone https://github.com/open-mmlab/mmdetection3d.git
cd ~/mmdetection3d
docker build docker

# 次のエラーが発生
# ERROR: failed to solve: process
# "/bin/sh -c rm /etc/apt/sources.list.d/cuda.list
# && rm /etc/apt/sources.list.d/nvidia-ml.list     && apt-key del 7fa2af80     && apt-key adv
# --fetch-keys https://developer.download.nvidia.com/compute/cuda/repos/ubuntu1804/x86_64/3bf863cc.pub
# && apt-key adv --fetch-keys https://developer.download.nvidia.com/compute/machine-learning/repos/ubuntu1804/x86_64/7fa2af80.pub"
# did not complete successfully: exit code: 2
Environment
OS
cat /etc/lsb-releaseを実行して確認
| DISTRIB_ID | Ubuntu |
|---|---|
| DISTRIB_RELEASE | 22.04 |
| DISTRIB_CODENAME | jammy |
| DISTRIB_DESCRIPTION | "Ubuntu 22.04.2 LTS" |
