Reactでreact-router-domのルーティング設定
3回目の今回は、Reactでreact-router-dom
を使用したルーティングを使います。
URLを変えることで、表示するページを変える(レンダリングする)ことができます。
前回までで、
- Material-UIで最低限のデザインを一から作成
- データをAPIから取得して表示
しました。コードは前回の続きとなります。
 React & Material UI & Django RestFramework記事一覧
| 内容 | |
|---|---|
| part1 | React Material UIを使ってみる |
| part2 | 【初心者】#2 React axiosでAPI データ取得 |
| part3 | 【React】 #3 ルーティング・ページ遷移 react-router-dom ← ココ |
| part4 | 【Python】 Django REST Framework ReactとAPIサーバー繋ぐ |
やること
- react-router-domでのReactでのルーティング
- ルーティングするためのリンクの付け方
react-router-dom導入
まず、インストールが必要です。
今回はreact-router-dom: 5.2.0を使用しています。
$ npm install react-router-dom
TypeScriptの場合はnpm install react-router-dom @types/react-router-domみたいです。
とりあえず、aboutページを作成します。
ただ、文字を表示するだけにします。
ということで、Aboutコンポーネントを作成。
$ touch src/components/About.js
文字を表示するだけになります。
import React from 'react'

function About() {
    return (
        <div>
            aboutページ
        </div>
    )
}

export default About
前回までのコードにRouterとSwitch、Routeを足して、
URLによって、レンダリングするコンポーネントを変えています。
import './App.css';
import { Grid } from '@material-ui/core';
import Header from './components/Header';
import Content from './components/Content';
import About from './components/About';

import {
  BrowserRouter as Router,
  Switch,
  Route
} from "react-router-dom";

function App() {
  return (
    <Grid container direction="column">
      <Grid item>
        <Header />
      </Grid>
      <Grid item container>
        <Grid sm={2} />
        <Grid xs={12} sm={8}>
        <Router>
          <Switch>
            <Route exact path="/">
              <Content />
            </Route>
            <Route path="/about">
              <About />
            </Route>
          </Switch>
        </Router>
        </Grid>
        <Grid sm={2} />
      </Grid>
    </Grid>
  );
}

export default App;
とURLに入れると、
文字だけのAboutコンポーネントが表示されています。
説明と注意
<Route exact path="/">のexactは完全に一致しないとダメという意味です。
一致するURLを上から探すのだけど、このexactをつけないと、http://localhost:3000/jasdklfsとか意味ないものやでもContent`コンポーネントを使うことになります。
というか、http://localhost:3000/移行にURLに、何があろうがContentコンポーネントを使います。
試しに、exactを消して/aboutにアクセスしてみれば、Contentコンポーネントが出るので、試してみてもいいと思います。
<Route path="/"> 変更後、
http://localhost:3000/jasdklfsとhttp://localhost:3000/about
と書いてみましょう。
どちらも、Contentコンポーネントの内容が表示されます。
「書く順番」を考えましょう。
URLのパラメータを取得して個別記事表示
前回、JSON Placeholderからデータを取得しました。
APIをみると、個別記事の取得もできるので、
記事についている「詳細を見る」ボタンを押したら遷移させます。
個別記事のコンポーネントを作成
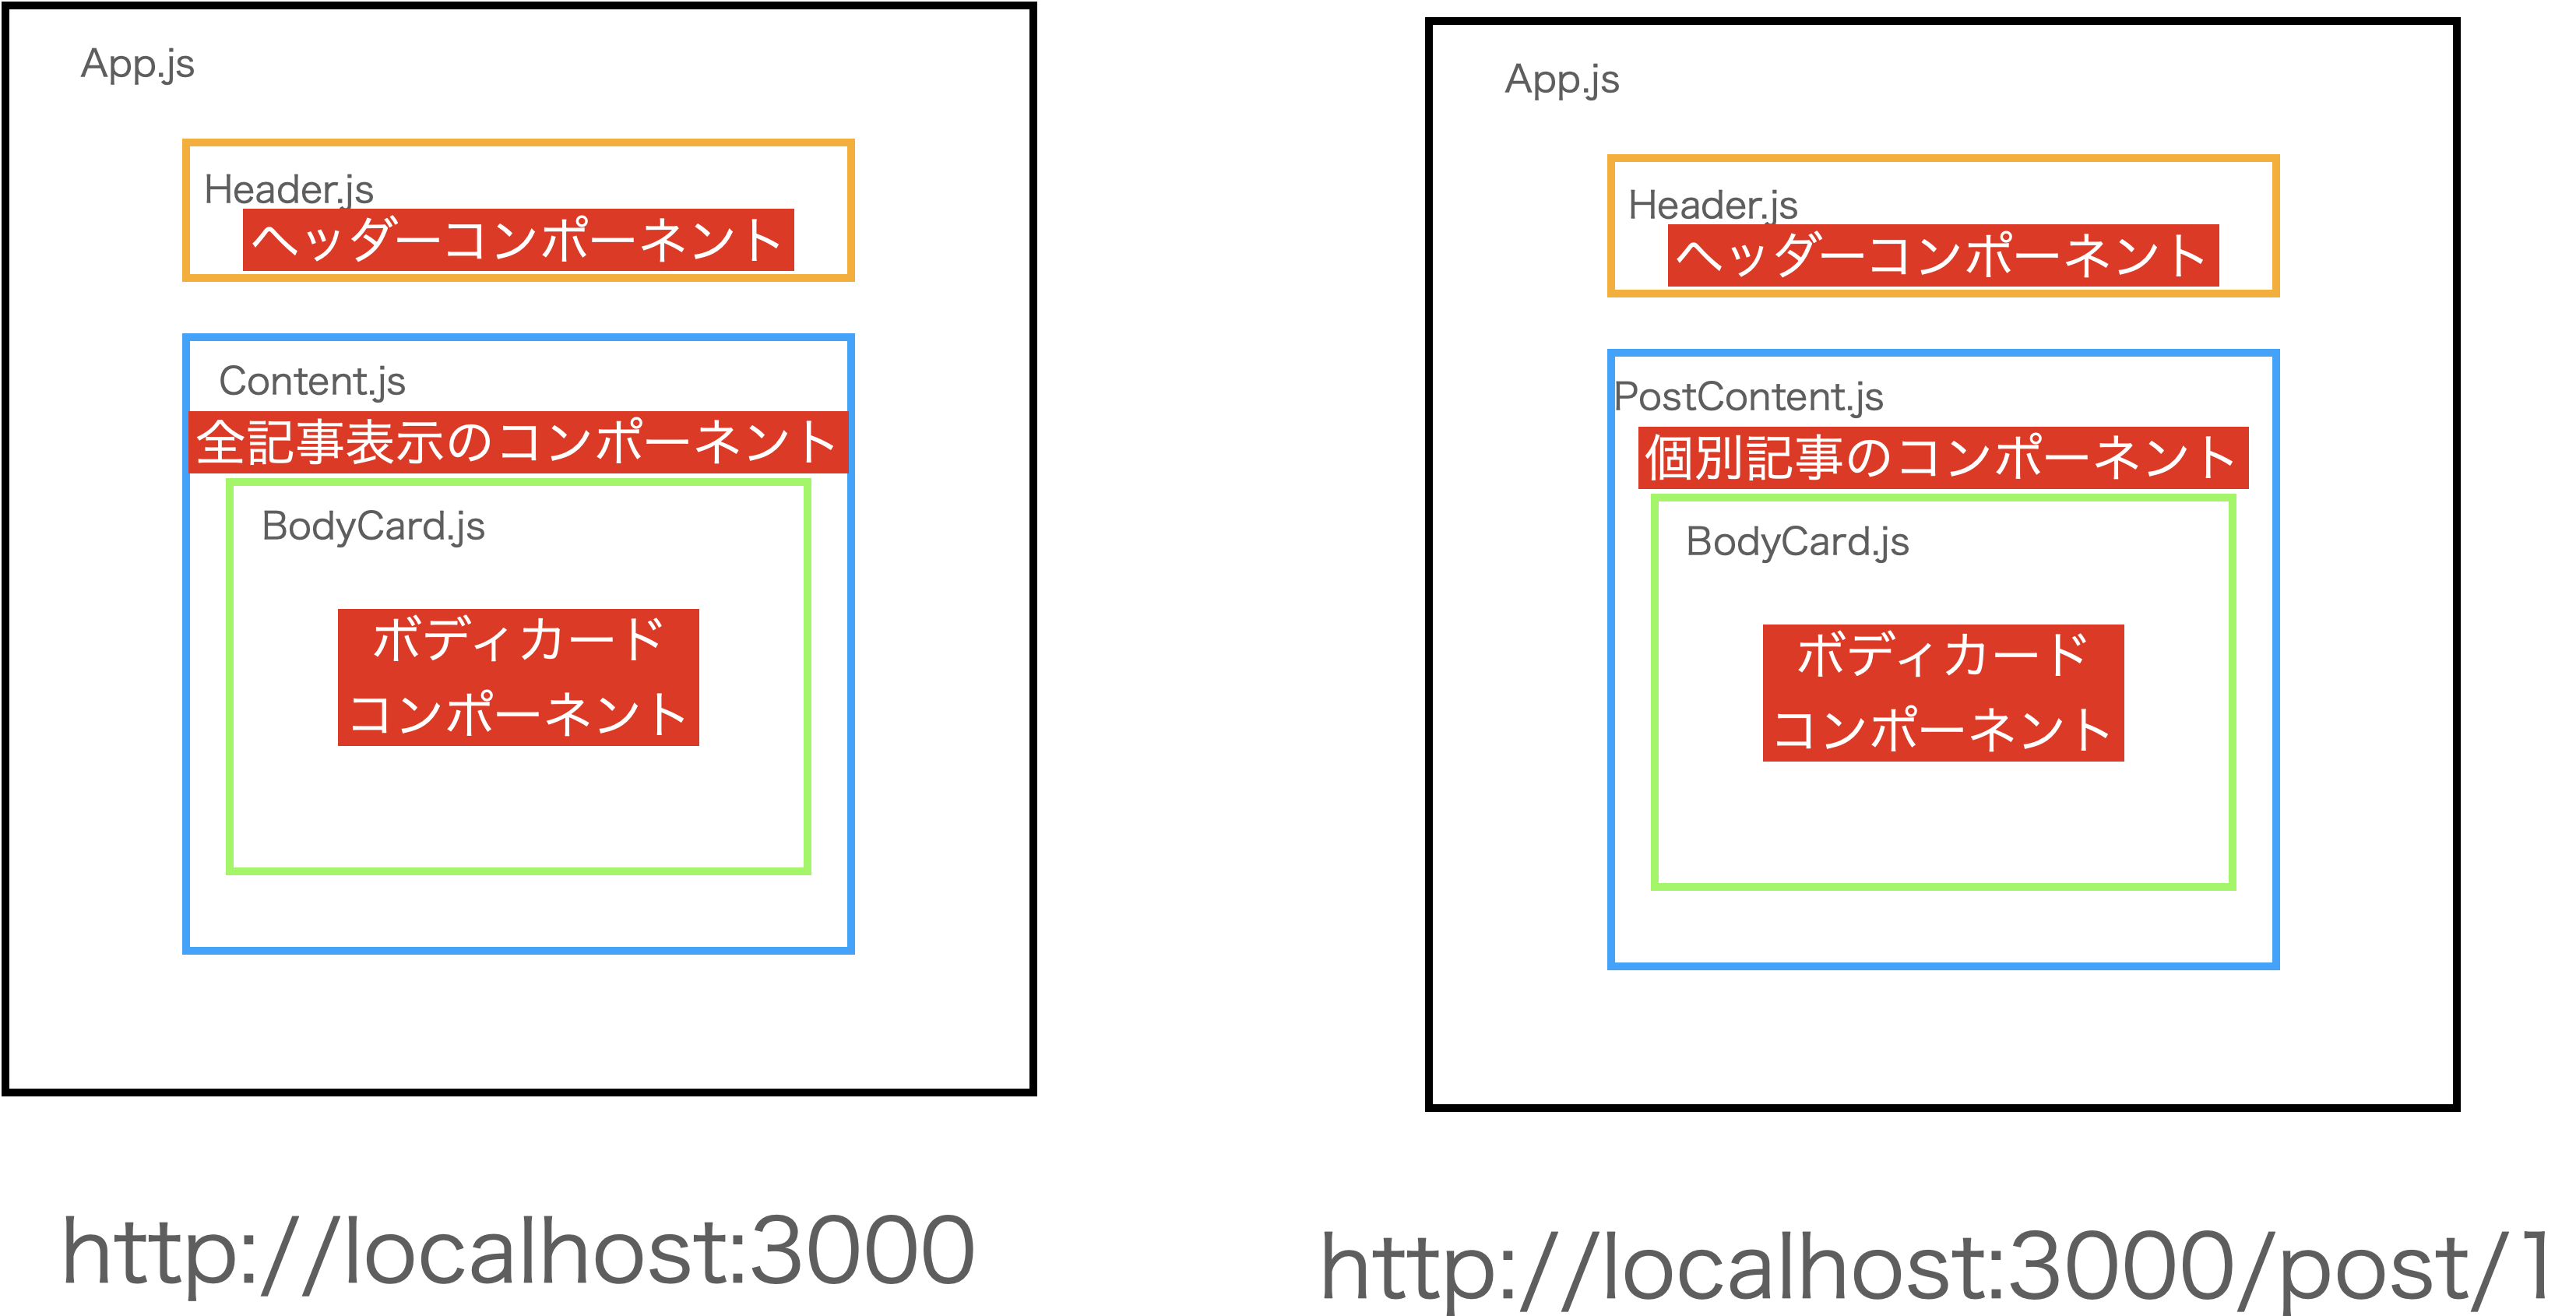
前回までで、左側は作りました。
今回は、右側を作ります。
個別記事IDにアクセスしたときにPostContentコンポーネントをレンダリングすることになります。

$ touch src/components/PostContent.js
/post/1だったら記事1を表示するようにしてみます。とりあえず
idを受け取れるかテスト。
/post/1にアクセスしたらuseParams()に{id: 1}のようなデータが入るのでidだけをとるためconst { id }にしています。
そして、個別記事の後に受け取ったIDをくっつけて表示します。
import React from 'react'
import { useParams } from 'react-router-dom'

function PostContent() {
    const { id } = useParams();
    return (
        <div>
            <h1>個別記事 {id}</h1>
        </div>
    )
}

export default PostContent
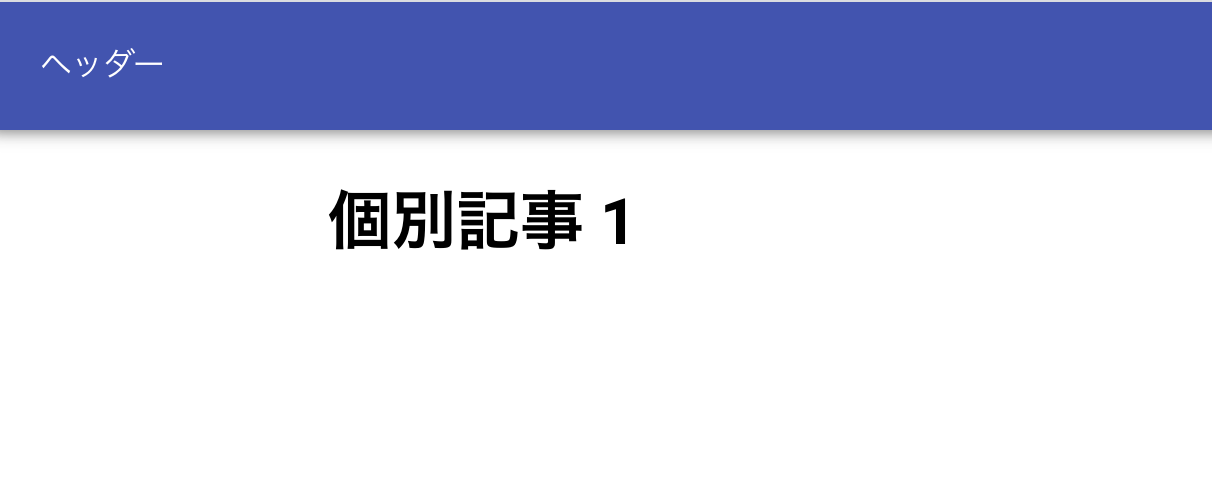
http://localhost:3000/post/1にアクセスしたら1が表示されているのでOK
http://localhost:3000/post/10とかにしたら10に変わりますので試してみてください。
個別記事データをAPIで取得
Getで取得しましょう。URLの最後に記事のIDを入れればデータを取得できます。
では、JSON PlaceholderでAPIのURLは
{
  "userId": 1,
  "id": 1,
  "title": "sunt aut facere repellat provident occaecati excepturi optio reprehenderit",
  "body": "quia et suscipit\nsuscipit recusandae consequuntur expedita et cum\nreprehenderit molestiae ut ut quas totam\nnostrum rerum est autem sunt rem eveniet architecto"
}
axiosを使ったAPIのデータ取得は前回やったので簡単に書きます。
import React, {useState, useEffect} from 'react';
import axios from 'axios';
import { useParams } from 'react-router-dom'

import { Grid } from '@material-ui/core'
import BodyCard from './BodyCard'


const cardContent =
    {
        avatarUrl: "https://joeschmoe.io/api/v1/random",
        imageUrl: "https://picsum.photos/150"
    }

function PostContent() {
    const { id } = useParams();
    const [post, setPosts] = useState([])

    useEffect(() => {
        axios.get(`https://jsonplaceholder.typicode.com/posts/${id}`)
        .then(res => {
            setPosts(res.data)
        })
    }, [])

    return (
        <Grid container spacing={2}>
            <Grid item xs={12} key={post.id}>
                <BodyCard {...{...post, ...cardContent}} />
            </Grid>
        </Grid>
    )
}

export default PostContent
-
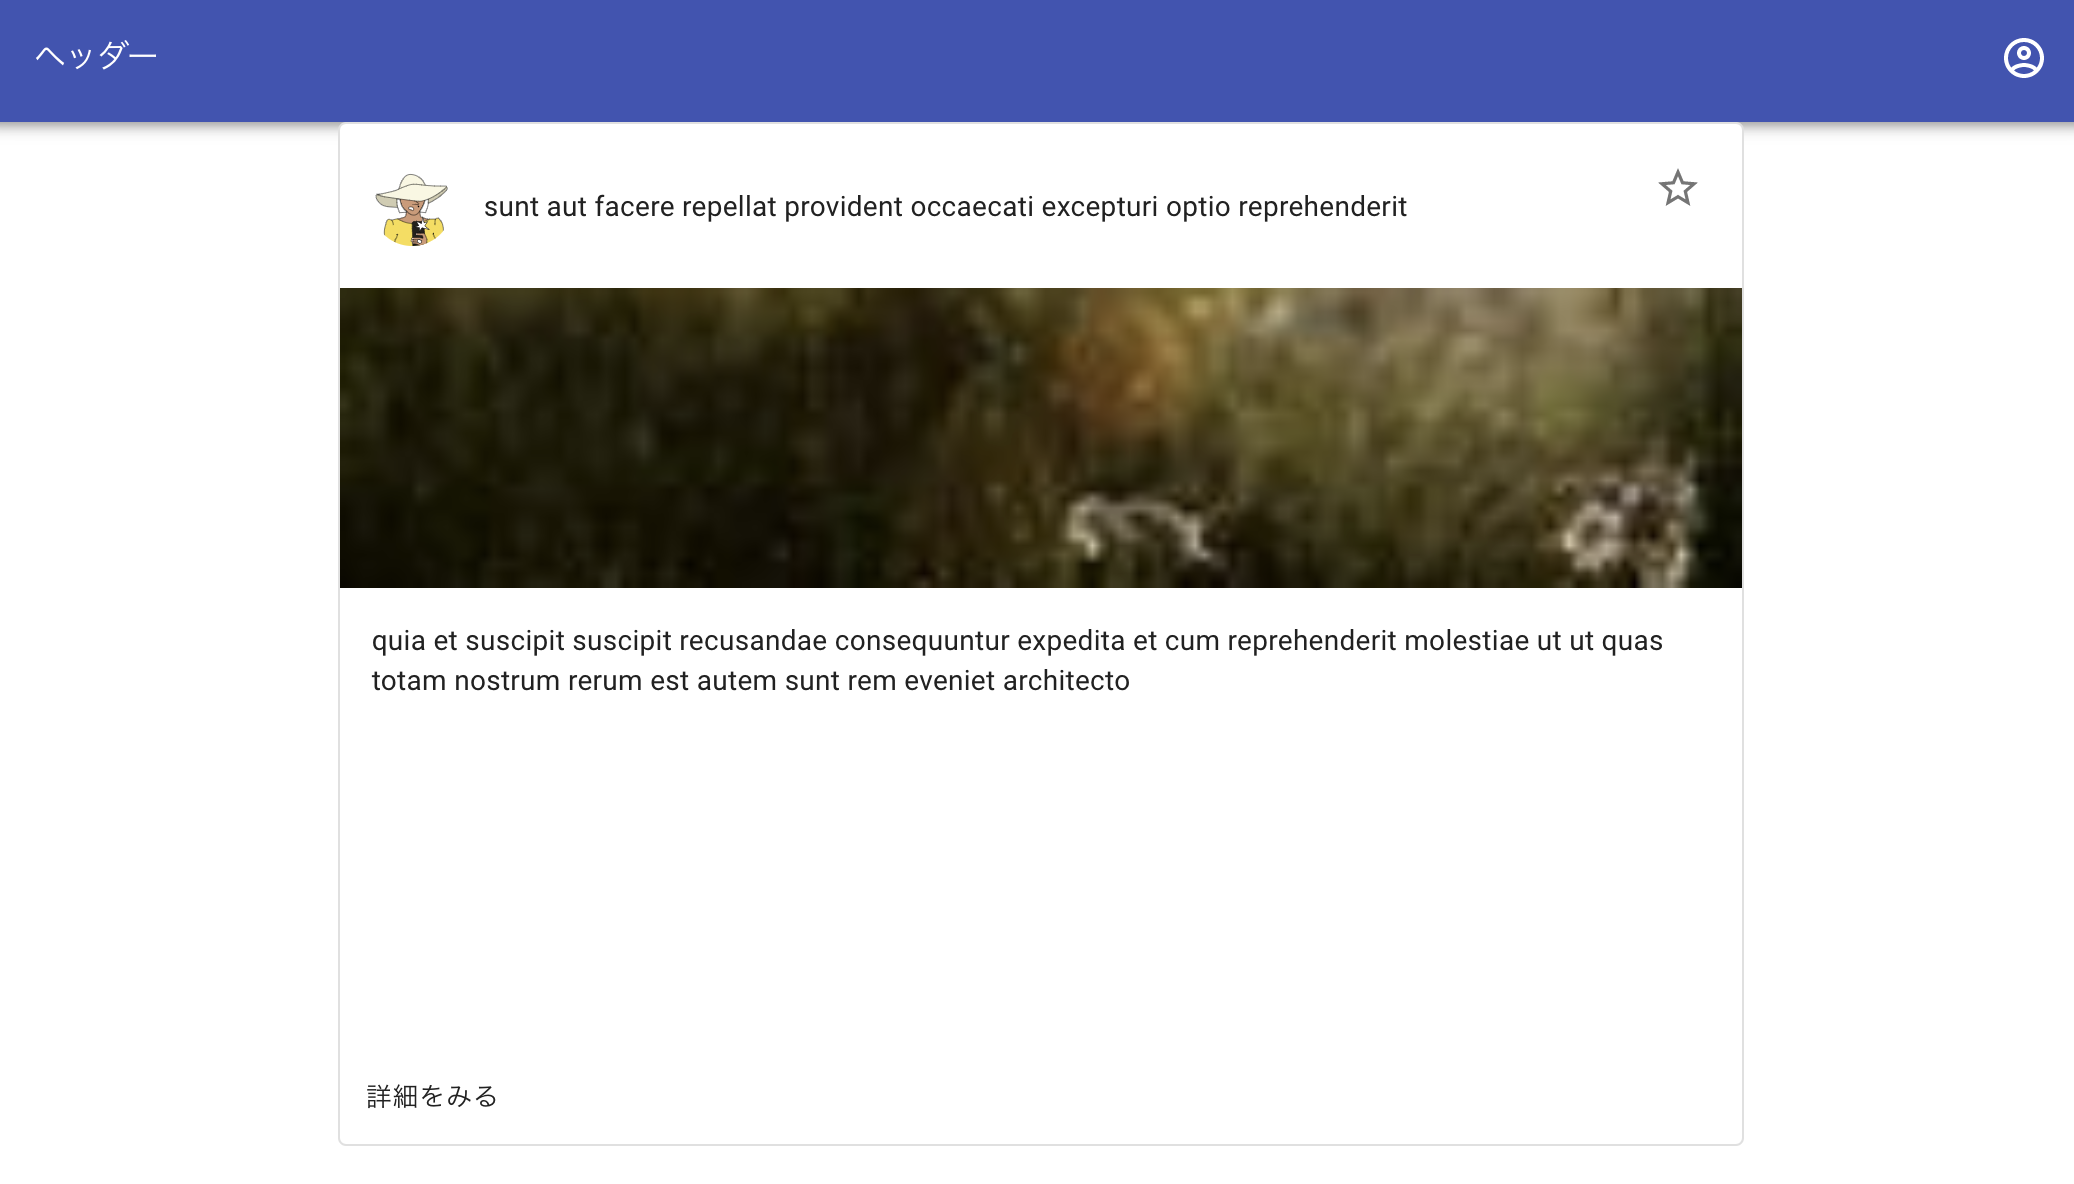
https://jsonplaceholder.typicode.com/posts/${id}でURLから取得したパラメータを埋め込んでGET、APIでの取得 - useStateを使って、ページを開いた時一度だけ、APIで取得
- 前回作った、
BodyCardコンポーネントに渡してMaterial-UIのカードの形式で作成-
{...{...post, ...cardContent}}で二つのオブジェクトを結合して渡してます
-
とりあえず、ページを作り込むより、ルーティングの使い方説明メインなので、
- 詳細をみるというボタンがあったり、
- 画像がAPIでランダム取得するので変わってしまう、
- 画像がhight: 150pxだと大きさおかしい
一応、前回の記事から変更はないですが、BodyCardコンポーネントも載せておきます。
import React from 'react';
import { makeStyles } from '@material-ui/core/styles';
import Card from '@material-ui/core/Card';
import CardActions from '@material-ui/core/CardActions';
import CardContent from '@material-ui/core/CardContent';
import Button from '@material-ui/core/Button';
import Typography from '@material-ui/core/Typography';
import CardHeader from '@material-ui/core/CardHeader';
import Avatar from '@material-ui/core/Avatar';
import IconButton from '@material-ui/core/IconButton';
import StarBorderOutlinedIcon from '@material-ui/icons/StarBorderOutlined';
import { CardMedia } from '@material-ui/core';

const useStyles = makeStyles({
    bullet: {
      display: 'inline-block',
      margin: '0 2px',
      transform: 'scale(0.8)',
    },
    title: {
      fontSize: 14,
    },
    pos: {
      marginBottom: 12,
    },
    cHeader: {
        height: '50px',
        overflow: 'hidden',
        textOverflow: 'ellipsis',
        whiteSpace: 'nowrap',
        "& .MuiCardHeader-content": {
            overflow: 'hidden'
        }
    },
    cContent: {
        height: '200px',
        overflow: 'hidden'
    }
});


function BodyCard(props) {
    const { userId, id, title, body, avatarUrl, imageUrl } = props;
    const classes = useStyles();
    const bull = <span className={classes.bullet}>•</span>;
    return (
        <Card variant="outlined">
            <CardHeader
                avatar={<Avatar src={avatarUrl} />}
                action={
                <IconButton aria-label="settings">
                    <StarBorderOutlinedIcon />
                </IconButton>
                }
                className={classes.cHeader}
                title={title}
            />
            <CardMedia style={{ height: "150px" }} image={imageUrl} />
            <CardContent className={classes.cContent}>
            <Typography variant="body2" component="p">
                {body}
            </Typography>
            </CardContent>
            <CardActions>
            <Button size="small">詳細をみる</Button>
            </CardActions>
        </Card>
    );
}

export default BodyCard
ボタンにリンクをつける
Material-UIにはButtonにhrefつければ遷移できるようになります。
以下のようにすれば大丈夫。
<Button size="small" href={`/post/${id}`}>詳細をみる</Button>
今回、Buttonにリンク機能がついていたので使いましたが、
デザインを自分でやりたい、文字にリンクつけるなどの場合は、
<Link to="/post/1">記事1の詳細</Link>

<Link to=`/post/${id}`>記事{$id}の詳細</Link>
などにすればいいと思います。
react-routerの公式サイトは英語ですが、
コードがみやすいのでみながら試してみてください。
まとめ
- react-router-domでのReactでのルーティング
- ルーティングするためのリンクの付け方
をやりました。次回はAPIサーバーをPythonのDjangoで自作します。
補足
これまで、RouterをApp.jsに書きました。
ただ、ヘッダーがいらない、デザインを変えたいなどの場合(ログインページ、LP、認証のためのURLとか使う場合など)、
index.jsにrouterを書くこともできるので補足として。
import React from 'react';
import ReactDOM from 'react-dom';
import './index.css';
import App from './App';
import About from './components/About';
import reportWebVitals from './reportWebVitals';
import { Route, BrowserRouter } from "react-router-dom";

ReactDOM.render(
  <React.StrictMode>
    <BrowserRouter>
      <div>
        <Route exact path="/" component={App} />
        <Route exact path="/about" component={About} />
      </div>
    </BrowserRouter>
  </React.StrictMode>,
  document.getElementById('root')
);
 React & Material UI & Django RestFramework記事一覧
| 内容 | |
|---|---|
| part1 | React Material UIを使ってみる |
| part2 | 【初心者】#2 React axiosでAPI データ取得 |
| part3 | 【React】 #3 ルーティング・ページ遷移 react-router-dom ← ココ |
| part4 | 【Python】 Django REST Framework ReactとAPIサーバー繋ぐ |


