第一回目は簡単な文字を表示をしただけでした。
今回はHTMLテンプレートを使って柔軟に規模を大きく綺麗に作っていきましょう。
Flaskとで使われているテンプレートエンジンはDjangoも同じなので記法も当然同じ。
 Pythonで作るFlaskアプリ記事一覧
| 内容 | |
|---|---|
| part1 | 簡単なページ作成 |
| part2 | HTMLテンプレート表示 ← ココ |
| part3 | "画像" "CSS" "Javascript"実装 |
| part4 | フォーム送信 |
| part5 | データベースの値取得・更新 |
HTMLテンプレートでWEBページを作る
WEBアプリを作るための最初のステップとしてHTMLから始めた人はも多いと思います。
FlaskでもHTMLテンプレートというのを使っていて、サーバーに保存されているデータや、データを処理してページに埋め込むことでページを作る(動的に作るという)ことができます。
ソースコード
この章のコードは以下です。確認やコピペでどうぞ
1.1. HTMLファイルを作成
templatesと言うフォルダを作ってください。Flaskはtemplatesと言うディレクトリを参照するように作られていますのでフォルダ名を間違わないように。
それに加えて、今回はその中にtestappと言うフォルダを作成します。※こちらは名前自由です。
その中に表示用のHTMLとしてindex.htmlを作って記述していきます。
$ mkdir -p templates/testapp
$ touch ./templates/testapp/index.html
VSCode使ってるなら! + tabである程度作れる機能があります。よければ試すといいかも。
<!DOCTYPE html>
<html lang="ja">
<head>
    <meta charset="UTF-8">
    <meta http-equiv="X-UA-Compatible" content="IE=edge">
    <meta name="viewport" content="width=device-width, initial-scale=1.0">
    <title>テストWebアプリ</title>
</head>
<body>
    <h1>index.html表示してます</h1>
</body>
</html>
Python要素ゼロのただのHTMLです。
1.2. viewsに記述を追加してhtmlテンプレートでの表示を作る
前回はPythonのreturnのところに文字列を書いて、そのまま表示しているだけでした。
これを改造して先ほど作成したHTMLを表示させてみます。以下の該当箇所を追記します。
from flask import render_template  # 追加
from testapp import app


@app.route('/')
def index():
    return render_template('testapp/index.html')
表示できました。
ただ、このままだとHTMLそのまま表示させるのと何も変わりませんのでPython使う意味ありませんね。
と言うことで、次はPython内のデータを埋め込んでみましょう。
1.3. テンプレートにデータ埋め込み
FlaskではJinja2と言うテンプレートエンジンをデフォルトで使えます。簡単に言うとPythonで簡単な処理をしてHTM L作るための機能が備わってます。
今回作成したindex.htmlはHTMLファイルですが、これに特殊な記述をすることでデータを埋め込みができます。
変更箇所付近だけ書きます。
...
<body>
    <h1>index.html表示してます</h1>
    {{ insert_something }}
</body>
変更箇所は{{ insert_something }}です。
次にinsert_somethingというデータをviewに用意しましょう。
from flask import render_template
from testapp import app

@app.route('/')
def index():
    data = 'views.pyのinsert_something部分です。'
    return render_template('testapp/index.html', insert_something=data)
第二引数が増えてますね。insert_somethingはテンプレートの{{ insert_something }}で使うためにこの名前にしてます。
1.4. 複数データを埋め込む
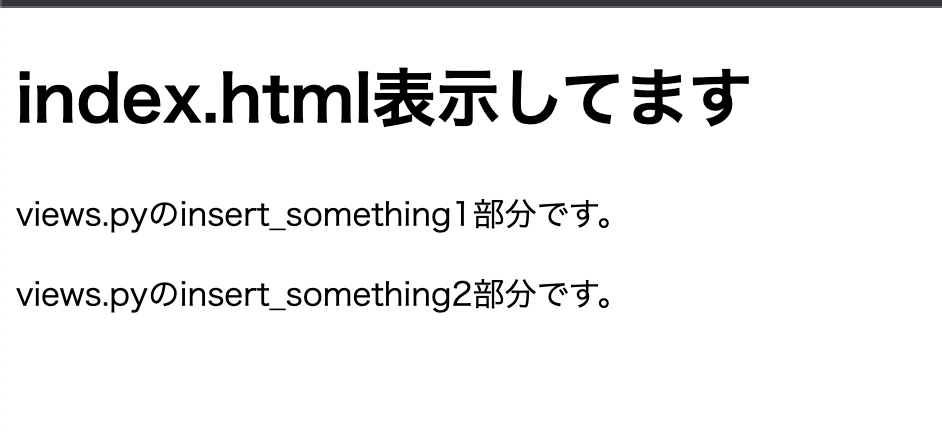
データを埋め込むときに、数個くらいなら問題ないですが、数が増えると複数のデータをまとめてテンプレートに送れる方が便利です。なので複数のデータをテンプレートに送って埋め込む方法を見てみます。
@app.route('/')
def index():
    my_dict = {
        'insert_something1': 'views.pyのinsert_something1部分です。',
        'insert_something2': 'views.pyのinsert_something2部分です。',
    }
    return render_template('testapp/index.html', my_dict=my_dict)
.
.
<body>
    <h1>index.html表示してます</h1>
    <p>{{ my_dict.insert_something1 }}</p>
    <p>{{ my_dict.insert_something2 }}</p>
</body>
1.5. テンプレートで for によりリストデータを表示させる
同じようなデータをリストでまとめて表示させることもよくありますので使い方を解説します。
@app.route('/')
def index():
    my_dict = {
        'insert_something1': 'views.pyのinsert_something1部分です。',
        'insert_something2': 'views.pyのinsert_something2部分です。',
        'test_titles': ['title1', 'title2', 'title3']
    }
    return render_template('testapp/index.html', my_dict=my_dict)
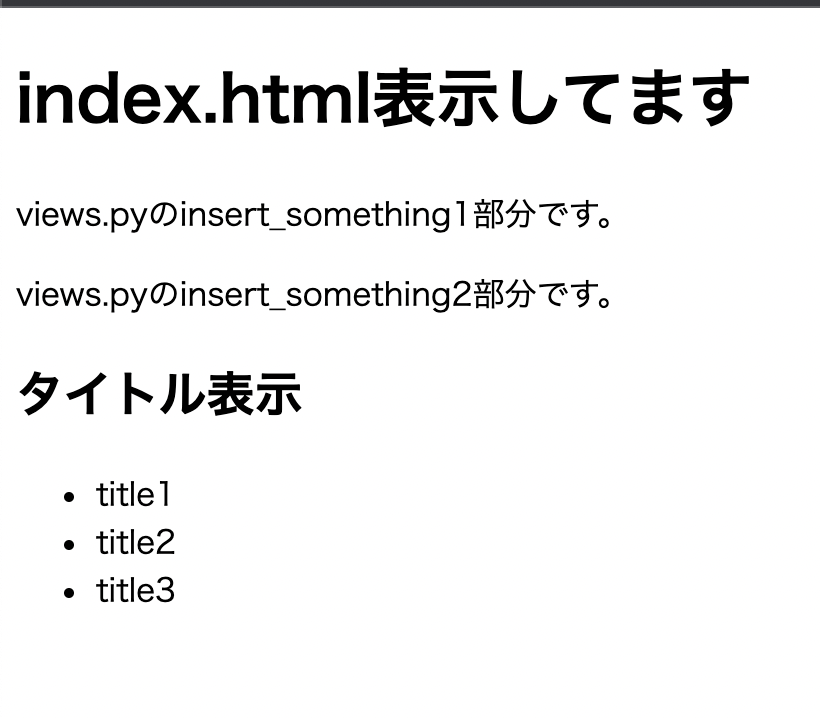
test_titlesと言う表示したいリストのデータを追加しました。
<body>
    <h1>index.html表示してます</h1>
    <p>{{ my_dict.insert_something1 }}</p>
    <p>{{ my_dict.insert_something2 }}</p>

    <h2>タイトル表示</h2>
    <ul>
      {% for title in my_dict.test_titles %}
        <li>{{ title }}</li>
      {% endfor %}
    </ul>
</body>
{% for ....... %}というので囲んで{% endfor %}で閉じるのを忘れずに。
{{ }}もあって紛らわしいですが
-
{{ }}← データの埋め込み -
{% %}← 処理を記述。forやifなど書くとき
という違いあります。似てますが全然違うので注意。
1.6. テンプレートで if を使い、表示させるデータに条件を付ける
条件によって表示させたり、消したい表示というのがあると思います。そんな場合には{% if 条件 %}を使います。
<body>
    <h1>index.html表示してます</h1>
    <p>{{ my_dict.insert_something1 }}</p>
    <p>{{ my_dict.insert_something2 }}</p>

    <h2>タイトル表示</h2>
    <ul>
      {% for title in my_dict.test_titles %}
        {% if title == 'title2'%}
            <li>{{ title }}</li>
        {% endif %}
      {% endfor %}
    </ul>
</body>
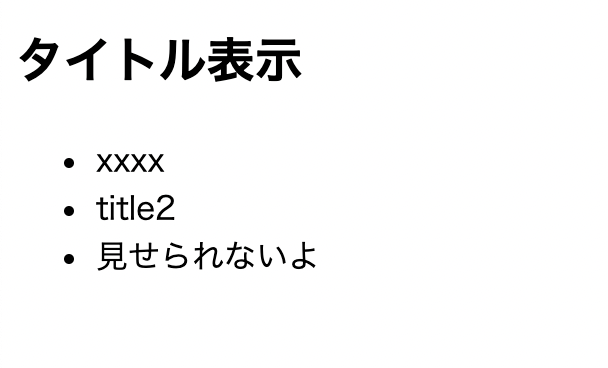
title2だけを表示させる条件をつけました。表示が消えました。

1.7. elif, elseも使える
Pythonの条件式と同じくelif, elseも使えます。
<body>
    <h1>index.html表示してます</h1>
    <p>{{ my_dict.insert_something1 }}</p>
    <p>{{ my_dict.insert_something2 }}</p>

    <h2>タイトル表示</h2>
    <ul>
      {% for title in my_dict.test_titles %}
        {% if title == 'title2' %}
            <li>{{ title }}</li>
        {% elif title == 'title3' %}
            <li>見せられないよ</li>
        {% else %}
            <li>xxxx</li>
        {% endif %}
      {% endfor %}
    </ul>
</body>
-
title2はifの条件なので普通に表示 -
title3はelifの条件なので「見せられないよ」 -
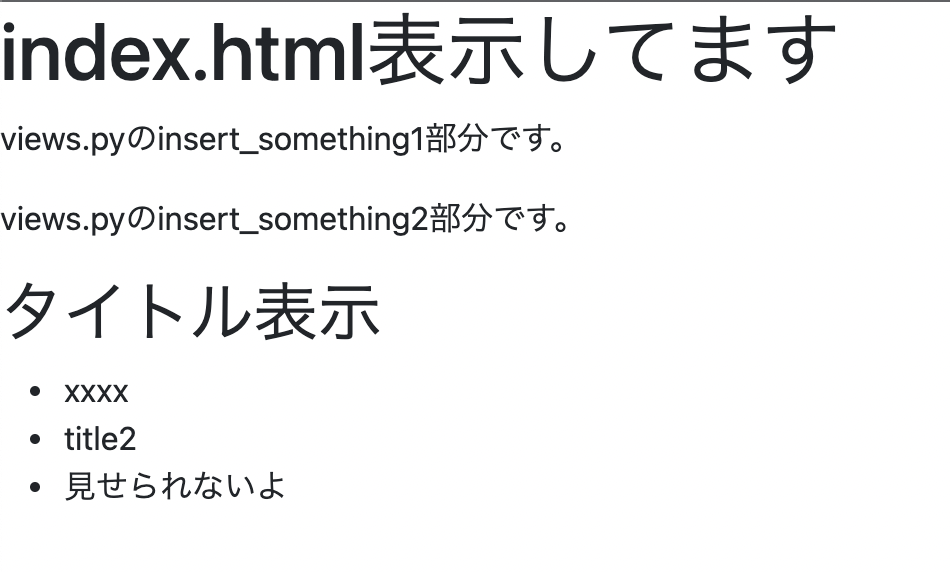
title1はif, elifの条件に当てはまらないのでelseになり「xxxx」
が、表示されています。
2. 共通部分を切り出す
今のところテンプレートが一つだけなので良さがわからないですが、今後テンプレートが増えるとほとんど同じなのに長々と記述を書かないといけないことになります。
こんな時のために全く同じ部分とか、ほんの少しだけ違うところとかを他の共通のテンプレートに切り出して複数のテンプレートで共通で使うことができる機能があります。
2.1. ベーステンプレート作成(共通部分を作る)
例えば以下のようなテンプレートを作成して表示さえてみます。
<!DOCTYPE html>
<html lang="ja">
<head>
    <meta charset="UTF-8">
    <meta http-equiv="X-UA-Compatible" content="IE=edge">
    <meta name="viewport" content="width=device-width, initial-scale=1.0">
    <title>テストWebアプリ2</title>
</head>
<body>
    <h1>index2.html表示してます</h1>
</body>
</html>
以前テストで作った記述を少し改造します。
.
.

@app.route('/test')
def other1():
    return render_template('testapp/index2.html')
ヘッダー部分とか全く同じで無駄ですし、今後何かを読み込んだり、変更をしたときに何個も何個も同じ修正をしないといけなくなります。
これは面倒ですよね。ということで共通部分はベーステンプレートを作成して共通化させましょう。
2.2. 共通部分を作成する
layout.htmlを作成して、(ディレクトリ注意。templatesの直下です。)共通して使う部分をlayout.htmlに移しましょう。
<!DOCTYPE html>
<html lang="ja">
<head>
    <meta charset="UTF-8">
    <meta http-equiv="X-UA-Compatible" content="IE=edge">
    <meta name="viewport" content="width=device-width, initial-scale=1.0">
    <title>テストWebアプリ</title>
</head>
<body>

</body>
</html>
共通しているのは上記の部分。それぞれのテンプレートでこの共通部分を使って、あとは違うところだけ記述するだけでOKにします。
そのために、
<!DOCTYPE html>
<html lang="ja">
<head>
    <meta charset="UTF-8">
    <meta http-equiv="X-UA-Compatible" content="IE=edge">
    <meta name="viewport" content="width=device-width, initial-scale=1.0">
    <title>テストWebアプリ</title>
</head>
<body>
{% block content %}{% endblock %}
</body>
</html>
{% block content %}{% endblock %}だけ追加しました。
このblockの箇所にそれぞれのテンプレートで違う部分が入ることになります。
index.htmlを以下のように記述。
{% extends "layout.html" %}が共通のlayout.htmlを使う。
{% block content %}〜{% endblock %}がlayout.htmlに記述されている
{% block content %}{% endblock %}←この部分に入る!
ということになる。
{% extends "layout.html" %}

{% block content %}
<h1>index.html表示してます</h1>
<p>{{ my_dict.insert_something1 }}</p>
<p>{{ my_dict.insert_something2 }}</p>

<h2>タイトル表示</h2>
<ul>
    {% for title in my_dict.test_titles %}
    {% if title == 'title2' %}
        <li>{{ title }}</li>
    {% elif title == 'title3' %}
        <li>見せられないよ</li>
    {% else %}
        <li>xxxx</li>
    {% endif %}
    {% endfor %}
</ul>
{% endblock %}
同じようにindex2.htmlも変更してみます。
{% extends "layout.html" %}

{% block content %}
<h1>index2.html表示してます</h1>
{% endblock %}
超短くなりましたね。
あとは
にアクセスしてエラー出なかったらOK。表示は変わらないです。
3. bootstrapで見た目綺麗にする
bootstrap5を使って見た目を整えようと思います。
以下を参考にテンプレートにデザインを追加していきました。
https://getbootstrap.com/docs/5.0/getting-started/introduction/#starter-template
3.1. 準備
headerにCSSの読み込みの<link>, </body>タグの終わり直前にJavaScriptの読み込み(scriptタグ)を追加します。
これはどのページでも使う共通のデザインにしたいのでlayout.htmlで読み込むようにしようと思います。
<head>
    <meta charset="UTF-8">
    <meta http-equiv="X-UA-Compatible" content="IE=edge">
    <meta name="viewport" content="width=device-width, initial-scale=1.0">
    <!-- ↓追加 -->
    <link href="https://cdn.jsdelivr.net/npm/bootstrap@5.0.2/dist/css/bootstrap.min.css" rel="stylesheet" integrity="sha384-EVSTQN3/azprG1Anm3QDgpJLIm9Nao0Yz1ztcQTwFspd3yD65VohhpuuCOmLASjC" crossorigin="anonymous">
    <title>テストWebアプリ</title>
</head>
<body>
{% block content %}{% endblock %}
<!-- ↓追加 -->
<script src="https://cdn.jsdelivr.net/npm/bootstrap@5.0.2/dist/js/bootstrap.bundle.min.js" integrity="sha384-MrcW6ZMFYlzcLA8Nl+NtUVF0sA7MsXsP1UyJoMp4YLEuNSfAP+JcXn/tWtIaxVXM" crossorigin="anonymous"></script>
</body>
リロードするとフォントや余白が少し変わったけど、この段階ではあまり違いがわからない。
3.2. bootstrapのナビバーをつける
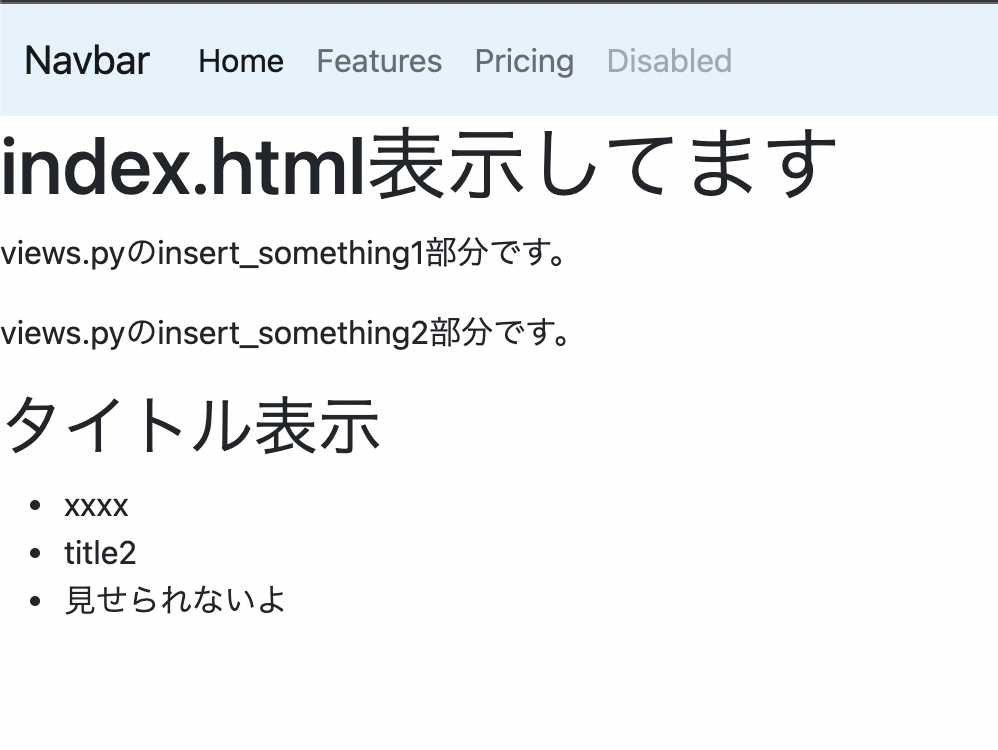
上に表示されるナビバーを作ります。
サンプルをコピペして色だけ少し変えました。
<body>
    <nav class="navbar navbar-expand-lg navbar-light" style="background-color: #e3f2fd;">
        <div class="container-fluid">
          <a class="navbar-brand" href="#">Navbar</a>
          <button class="navbar-toggler" type="button" data-bs-toggle="collapse" data-bs-target="#navbarNavAltMarkup" aria-controls="navbarNavAltMarkup" aria-expanded="false" aria-label="Toggle navigation">
            <span class="navbar-toggler-icon"></span>
          </button>
          <div class="collapse navbar-collapse" id="navbarNavAltMarkup">
            <div class="navbar-nav">
              <a class="nav-link active" aria-current="page" href="#">Home</a>
              <a class="nav-link" href="#">Features</a>
              <a class="nav-link" href="#">Pricing</a>
              <a class="nav-link disabled" href="#" tabindex="-1" aria-disabled="true">Disabled</a>
            </div>
          </div>
        </div>
      </nav>
    {% block content %}
    {% endblock %}
    <script src="https://cdn.jsdelivr.net/npm/bootstrap@5.0.2/dist/js/bootstrap.bundle.min.js" integrity="sha384-MrcW6ZMFYlzcLA8Nl+NtUVF0sA7MsXsP1UyJoMp4YLEuNSfAP+JcXn/tWtIaxVXM" crossorigin="anonymous"></script>
</body>
navの中のリンクや文字などがテキトーですがひとまず放置します。
次に余白が欲しいのでcontanerで囲みます。
{% block content %}
<div class="container">
    <h1>index.html表示してます</h1>
    <p>{{ my_dict.insert_something1 }}</p>
    <p>{{ my_dict.insert_something2 }}</p>

    ...
</div>
{% endblock %}
{% extends "layout.html" %}

{% block content %}
<div class="container">
    <h1>index2.html表示してます</h1>
</div>
{% endblock %}
はい。少しだけまともになりました。
 Pythonで作るFlaskアプリ記事一覧
| 内容 | |
|---|---|
| part1 | 簡単なページ作成 |
| part2 | HTMLテンプレート表示 ← ココ |
| part3 | "画像" "CSS" "Javascript"実装 |
| part4 | フォーム送信 |
| part5 | データベースの値取得・更新 |
ソースコード参考
この章のコードは以下です。確認やコピペでどうぞ
