Sensyn Robotics の開発部マネージャー伴です。
皆さんAWS CDK(Cloud Development Kit)はご存知でしょうか。
そうです。あのCloudFormationやSAMのテンプレート書き地獄に一筋の光が ...
個々のリソースだけでなくインフラ構成のベストプラクティスがクラス化されており、そのクラスをカスタマイズして使うことが出来て、よくあるパターンのインフラ構成であればわざわざ1から依存関係を整理してリソース定義を書かなくても良くなるとても素敵なツールです。
TypeScript, JavaScript, Python, Java, C#でインフラ構成を定義出来て、cliからデプロイ可能になります。
CIにもシンプルに組み込めそうです。
そして先日そのCDKでプロバイダーとしてterraformが使える terraform-cdk なるものが発表され注目していました。
CDKのプロバイダーとしてterraformを使うことで、AWSのみならず他のクラウドプラットフォームのリソースも管理出来るようになる優れものです。
良い機会なので、terraform-cdkを用いて実際にAWSにリソースをデプロイしてみようと思います。
手順
前提条件
OS: macOS
下記をインストール
- terraform
- Node.js
- npm
1. terraform-cdk-example を clone
terraform-cdkのリポジトリのexamplesをそのまま使おうと思ったのですが、まだ少しバグがあったりドキュメントが足りないところがあったので、本記事用にテンプレートリポジトリを作って公開しました。
2. 必要なパッケージのインストール
cd terraform-cdk-example
npm install
3. cdktf.json にプロバイダと利用言語を設定
サンプルをそのまま動かす場合は編集不要です。
exampleではlanguageをtypescriptに設定、terraformProvidersにはawsのみ指定しています。
GCPやAzureなど他のプロバイダを使う場合はterraformProvidersに追加してください。
例: https://github.com/hashicorp/terraform-cdk/blob/master/examples/typescript/google/cdktf.json
4. ビルド
npm run build
※ cdktf get が実行されて cdk-terraform用のawsプロバイダ等が .gen ディレクトリに格納されます。
5. tfファイルの生成
npm run synth
※ cdktf.out の中に cdk.tf.json が作られます。
6. デプロイ用アクセスキーの作成
AWS IAM上で、DynamoDBのテーブルのcreate/deleteが出来る権限を付与しユーザー作成し、アクセスキー/シークレットキーを取得
(参考: 公式Doc)
7. デプロイ用アクセスキーの設定
cdktf.out の中の下記部分(20行目あたり)にアクセスキーを追記します。(本当はvar等から利用するように出来ると良いです)
  "provider": {
    "aws": [
      {
        "region": "ap-northeast-1",
        "access_key": "[YOUR_ACCESS_KEY]", ←追加
        "secret_key": "[YOUR_SECRET_KEY]"  ←追加
      }
    ]
  }
}
8. Plan & Apply
npm run plan
npm run apply
※ここは cd ./cdktf.out してから terraform plan と terraform apply してるだけです。
こんなログがterminalに出ます。
> cd ./cdktf.out && terraform apply


An execution plan has been generated and is shown below.
Resource actions are indicated with the following symbols:
  + create

Terraform will perform the following actions:

  # aws_dynamodb_table.helloterra_Hello_69872235 will be created
  + resource "aws_dynamodb_table" "helloterra_Hello_69872235" {
      + arn              = (known after apply)
      + billing_mode     = "PAY_PER_REQUEST"
      + hash_key         = "id"
      + id               = (known after apply)
      + name             = "my-first-table-ap-northeast-1"
      + stream_arn       = (known after apply)
      + stream_label     = (known after apply)
      + stream_view_type = (known after apply)

      + attribute {
          + name = "id"
          + type = "S"
        }

      + point_in_time_recovery {
          + enabled = (known after apply)
        }

      + server_side_encryption {
          + enabled     = (known after apply)
          + kms_key_arn = (known after apply)
        }
    }

Plan: 1 to add, 0 to change, 0 to destroy.

Changes to Outputs:
  ~ helloterra_tablename_E066AD25 = "my-first-table-eu-central-1" -> "my-first-table-ap-northeast-1"

Do you want to perform these actions?
  Terraform will perform the actions described above.
  Only 'yes' will be accepted to approve.

  Enter a value: yes

aws_dynamodb_table.helloterra_Hello_69872235: Creating...
aws_dynamodb_table.helloterra_Hello_69872235: Creation complete after 7s [id=my-first-table-ap-northeast-1]

Apply complete! Resources: 1 added, 0 changed, 0 destroyed.

Outputs:

helloterra_tablename_E066AD25 = "my-first-table-ap-northeast-1"
AWS Management console でチェックしてみると...?
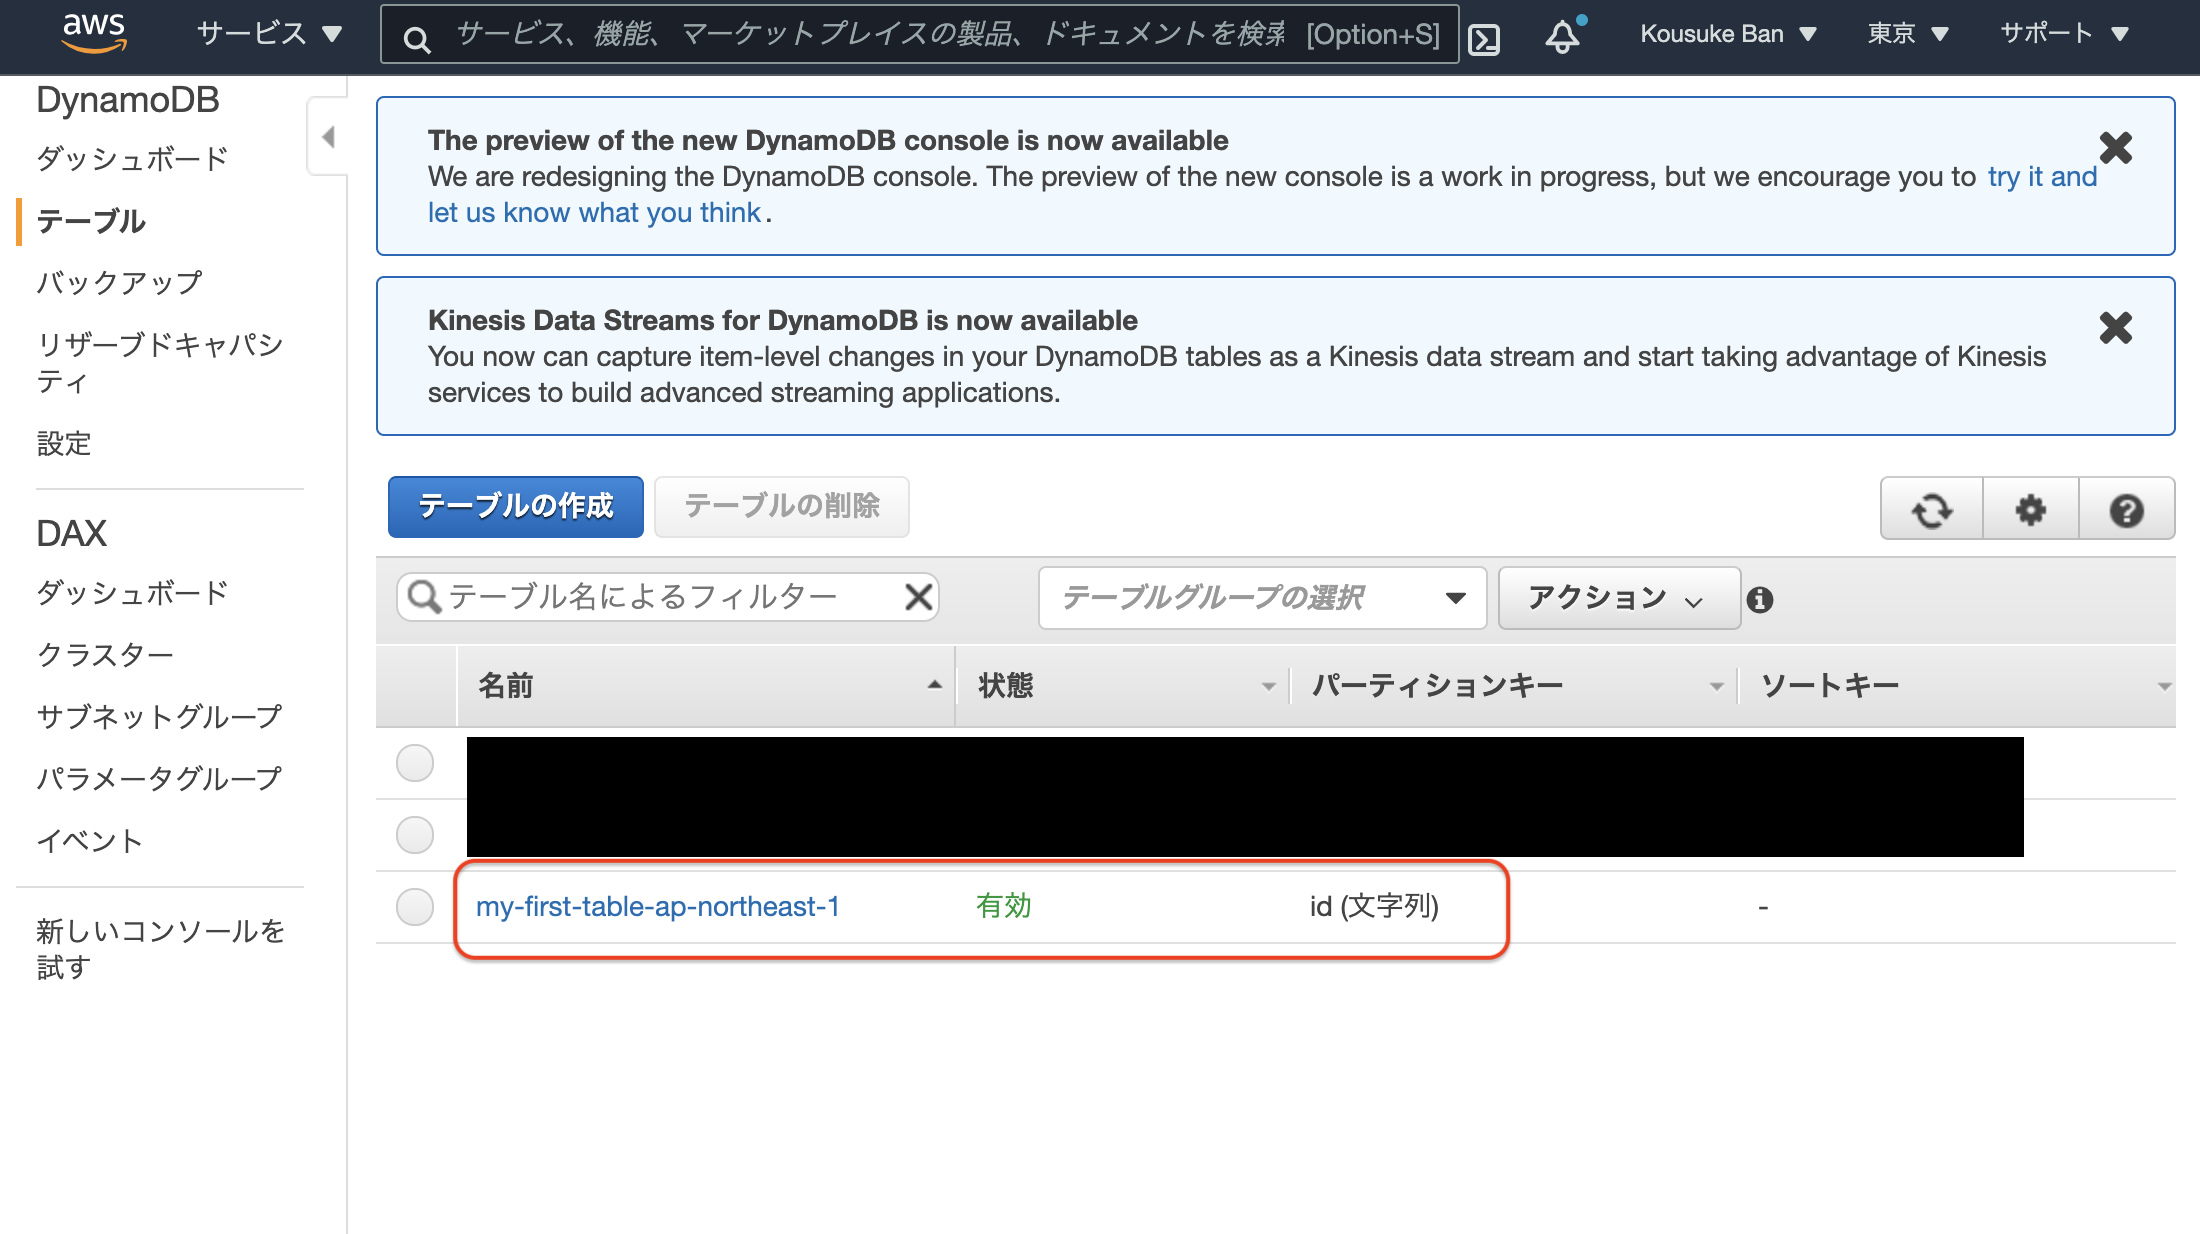
DynamoDBのテーブルがデプロイされました。
まとめ
CDKをTypeScript等の型がある言語で使うと、IDEの支援も受けながらIACが書けてとても快適だと感じます。(CloudFormationで書いていたときはResourceやParameterの型を調べながらリソース定義していく作業になりとても時間と労力がかかってしまっていました)。また、CloudFormationよりも構成が抽象化・テンプレート化されていて記述量が減るのもメリットです。
そのCDKがterraformでも使えると聞いて実際に試してみました。