はじめに
この記事ではinteractions.pyというモジュールを使用してDiscord Botを作りたい人向けです。
#03ではModalについて解説していきたいと思います。
Modalの実装
では実際に作っていきましょう。
以下のプログラムを書き写して前回のbuttonがある位置に貼り付けてください。
modal = interactions.Modal(
  title="フォーム",
  custom_id="modal_form",
  components=[
      interactions.TextInput(
          style=interactions.TextStyleType.SHORT,
          label="質問",
          custom_id="text_form",
          min_length=1,
          max_length=3,
      )
  ],
)

await ctx.popup(modal)
では1個1個みていきましょう。
まず上の方にある title = ... のところでフォームのタイトルが設定できます。
components=[ ... のとこにある label = ... のところでフォームの質問が設定できます。
min_length と max_length は最小文字と最大文字です。現在は1文字以上3文字以下になっています。
実際にBotを実行してみる

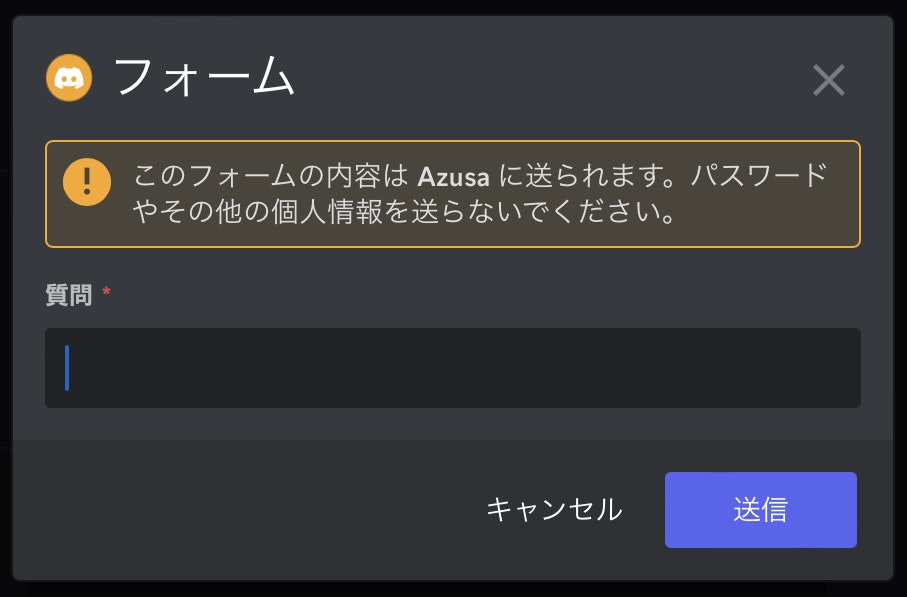
/test と打った時にこのような物が出れば成功です。
ただ、このままだと何が書かれたか見れないので、今から書き込まれた結果が出力される様にしていきましょう。
Modalに書き込まれた物を出力する
@bot.modal("modal_form")
async def modal_response(ctx, response: str):
  #ここに処理を追加
modal_form のところに先ほどのフォームで指定した components 外の custom_id を書き込みます。
どのような処理をするかは3行目の async def... の下に書きましょう。
上手く出来るとこの様になります。お疲れ様でした。
今回は試しに書かれた内容をチャットに隠しメッセージで送信する様にしました。

最後に
今回はmodalについて解説しました。
次回はembedについて解説していきたいと思います。
もし分からないところがあれば Azusa#5812 に気軽にDMしてください。
Discordサーバー
この度、bot開発者が話し合えるようなDiscordサーバーを開設しました!
ぜひ見に来てください!