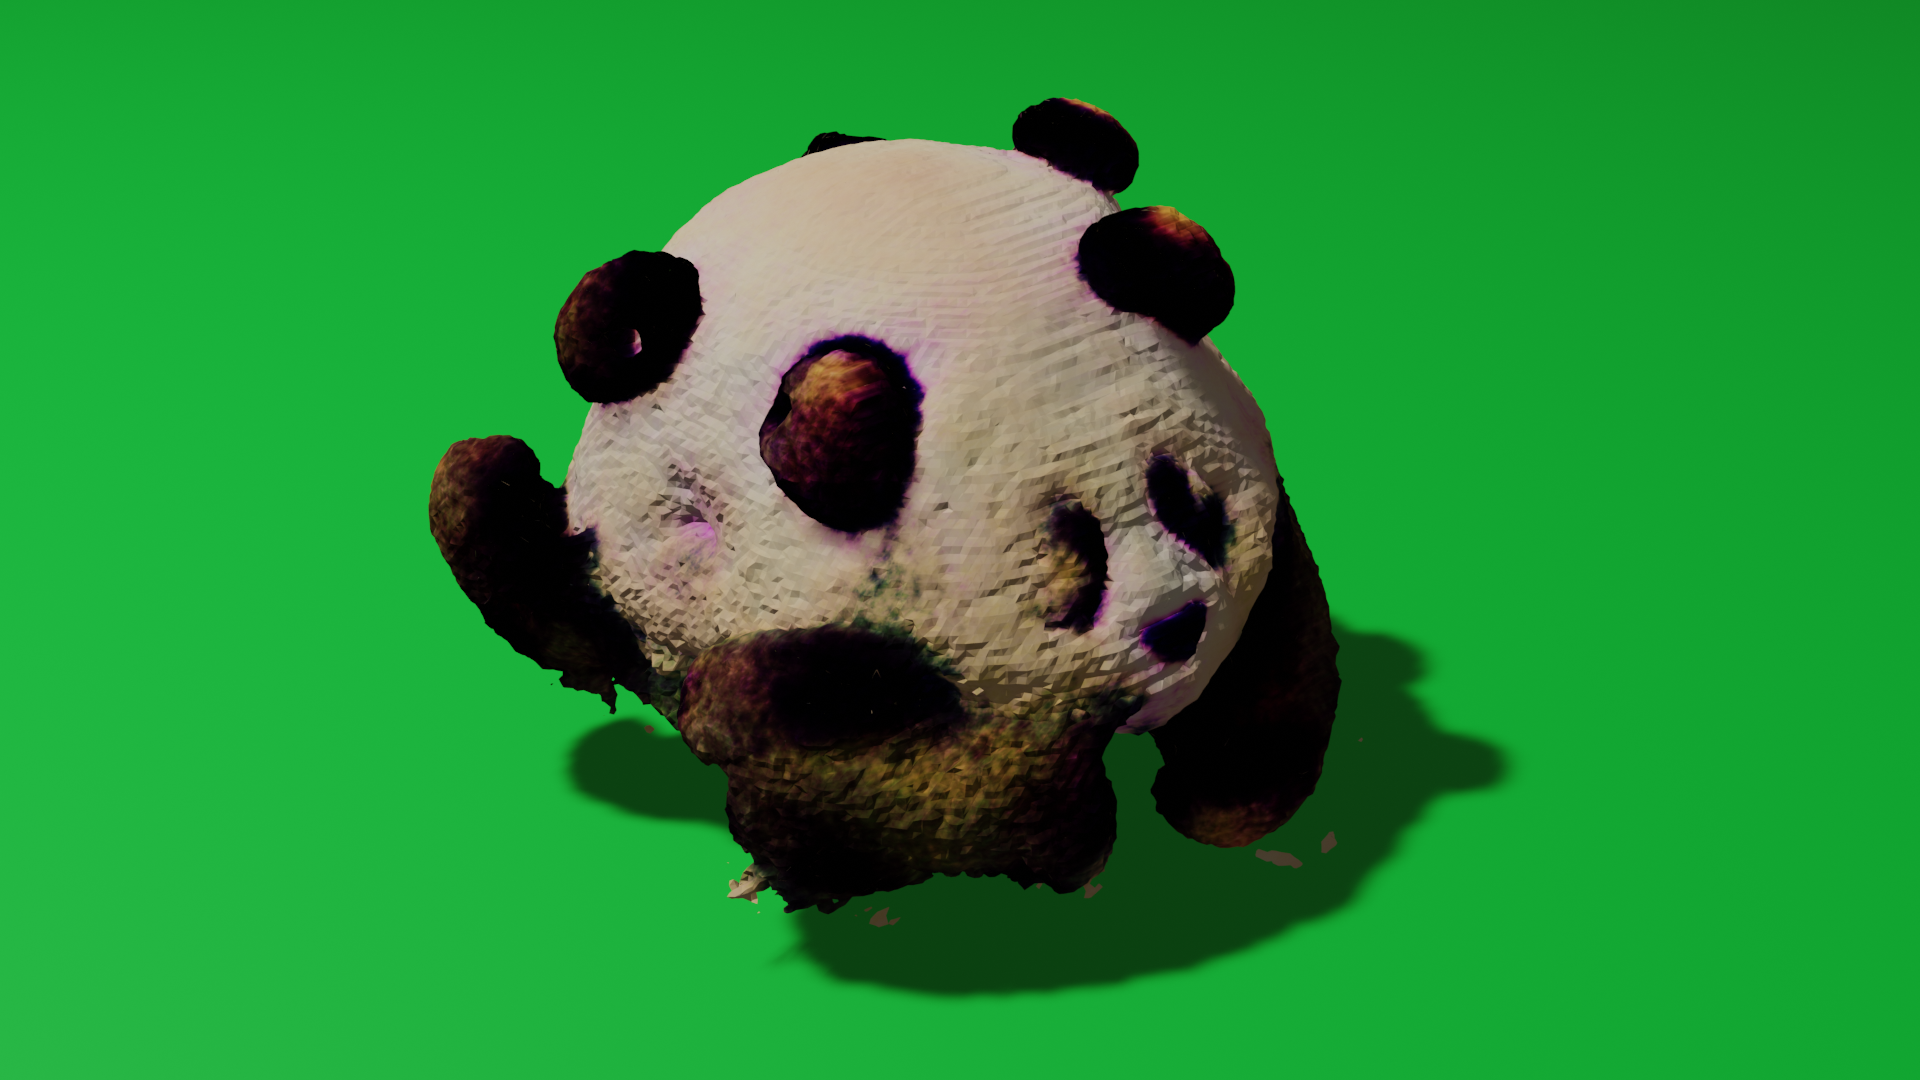
Docker for Windowsで話題のStable-Dreamfusionを動かしてみた
こんにちは!!Asterです!!!
今回は話題のStable-DreamfusionをDocker環境で動かすことができたので、その流れを記事として書こうと思います。
Docker自体まだまだ初心者ですので、書き方が悪い場所もあるかもしれません。
そのため、あくまで一つのやり方として見て頂ければと思います!!
実行環境
Windows10
NVIDIA GeForce RTX 3090
memory 64GB
Docker for Windows
Stable-Dreamfusionとは
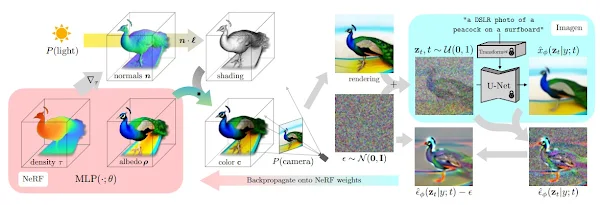
Stable-Dreamfusionとは、テキストから3Dモデルを生成する方法となります。
特徴として、2D画像の生成モデルを3Dに転用しているため、3Dのデータセットが完全に不要であることです。
そのため、多様な3D生成が可能となっています。
詳細は論文をご覧ください。
Docker for Windowsを動かすまで
WSL2の導入
管理者権限で開いたPowerShellで以下を実行します。
wsl --install
次に、WSL2が有効になっているかを確認します。
wsl --status
ここで既定のバージョンが2でなければ、以下を実行します。
wsl --set-default-version 2
NVIDIA drivers for WSLのインストール
ホスト環境にNVIDIA Driverを入れましょう。
以下のページのGet CUDA Driverボタンを押して、GeForce Driver(実行環境によってはQuadro Driver)を
ダウンロードしてください。
https://developer.nvidia.com/cuda/wsl
install はすべてデフォルトで大丈夫です。
Docker Desktop for Windowsのインストール
次にDocker Desktopを入れます。
https://www.docker.com/products/docker-desktop/
インストールの際に注意したいのが、Configurationで
Install required Windows components for WSL 2にチェックを入れてインストールしてください。
インストールできているか確認しておきましょう。
 wsl -l -v
  NAME                   STATE           VERSION
* Ubuntu-20.04           Running         2
  docker-desktop         Running         2
  docker-desktop-data    Running         2
Docker for Windows上でGPUを使えるようになりました。
Stable-Dreamfusionを動かすまで
Stable-Dreamfusionのコードを任意のフォルダにクローンしてください。
git clone https://github.com/ashawkey/stable-dreamfusion.git
次にDocker buildを行いたいところですが、そのままのDockerfileでは、エラーが出てしまいました。
そのため、Dockerfileの書き換えを行います。このとき、共有フォルダ用のフォルダも追加しましょう。
FROM nvidia/cuda:11.6.2-cudnn8-devel-ubuntu20.04

# Remove any third-party apt sources to avoid issues with expiring keys.
RUN rm -f /etc/apt/sources.list.d/*.list

RUN apt-get update

RUN DEBIAN_FRONTEND=noninteractive TZ=Europe/MADRID apt-get install -y tzdata

# Install some basic utilities
RUN apt-get install -y \
    curl \
    ca-certificates \
    sudo \
    git \
    bzip2 \
    libx11-6 \
    python3 \
    python3-pip \
    libglfw3-dev \
    libgles2-mesa-dev \
    libglib2.0-0 \
 && rm -rf /var/lib/apt/lists/*

RUN pip3 install torch torchvision torchaudio --extra-index-url https://download.pytorch.org/whl/cu116

RUN pip3 install git+https://github.com/NVlabs/nvdiffrast/

RUN pip3 install git+https://github.com/openai/CLIP.git

RUN mkdir -p /home/folder

# Set the default command to python3
#CMD ["python3"]
Docker runの時にhome/folderが共有フォルダとして設定していくようにします。
次にDocker buildを行います。
cd stable-dreamfusion/docker
docker build -t stable-dreamfusion:latest .
次にDocker runを行います。
docker run --gpus all --name stable-dreamfusion --mount type=bind,src=C:\Users\19044\Desktop\esaki\stable-dreamfusion,dst=/home/folder -it stable-dreamfusion
src=C:\Users\19044\Desktop\esaki\stable-dreamfusionの部分は先ほどクローンした場所にしましょう。
これで、stable-dreamfusionのフォルダとDocker内部のhome/folderを共有することができました。
次にセットアップをしましょう。
cd home/folder/stable-dreamfusion
pip3 install -r requirements.txt
bash scripts/install_ext.sh
これでGithub的に準備完了と思いきや、大きな落とし穴がありました。
それがhnggingfaceからアクセストークンを取得することと、「Stable Diffusion」の
モデル説明のページに行って、利用規約に同意する必要がありました。
huggingfaceのsignupを行いましょう。
https://huggingface.co/settings/tokens
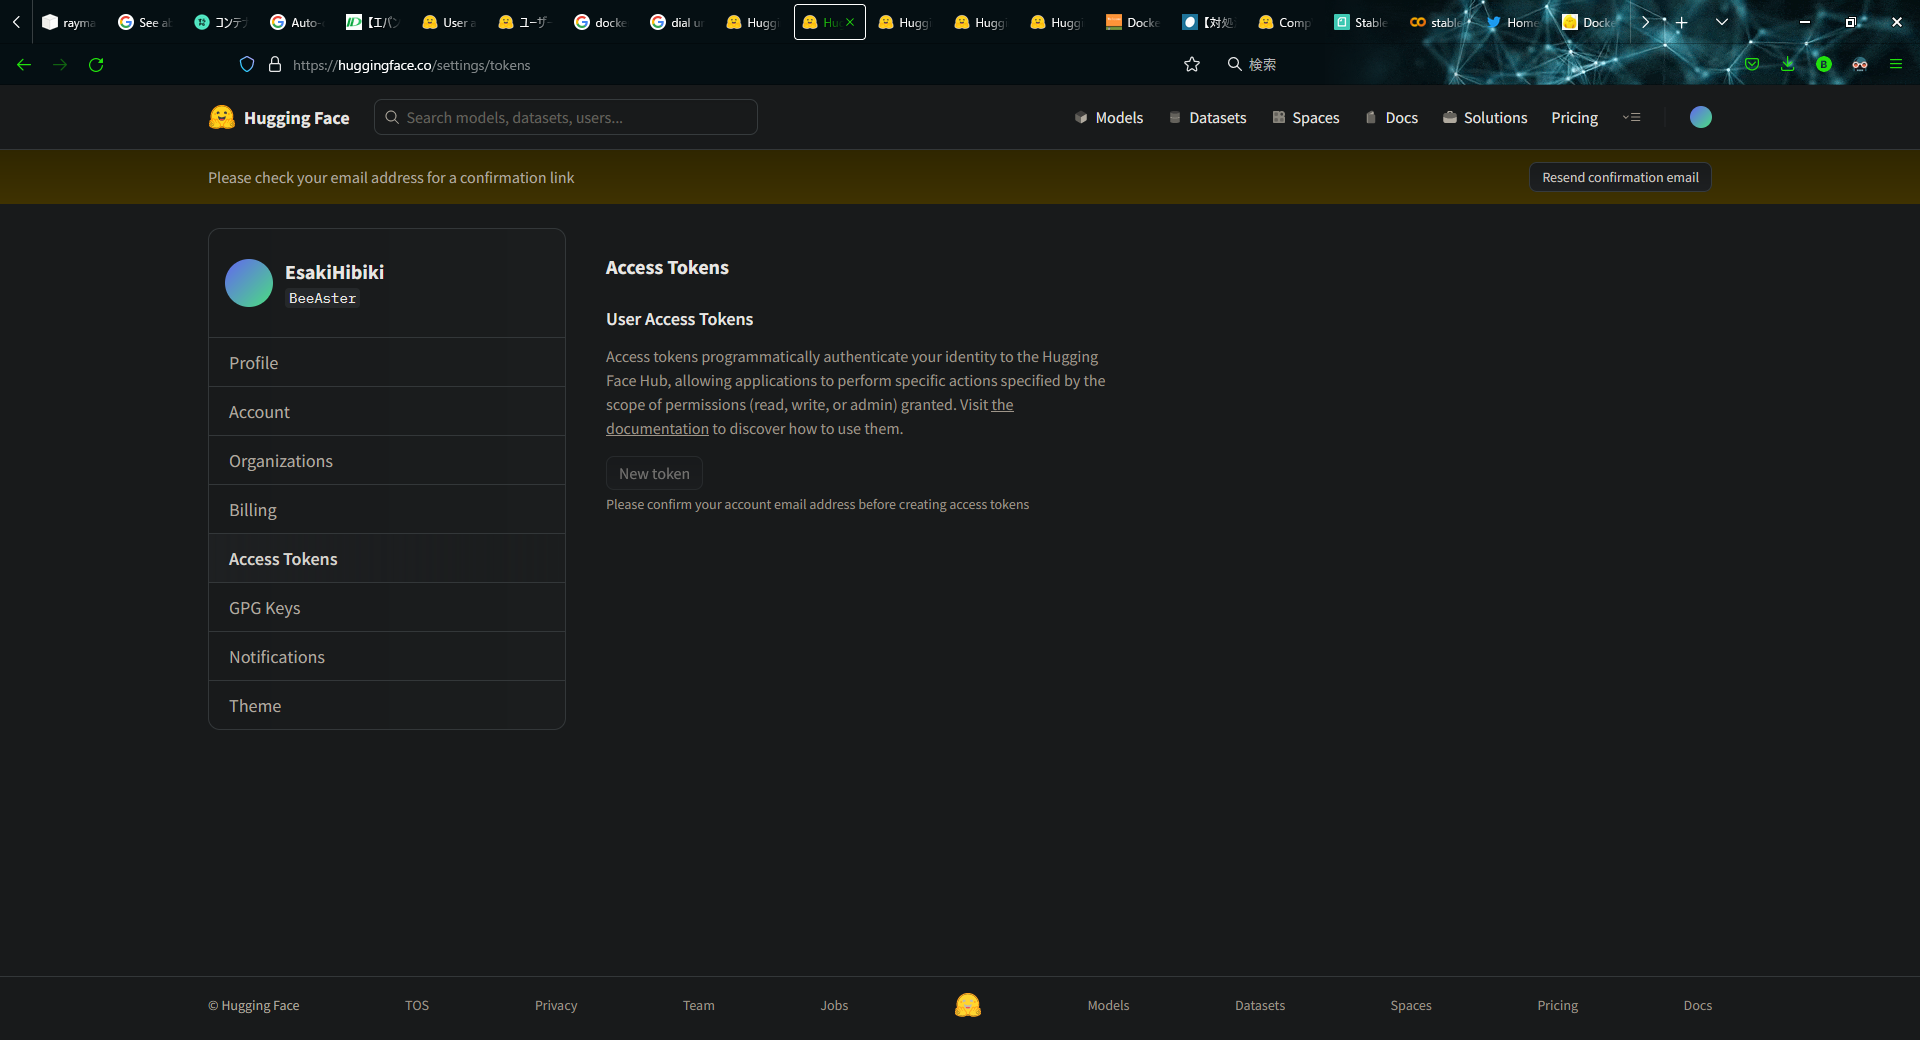
サインアップをし、メールの確認もしましょう。そうしないとアクセストークンが発行できません。
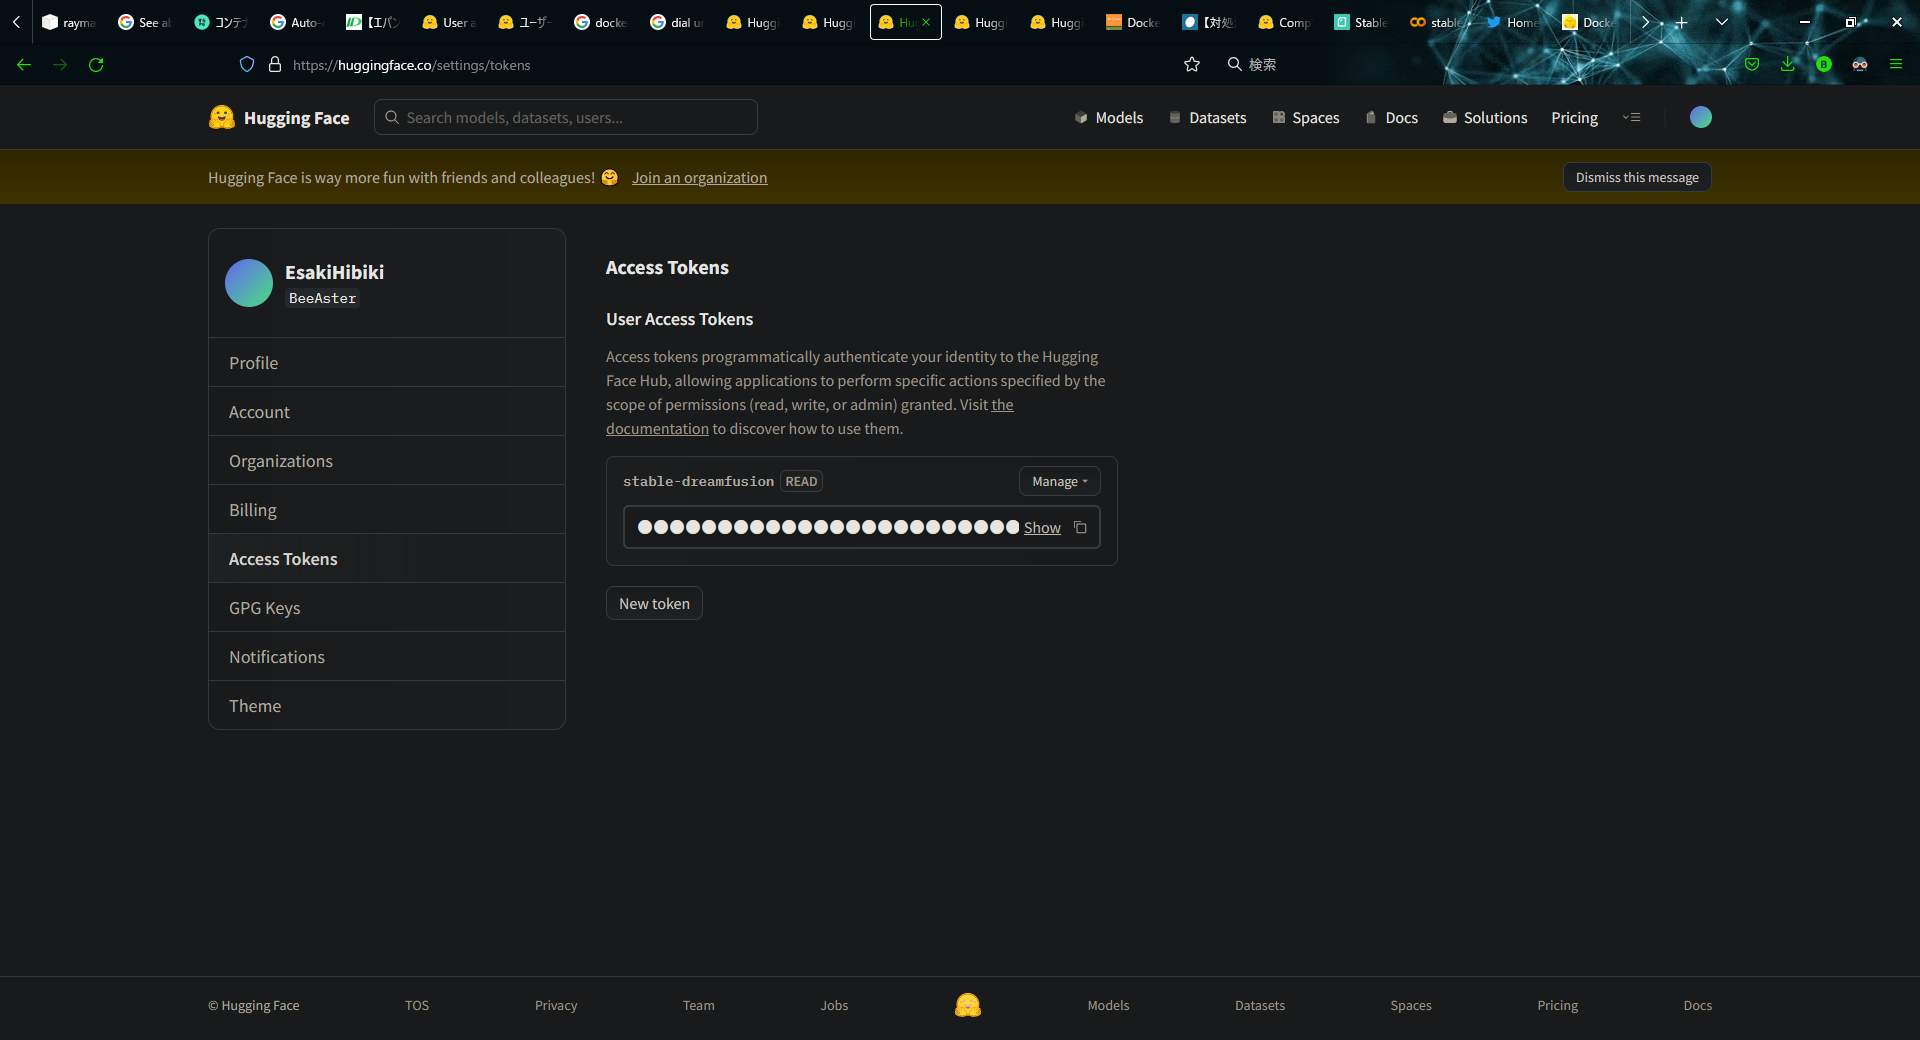
メールの確認も済んだら以下のような画面になると思います。
そしたら、New Tokenを押し、適当な名前(今回はstable-dreamfusionとしました)を決め、トークンを生成しましょう。
次にDocker上でhuggingrfaceにログインしましょう。
python -m pip install huggingface_hub
huggingface-cli login
生成したアクセストークンを
huggingface-cli login

        _|    _|  _|    _|    _|_|_|    _|_|_|  _|_|_|  _|      _|    _|_|_|      _|_|_|_|    _|_|      _|_|_|  _|_|_|_|
        _|    _|  _|    _|  _|        _|          _|    _|_|    _|  _|            _|        _|    _|  _|        _|
        _|_|_|_|  _|    _|  _|  _|_|  _|  _|_|    _|    _|  _|  _|  _|  _|_|      _|_|_|    _|_|_|_|  _|        _|_|_|
        _|    _|  _|    _|  _|    _|  _|    _|    _|    _|    _|_|  _|    _|      _|        _|    _|  _|        _|
        _|    _|    _|_|      _|_|_|    _|_|_|  _|_|_|  _|      _|    _|_|_|      _|        _|    _|    _|_|_|  _|_|_|_|

        To login, `huggingface_hub` now requires a token generated from https://huggingface.co/settings/tokens .

Token:
と出てくるので、Tokenにアクセストークンを入れましょう。
次に利用規約に同意しましょう。
https://huggingface.co/CompVis/stable-diffusion-v1-4
これでほとんどの設定が完了しました。
gui表示をする場合は、別途設定が必要となります。
X Window Serverを用いてGUI操作を行います。
こちらの記事で設定方法が書いてあるので、こちらをご覧ください
firefoxを起動前までの設定が終わったら完了です。
https://wisteriahill.sakura.ne.jp/CMS/WordPress/2020/09/02/docker-desktop-for-windows-x-window-gui/
すべての設定が終了しました。
そしたら、実行してみましょう!!
GUIなし
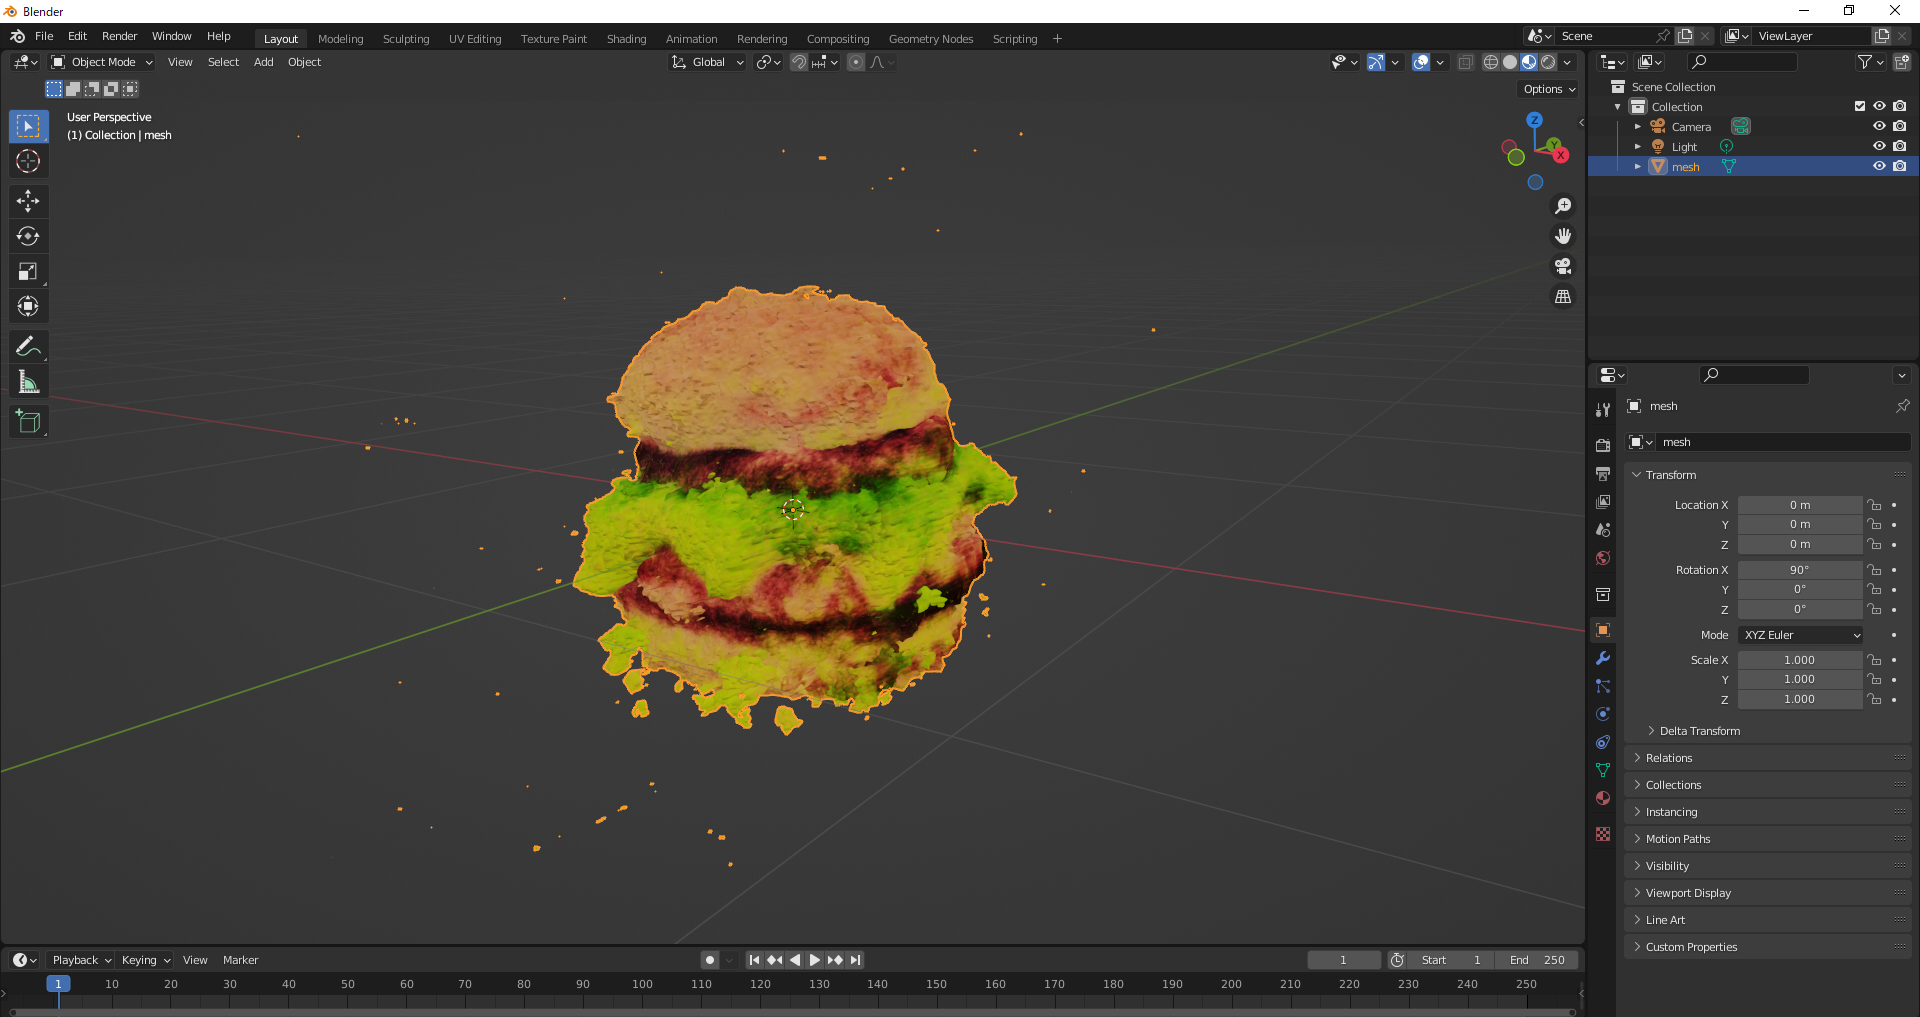
python3 main.py -O --text "a DSLR photo of adelicious hamburger" --workspace trial2 --iters 15000 --lr 1e-3 --w 64 --seed 0 --lambda_entropy 1e-4 --ckpt scratch --save_mesh
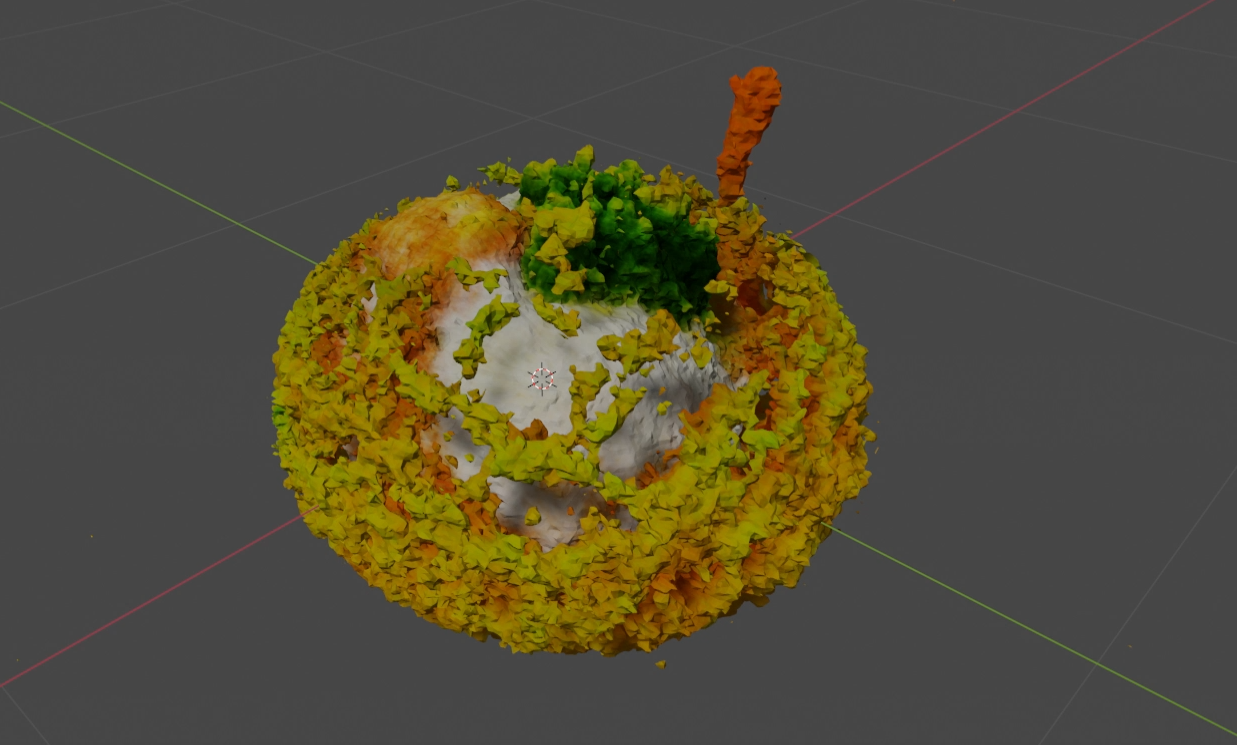
神秘的なラーメン
まとめ
今回 Dreamfusionを用いてTextから3Dモデルを生成してみました!!
今後も他のモデルもDocker環境で動かせるようにしていきます。
