今回はコマ送りアニメーションを使って待機中などの画面を作る勉強をしました。
・サンプル動画

・参考
animationimagesを使うことで簡単にコマ送りのアニメーションを実現することができます。
・素材
「ぴぽや倉庫」さんの無料素材を使わせていただき Assets.xcassetsに準備していきます。
・実装
今回はLEcollectionという名前ファイルを用意し、ファイル内にLoadingEffectsと言う名前のイメージ画像を準備して実装していきます。
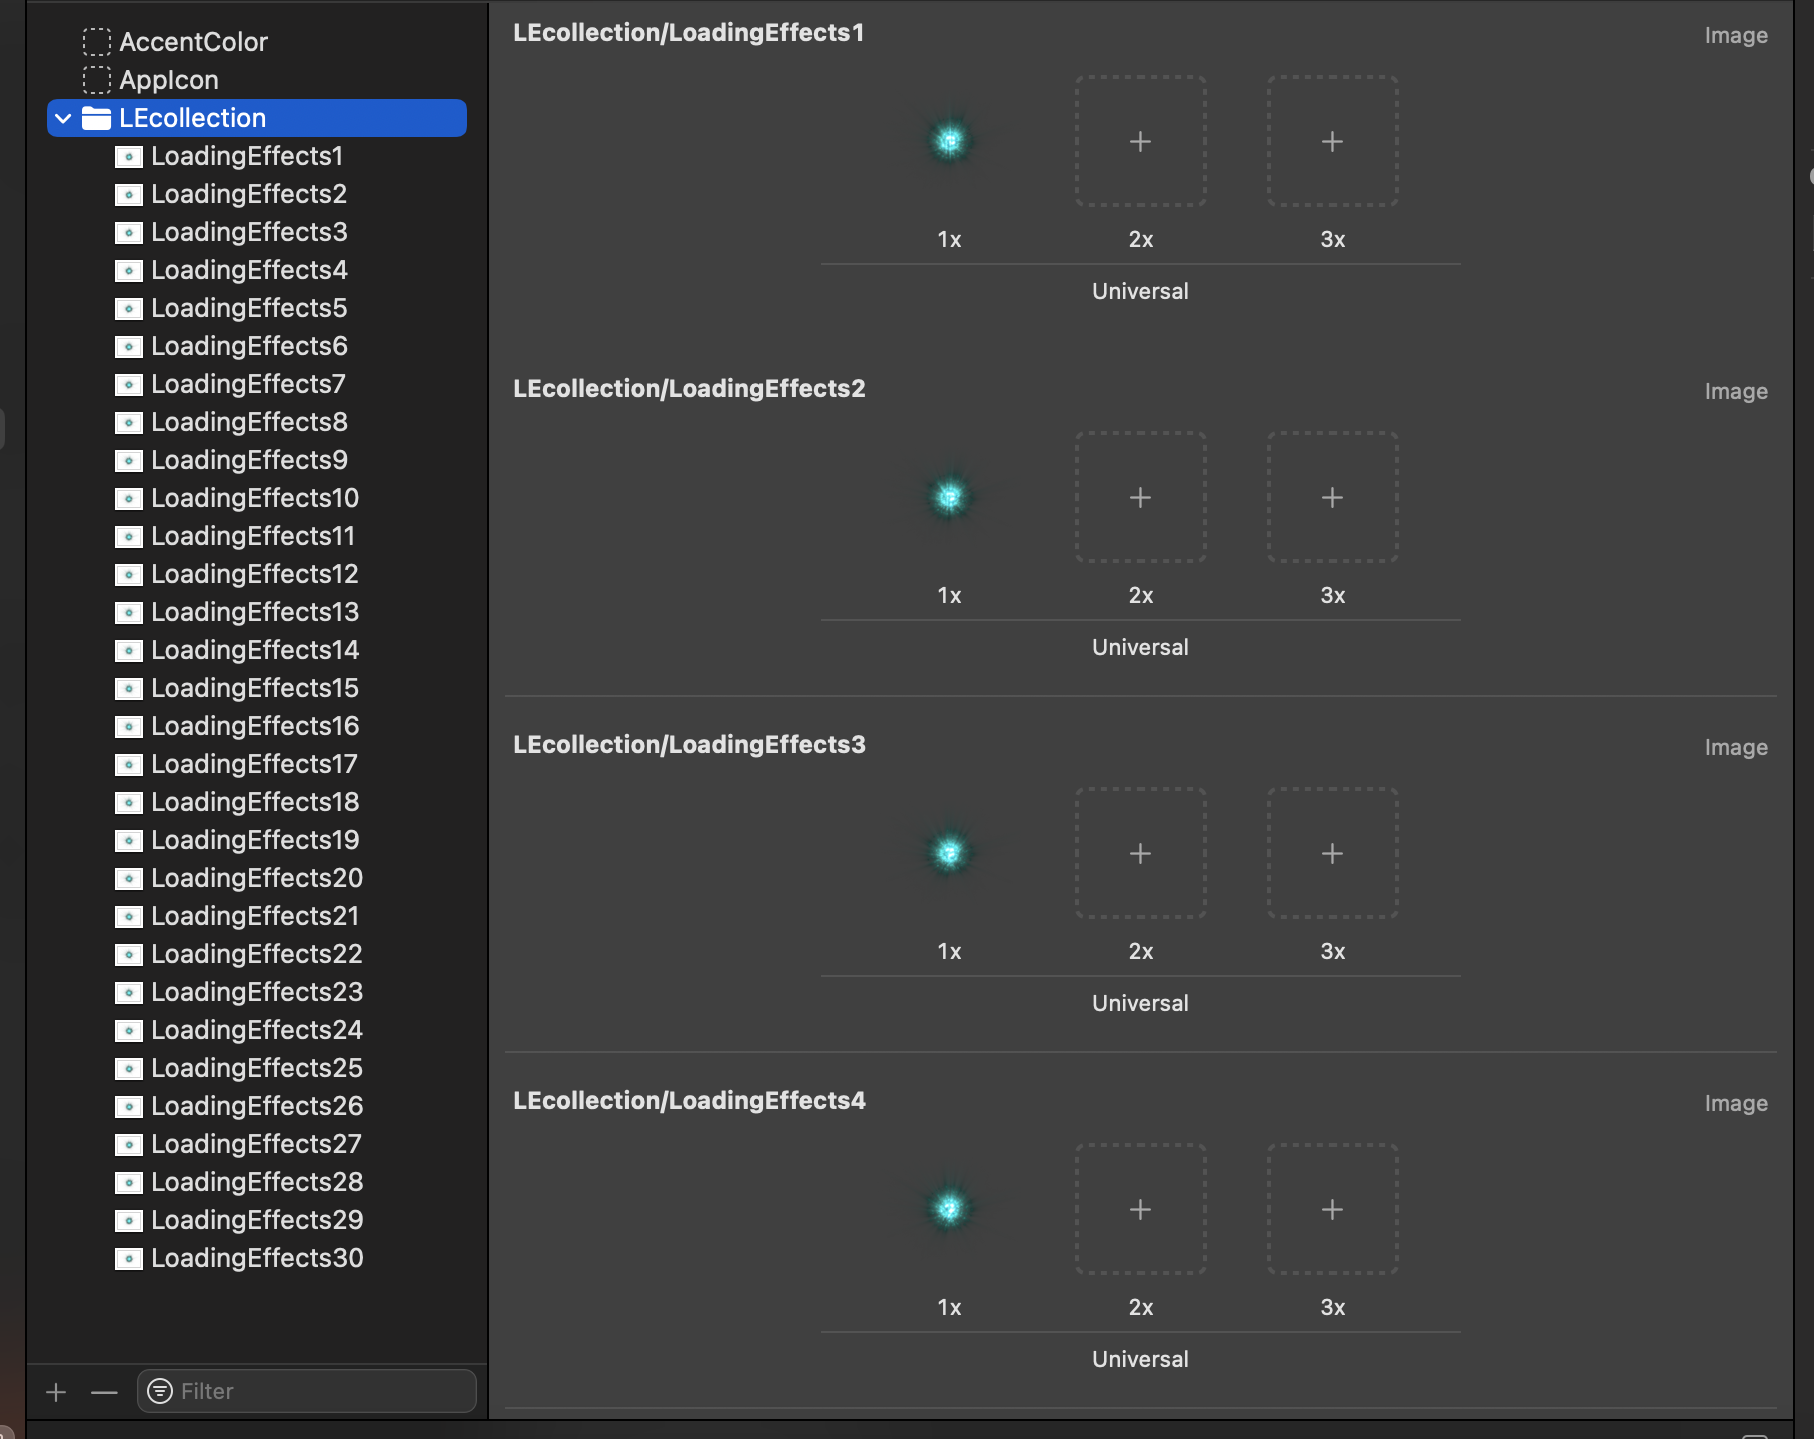
ファイル名+画像名で呼び出すようにしたいのでLEcollectionのFolderでProvidesNamespaceにチェックを入れておきます。

画像の準備ができたのでコードを書いていきます。
ローデイング中など必要な箇所でそれぞれ呼び出せるように準備していきます。
まずはUIImageをコマ送りに表示させるためのコードを記述します。
構造体を使ってのちのち使う箇所によってアニメーションの画像を変えられるようにしていきます。
    // ローディング画像を格納する配列
    private var loadingImages: [UIImage] = []
    // ローディング画像を表示するための UIImageView
    private var loadingImageView: UIImageView!

      // 画像カテゴリを定義する構造体
    struct Categories {
        // 生成する画像のパス
        static let generatImage = "LEcollection/LoadingEffects"
    }
     // 初期化メソッド
    init(for view: UIView) {
        // UIImageViewを初期化し、ゼロフレームで作成
        loadingImageView = UIImageView(frame: .zero)
        // 指定されたビューに追加
        view.addSubview(loadingImageView)
        // 画像の読み込みと設定を行う
        LoadGenerate(for: view)
    }
  // 画像の読み込みと設定を行うメソッド
    private func LoadGenerate(for view: UIView) {
        // 画像のベース名を取得
        let imageName = Categories.generatImage
        // 画像のフレーム数を設定
        let frameCount = 29

        // 各フレームの画像を読み込む
        for i in 0...frameCount {
            // 各フレームの画像名を生成
            let textureName = "\(imageName)\(i + 1)"
            // 画像を読み込み、存在する場合は配列に追加
            if let image = UIImage(named: textureName) {
                loadingImages.append(image)

                // UIImageView にアニメーション画像を設定
                loadingImageView.animationImages = loadingImages
                // アニメーションの全体時間を4.0秒に設定
                loadingImageView.animationDuration = 4.0
                // 無限ループでアニメーションを再生
                loadingImageView.animationRepeatCount = 0

                // UIImageView に対して AutoLayout の制約を設定
                if let imageView = loadingImageView {
                    let imageViewWidth: CGFloat = 300
                    let imageVIewHeight: CGFloat = 220
                    // AutoLayout を使用するために false を設定
                    imageView.translatesAutoresizingMaskIntoConstraints = false
                    NSLayoutConstraint.activate([
                        // 幅の制約を設定
                        imageView.widthAnchor.constraint(equalToConstant: imageViewWidth),
                        // 高さの制約を設定
                        imageView.heightAnchor.constraint(equalToConstant: imageVIewHeight),
                        // 水平方向の中心位置の制約を設定
                        imageView.centerXAnchor.constraint(equalTo: view.centerXAnchor),
                        // 垂直方向の中心位置の制約を設定
                        imageView.centerYAnchor.constraint(equalTo: view.centerYAnchor)
                    ])
                }
            } else {
                // 画像が見つからない場合のエラーハンドリング
                print("Error: Image not found - \(textureName)")
                continue // 次の画像の読み込みへ
            }
        }
    }
.animationImagesでUIImageにアニメーションを設定し、.animationDurationでアニメーションの再生時間(秒)を設定。.animationRepeatCountでループさせる回数を設定でき0で無限ループになります。
     // UIImageView にアニメーション画像を設定
   loadingImageView.animationImages = loadingImages
     // アニメーションの全体時間を4.0秒に設定
   loadingImageView.animationDuration = 4.0
     // 無限ループでアニメーションを再生
   loadingImageView.animationRepeatCount = 0
ローディング中などに使いたいので、タップジェスチャーを追加してアニメーション中のタップを無効にしていきます。
        // 背景ビュー(オーバーレイビュー)の初期化と設定
        overLayView = UIView(frame: view.bounds)
        // 背景色を半透明のグレイに設定
        overLayView.backgroundColor = UIColor(white: 0, alpha: 0.5)
        // 初期状態では非表示に設定
        overLayView.alpha = 0
        // タップを検出できるように設定
        overLayView.isUserInteractionEnabled = true
        // 背景ビューを loadingImageView の下に挿入
        view.insertSubview(overLayView, belowSubview: loadingImageView)
        // タップジェスチャーの追加
        let tapGesture = UITapGestureRecognizer(target: self, action: #selector(handleTap(_:)))
        // オーバーレイビューにタップジェスチャーを追加
        overLayView.addGestureRecognizer(tapGesture)
  // タップジェスチャーのハンドラ
    @objc private func handleTap(_ gestureRecognizer: UITapGestureRecognizer) {
        // アニメーション中はタップを無視する
        if loadingImageView.isAnimating {
            return
        }
        // アニメーション終了の処理を記述
        print("Tapped on overlay view")
    }
アニメーションのスタート時と終了時のコードを記述します。
 // アニメーションを開始し、エフェクトを表示するメソッド
    func showAnimate() {
        // アニメーションを開始
        loadingImageView.startAnimating()
        // UIImageView を表示
        loadingImageView.isHidden = false
        // 背景を表示
        overLayView.alpha = 1
    }

    // アニメーションを停止し、エフェクトを非表示にするメソッド
    func removeAnimate() {
        // アニメーションを停止
        loadingImageView.stopAnimating()
        // UIImageView を非表示
        loadingImageView.isHidden = true
        // 背景を非表示
        overLayView.alpha = 0
    }
呼び出したい任意のタイミングで下記のように記述し呼び出し
//        LoadingAnimation
        let stageEffects = StageEffects(for: self.view)
//        AnimationStart
        stageEffects.showAnimate()
終了させたいタイミングで下記のように記述して終了させます。
//        AnimationRemove
        stageEffects.removeAnimate()
今回は"Loading..."というラベルもあわせて表示させていきます。
    // ローディングラベル
    private var loadingLabel: UILabel!
    // ローディングラベルを表示するメソッド
    private func showLabel(for view: UIView, imageView: UIImageView) {
        // ローディングラベルの初期化と設定
        loadingLabel = UILabel(frame: .zero)

        // ラベルが正しく作成されたか確認
        guard loadingLabel != nil else {
            print("Error: Failed to create loadingLabel")
            return // エラーが発生した場合、処理を中断
        }

        // ラベルが正しく作成された場合の処理
        if let loadingLabel = loadingLabel {
            // ラベルのテキストを設定
            loadingLabel.text = "Loading..."
            // 文字色を白に設定
            loadingLabel.textColor = .white
            // フォントを太文字のシステムフォント、サイズ20に設定
            loadingLabel.font = UIFont.boldSystemFont(ofSize: 20)
            // ビューにラベルを追加
            view.addSubview(loadingLabel)
            // AutoLayout を使用するために false を設定
            loadingLabel.translatesAutoresizingMaskIntoConstraints = false
            NSLayoutConstraint.activate([
                // ラベルの制約を設定
                // UIImageView のボトムに対して -40 ポイント位置にトップを配置
                loadingLabel.topAnchor.constraint(equalTo: imageView.bottomAnchor, constant: -40),
                // 水平方向の中心位置の制約を設定
                loadingLabel.centerXAnchor.constraint(equalTo: view.centerXAnchor)
            ])
        }
    }
コード全体は次のように記述しました。
import UIKit

class StageEffects {

    // ローディング画像を格納する配列
    private var loadingImages: [UIImage] = []
    // ローディング画像を表示するための UIImageView
    private var loadingImageView: UIImageView!
    // 背景ビュー(オーバーレイビュー)
    private var overLayView: UIView!
    // ローディングラベル
    private var loadingLabel: UILabel!

    // 画像カテゴリを定義する構造体
    struct Categories {
        // 生成する画像のパス
        static let generatImage = "LEcollection/LoadingEffects"
    }

    // 初期化メソッド
    init(for view: UIView) {
        // UIImageViewを初期化し、ゼロフレームで作成
        loadingImageView = UIImageView(frame: .zero)
        // 指定されたビューに追加
        view.addSubview(loadingImageView)
        // 画像の読み込みと設定を行う
        LoadGenerate(for: view)
        // ラベルを表示するメソッドを呼び出し
        showLabel(for: view, imageView: loadingImageView)
        // 背景ビュー(オーバーレイビュー)の初期化と設定
        overLayView = UIView(frame: view.bounds)
        // 背景色を半透明のグレイに設定
        overLayView.backgroundColor = UIColor(white: 0, alpha: 0.5)
        // 初期状態では非表示に設定
        overLayView.alpha = 0
        // タップを検出できるように設定
        overLayView.isUserInteractionEnabled = true
        // 背景ビューを loadingImageView の下に挿入
        view.insertSubview(overLayView, belowSubview: loadingImageView)
        // タップジェスチャーの追加
        let tapGesture = UITapGestureRecognizer(target: self, action: #selector(handleTap(_:)))
        // オーバーレイビューにタップジェスチャーを追加
        overLayView.addGestureRecognizer(tapGesture)
    }

    // タップジェスチャーのハンドラ
    @objc private func handleTap(_ gestureRecognizer: UITapGestureRecognizer) {
        // アニメーション中はタップを無視する
        if loadingImageView.isAnimating {
            return
        }
        // アニメーション終了の処理を記述
        print("Tapped on overlay view")
    }

    // 画像の読み込みと設定を行うメソッド
    private func LoadGenerate(for view: UIView) {
        // 画像のベース名を取得
        let imageName = Categories.generatImage
        // 画像のフレーム数を設定
        let frameCount = 29

        // 各フレームの画像を読み込む
        for i in 0...frameCount {
            // 各フレームの画像名を生成
            let textureName = "\(imageName)\(i + 1)"
            // 画像を読み込み、存在する場合は配列に追加
            if let image = UIImage(named: textureName) {
                loadingImages.append(image)

                // UIImageView にアニメーション画像を設定
                loadingImageView.animationImages = loadingImages
                // アニメーションの全体時間を4.0秒に設定
                loadingImageView.animationDuration = 4.0
                // 無限ループでアニメーションを再生
                loadingImageView.animationRepeatCount = 0

                // UIImageView に対して AutoLayout の制約を設定
                if let imageView = loadingImageView {
                    let imageViewWidth: CGFloat = 300
                    let imageVIewHeight: CGFloat = 220
                    // AutoLayout を使用するために false を設定
                    imageView.translatesAutoresizingMaskIntoConstraints = false
                    NSLayoutConstraint.activate([
                        // 幅の制約を設定
                        imageView.widthAnchor.constraint(equalToConstant: imageViewWidth),
                        // 高さの制約を設定
                        imageView.heightAnchor.constraint(equalToConstant: imageVIewHeight),
                        // 水平方向の中心位置の制約を設定
                        imageView.centerXAnchor.constraint(equalTo: view.centerXAnchor),
                        // 垂直方向の中心位置の制約を設定
                        imageView.centerYAnchor.constraint(equalTo: view.centerYAnchor)
                    ])
                }
            } else {
                // 画像が見つからない場合のエラーハンドリング
                print("Error: Image not found - \(textureName)")
                continue // 次の画像の読み込みへ
            }
        }
    }

    // ローディングラベルを表示するメソッド
    private func showLabel(for view: UIView, imageView: UIImageView) {
        // ローディングラベルの初期化と設定
        loadingLabel = UILabel(frame: .zero)

        // ラベルが正しく作成されたか確認
        guard loadingLabel != nil else {
            print("Error: Failed to create loadingLabel")
            return // エラーが発生した場合、処理を中断
        }

        // ラベルが正しく作成された場合の処理
        if let loadingLabel = loadingLabel {
            // ラベルのテキストを設定
            loadingLabel.text = "Loading..."
            // 文字色を白に設定
            loadingLabel.textColor = .white
            // フォントを太文字のシステムフォント、サイズ20に設定
            loadingLabel.font = UIFont.boldSystemFont(ofSize: 20)
            // ビューにラベルを追加
            view.addSubview(loadingLabel)
            // AutoLayout を使用するために false を設定
            loadingLabel.translatesAutoresizingMaskIntoConstraints = false
            NSLayoutConstraint.activate([
                // ラベルの制約を設定
                // UIImageView のボトムに対して -40 ポイント位置にトップを配置
                loadingLabel.topAnchor.constraint(equalTo: imageView.bottomAnchor, constant: -40),
                // 水平方向の中心位置の制約を設定
                loadingLabel.centerXAnchor.constraint(equalTo: view.centerXAnchor)
            ])
        }
    }

    // アニメーションを開始し、エフェクトを表示するメソッド
    func showAnimate() {
        // アニメーションを開始
        loadingImageView.startAnimating()
        // UIImageView を表示
        loadingImageView.isHidden = false
        // 背景を表示
        overLayView.alpha = 1
    }

    // アニメーションを停止し、エフェクトを非表示にするメソッド
    func removeAnimate() {
        // アニメーションを停止
        loadingImageView.stopAnimating()
        // UIImageView を非表示
        loadingImageView.isHidden = true
        // 背景を非表示
        overLayView.alpha = 0
        // LoadingLabelを削除
        loadingLabel.removeFromSuperview()
    }
}
・おわりに
比較的簡単に実装できました。LabelのText変化なども表現に追加して読み込み中のデザインを増やしていこうと思います。