はじめに
部内のナレッジをRAGで活用しようと思い、まずはRAGの理解深耕とBedrockがGAされたこともありaws sampleから試してみました。
今回は下記を用いて実施しています。
https://github.com/aws-samples/serverless-pdf-chat
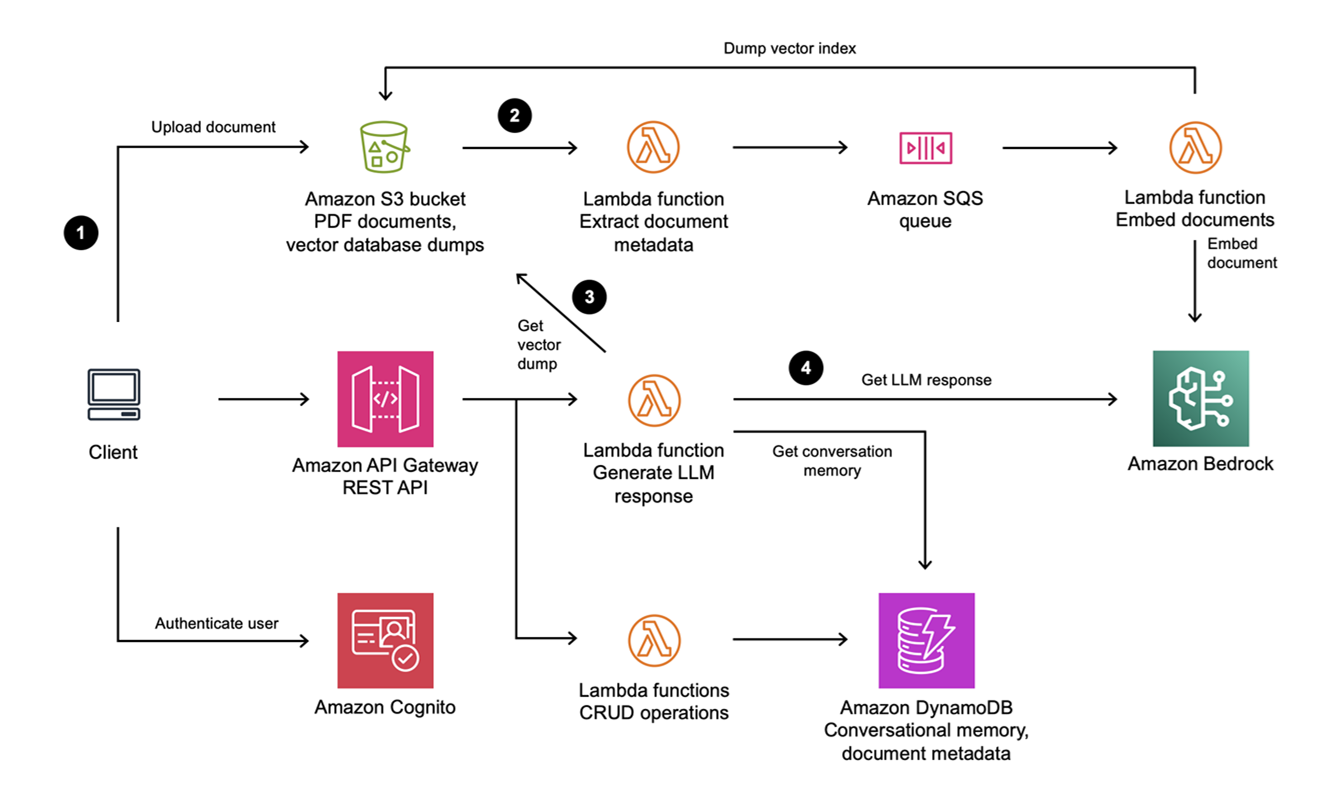
FrontendはClientPCで動作させるので下記のようなイメージになります。
リージョンをap-northeast-1にする
GitのREADMEに以下のように記載があるので、従って修正します。
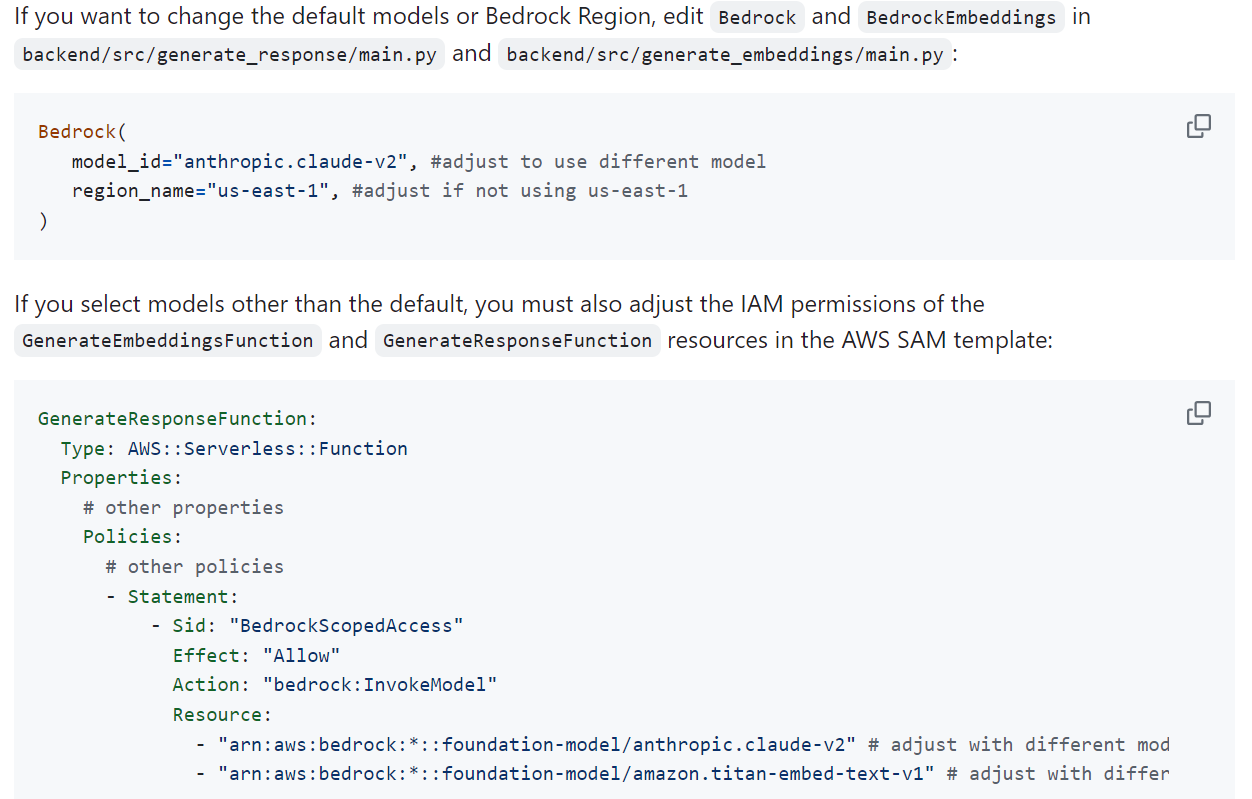
東京リージョンでもClaude-v2はGAされていますが、利用開始には企業情報入れたりと面倒だったので、、、今回はTitan Text G1 - Expressを利用します。
SourceをGitから持ってきます。
※pythonをインストールする関係上、CloudShellの容量(1GB)では足りなくなるため、/tmpにて実施しています。
cd /tmp
git clone https://github.com/aws-samples/serverless-pdf-chat.git
下記のように書き換えています。
- backend/src/generate_embeddings/main.py
    bedrock_runtime = boto3.client(
        service_name="bedrock-runtime",
-       region_name="us-east-1",
+       region_name="ap-northeast-1",
    )

    embeddings = BedrockEmbeddings(
        model_id="amazon.titan-embed-text-v1",
        client=bedrock_runtime,
-       region_name="us-east-1",
+       region_name="ap-northeast-1",
    )
- backend/src/generate_response/main.py
    bedrock_runtime = boto3.client(
        service_name="bedrock-runtime",
-       region_name="us-east-1",
+       region_name="ap-northeast-1",
    )

    embeddings, llm = BedrockEmbeddings(
        model_id="amazon.titan-embed-text-v1",
        client=bedrock_runtime,
-       region_name="us-east-1",
+       region_name="ap-northeast-1",
    ), Bedrock(
-       model_id="anthropic.claude-v2", client=bedrock_runtime, region_name="us-east-1"
+       model_id="amazon.titan-text-express-v1", client=bedrock_runtime, region_name="ap-northeast-1"
    )
- backend/template.yaml
  GenerateResponseFunction:
    Type: AWS::Serverless::Function
    Properties:
      CodeUri: src/generate_response/
      Timeout: 30
      MemorySize: 2048
      Policies:
        - DynamoDBCrudPolicy:
            TableName: !Ref MemoryTable
        - S3CrudPolicy:
            BucketName: !Ref DocumentBucket
        - Statement:
            - Sid: "BedrockScopedAccess"
              Effect: "Allow"
              Action: "bedrock:InvokeModel"
              Resource:
-               - "arn:aws:bedrock:*::foundation-model/anthropic.claude-v2"
+               - "arn:aws:bedrock:*::foundation-model/amazon.titan-text-express-v1"
                - "arn:aws:bedrock:*::foundation-model/amazon.titan-embed-text-v1"
AWS Serverless Application Model(SAM) CLI
FrontendはClientPCから実行していますが、SAM CLIについてはCloudShellにて実行しています。
python 3.11準備
SAM CLIでBuildが必要で、BuildのためにはCloudShell環境にPython 3.11が必要になるため、以下を実施します。
sudo dnf install gcc zlib-devel bzip2-devel readline-devel sqlite sqlite-devel openssl-devel tk-devel libffi-devel xz-devel
git clone https://github.com/pyenv/pyenv.git ~/.pyenv
echo 'export PYENV_ROOT="$HOME/.pyenv"' >> ~/.bashrc
echo 'command -v pyenv >/dev/null || export PATH="$PYENV_ROOT/bin:$PATH"' >> ~/.bashrc
echo 'eval "$(pyenv init -)"' >> ~/.bashrc
source ~/.bashrc
pyenv install 3.11.6
インストールされたことを以下で確認します。
pyenv global 3.11.6
pyenv rehash
pyenv versions
python -V
SAM CLI実行
Gitに記載の手順に従い、まずはBuildします。
cd serverless-pdf-chat/backend
sam build
Buildが完了次第、デプロイしていきます。
sam deploy --guided
下記のように入力項目に対応していきます。
        Setting default arguments for 'sam deploy'
        =========================================
        Stack Name [sam-app]: serverless-pdf-chat
        AWS Region [ap-northeast-1]:
        Parameter Frontend [local]:
        Parameter Repository []:
        #Shows you resources changes to be deployed and require a 'Y' to initiate deploy
        Confirm changes before deploy [y/N]: y
        #SAM needs permission to be able to create roles to connect to the resources in your template
        Allow SAM CLI IAM role creation [Y/n]:
        #Preserves the state of previously provisioned resources when an operation fails
        Disable rollback [y/N]:
        Save arguments to configuration file [Y/n]:
        SAM configuration file [samconfig.toml]:
        SAM configuration environment [default]:
デプロイが成功すれば、以下のようになります。
CloudFormation outputs from deployed stack
---------------------------------------------------------------------------------------------------------------------------------------------------------------------------------------
Outputs
---------------------------------------------------------------------------------------------------------------------------------------------------------------------------------------
Key                 CognitoUserPool
Description         -
Value               ap-northeast-1_***********

Key                 CognitoUserPoolClient
Description         -
Value               *************************

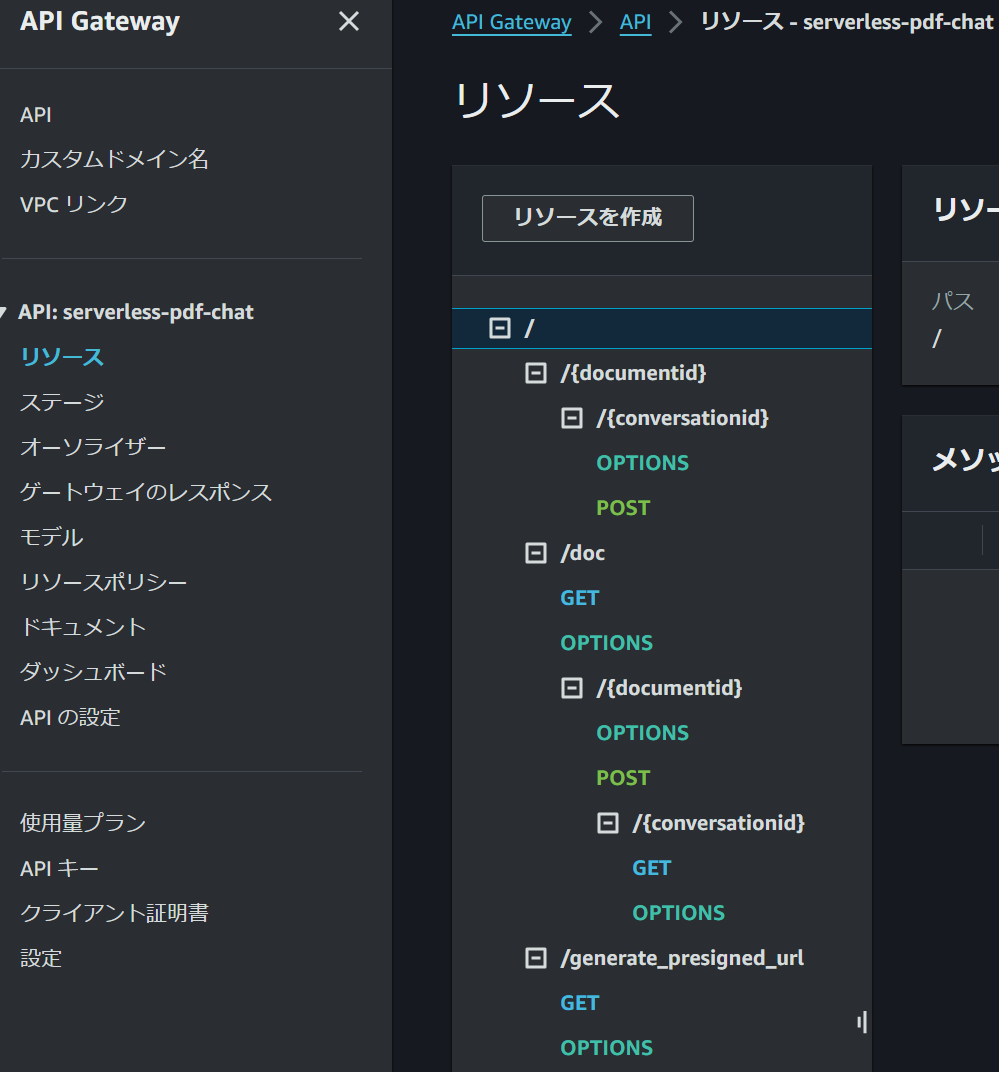
Key                 ApiGatewayBaseUrl
Description         -
Value               https://*********.execute-api.ap-northeast-1.amazonaws.com/dev/
---------------------------------------------------------------------------------------------------------------------------------------------------------------------------------------
Frontendの実行
ClientPC側でもGitをcloneします。
git clone https://github.com/aws-samples/serverless-pdf-chat.git
cd serverless-pdf-chat/frontend
Gitに記載の手順に従い、Frontendを起動していきます。
まずは.env.developmentファイルをfrontendディレクトリ内で作成します。
VITE_REGION=ap-northeast-1
VITE_API_ENDPOINT=https://*********.execute-api.ap-northeast-1.amazonaws.com/dev/
VITE_USER_POOL_ID=ap-northeast-1_***********
VITE_USER_POOL_CLIENT_ID=*************************
依存関係をインストールしていきます。
npm ci
完了したらFrontendを起動します。
npm run dev
起動が完了すると、以下が表示されます。
> frontend@0.0.0 dev
> vite


  VITE v4.5.2  ready in 1069 ms

  ➜  Local:   http://localhost:5173/
  ➜  Network: use --host to expose
  ➜  press h to show help
serverless-pdf-chatのお試し
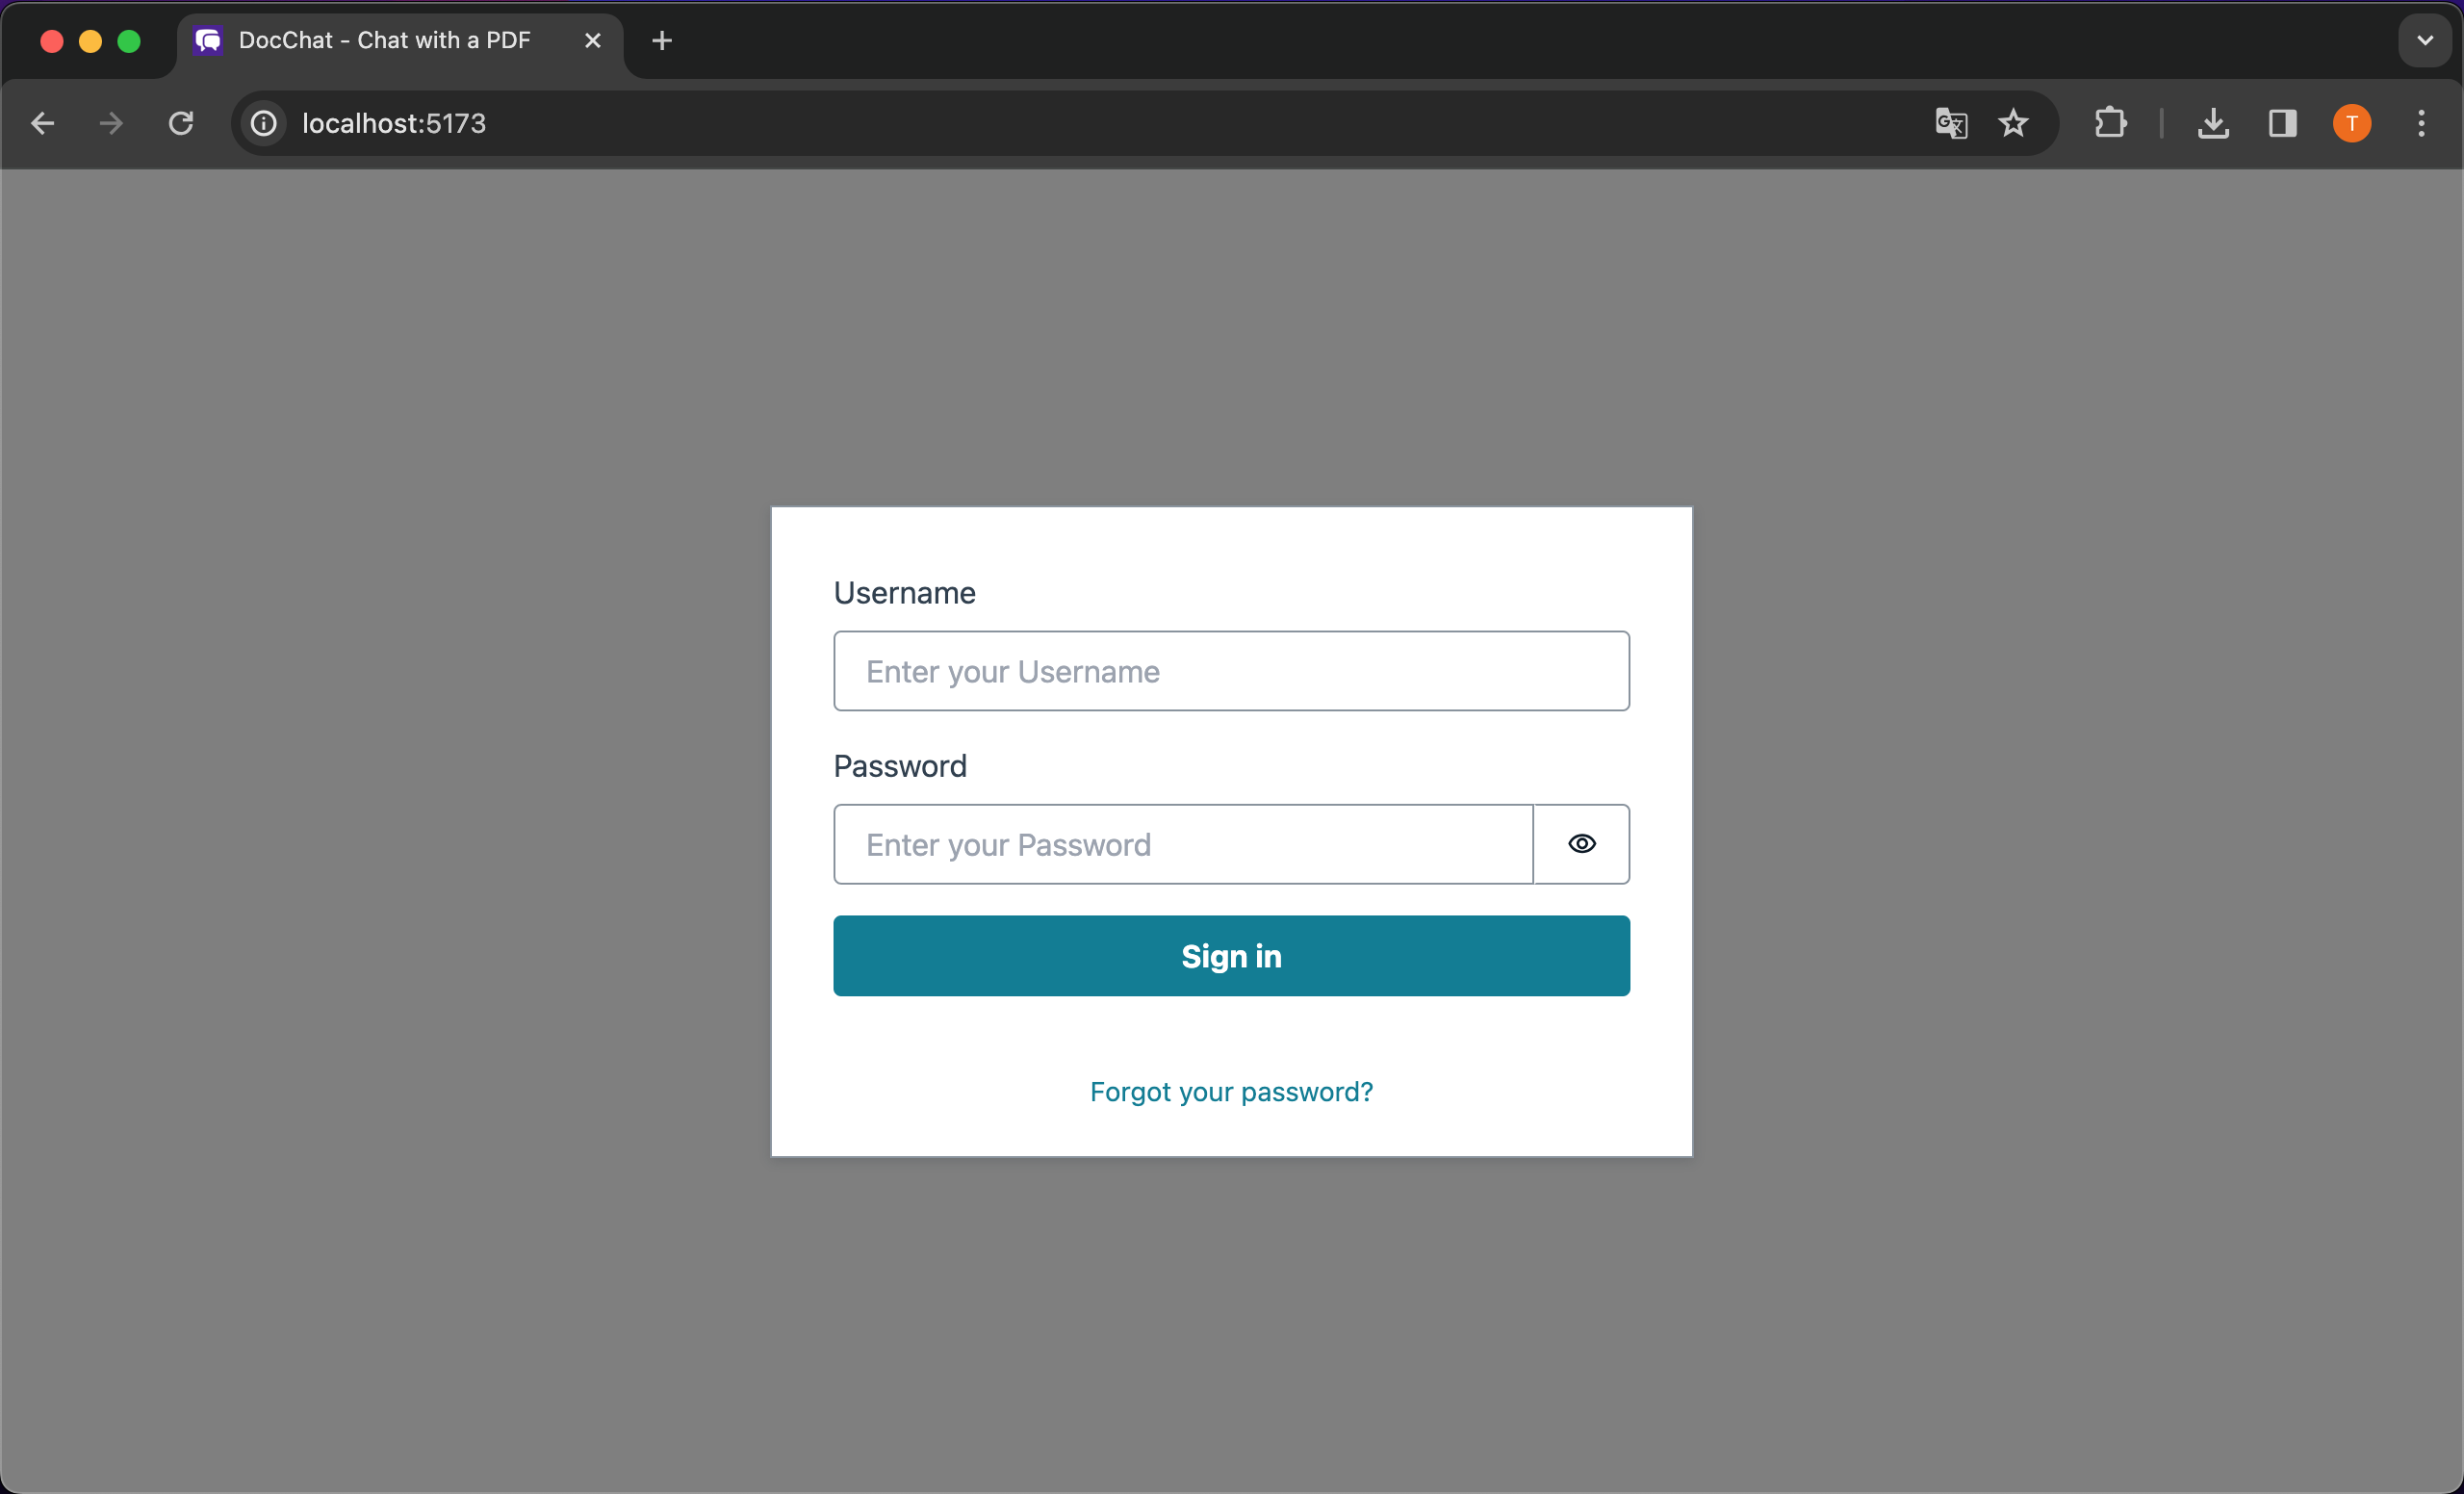
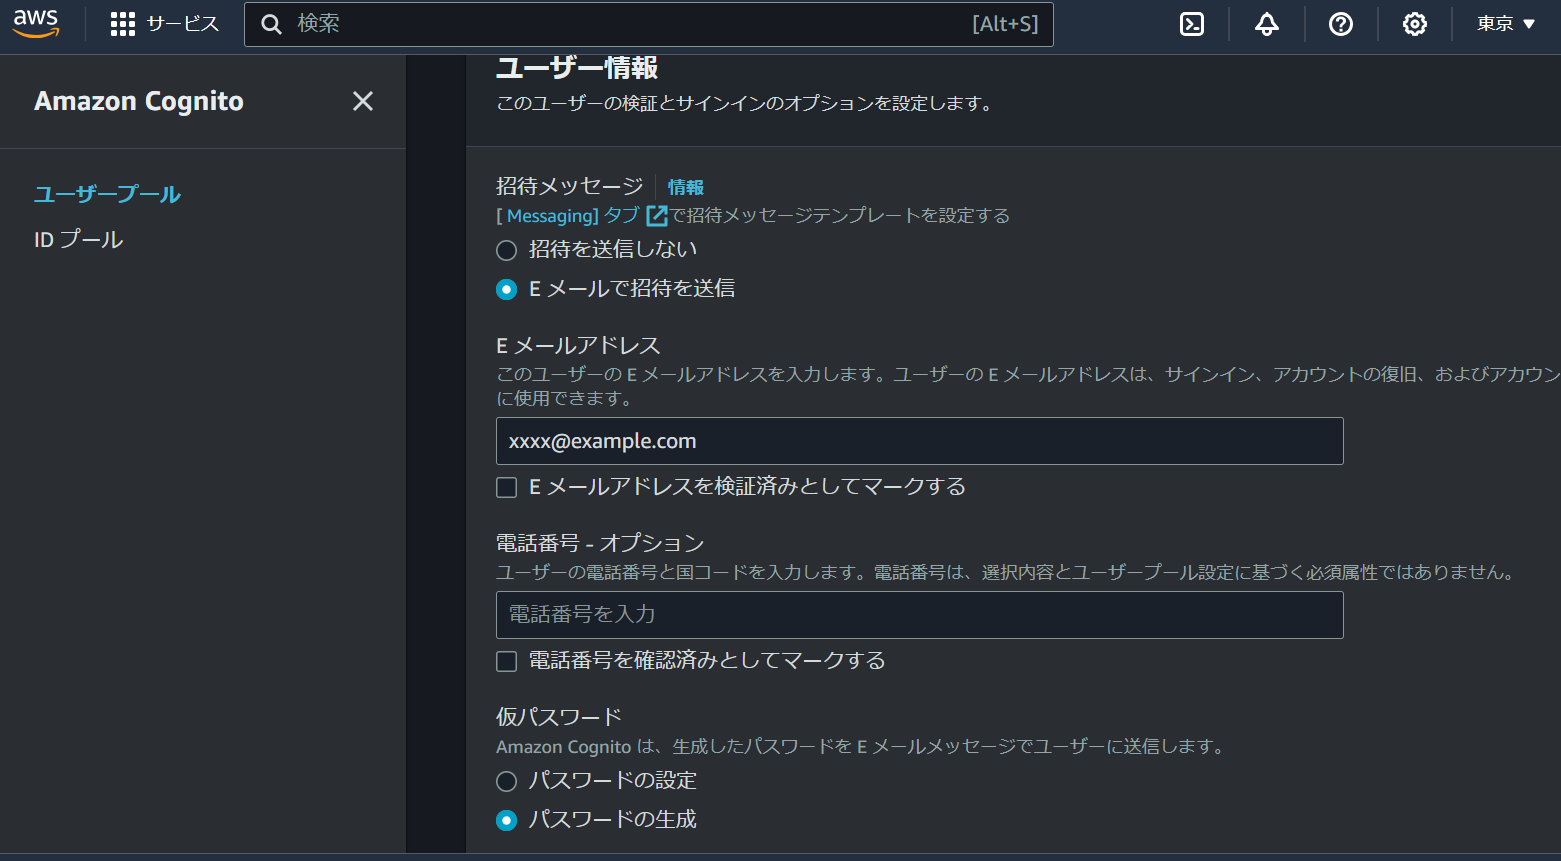
ユーザ認証のため、Cognitoでユーザを作成します。
SAMで作成したユーザプールが存在しているため、そのユーザプールに対してユーザを作成します。
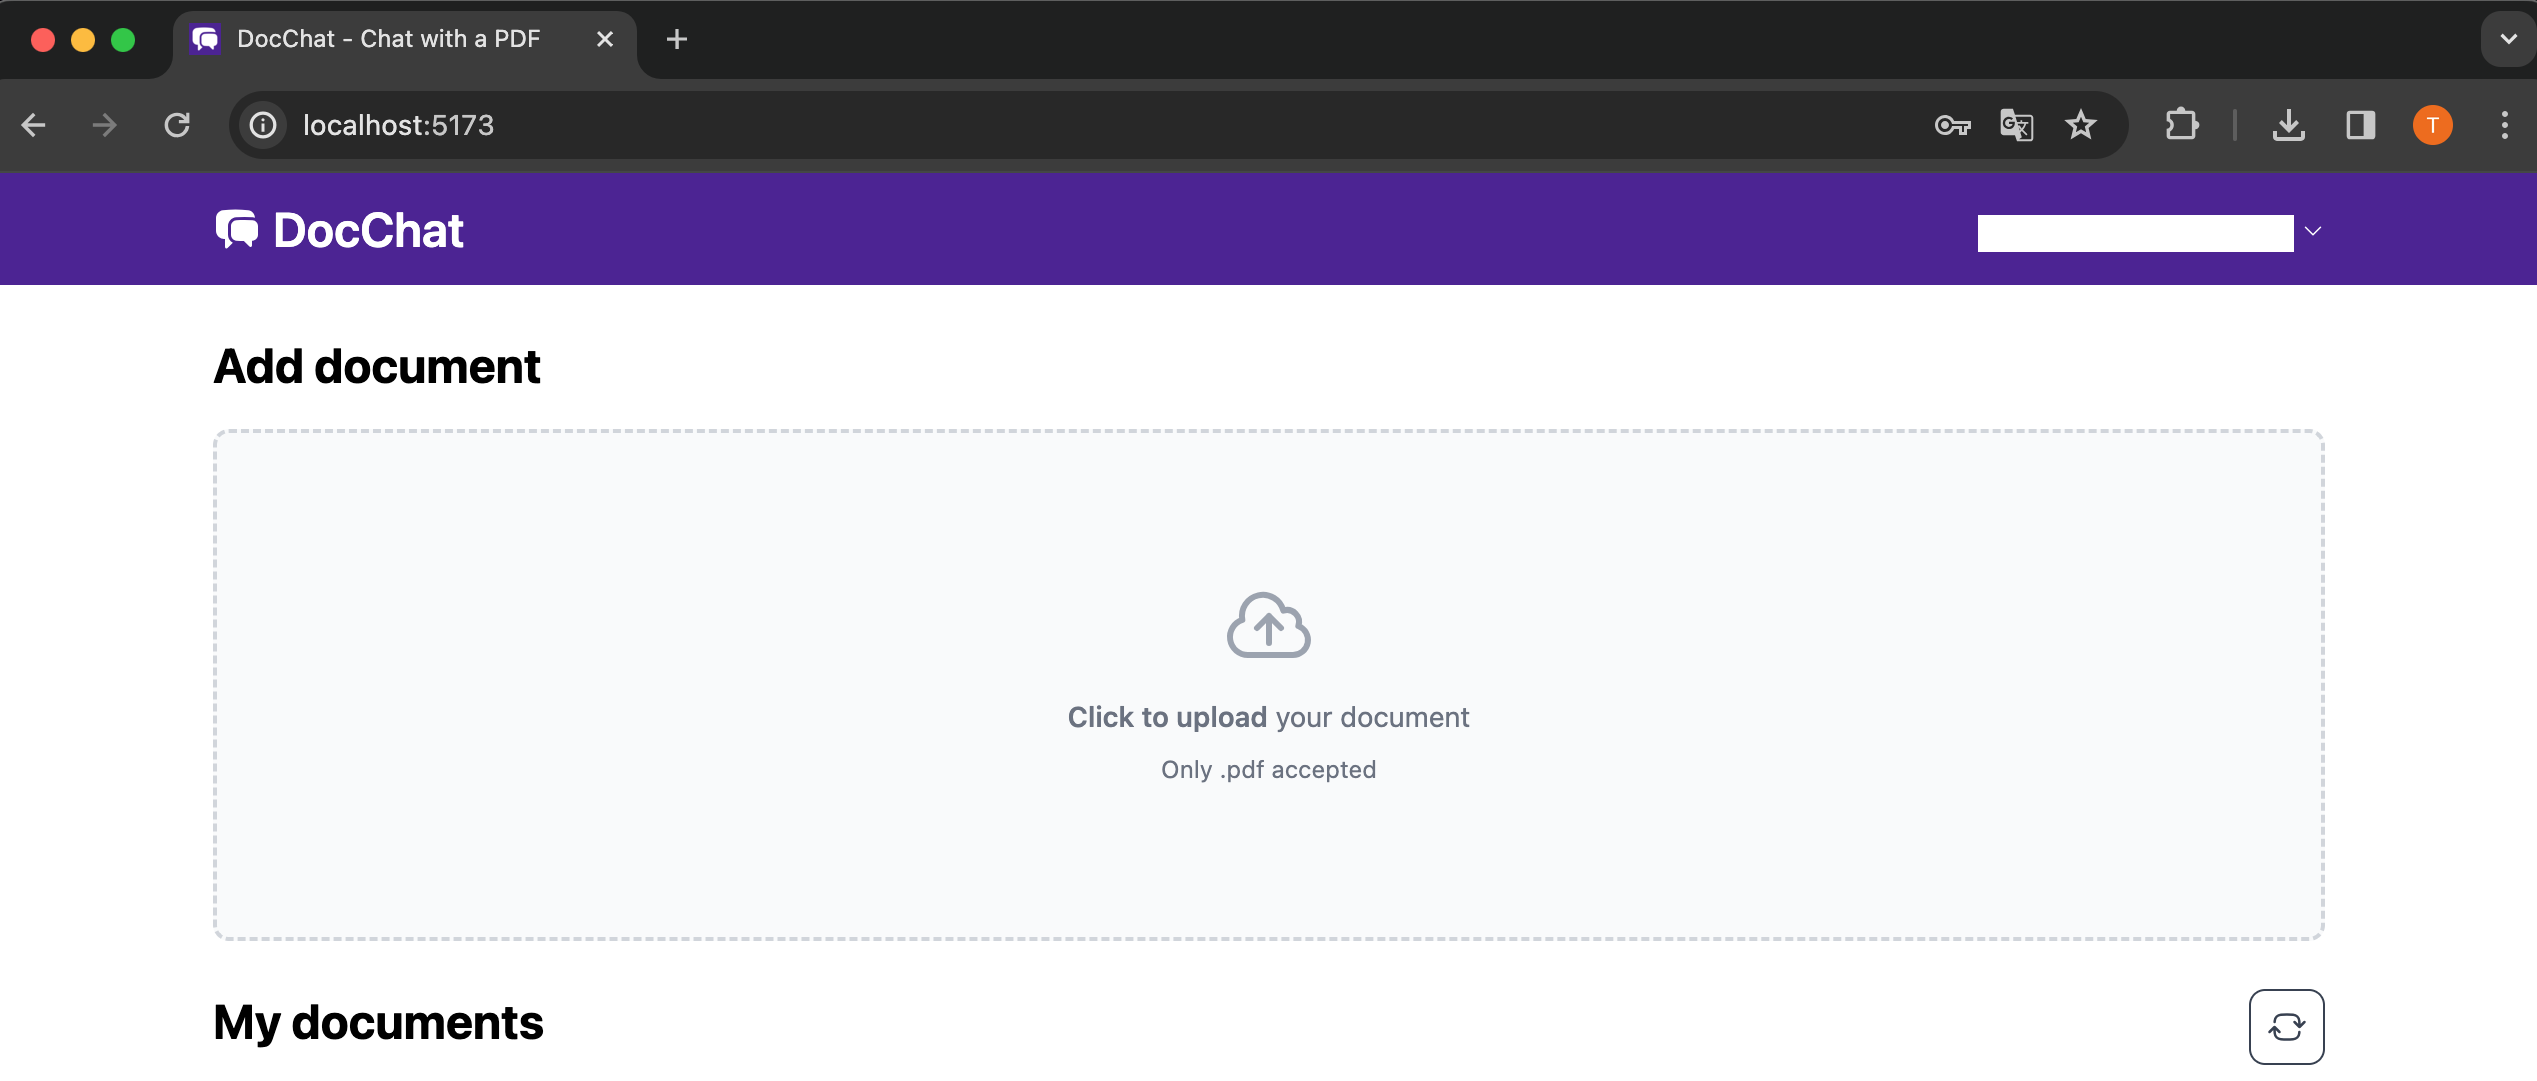
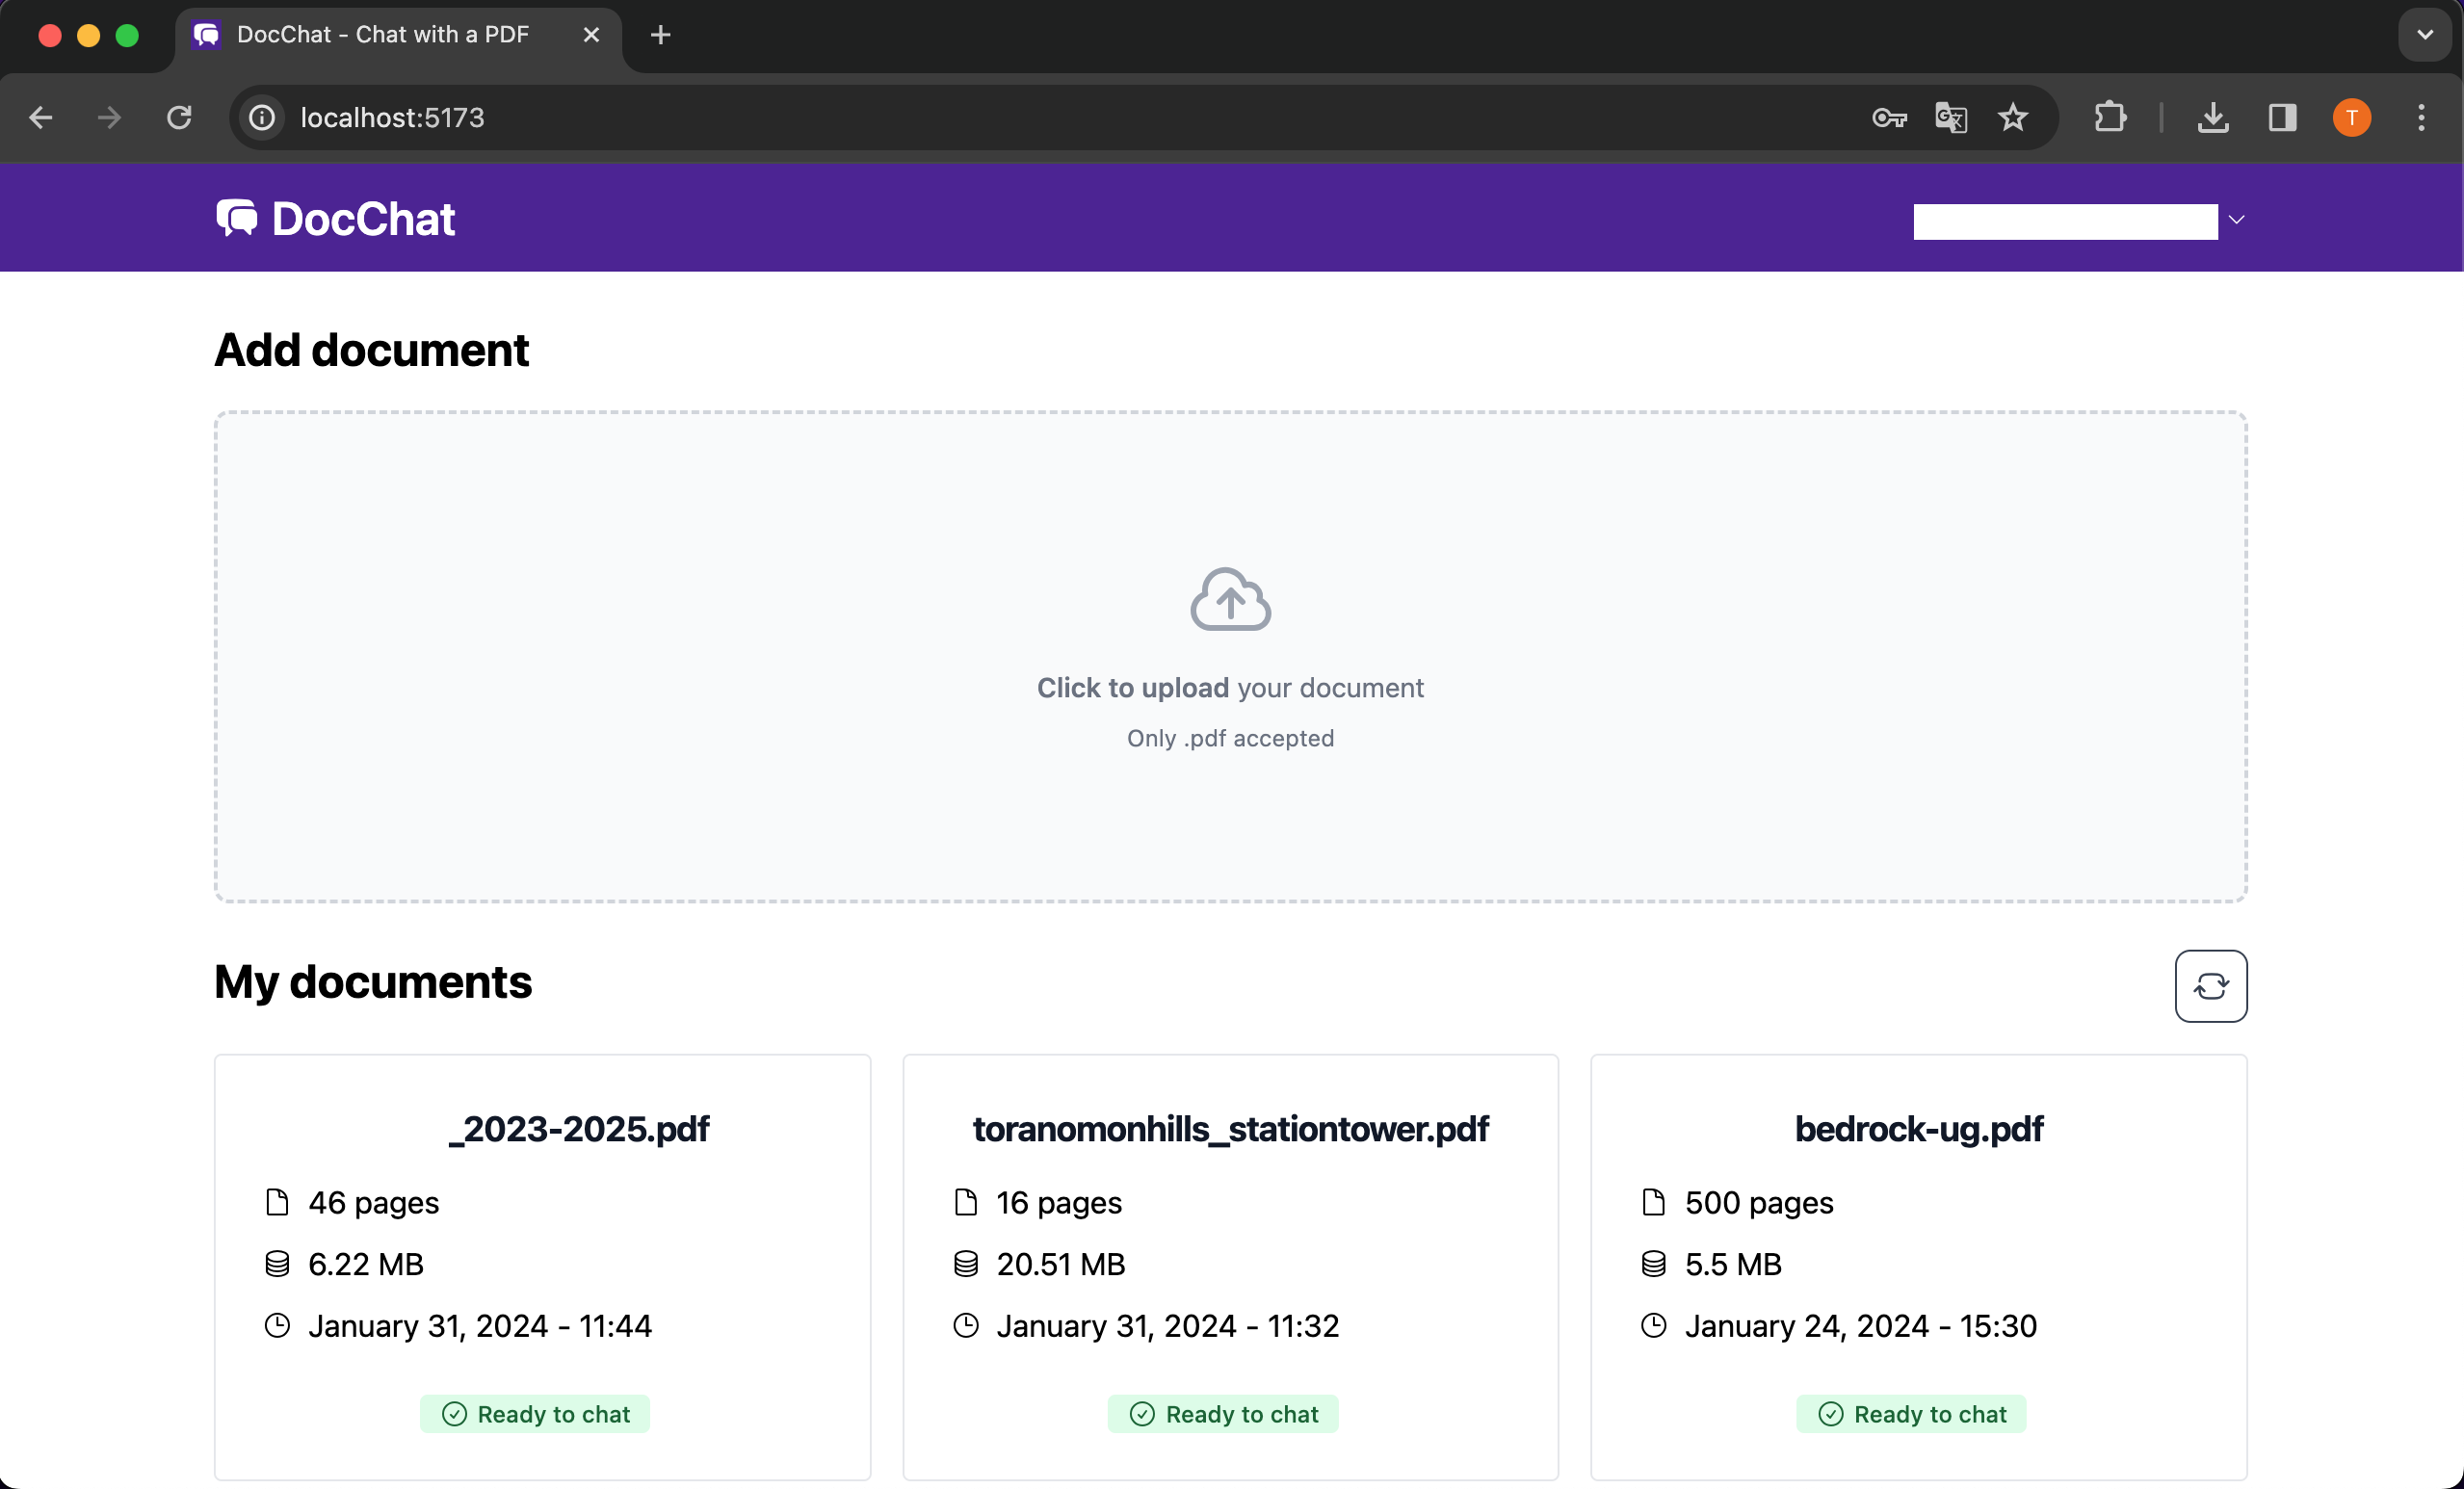
ドキュメントをアップロードしていくと、My documents以下にアップロードしたドキュメントが一覧で表示されます。
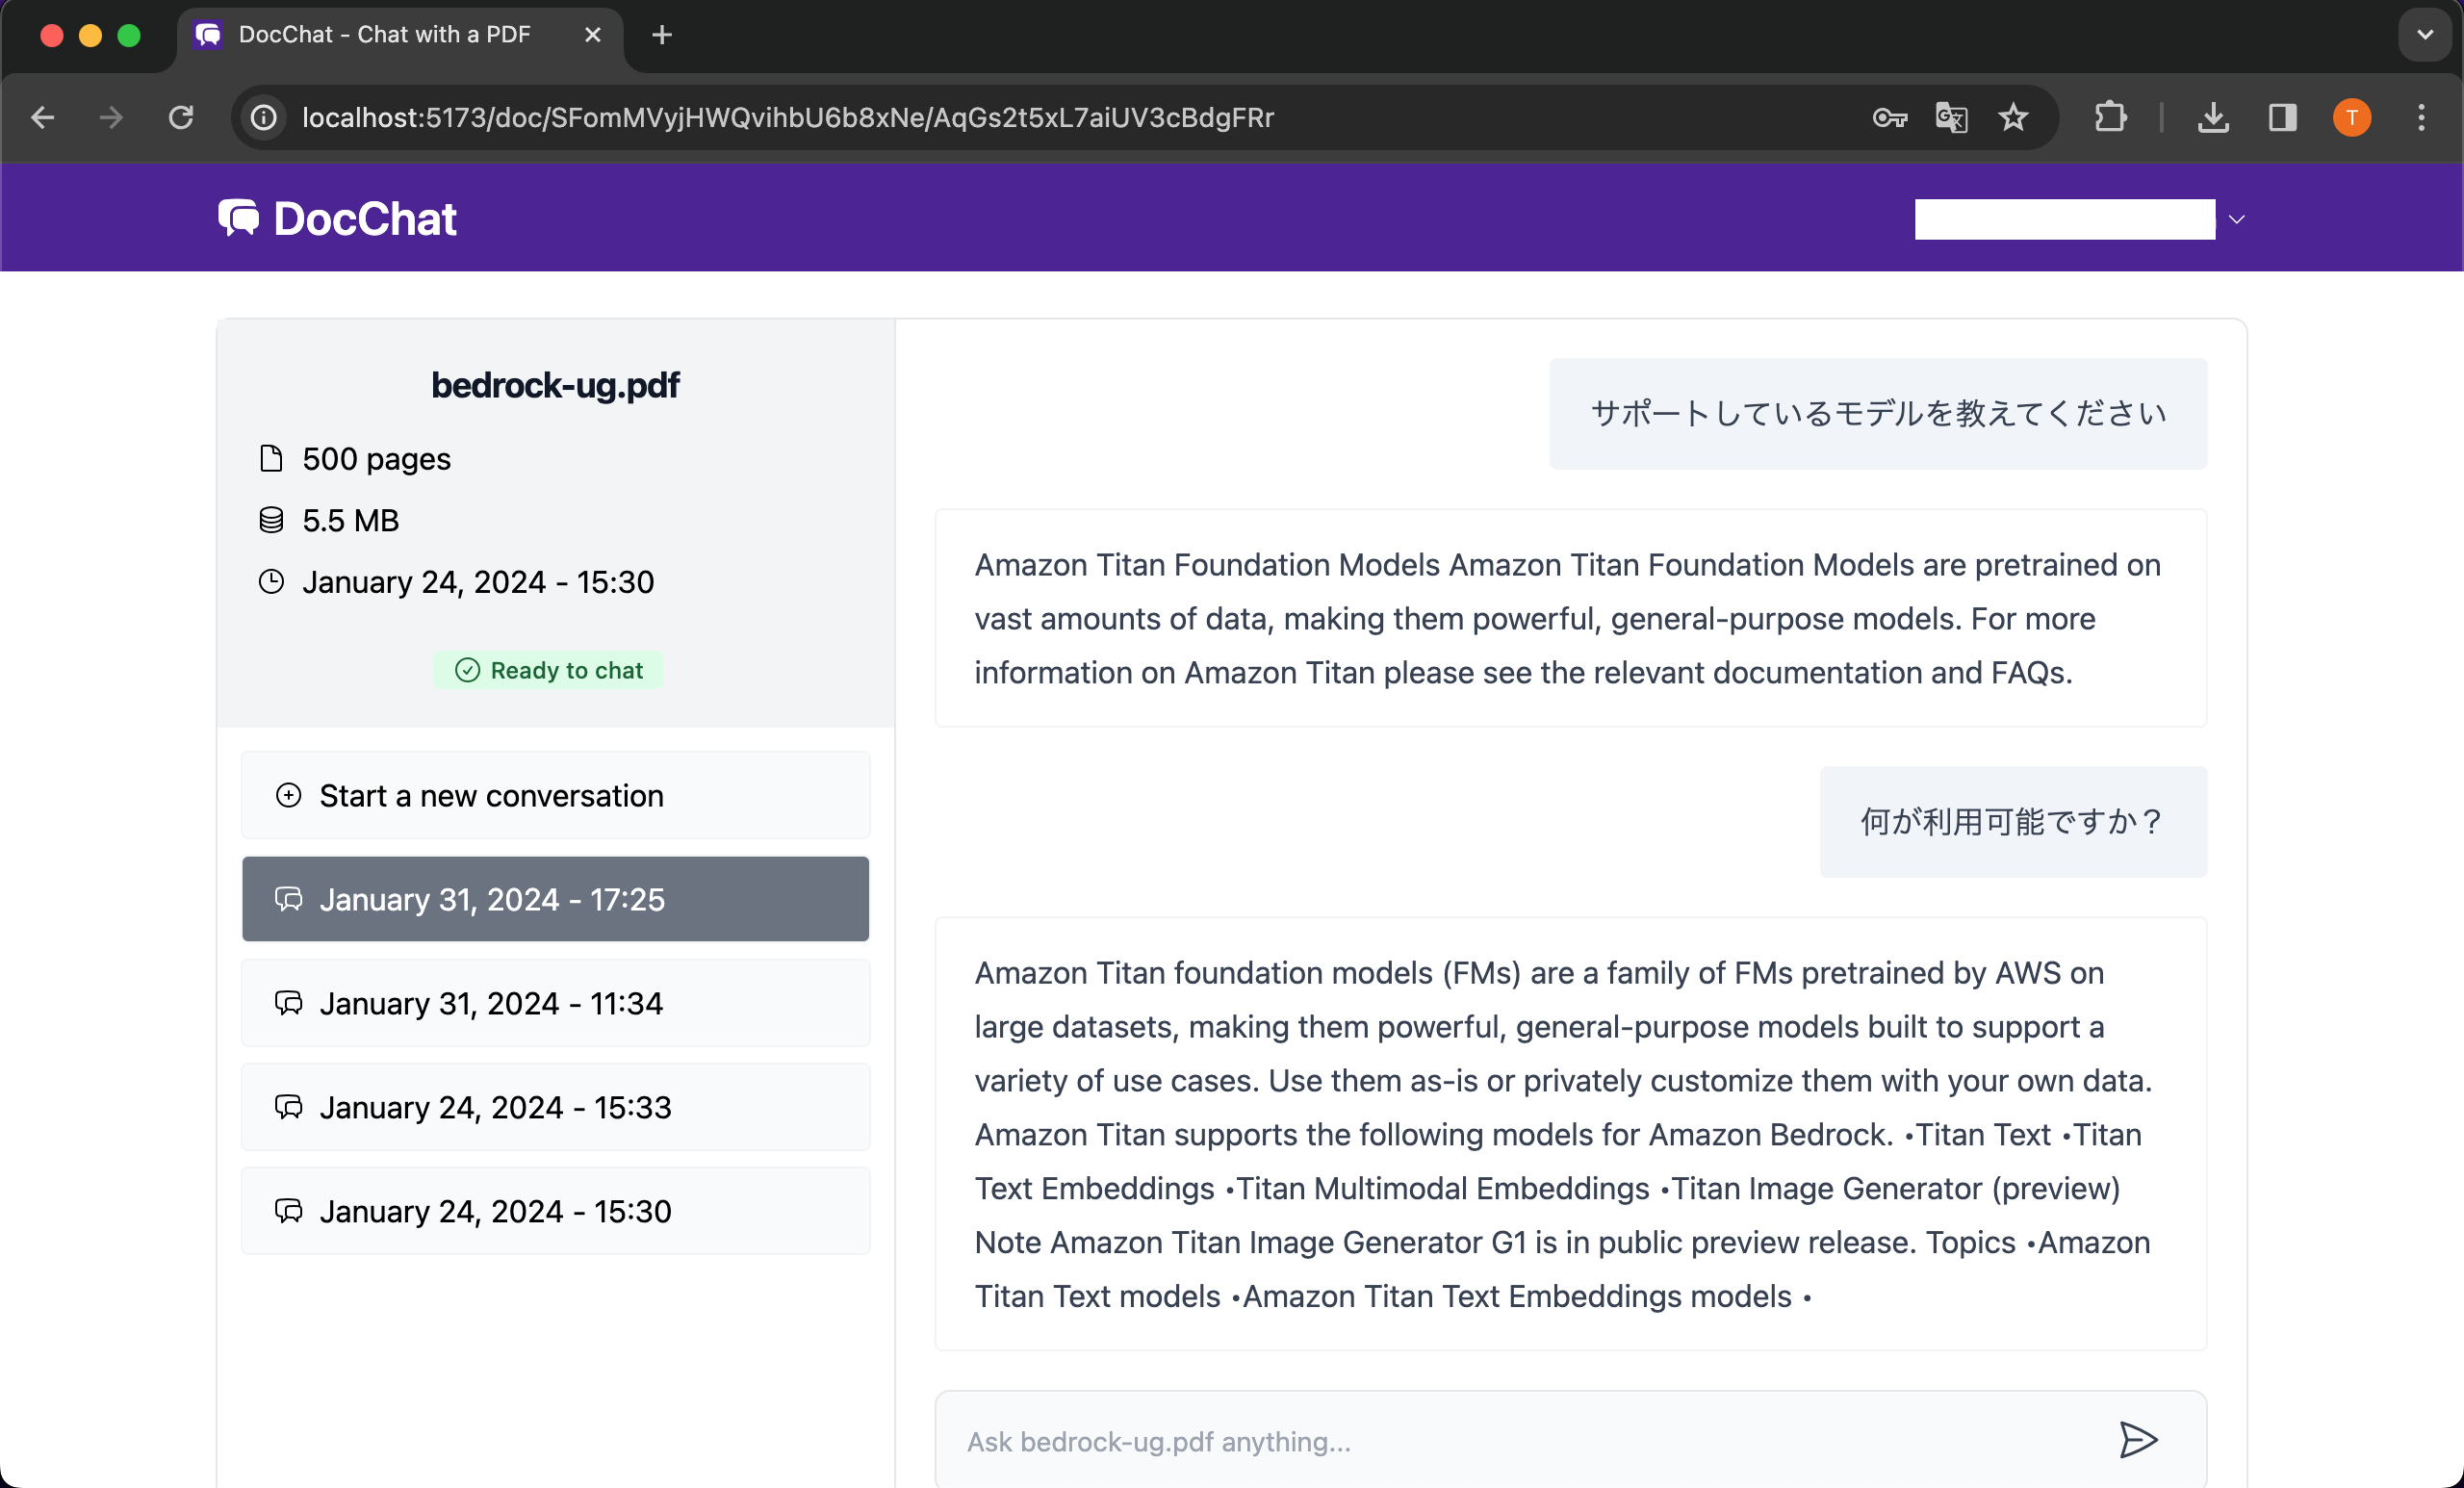
ドキュメントにアクセスすることで、ドキュメントに対してChatしていくことができます。
お試しなので、このぐらいで。
おわりに
今回はSampleを利用してRAGってどんな感じ?Bedrockってどんな感じ?を触って確かめてみました。
今後は下記を参考にチューニングパラメータ触ってみたり、ドキュメント1つをFAISSでVector化しているので、複数ドキュメントを1つに纏めてRAG構成したりを試してみようと思っています。
https://docs.aws.amazon.com/ja_jp/bedrock/latest/userguide/model-parameters-titan.html
(おまけ)AWS側を簡単に確認
DynamoDB
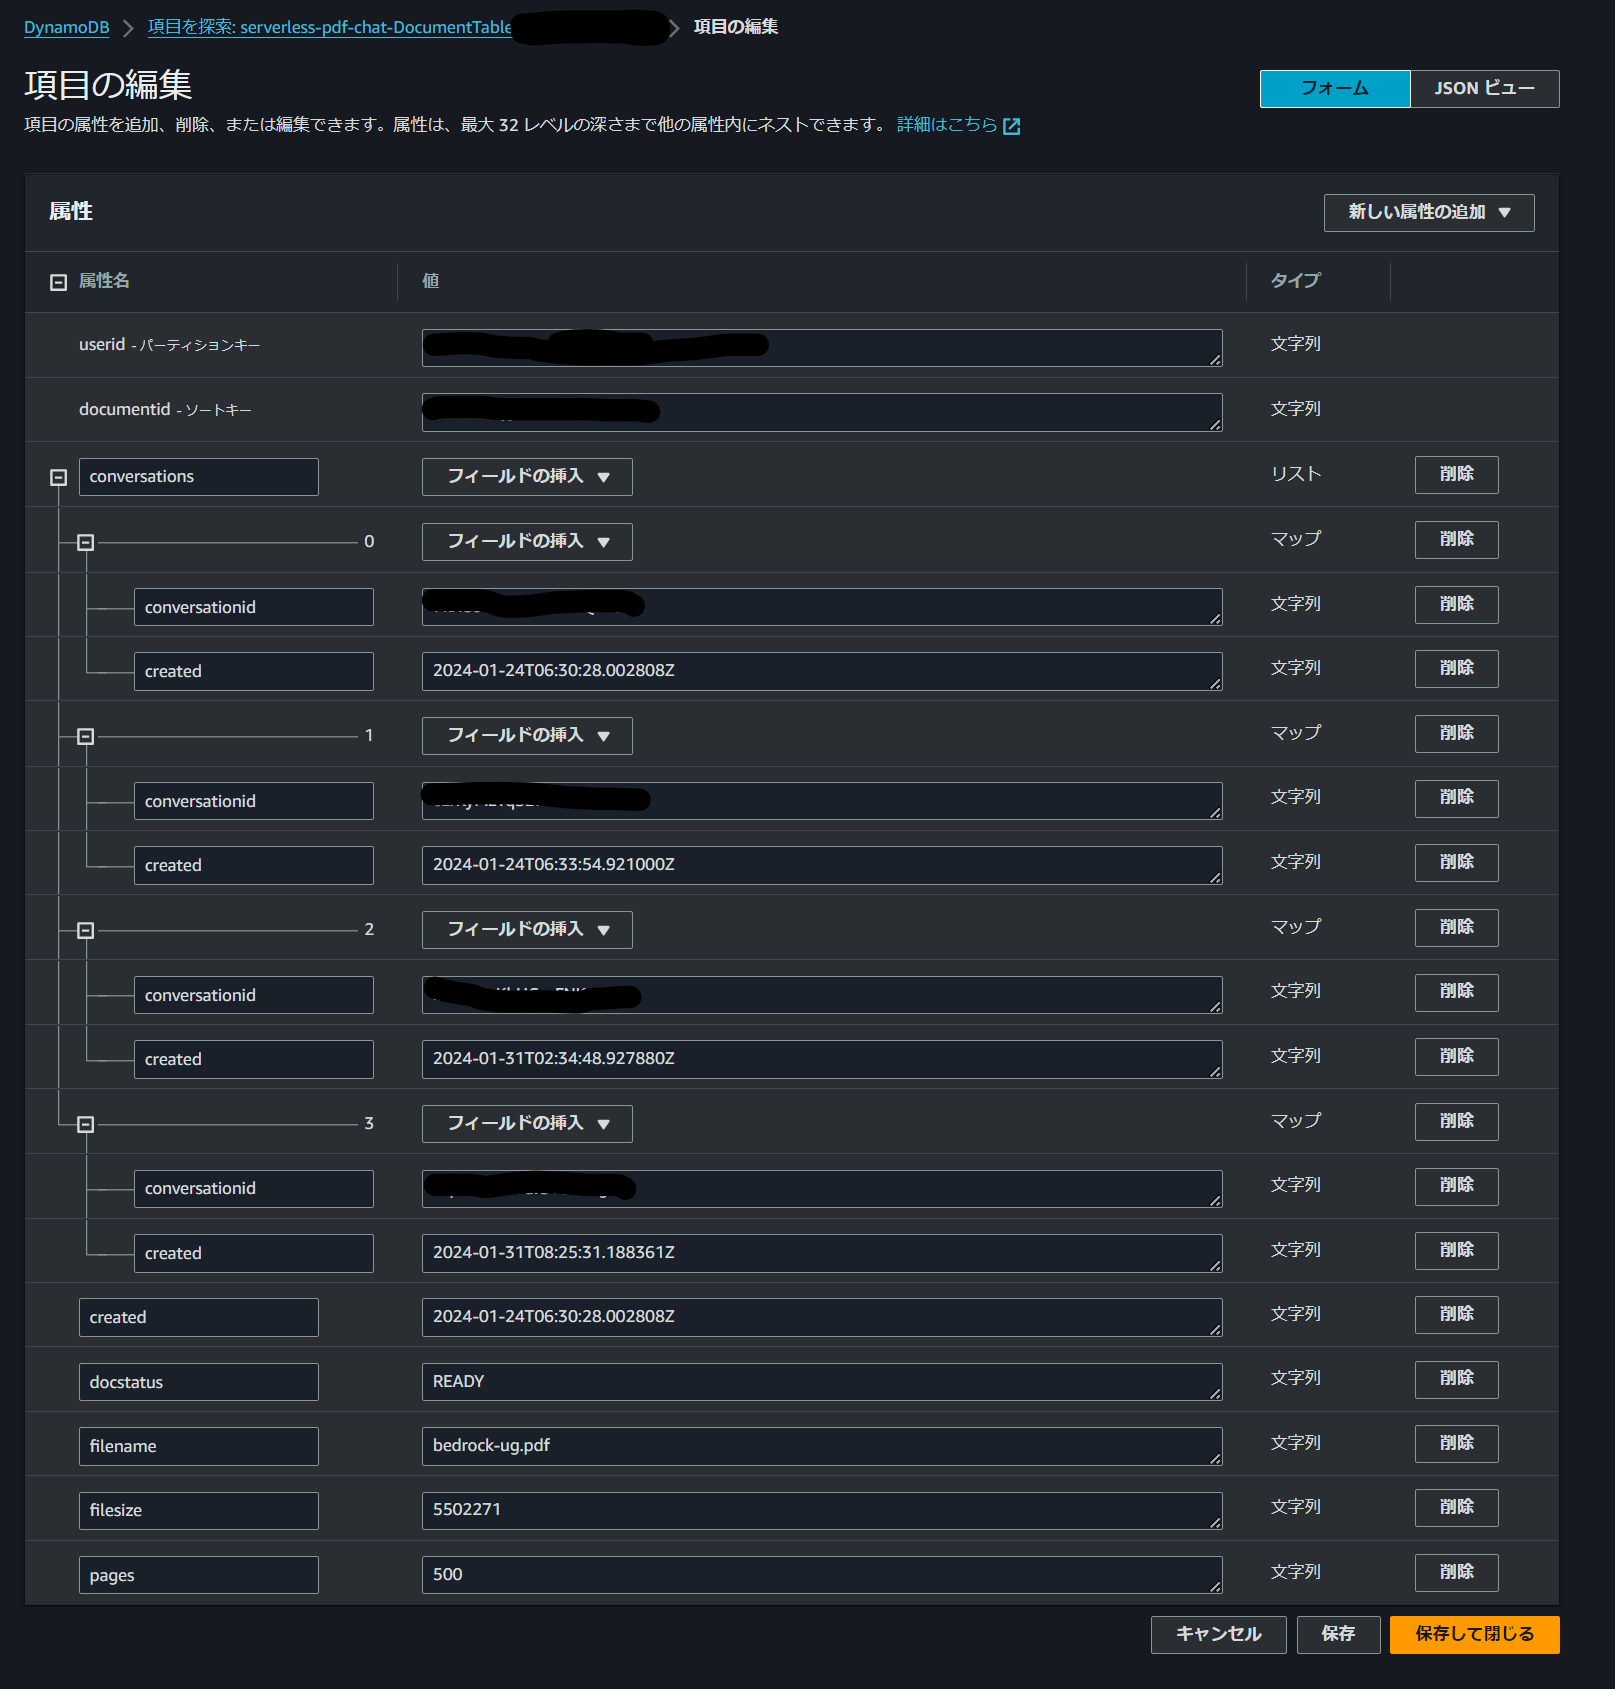
ユーザIDとドキュメントIDに紐づいたセッション情報(conversationid)をドキュメントテーブルとして保持している。
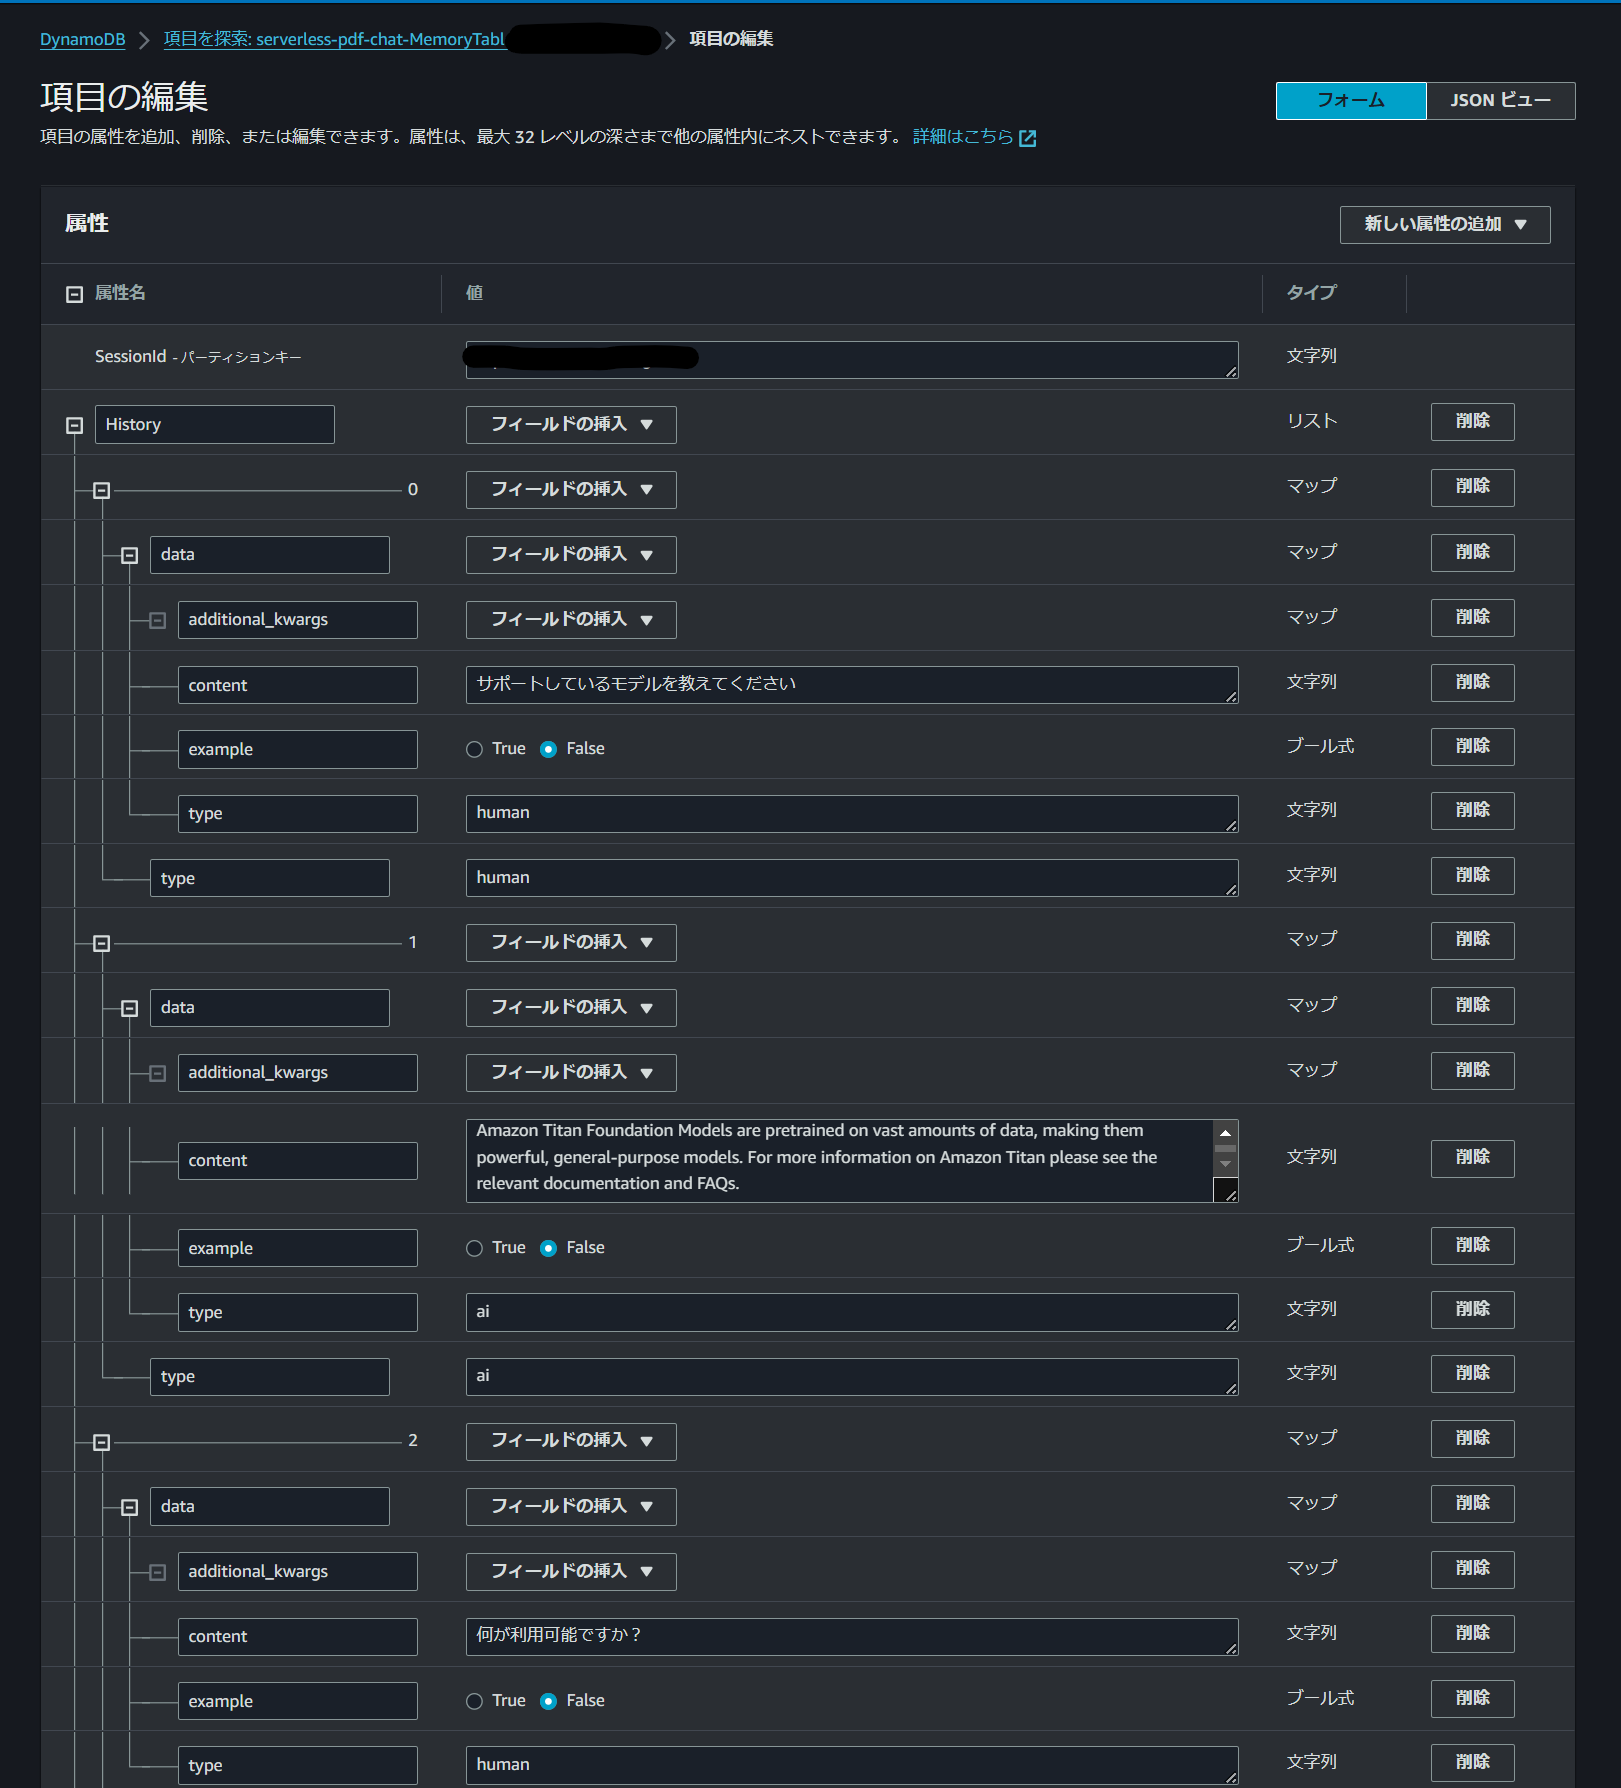
セッション情報(conversationid)を元にChat履歴を保持している。
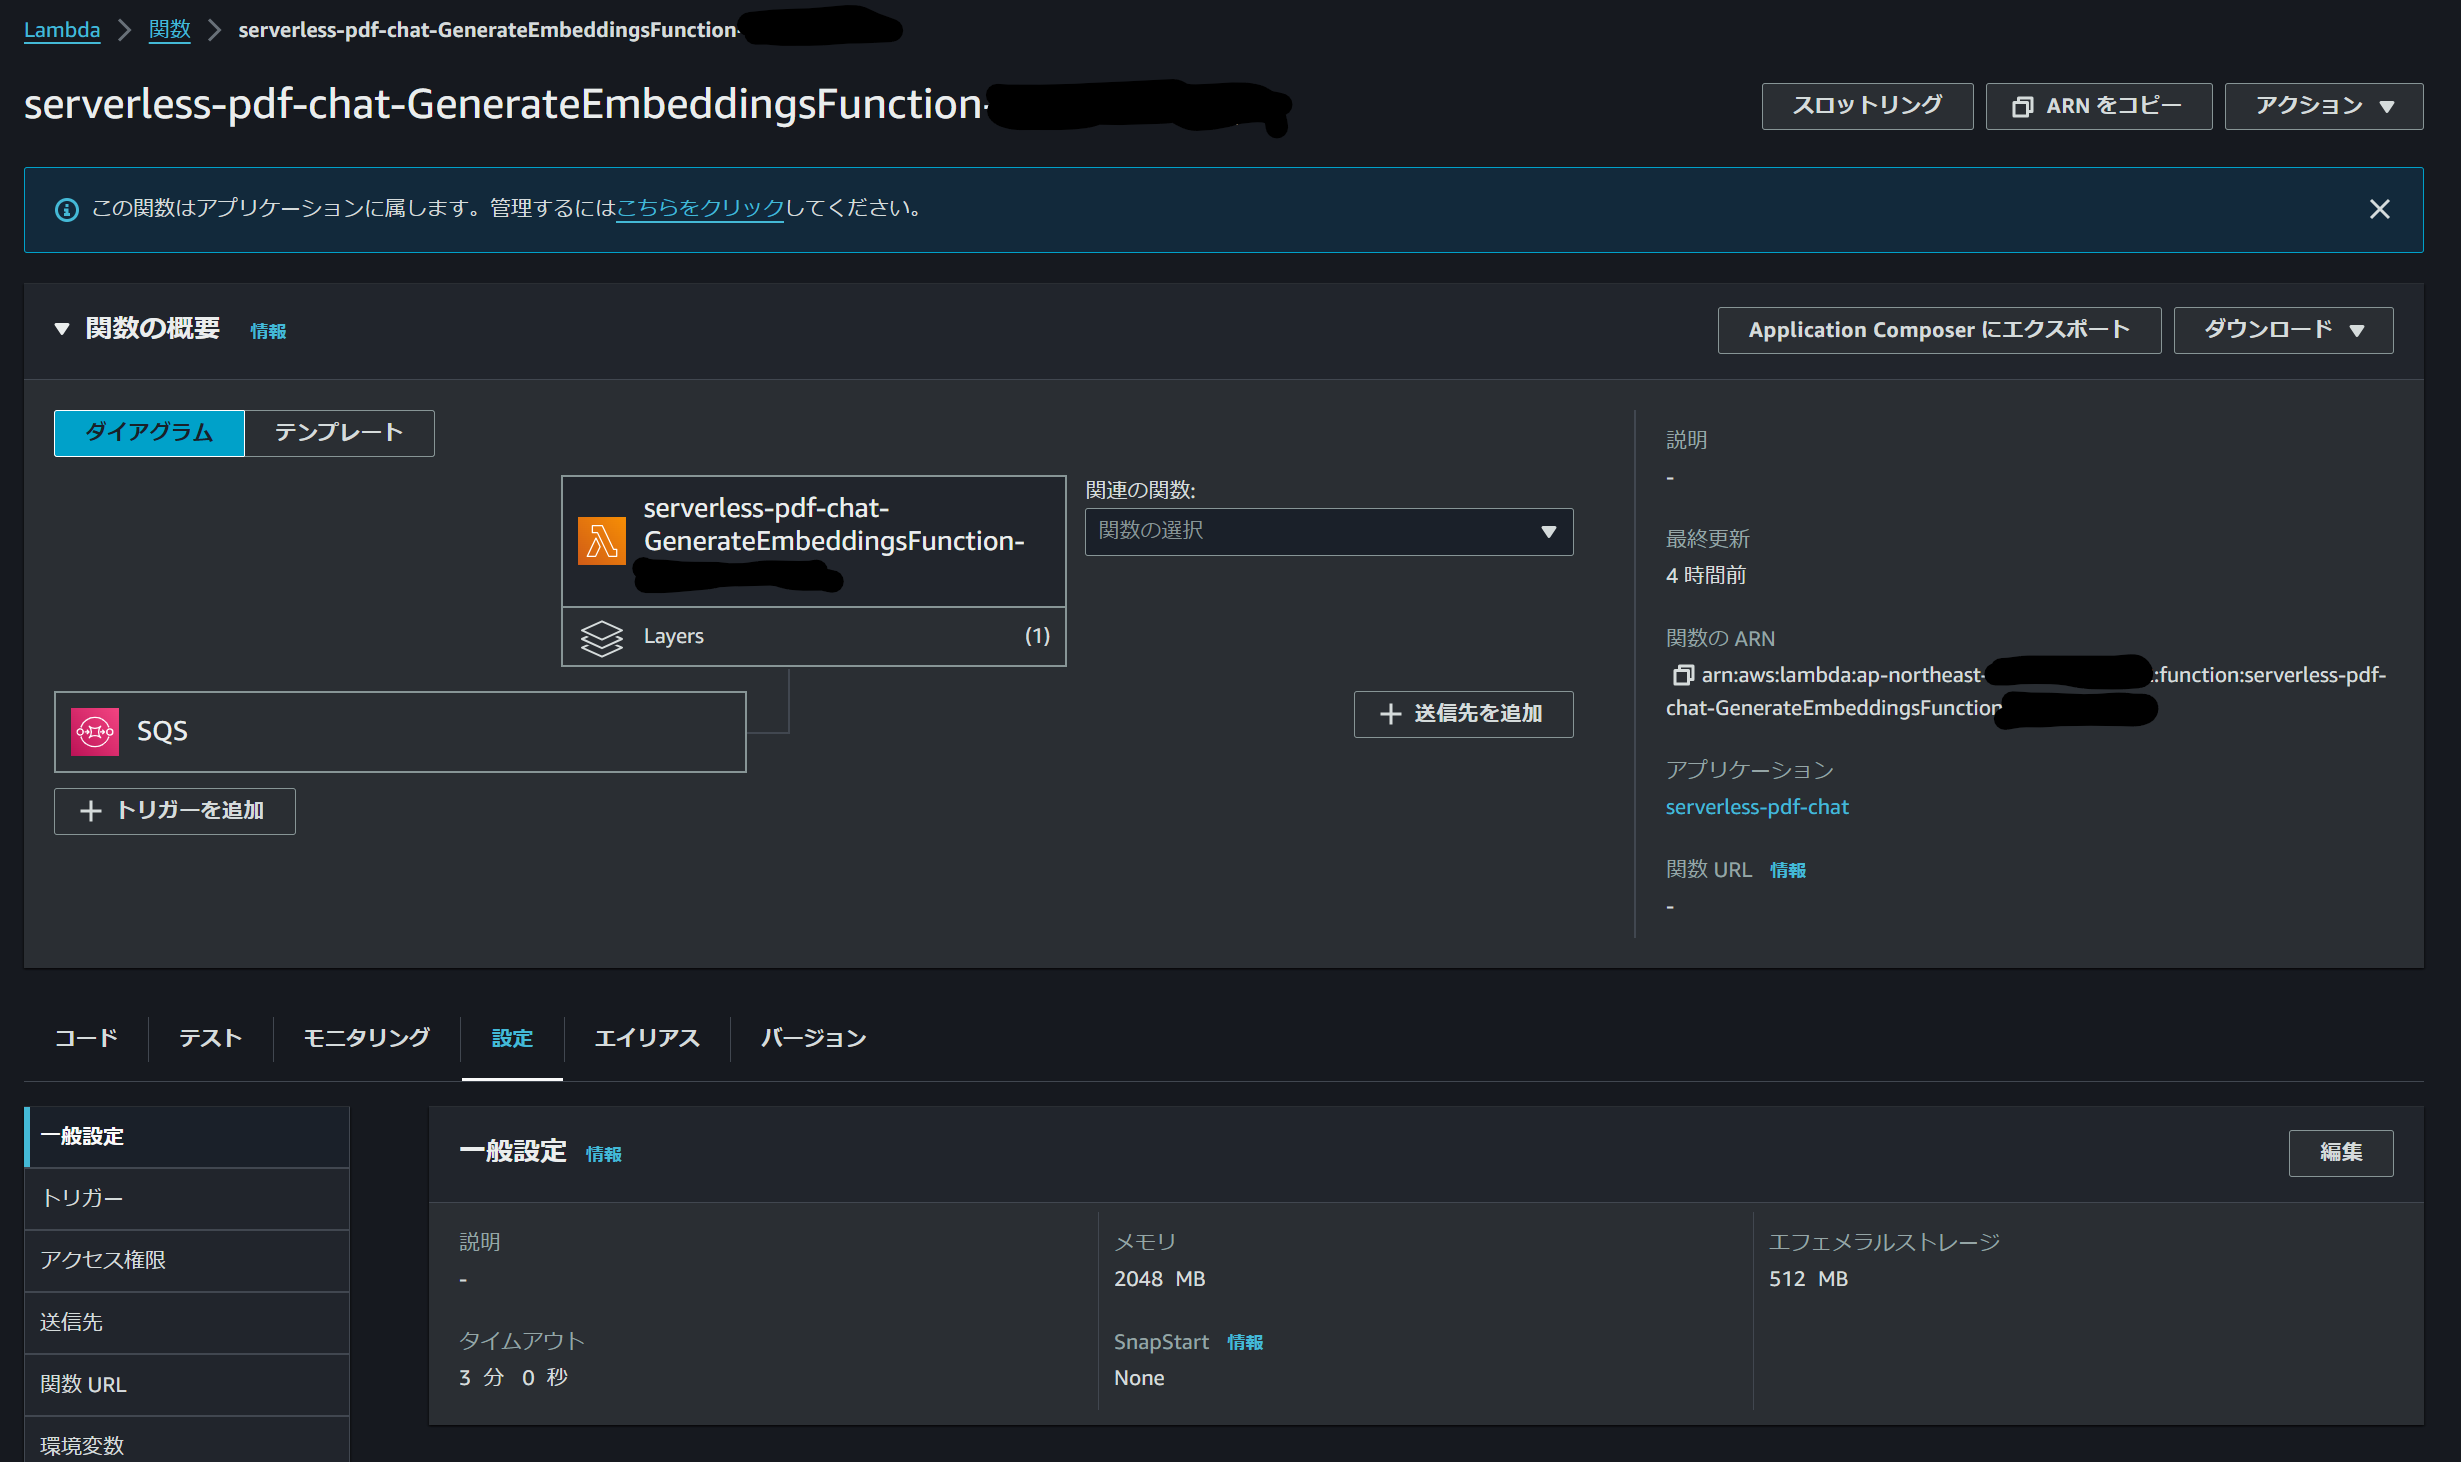
Lambda
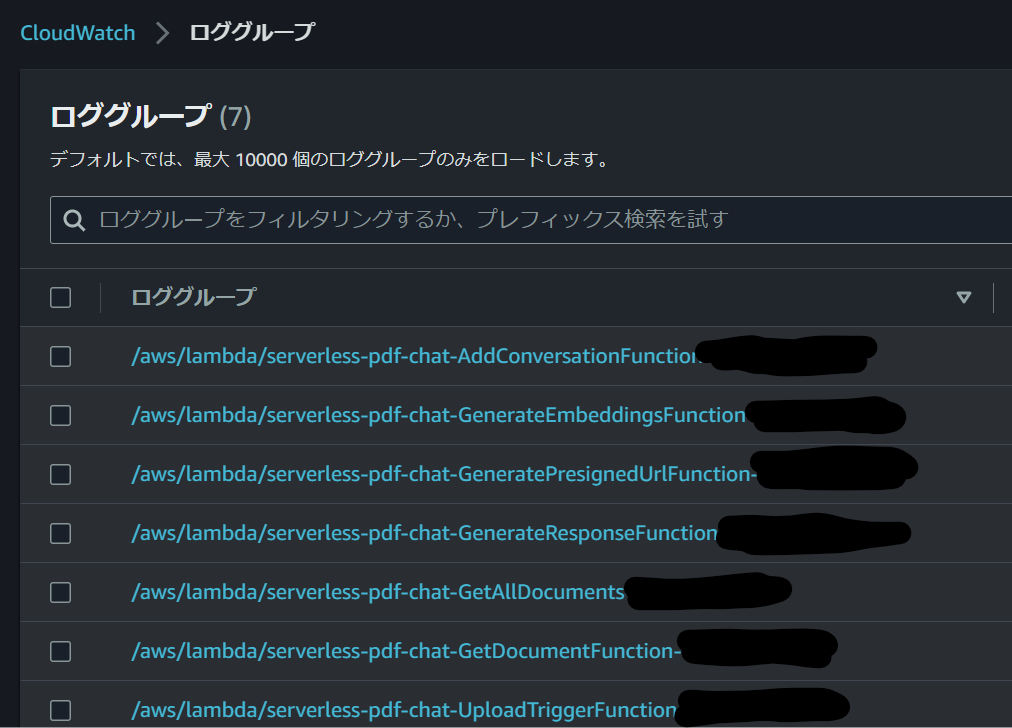
SAMで作成された関数が確認できる。

デフォルトだとEmbeddingのタイムアウトも3秒のため、ファイルサイズによっては失敗する。そのため、タイムアウト時間を3秒から3分に変更している。
