EKS workshop
EKS workshopを通してEKSの使い方などを確認してみようとおもい備忘録も兼ねて記事化しました。
今回はIntroductionからStart the Workshop...、Launch using eksctlを実施します。
ここまで実施して、準備完了。さぁ触ろうという感じです。
Introduction
Kubernetes(k8s) Basics
導入部分。k8sを理解している人には飛ばして問題ない部分と思われる。
- What is Kubernetes
- k8sを端的に紹介。詳細はk8s公式ページを案内している。
- Kubernetes Nodes
- nodeの説明。Master(Control Plane)とWorker(Data Plane)。
- K8s Objects Overview
- k8s Objectsの簡単な説明。
k8sは「現在の状態(current state)」を「望ましい状態(desired stat)」となるように動くもの。
- k8s Objectsの簡単な説明。
- K8s Objects Detail(1/2)
- Pod,DaemonSet,Deploymentを簡単に記載。
詳細はそれぞれのドキュメントを参照となっている。
- Pod,DaemonSet,Deploymentを簡単に記載。
- K8s Objects Detail(2/2)
- ReplicaSet,Job,Service,Labelsを簡単に記載。
詳細はそれぞれのドキュメントを参照となっている。
- ReplicaSet,Job,Service,Labelsを簡単に記載。
Kubernetes Architecture
- Architectural Overview
- コンポーネントとその相関を簡易的な図として表現していると思われる。
- Control Plane
- Control Plane内のコンポーネントを簡単に説明。
- 詳細はkubernetes公式ドキュメント(Control Plane)参照となっている。
- Control Plane内のコンポーネントを簡単に説明。
- Data Plane
- Data Plane内のコンポーネントを簡単に説明。
- 詳細はkubernetes公式ドキュメント(Data Plane)参照となっている。
- Data Plane内のコンポーネントを簡単に説明。
- Kubernetes Cluster Setup
- EKSはSelf-Managed-k8sClusterのboostrapやconfigureも活用できる。と書いてる・・・はず。
記載されているSelf-Managed-k8sClusteは下記。
- EKSはSelf-Managed-k8sClusterのboostrapやconfigureも活用できる。と書いてる・・・はず。
Amazon EKS
- EKS Cluster Creation Workflow
- 読んで字の如く。図が1枚あるのみ。
- What happens when you create your EKS cluster
-
create cluster実行後のフロー図が1枚。
-
- EKS Architecture for Control plane and Worker node communication
- EKSアーキテクチャ図が1枚。
- High Level
-
kubectlを使ってEKSのk8s Clusterを操作できるよ!って書いてる感じ。
-
- Amazon EKS!
- slackでいつでも質問とか受け付けてるぜ!って書いてある。
Start the Workshop...
下記から選択。
- …running the workshop on your own (in your own account)
- …attending an AWS hosted event (using AWS provided hashes)
片方はAWSイベント参加などで利用するものなので...on your ownを実施
選ばなかった方の手順はスキップ。ページを送るとそのままattending on AWS・・・のページに飛ぶ
- ...on your own
- Create an AWS account
- 記載内容に従ってIAMユーザを作成していく
- Create an AWS account
- Create a Workspace
- Cloud9 Environmentを手順に従い作成する
- 作成後も記載の指示に従って手順を進める
- Install Kubernetes Tools
- 記載の手順に従いツールを導入していく
- Create an IAM role for your Workspace
- 記載の手順に従いIAM roleを作成する
- Attach the IAM role to your Workspace
- 手順に従いEC2インスタンスに作成したIAM roleを割り当てる
- Update IAM settings for your Workspace
- 手順に従いIAM設定を更新する
- Clone the Service Repos
- 手順の通りにGitからソースをCloneする
- Create an AWS KMS Custom Managed Key (CMK)
- k8sのシークレット暗号化に利用するCMKを作成する
Launch using eksctl
- Prerequisites
- eksctlコマンドを配置して利用可能にする
- Launch EKS
- 記載の手順に従いEKS Clusterを作成する
- Test the Cluster
-
kubectl get nodeで作成されたnodeがReadyで表示されるか確認 - 問題なければ、Workshopを通じて利用するWorkerRoleNameを環境変数として入れる
下記のように確認することができる。
-
$ kubectl get nodes
NAME                                                STATUS   ROLES    AGE     VERSION
ip-XXX-XXX-XXX-XXX.ap-northeast-1.compute.internal   Ready    <none>   4m27s   v1.17.12-eks-XXXXXX
ip-XXX-XXX-XXX-XXX.ap-northeast-1.compute.internal   Ready    <none>   4m32s   v1.17.12-eks-XXXXXX
ip-XXX-XXX-XXX-XXX.ap-northeast-1.compute.internal   Ready    <none>   4m31s   v1.17.12-eks-XXXXXX
- Console Credentials
- EKSコンソールでワークショップで作成したクラスターへのフルアクセスが必要な場合にこの手順を実施する
To Be Continued
Beginner以降の内容を次回以降で実施していく予定です。
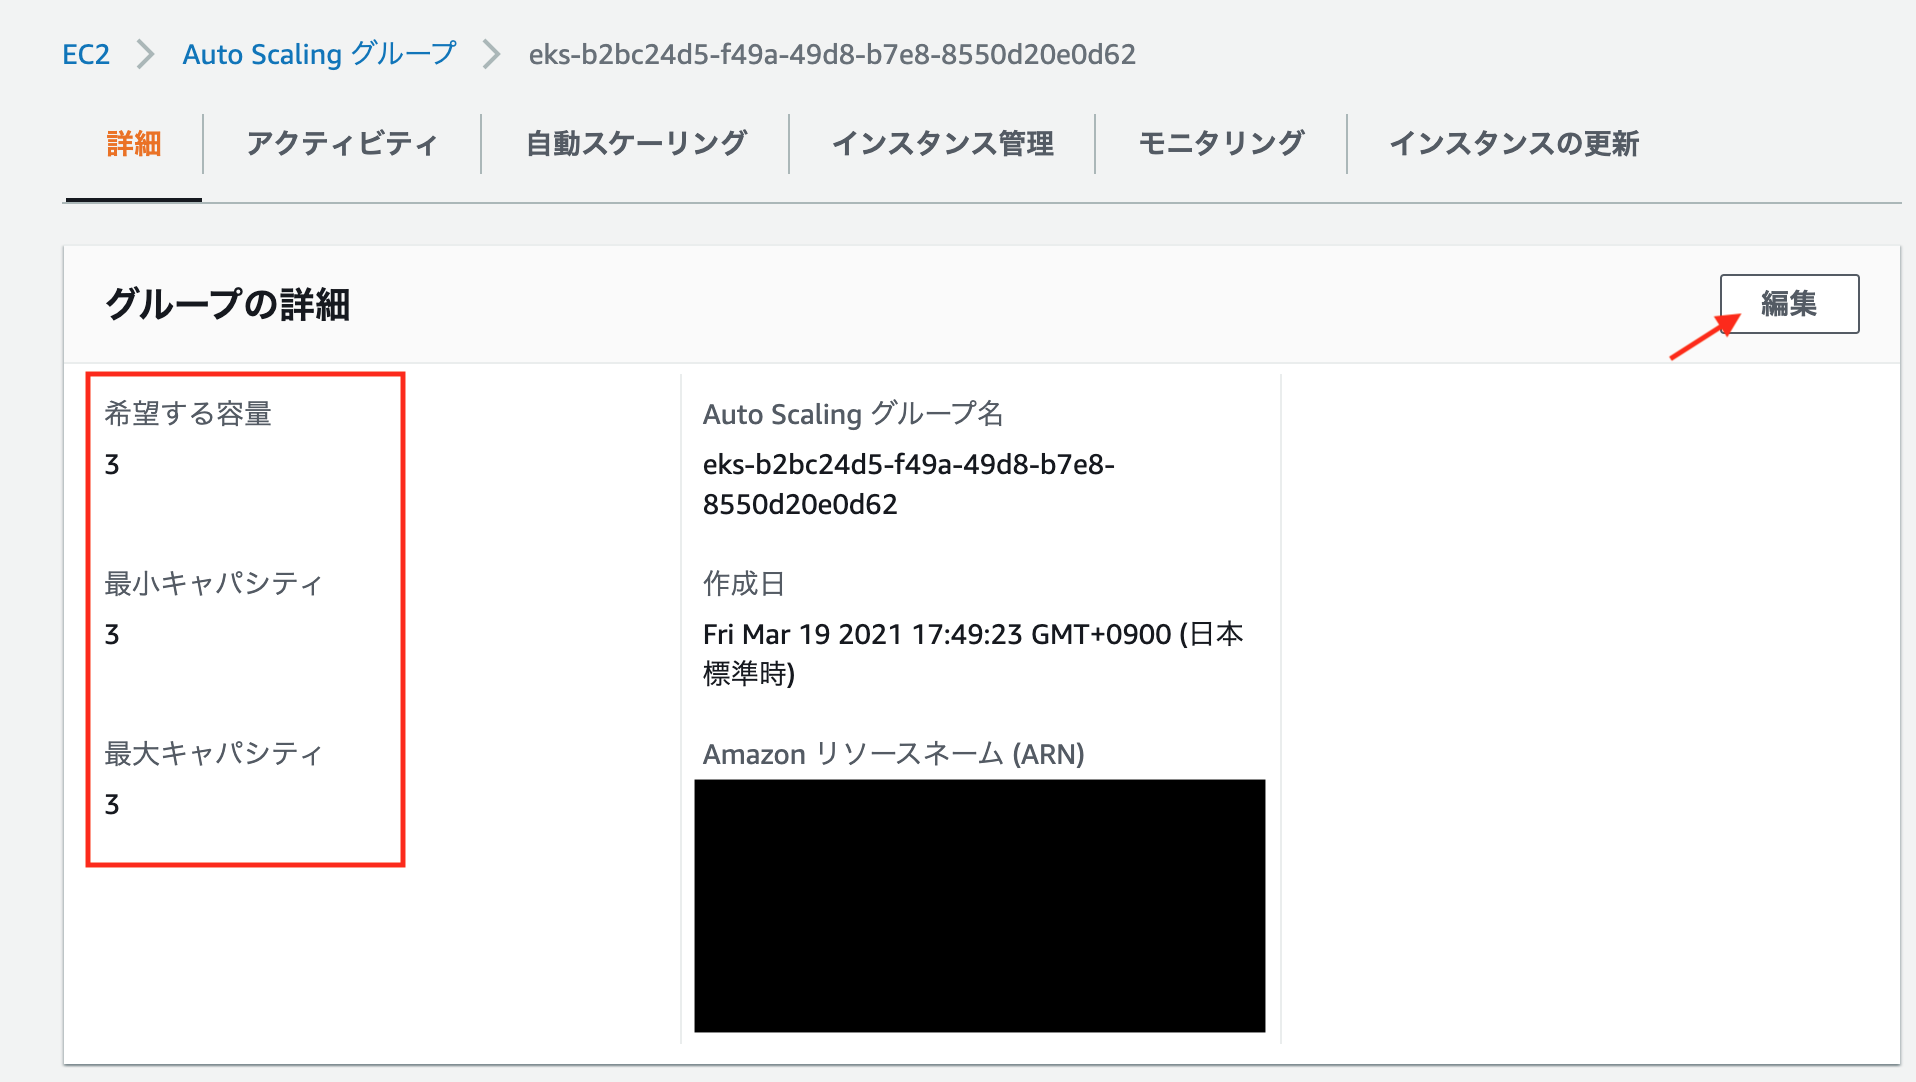
利用しない時にEKS Clusterを停止する際には、AutoScalingグループを編集してキャパシティを0にすれば良さそうでした。
