
https://docs.fastlane.tools/
Fastlane is a set of tools that helps to automate tedious tasks and quickly deploy an application from the console. Once it is set up, the simple command fastlane release in the terminal will automatically capture screenshots, build the application, upload it to the app store and notify slack.
If you create different lanes, you can also create beta versions or test versions with simple fastlane commands as well.
Fastlaneは、面倒なタスクを自動化し、コンソールからアプリケーションをすばやく展開するための一連のツールです。設定が出来たら、ターミナルの中に簡単なfastlane releaseコマンドで、fastlaneが 自動 でスクリーンショットを取って、アプリをビルドして、アプストーアにアップロードして、slackにお知らせしてくれます。
他のlaneを作ったら、リリースだけじゃなくてベーターやテストなどすぐに出来上がれます。
lane :beta do
  increment_build_number    # ビルドバーション上げる
  build_app
  upload_to_test
end

lane :release do
  capture_screenshots
  build_app
  upload_to_app_store       # iTunesアップストアにアップロードする
  slack                     # slack 知らせする
end
The above code shows how you can create separate lanes for deploying a beta application and releasing a full build.
上記のコードは、ベータアプリケーションを展開してビルドをリリースするための別々のlaneを作成する方法を示しています。
Installing fastlane - インストール
You will need input most fastlane commands into the terminal.
Firstly, xcode is required, so it would be good to install or update to the latest version.
fastlaneのコマンドはほとんどターミナルに入力しなければなりません。
まず、xcodeが必要なので、最新バージョンをインストールかアップデートしたほうがいいです。
xcode-select --install
Install fastlane with the following command, you can install with RubyGems or Homebrew.
下のコマンドでfastlaneをインストールが出来ます。RobyGemsかHomebrewどちも使えます。
# Install with RubyGems でインストールする
sudo gem install fastlane -NV

# Install with Homebrew でインストールする
brew cask install fastlane
Once it is installed, navigate to your application workspace and run fastlane with the initiate command.
( iOS: if you want to have your fastfile written in Swift, use the fastlane init swift command instead. )
インストールしたら、アプリのパスでfastlaneの開始するコマンドを使ってください。
(iOS:fastfileをSwiftで欲しいなら、fastlane init の代わりにfastlane init swiftを使ってください。)
cd ~/workspace/android/application/project_folder
fastlane init
Initiating fastlane will automatically detect the project file which you are in and create fastfiles accordingly to your Android or iOS application. Once it is installed, you should be able to run some of the simple commands such as: fastlane test, fastlane beta and fastlane deploy. However, depending on if you are running it with android or ios, you will have to complete the next parts differently.
Extra note: if you have installed fastlane with RubyGems, you can launch fastlane much faster by using bundle exec. After installing, you may need to go through the files inside of /fastlane/... to correct any information with your current build that might be incorrect.
Fastlaneを開始すると自動でAndroidとiOSのfastfilesが作ります。インストールの後はすぐにfastlane test、fastlane betaとfastlane deployが使えるはずです。しかし、次の部分はandroidとiosのする事は別々になります。
追加メモ:RubyGemsでfastlaneをインストールした場合、 bundle execを使ったらfastlaneはもっと速く起動することができます。インストール終わったら、/fastlane/...の中にあるファイルの情報確認したほうがいいかもしりません。app-identifierなどが間違えてないを確認。
WARNING: fastlane requires your locale to be set to UTF-8. To learn more go to https://docs.fastlane.tools/getting-started/ios/setup/#set-up-environment-variables
If you have the warning above, please put in the following into the terminal.
上記の警告がある場合は、端末に以下を入れてください。
export LC_ALL=en_US.UTF-8
export LANG=en_US.UTF-8
iOS
Testing fastlane
Now that fastlane has been installed and initiated, we should run a few tests before getting fastlane to Deploy applications for us. Inside of the fastlane/Fastfile file, you can adjust or create different lanes for fastlane to take. Essentially requesting fastlane to complete a different set of commands depending on console command you provide it.
アプリをDeployする前に、ちょっとテストと準備しなければならない。fastlane/Fastfileファイルの中に、色な「lane」と言うが作れます。レインを作ったら、コマンドラインで自分の作った道を有働してくれます。本質的に、fastlaneがコンソールコマンドに応じて異なるコマンドセットを完了するように要求します。
lane :tests do
  run_tests(scheme: "MyAppTests")
end
Putting this lane inside of the Fastfile would allow you to run the fastlane tests command to complete the requested actions. You can add additional parameters to run the test with extra conditions, such as testing on certain devices or even testing without building.
Fastfileにこのレインを入れて、fastlane testsのコマンドで入れたらテストします。テストの中にも他のparametersも入れられます。特別条件とか入れてテストも出来ます。
lane :tests do
  run_tests(workspace: "Example.xcworkspace",
            devices: ["iPhone 6s", "iPad Air"],
            scheme: "MyAppTests")
end
You can find a list of all the other parameters here:
https://docs.fastlane.tools/actions/run_tests/#parameters
lane :tests do
  run_tests(scheme: "MyAppTests",
            slack_url: "https://cloverlab.slack.com/services/my_name_is_dylan",
            slack_channel: "#channel")
end
Example to send messages to slack. スラックに知らせを送るの例。
Running fastlane - fastlaneの実行
Now that we have tested and gotten some things moving, let's try to execute some of the fastlane functions, such as the auto generation of screenshots and beta application deployment.
テストが出来ているので、fastlaneのフンクションちょっと実装して展開までやってみましょう。
- Screenshots - スクリーンショット
- Beta Deployment - ベータ展開
- AppStore Deployment - アップストア展開
1. Capture Screenshots Automatically - 自動でスクリーンショットを撮る
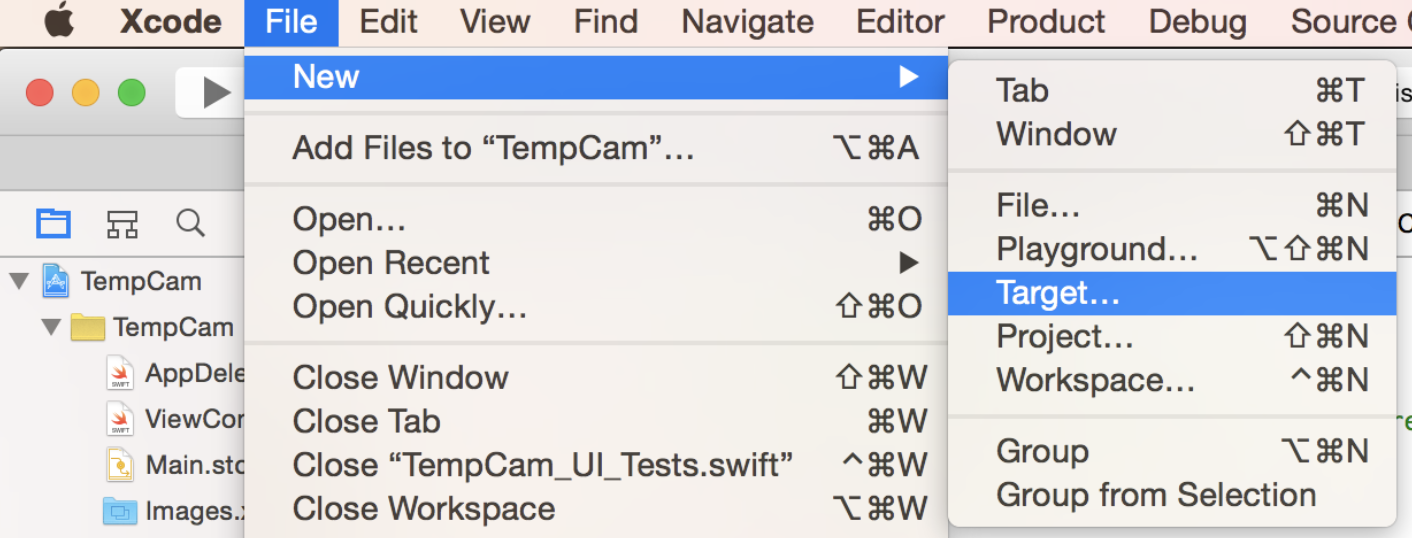
To set up capturing screenshots automatically, we need to create a UI Test target using Xcode. By doing this, we can automate and debug issues using Swift or Objective-C. There is no need to touch Javascript.
自動スクリーンショットの設定は「Xcode」で「UI Test target」を作らなければならない。これを使うのはデバッグが全部SwiftとObjective-Cで出来ます。Javascriptは必要じゃありません。

Once Xcode has been set up, try running fastlane snapshot init in the terminal. It will generate a ./SnapshotHelper.swift file inside your workspace which you can add to your 'UI Test target'. After creating a scheme, build and run your target. For Objective-C users, you must add #import "MYUITests-Swift.h to the class.
Xcodeの設定して、fastlane snapshot init を使ってみてください。./SnapshotHelper./swiftファイルが作ってくれる、このファイルを「UI Test target」に追加してください。Objective-C使う場はクラスのへーダーに#import "MYUITests-Swift.hが必要です。
To take screenshots at certain locations, call the function: 特に「xxx」の画面にスクリーンショット入れば:
Swift: snapshot("01LoginScreen")
Objective-C: [Snapshot snapshot:@"01LoginScreen" timeWaitingForIdle:10];
Inside of your setUp() method, add the following: setUp()のメソッドこの下を追加してください:
Swift:
let app = XCUIApplication()
setupSnapshot(app)
app.launch()
Objective-C
XCUIApplication *app = [[XCUIApplication alloc] init];
[Snapshot setupSnapshot:app];
[app launch];
This will be all the set up you need to do. To capture all the screenshots, input fastlane snapshot into the terminal. You can check all the screenshots inside /fastlane/screenshots. If they are okay, you can upload them to the AppStore with fastlane deliver.
これは設定以上になります。スクリーンショットを撮りたかったら、ターミナルにfastlane snapshotを入れてください。/fastlane/screenshotsが作ってくれます。そこでスクリーンショットを確認が出来ます。アップストアにアップロードしたかったら、fastlane deliverで出来ます。
2. Building Beta Application - ベーターアプリをビルドする
To create a beta for your application, inside of the Fastfile you will need to declare a new path for the beta verision.
アプリのベーターバーションを作りたかったら、Fastfileの中にベーターレインを作らなきゃあかん。新しい「path」を作りましょう。
lane :beta do
  get_certificates           # invokes cert
  get_provisioning_profile   # invokes sigh
  build_app(scheme: "MyApp")
  upload_to_testflight
  slack(message: "Successfully distributed a new beta build")
end
OR for more options:
lane :beta do
  get_certificates           # invokes cert
  get_provisioning_profile   # invokes sigh
  build_app(scheme: "MyApp",
            workspace: "Example.xcworkspace",
            include_bitcode: true)
  upload_to_testflight
  slack(message: "Successfully distributed a new beta build")
end
Using get_certificates and get_provisioning_profile will help you with to 'sign' your application. Fastlane will then build your application and upload_to_testflight will upload your application to the AppStore. The slack(... function will notify slack on completion of the previous functions.
get_certificatesとget_provisioning_profileはアプリを「sign」してくれます。upload_to_testflightはアップストアにアップロードしてくれます。そしてslackがお知らせしてくれます。
3.AppStore Deployment (Release) - アップストア展開
To release the application, similarly to deploying a 'beta version' we will have to create a path to release the application. Once it is created, you can release your application with the fastlane release command.
アプリをリリースするのはベーターと同じように作れます。新しいreleaseレインを作らなければなりません。設定が終わったら、リリースするのはターミナルにfastlane releaseを使いだけです。
lane :release do
  capture_screenshots                  # generate new screenshots for the App Store
  sync_code_signing(type: "appstore")  # see code signing guide for more information
  build_app(scheme: "MyApp")
  upload_to_app_store                  # upload your app to App Store Connect
  slack(message: "Successfully uploaded a new App Store build")
end
Android
Setting up Supply - Fastlane Supply を設定する
Unlike the iOS, GooglePlay cannot login and have everything set up automatically through the console. Google Credentials are required to collect and upload information to the GooglePlay Store. This information can be found in the Google Play Console. Let's create the link to Google Play.
GooglePlayはコンソルでログインして設定してくれませんので、自分でGoogleCredentialsを繋げなければなりません。全部の情報が「Google Play コンソル」であります。この設定をやりましょう。
Creating a service account - サービスアカウントを作り
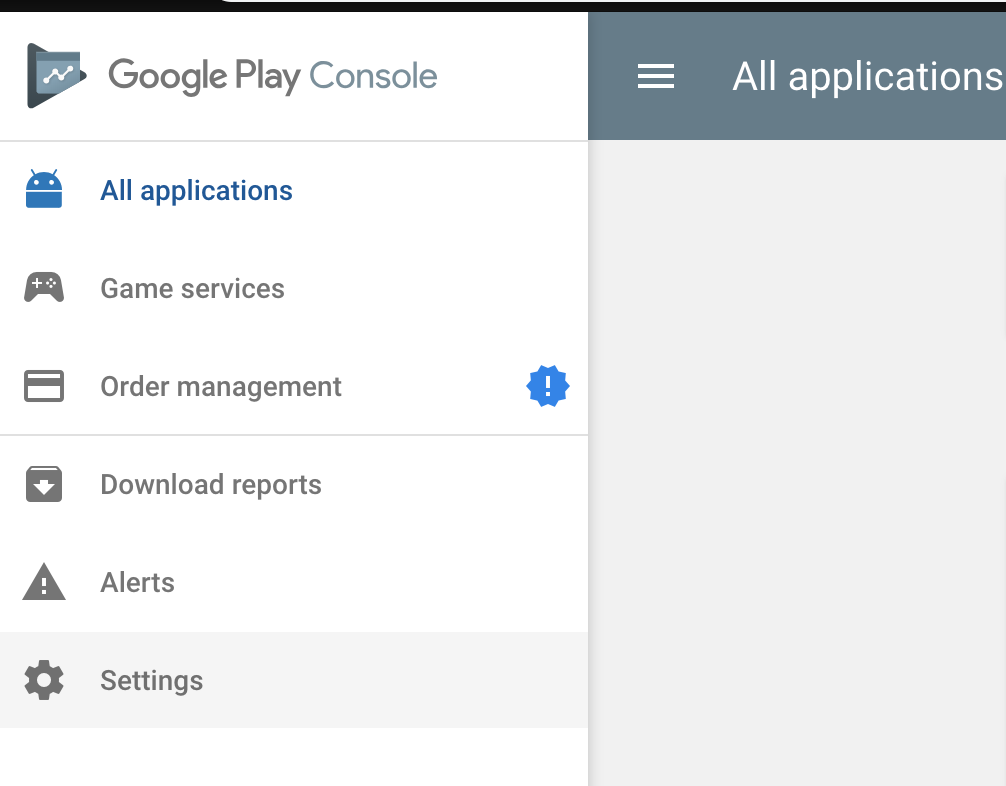
First we will have to access the Google Play Console's 'API Access' inside of the 'Settings' to create a 'Service Account'.
まずは Google Play Consoleの設定の「API access」で 「Service Account」を作ってください。
 ---
---
 ---
---
 ---
---
 ---
On Step 2, set Role as ‘Service Account User’
ステップ2、ロールは’Service Account User’に設定して
---
On Step 2, set Role as ‘Service Account User’
ステップ2、ロールは’Service Account User’に設定して
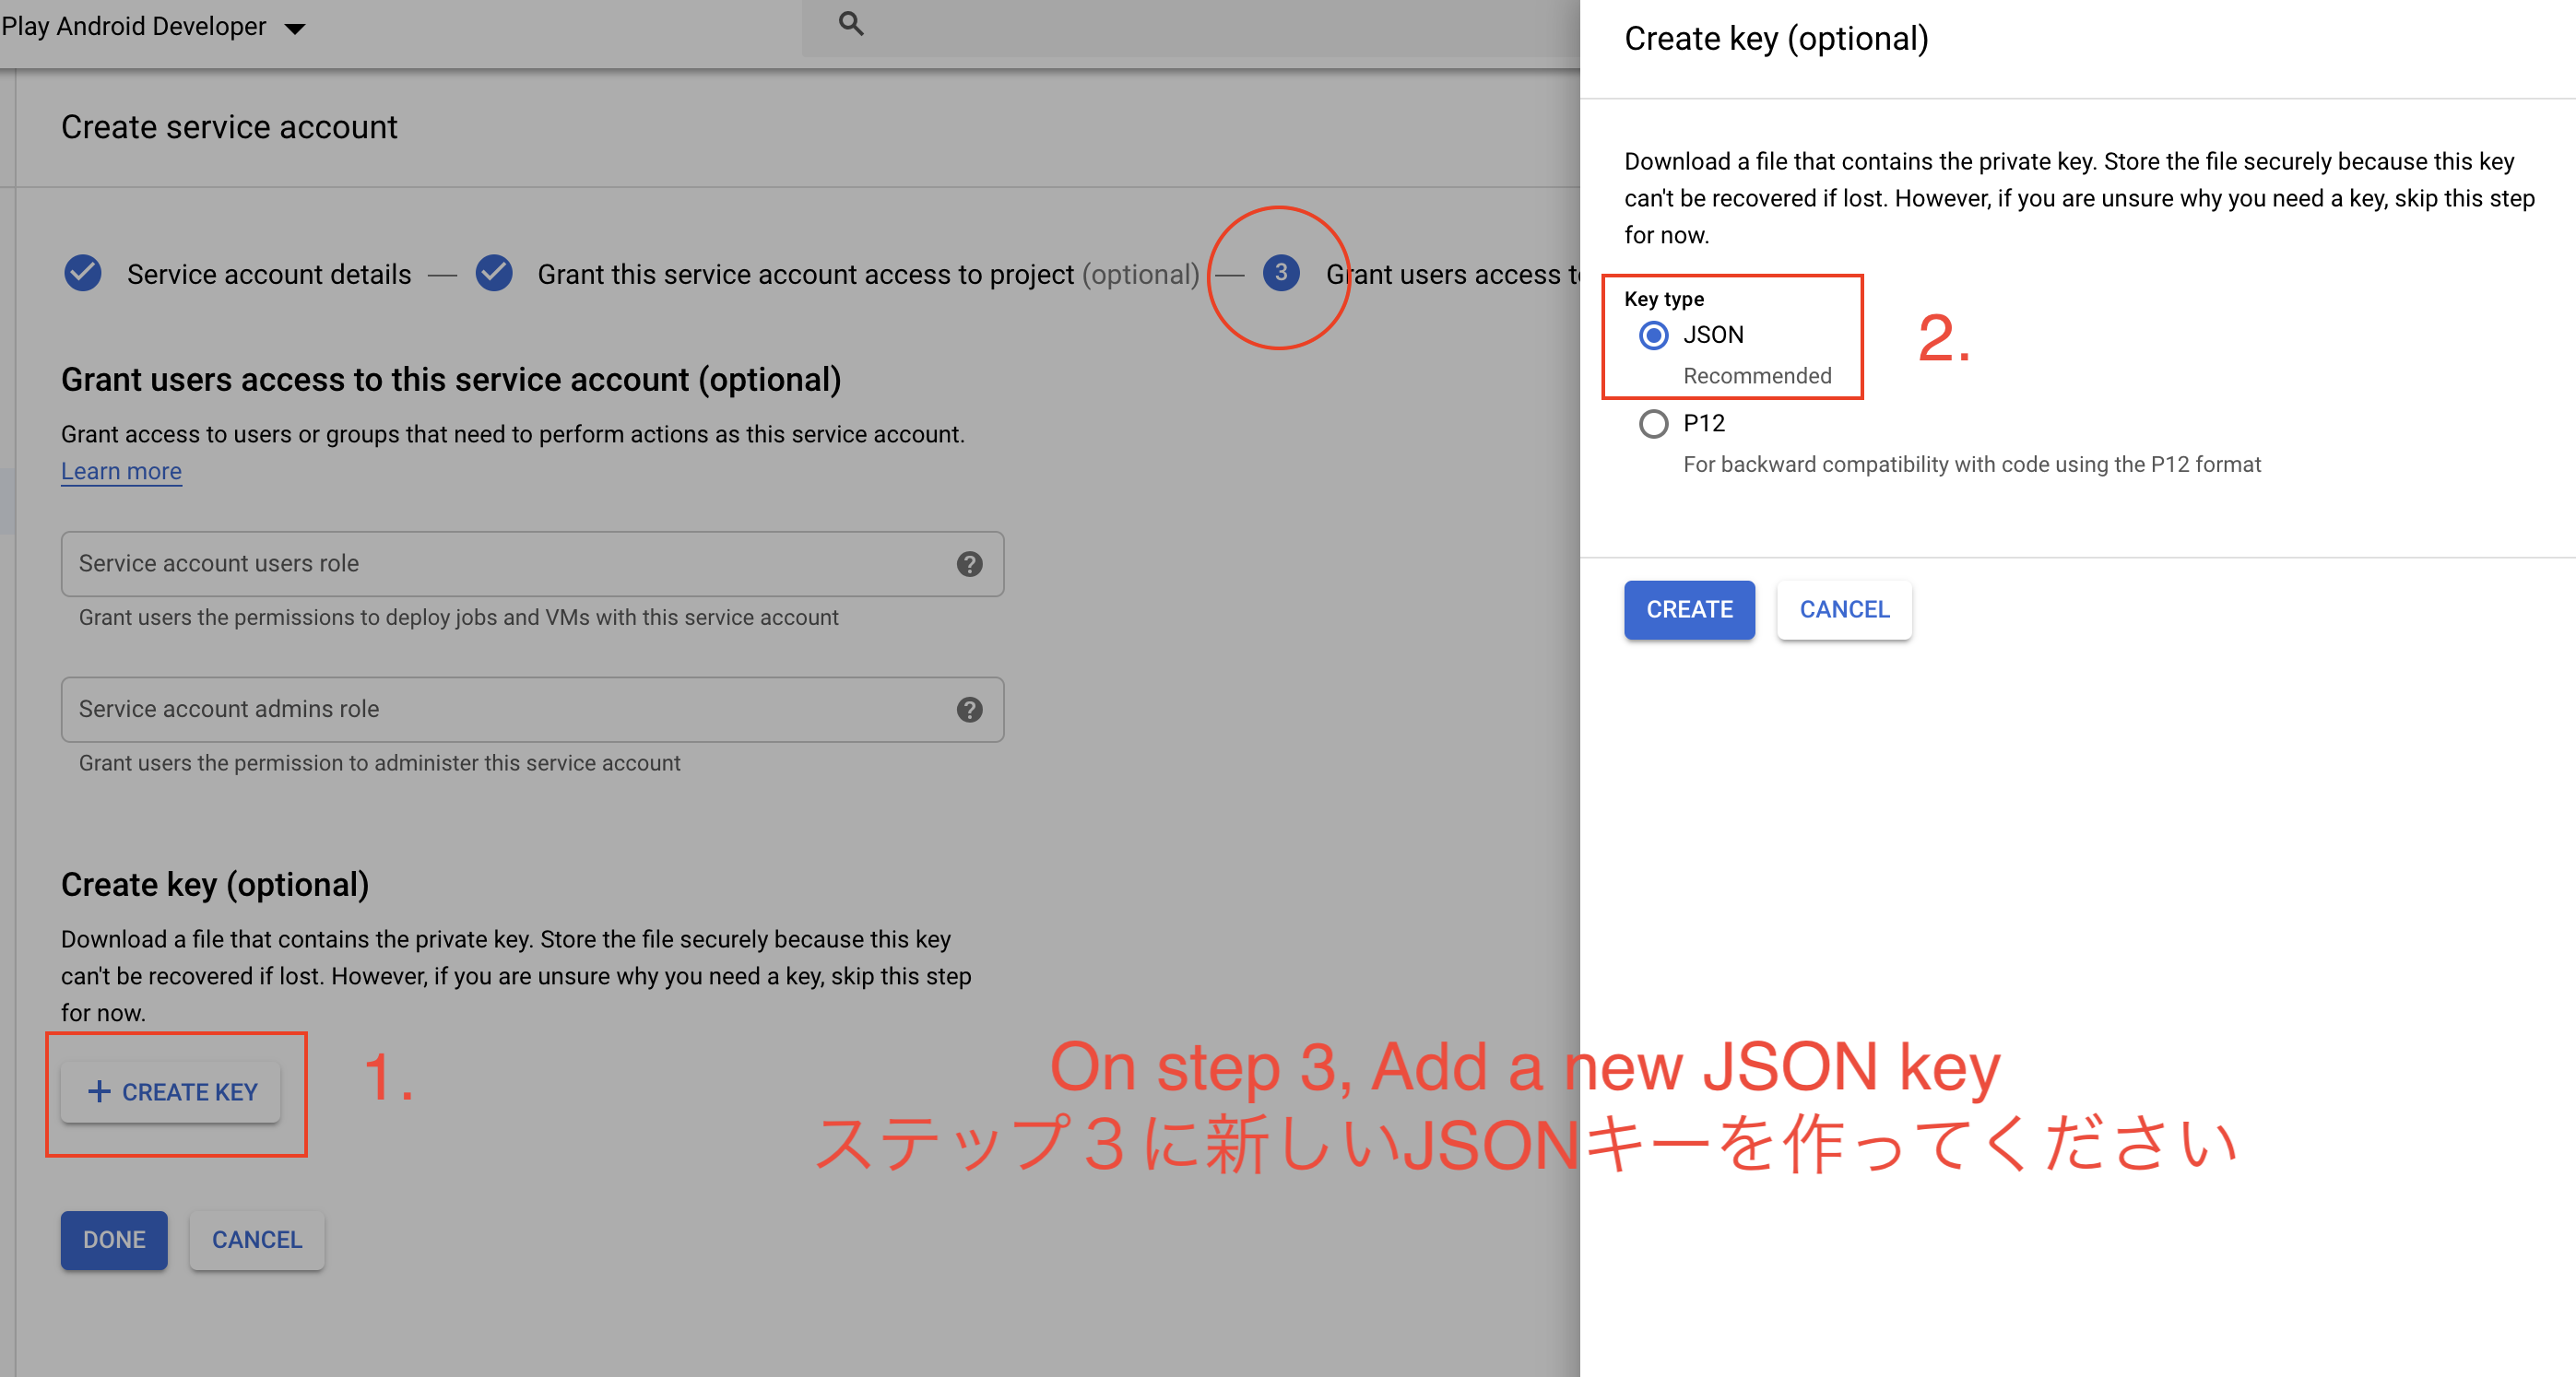 On Step 3, Add a new JSON key, this will download a new file to your computer.
ステップ3に新しいJSONキーを作ってください、これしたらJSONファイルがダウンロード始まるはずです。
On Step 3, Add a new JSON key, this will download a new file to your computer.
ステップ3に新しいJSONキーを作ってください、これしたらJSONファイルがダウンロード始まるはずです。
Go back to the Google Play Console.
Google Play コンソルに戻ってください。
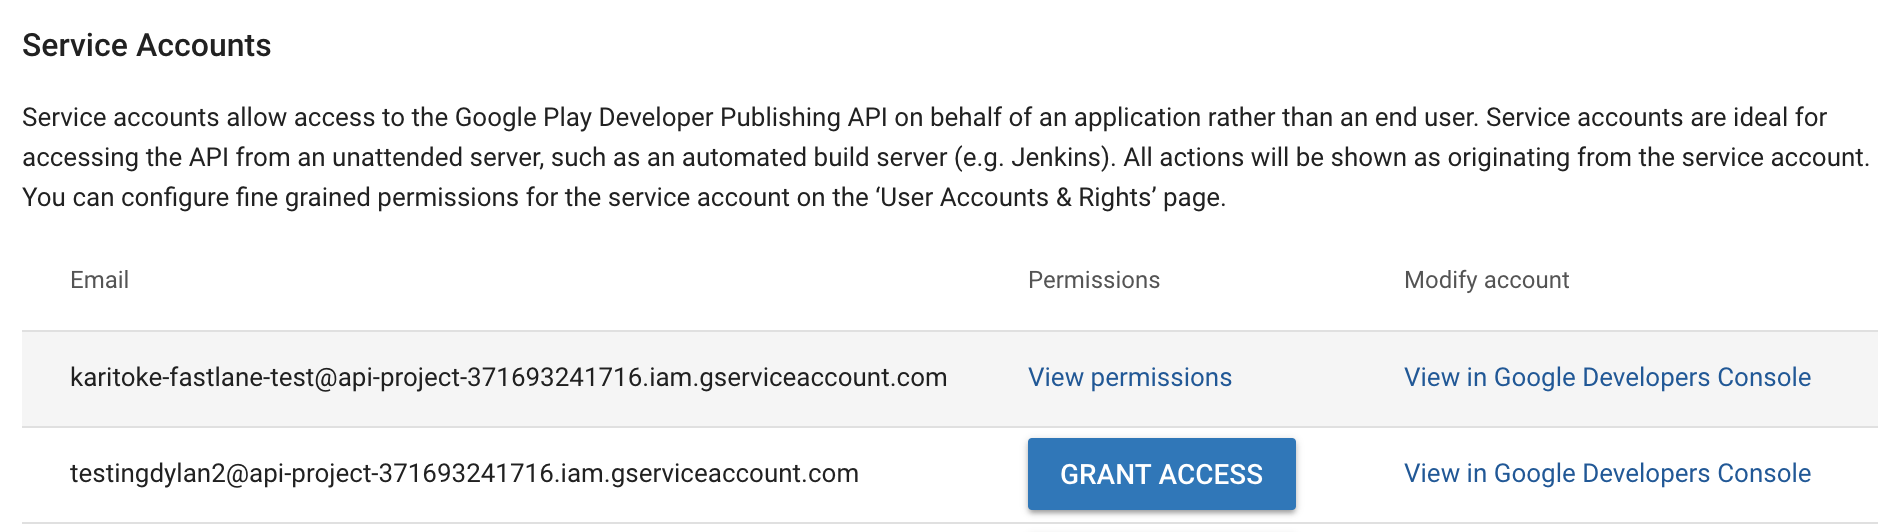
The newly created account should be inside of this list. Under the Permissions column, press on 'GRANT ACCESS'. You will need to add 'Release Manager' to the Roles before we can configure our supply to fastlane.
このリストの中に先の作ったアカウントがあるはずです。'Permissions'のカルムの下に'GRANT ACCESS'のボットンがあるはず、それを押して、'Role'「ロール」の中に'Release Manager'を追加してください。これしたら、fastlaneにsupplyを繋ぎましょう。
Configure Supply to fastlane
Now that you have the JSON file, you will edit the fastlane/Appfile file and set the path of json_key_file to the downloaded JSON file.
JSON fileダウンロードした後に、fastlane/Appfileを更新しましょう。json_key_fileのところが先のダウンロードしたJSONファイルに入れてください。
json_key_file "/ダウンロード/した/JSON/キー/の/パース.json"
Once that is done, you should be able to connect to the Google Console, try using the fastlane supply init command in the terminal now.
出来たら、Googleコンソルにコネクトができるはず、ターミナルでfastlane supply init使ってみてください。
Testing fastlane
Now that fastlane has been installed and initiated, we should run a few tests before getting fastlane to Deploy applications for us. Inside of the fastlane/Fastfile file, you can adjust or create different lanes for fastlane to take. Essentially requesting fastlane to complete a different set of commands depending on console command you provide it.
アプリをDeployする前に、ちょっとテストと準備しなければならない。fastlane/Fastfileファイルの中に、色な「lane」と言うが作れます。レインを作ったら、コマンドラインで自分の作った道を有働してくれます。本質的に、fastlaneがコンソールコマンドに応じて異なるコマンドセットを完了するように要求します。
lane :tests do
  gradle(task: "test")
end
You can find a list of all the other parameters here:
https://docs.fastlane.tools/actions/gradle/#parameters
gradle(
  task: "assemble",
  flavor: "ObeyDylan",
  build_type: "Release",
  properties: {
    "versionCode" => 9000,
    "versionName" => "1.0.1",
    # ...
  }
)
Example of adding additional properties.
Running fastlane - fastlaneの実行
Now that we have tested and gotten some things moving, let's try to execute some of the fastlane functions, such as the auto generation of screenshots and beta application deployment.
テストが出来ているので、fastlaneのフンクションちょっと実装して展開までやってみましょう。
- Screenshots - スクリーンショット
- Beta Deployment - ベータ展開
- AppStore Deployment - アップストア展開
1. Android Screengrab - Screengrabを使って自動でスクリーンショットを撮る
First thing required is the screengrab gem. Install this with the code below.
Screengrabのgemをインストールしてください。
sudo gem install screengrab
You will also need to add a new dependency to the Gradle file.
Gradleファイル新しいdependencyも入れなければなりません。
androidTestCompile 'tools.fastlane:screengrab:1.0.0'
The manifest will also require the following permissions.
Manifestはこの許可も必要です。
<!-- Access for UI tests to succeed - UI testsのアクセス為に -->
<uses-permission android:name="android.permission.DISABLE_KEYGUARD"/>
<uses-permission android:name="android.permission.WAKE_LOCK"/>

<!-- Allows for storing and retrieving screenshots スクリーンショットを保存と撮る -->
<uses-permission android:name="android.permission.WRITE_EXTERNAL_STORAGE" />
<uses-permission android:name="android.permission.READ_EXTERNAL_STORAGE" />

<!-- Allows changing locales - locales変更できるよう  -->
<uses-permission android:name="android.permission.CHANGE_CONFIGURATION" />
Once it is all set up, you can insert Screengrab.screenshot("name_of_screenshot_here"); into the screens which you want to take screenshots from. To generate all screenshots run fastlane screengrab inside the terminal. This will generate screenshots for your application and save them inside fastlane/metadata/android. You can check the screenshots inside of the file, and when it is okay to upload to Google Play, fastlane supply will upload the screenshots appropriately.
設定が出来たら、スクリーンショットして欲しい画面にScreengrab.screenshot("スクリーンショットの名");を入れてください。全部のスクリーンショットを生成するのはターミナルでfastlane screengrabで出来ます。スクリーンショットはfastlane/metadata/androidで保存しています。ファイルの中を確認したら、GooglePlayにアップロードするのはfastlane supplyのコマンドで出来ます。
1.fastlane screengrab
2.fastlane supply
If you would like to do both of these actions in one command, you can also create a path to do so. Add it to the Fastfile.
もしこの二つのアクション、一つのコマンドで出来たかったら、新しいレインを作ったら出来ます。「Fastfile」の中に入れてください。
lane :screenshots do
  capture_android_screenshots
  upload_to_play_store
end
2. Building Beta Application - ベーターアプリをビルドする
To create a beta for your application, inside of the Fastfile you will need to declare a new path for the beta verision.
アプリのベーターバーションを作りたかったら、Fastfileの中にベーターレインを作らなきゃあかん。新しい「path」を作りましょう。
lane :beta do
  # Adjust the `build_type` and `flavor` params as needed to build the right APK for your setup
  gradle(task: 'assemble', build_type: 'Release')
  upload_to_play_store(track: 'beta')
  slack(message: 'Successfully distributed a new beta build')
end
This will complete a build, and upload the new application to Google Play. Once the upload is complete, a notification will be sent to Slack.
これだけでベータービルドを作ってくれる、そしてGooglePlayにアップロードしたら、Slackに知らせしてくれます。
3. GooglePlayStore (Release) - 展開
To release the application, similarly to deploying a 'beta version' we will have to create a path to release the application on Google playstore. Once it is created, you can release your application with the fastlane playstore command.
アプリをリリースするのはベーターと同じように作れます。新しいfastlaneレインを作らなければなりません。設定が終わったら、リリースするのはターミナルにfastlane playstoreを使いだけです。
lane :playstore do
  gradle(
    task: 'assemble',
    build_type: 'Release'
  )
  upload_to_play_store # Uploads the APK built in the gradle step above
  #upload_to_play_store(
  #  track: 'rollout',
  #  rollout: '0.5'
  #)
end
Time saved.
Making use of fastlane allows you to release an application soon after completion. There is no need to do all the manual labour in preparing the application for launch, because it will all be done in code.
fastlaneを使ったら、アプリを出来上がる時、すぐにリリースできるようになります。面倒のリリース準備がすごく少なくなります、コードの中に自動でやってくれます。