1 何をしたいか
Webサービスを作るにあたって、クライアントとの情報のやり取りをTLS/SSLを通じて行いたい。そこで
- Let's Encryptを用いて証明書を取得
- nginxの設定を加えて、https://~を使えるようにする。(TLS/SSL通信の実現)
- http://~からhttps://~へリダイレクトし、全てのアクセスをhttps://~で行うようにする
を実現することを目指した。
前提として、Debian9 + nginxはすでに入っていること。
2 Let's Encryptを用いて証明書を取得
2.1 とりあえずLet's Encryptのオフィシャルサイトへアクセスする
とりあえず、Let's Encryptのオフィシャルサイトへアクセスしてみる。
https://letsencrypt.org/getting-started/
すると
We recommend that most people with shell access use the Certbot ACME client. It can automate certificate issuance and installation with no downtime.
とあるので、このCertbotというやつを入れる。Certbotは
https://certbot.eff.org/
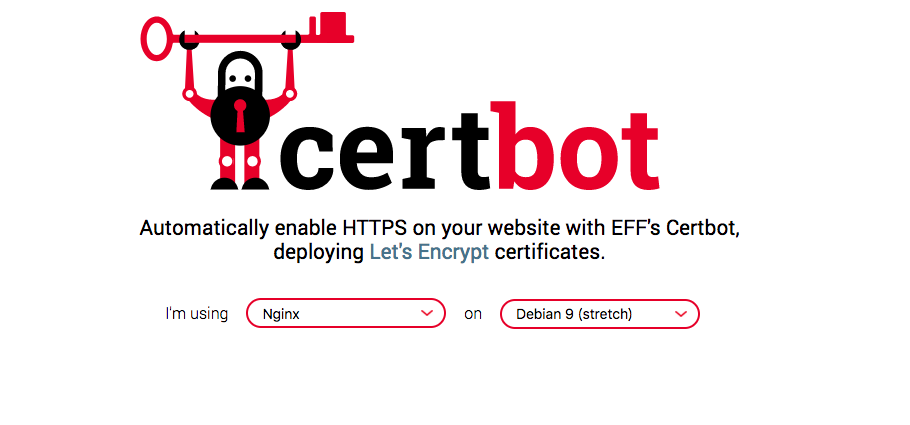
で入れ方を教えてくれる。今回はOSはDebian9でnginxを使うので、こんな感じ。

後は、このサイトの下に出てくるshellをサーバー側で実行してあげればいい。
2.2 じゃあ、実際に証明書取得やってみる。
2.2.1 python-certbot-nginxをインストール
Certbotのサイトからそのままだけど、このコマンドを実行。
$ sudo apt-get install python-certbot-nginx -t stretch-backports
After this operation, 10.2 MB of additional disk space will be used.
Do you want to continue? [Y/n]
とコンソールで聞かれるのでY。次に、
$ sudo certbot certonly --authenticator standalone --pre-hook "nginx -s stop" --post-hook "nginx"
を実行すると、色々聞かれるから丁寧に読んで、その指示に従って書いてください。(面倒くさいのでここでは割愛)
"IMPORTANT NOTES:"と出てきて、一番最初の項目に"Congratulations!"と出てきていたら、証明書を無事取得できていると思います。
3 nginxの設定を加えて、https://~を使えるようにする。(TLS/SSL通信の実現)
では、さっき取ってきた証明書を利用して、nginxを設定します。
3.1 nginxのtls/sslの設定
/etc/nginx/conf.dの下にssl.confというファイルを作り、以下のコードを書きます。
server{
  listen 443 ssl;
  ssl_certificate /etc/letsencrypt/live/example.com/fullchain.pem;
  ssl_certificate_key /etc/letsencrypt/live/example.com/privkey.pem;


  location / {
    proxy_set_header Host $http_host;
    proxy_set_header X-Real-IP $remote_addr;
    proxy_set_header X-Forwarded-For $proxy_add_x_forwarded_for;
    proxy_set_header X-Forwarded-Proto $scheme;
    proxy_pass       http://example.com;
    proxy_redirect   off;
  }
}
example.comの部分は適当に変えてください。
この変更を行った後
sudo nginx -s reload
を実行すると、https://example.com にアクセスできると思います。
4 http://~からhttps://~へリダイレクトし、全てのアクセスをhttps://~で行うようにする
もうここまでくれば、そんなに難しくないので、ざっくり書くとさっきのssl.confファイルを以下のように書き換えればいい。
server {
  listen	80;
  server_name example.com;
  return 301 https://$host$request_uri;
}

server{
  listen 443 ssl;
  ssl_certificate /etc/letsencrypt/live/example.com/fullchain.pem;
  ssl_certificate_key /etc/letsencrypt/live/example.com/privkey.pem;


  location / {
    proxy_set_header Host $http_host;
    proxy_set_header X-Real-IP $remote_addr;
    proxy_set_header X-Forwarded-For $proxy_add_x_forwarded_for;
    proxy_set_header X-Forwarded-Proto $scheme;
    proxy_pass       http://example.com;
    proxy_redirect   off;
  }
}
そして、再度
sudo nginx -s reload
を実行すると、リダイレクトが出来るようになっているはずです。
4 まとめ
今まで、何回かしていた作業なのですが時々しかやらないので、自分用にまとめました。
もしも、何かここまずいぞとか間違っているぞ、みたいなことがありましたらコメントかメールにてご意見いただけると幸いです。