まえがき
SNSなどで設定するアイコンをどうするか非常に悩みますよね。
Diffusersで自撮り写真からアイコンに使えるような似顔絵を生成する方法をまとめます。
この記事では
- Diffusersの環境構築
- image2imageによる似顔絵の生成
- CivitaiのモデルをDiffusersで扱う方法
について紹介します。
最後に筆者の似顔絵を生成します。
Diffusersを使える環境の用意
Diffusersとは
HuggingFaceが開発する画像生成AIを扱うためのライブラリです。
環境構築
NVIDIAドライバ、Docker、NVIDIA Container Toolkitのインストールはされているものとし、説明は省略します。
- 使用したDockerイメージ
- nvidia/cuda:12.6.2-runtime-ubuntu20.04
まずはpythonとpytorchをインストールします。
$ apt update
$ apt upgrade -y
$ apt install -y python3 python3-pip
$ pip3 install torch torchvision torchaudio
diffusersとその他必要なpackageをインストールします。
$ pip3 install diffusers peft
Diffusersの動作確認
from diffusers import StableDiffusionPipeline, UniPCMultistepScheduler
import torch

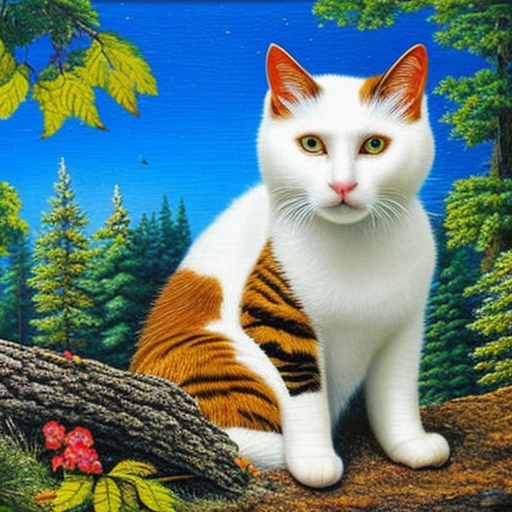
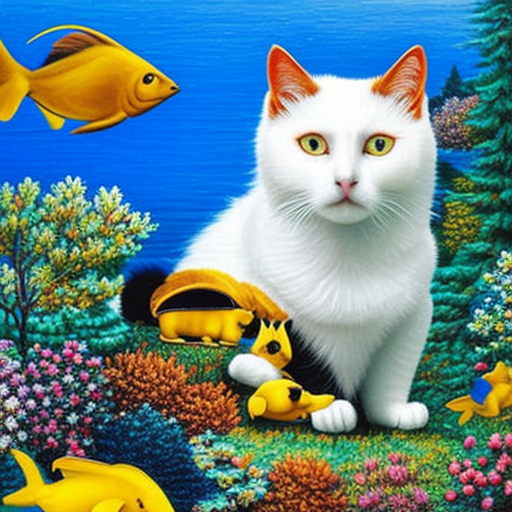
prompt = "a cat under the sea, best quality, extremely detailed, masterpiece"
negative_prompt = "longbody, lowres, bad anatomy, bad hands, missing fingers, extra digit, fewer digits, cropped, worst quality, low quality"
model_name="stabilityai/stable-diffusion-2-1-base"
device = "cuda"
seed = 100

pipe = StableDiffusionPipeline.from_pretrained(model_name, torch_dtype=torch.float16)
pipe.scheduler = UniPCMultistepScheduler.from_config(pipe.scheduler.config)
pipe.to(device)

generator = torch.Generator(device).manual_seed(seed)
image = pipe(prompt, negative_prompt=negative_prompt, num_inference_steps=30, generator=generator).images[0]

image.save('cat.png')
既存の画像をベースにした画像生成
動作確認ではテキストから画像を生成しました(text2image)が、画像から画像を生成することもできます(image2image)。
from diffusers import StableDiffusionImg2ImgPipeline, UniPCMultistepScheduler
import torch
import PIL.Image as PILImage

base_image_path = "cat.png"
prompt = "a cat under in the forest, best quality, extremely detailed, masterpiece"
negative_prompt = "longbody, lowres, bad anatomy, bad hands, missing fingers, extra digit, fewer digits, cropped, worst quality, low quality"
model_name="stabilityai/stable-diffusion-2-1-base"
device = "cuda"
seed = 100

base_image = PILImage.open(base_image_path).convert('RGB')

pipe = StableDiffusionImg2ImgPipeline.from_pretrained(model_name, torch_dtype=torch.float16)
pipe.scheduler = UniPCMultistepScheduler.from_config(pipe.scheduler.config)
pipe.to(device)

generator = torch.Generator(device).manual_seed(seed)
image = pipe(prompt, negative_prompt=negative_prompt, num_inference_steps=30, generator=generator, image=base_image, guidance_scale=7.5, strength=0.8).images[0]

image.save('cat2.png')
「Diffusersの動作確認」で生成したcat.pngをベースにして画像を生成します。
cat.pngを構図に似た構図で画像が生成されます。
strength=0.8
このパラメータを調整することで元の画像をどの程度残すか調整することが出来ます。
小さくすると元の画像に近い画像が生成され、大きくするほど元の画像を無視します。
値の範囲は0.0~1.0です。
| strength=1.0 | strength=0.8 | strength=0.5 | strength=0.2 |
|---|---|---|---|
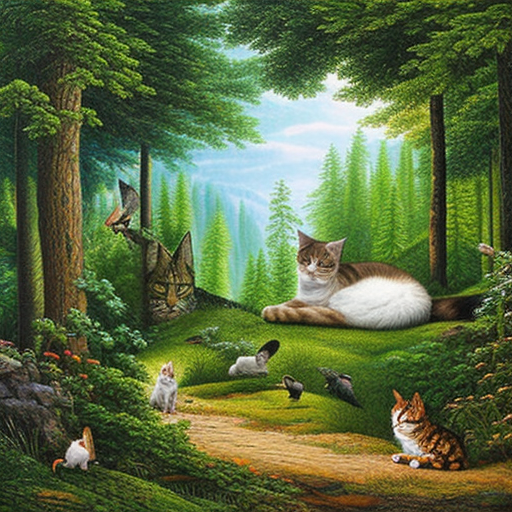 |
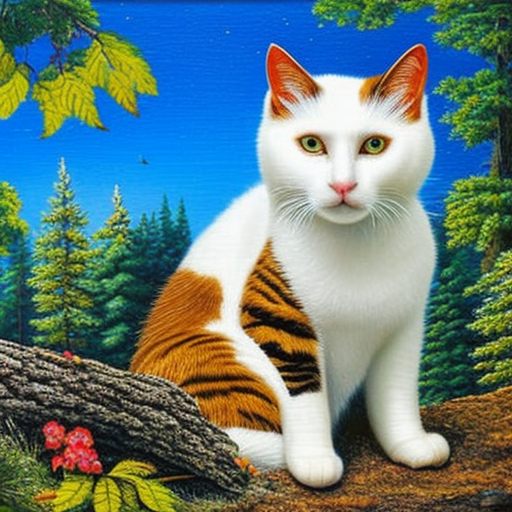 |
 |
 |
CivitaiのモデルをDiffusersで扱う
Diffusersで扱えるモデルはHuggingFaceで公開されているDiffusers形式のものに限られます。
そのため、Civitaiなどで公開されているモデルを使用するには、Diffusers形式のものに変換して使用する必要があります。
Diffusers形式への変換
変換のためのスクリプトはHuggingFaceが用意してくれています。
まず、上記のスクリプトとConfigファイルをダウンロードします。
CivitaiからSDV1系のモデルをダウンロードします。
今回はFlat-2D Animergeを使用してみます。
ダウンロードしたら以下のようにモデルを変換します。
$ python3 convert_original_stable_diffusion_to_diffusers.py --original_config_file v1-inference.yaml --checkpoint_path flat2DAnimerge_v45Sharp.safetensors --image_size 512 --prediction_type epsilon --extract_ema --upcast_attention --dump_path diffusers/flat2DAnimerge_v45Sharp --from_safetensors --device cpu
diffusers/flat2DAnimerge_v45Sharpというディレクトリが作成されれば成功です。
変換したモデルでの画像生成
変換したモデルを使用する場合はmodel_nameに作成されたディレクトリにするだけです。
from diffusers import StableDiffusionPipeline, UniPCMultistepScheduler
import torch

prompt = "a cat under the sea, best quality, extremely detailed, masterpiece"
negative_prompt = "longbody, lowres, bad anatomy, bad hands, missing fingers, extra digit, fewer digits, cropped, worst quality, low quality"
model_name="diffusers/flat2DAnimerge_v45Sharp"
device = "cuda"
seed = 100

pipe = StableDiffusionPipeline.from_pretrained(model_name, torch_dtype=torch.float16)
pipe.scheduler = UniPCMultistepScheduler.from_config(pipe.scheduler.config)
pipe.to(device)

generator = torch.Generator(device).manual_seed(seed)
image = pipe(prompt, negative_prompt=negative_prompt, num_inference_steps=30, generator=generator).images[0]

image.save('cat_flat2d.png')
似顔絵を作る
それでは似顔絵を生成します。
と言ってもやることは好きなモデルを使って自撮り画像からimage2imageで画像を生成するだけです。
色んなモデルで似顔絵を生成していい感じのものを探したいと思います。
モデルの選定
このあたりで似顔絵を作ってみます。
似顔絵の作成
コードは入力画像とモデルを入れ替えている程度なので省略します。
プロンプトは以下のようにしました。
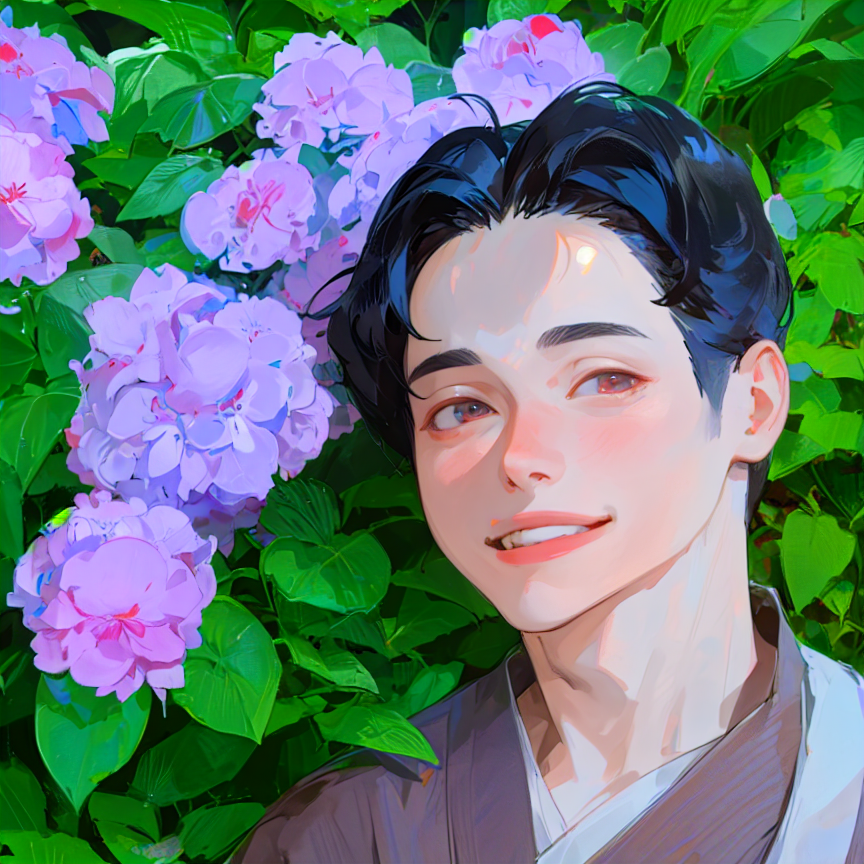
"Smiling young man in the garden, smooth skin, big and prety eyes, big mouth, Wearing a kimono, look at viewer, best quality, extremely detailed, masterpiece"
| model | strength=0.3 | strength=0.5 | strength=0.7 |
|---|---|---|---|
| Flat-2D Animerge | 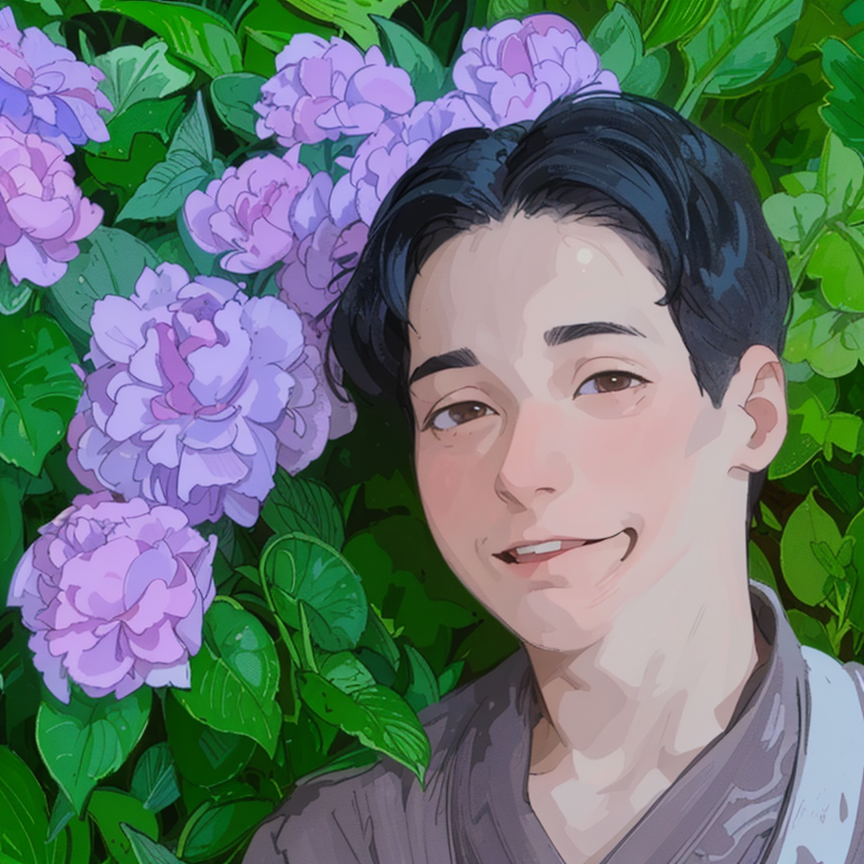 |
 |
 |
| ToonYou |  |
 |
 |
| Counterfeit-V3.0 | 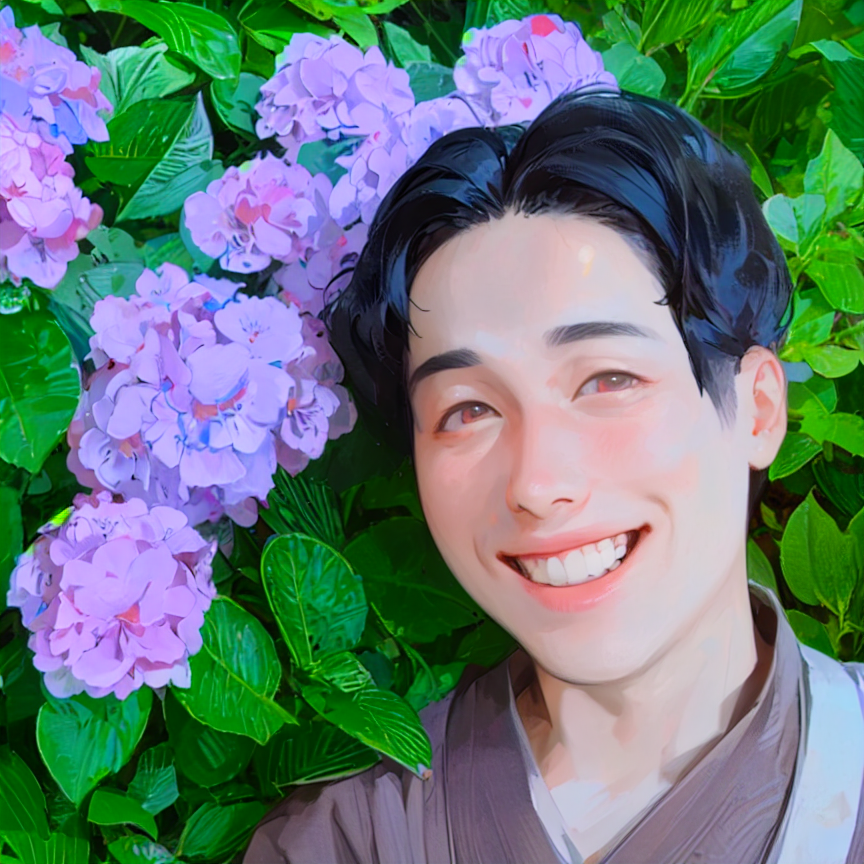 |
 |
 |
strength=0.3はほぼ僕ですが程よくイラスト調になってます。
strength=0.5は勝手にイケメンに変換されてます。
strength=0.7はもう誰だお前って感じです(笑)。
似顔絵と呼べるのはstrength=0.5以下からですかね。
おわりに
本記事では
- Diffusersの環境構築
- image2imageによる似顔絵の生成
- CivitaiのモデルをDiffusersで扱う方法
について紹介し、最後に似顔絵の生成をしました。
これでSNSなどのアイコンに困ることはなくなりましたね!
参考文献

