VOICEVOXとは
音声合成ソフトといえば実況動画などでお馴染みのVOICEROIDがありますが、あれは1万円ほどする上に外部ソフトウェアと連携するインターフェイスは持ちません。
一方で今回紹介するVOICEVOXは「高品質」にもかかわらず「無料」で使える上に、なんと外部ソフトウェアから利用できるようにインターフェイスを提供してくれています。
(至れり尽くせりでありがたみが深い)
REST-APIで利用できる(超重要)
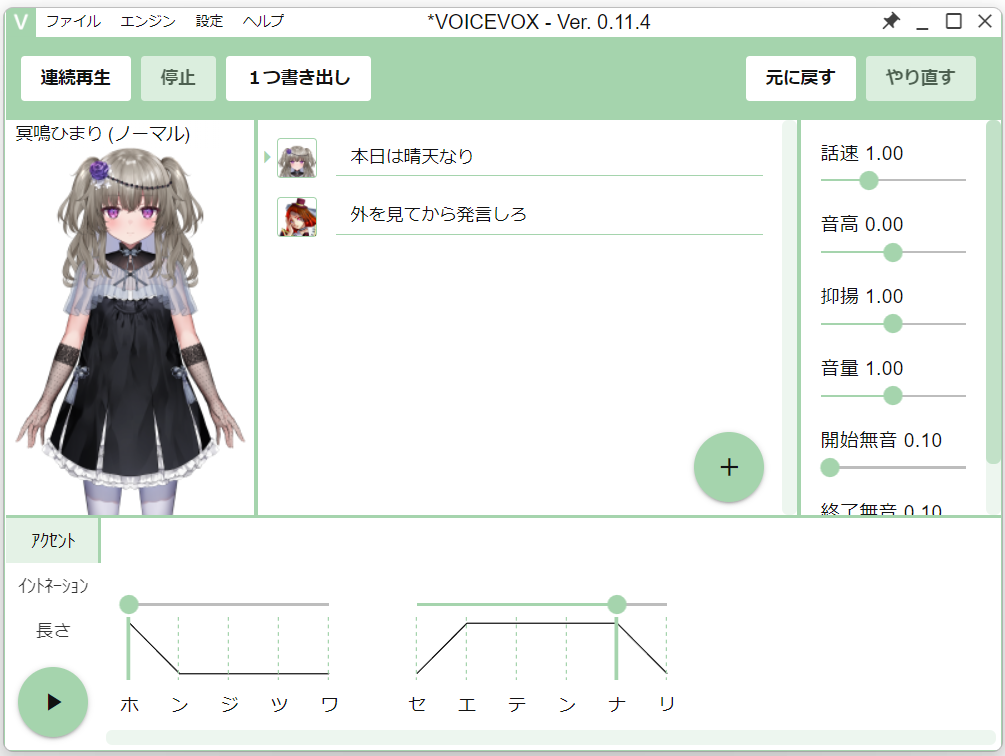
VOICEVOXは起動するとGUIだけでなくローカルにHTTPサーバが立ち上がります。
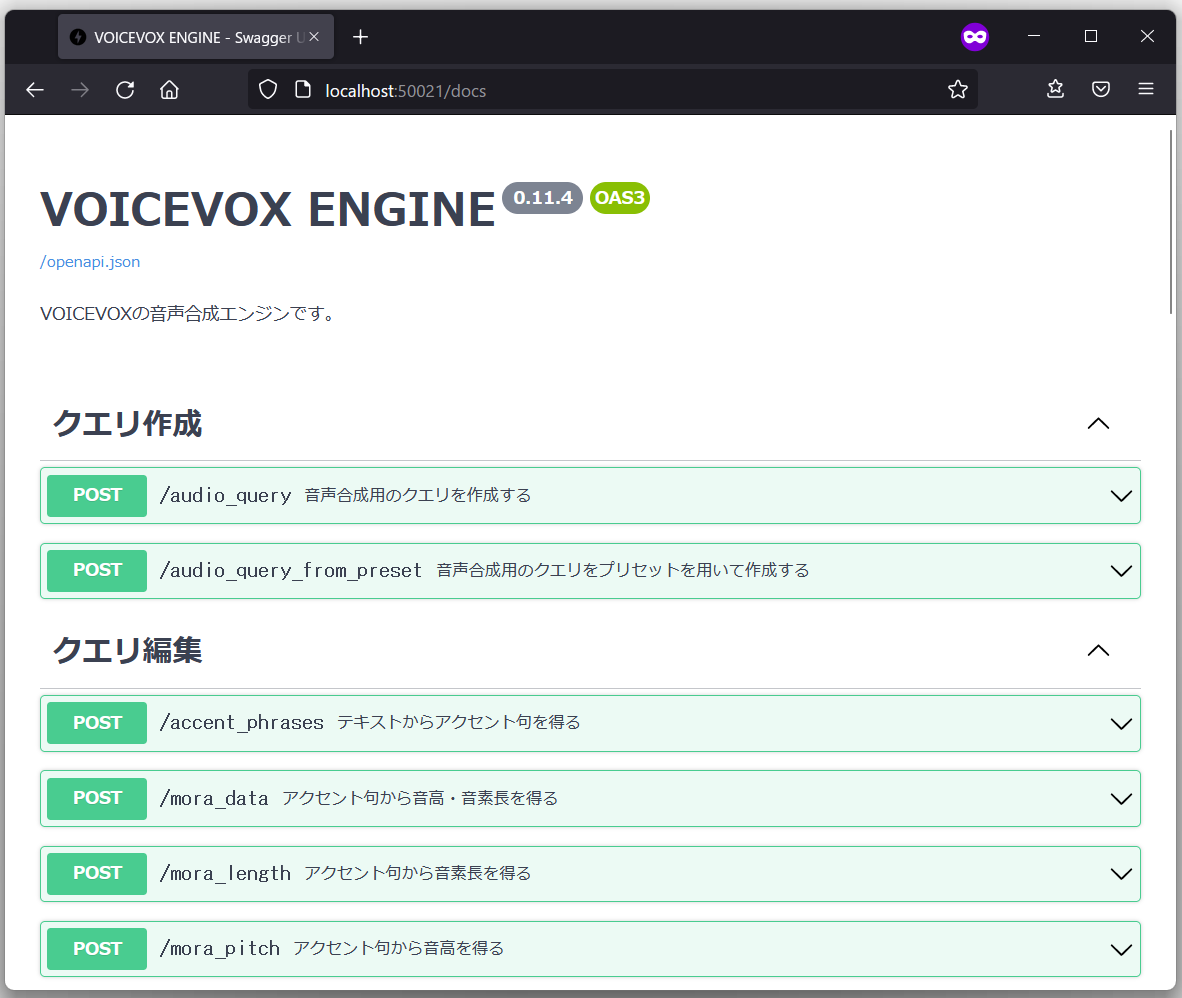
試しにGUIを立ち上げた状態でブラウザから http://localhost:50021/docs にアクセスすると下記のOpenAPIの仕様書が表示されます。
VOICEVOXのGUIは不要で、HTTPサーバ機能だけ使いたいのであればDockerイメージがあるのでソッチ使いましょう。

まずはcurlで叩いてみる
-
まずはVOICEVOXを起動しておく。(GUIでもDockerでもお好きな方で)
-
読み上げたい文字列を準備する。
$ echo -n "こんにちは、音声合成の世界へようこそ" > text.txt -
音声合成用のクエリ作成のエンドポイント(/audio_query) に話者と読み上げたい文章をパラメタで渡します。
すると音声合成で利用するクエリが返ってきます。$ curl -s \ -X POST \ "localhost:50021/audio_query?speaker=1"\ --get --data-urlencode text@text.txt \ > query.json -
音声合成のエンドポイント(/synthesis) に話者とクエリをパラメタで渡すとオーディオファイルが返ってきます。
$ curl -s \ -H "Content-Type: application/json" \ -X POST \ -d @query.json \ "localhost:50021/synthesis?speaker=1" \ > audio.wav -
audio.wav を再生してみると「ずんだもん」の声が聞こえてきます。
お次はTypeScript(React)から利用してみる
-
まずはVOICEVOXを起動しておく。(GUIでもDockerでもお好きな方で)
-
UIが欲しいのでReactでプロジェクトを作る。
yarn create react-app voicevox_sample --template typescript -
ReactからVOICEVOXにHTTPリクエストを投げるのでsuperagentを追加する。
yarn add superagent yarn add @types/superagent -
作成されたReactプロジェクトの「src/App.tsx」の中身を以下ソースに書き換える。
import React, { ChangeEvent, useState } from 'react'
import superagent from 'superagent'
import './App.css'

// Style
const contentStyle: React.CSSProperties = {width: '80%', textAlign: 'center'}
const textareaStyle: React.CSSProperties = {width: '100%', height: 100}
const buttonStyle: React.CSSProperties = {...textareaStyle, fontSize: 30}
const audioStyle: React.CSSProperties = {...textareaStyle}

// Query型定義
type Mora = {
  text: string
  consonant: string
  consonant_length: number
  vowel: string
  vowel_length: number
  pitch: number
}

type Query = {
  accent_phrases: {
      moras: Mora[]
      accent: number
      pause_mora: Mora
  }
  speedScale: number
  pitchScale: number
  intonationScale: number
  volumeScale: number
  prePhonemeLength: number
  postPhonemeLength: number
  outputSamplingRate: number
  outputStereo: boolean
  kana: string
}

const App = () => {
  const [inputText, setInputText] = useState<string>('')
  const [queryJson, setQueryJson] = useState<Query>()
  const [audioData, setAudioData] = useState<Blob>()

  // 文字列からQueryを作り出す
  const createQuery = async () => {
    const res = await superagent
      .post('http://localhost:50021/audio_query')
      .query({ speaker: 1, text: inputText })

    if (!res) return

    setQueryJson(res.body as Query)
  }

  // Queryから合成音声を作り出す
  const createVoice = async () => {
    const res = await superagent
      .post('http://localhost:50021/synthesis')
      .query({ speaker: 1 })
      .send(queryJson)
      .responseType('blob')

    if (!res) return

    setAudioData(res.body as Blob)
  }

  return (
    <div className='App-header'>
      <div style={contentStyle}>
        <h2>読み上げたい文章を入力</h2>
        <textarea
          style={textareaStyle}
          value={inputText}
          onChange={
            (e: ChangeEvent<HTMLTextAreaElement>) => setInputText(e.target.value)
          }
        />
      </div>

      {inputText ? (
        <div style={contentStyle}>
          <p>↓</p>
          <h2>文章からクエリデータを作成</h2>
          <button style={buttonStyle} onClick={createQuery}>クエリ作成</button>
        </div>
      ) : null}

      {queryJson ? (
        <div style={contentStyle}>
          <p>↓</p>
          <h2>クエリデータから音声を合成</h2>
          <button style={buttonStyle} onClick={createVoice}>音声合成</button>
        </div>
      ) : null}

      {audioData ? (
        <div style={contentStyle}>
          <p>↓</p>
          <h2>返却された音声ファイルを再生</h2>
          <audio
            style={audioStyle}
            controls
            src={audioData ? window.URL.createObjectURL(audioData) : undefined}>
          </audio>
        </div>
      ) : null}
    </div>
  )
}

export default App
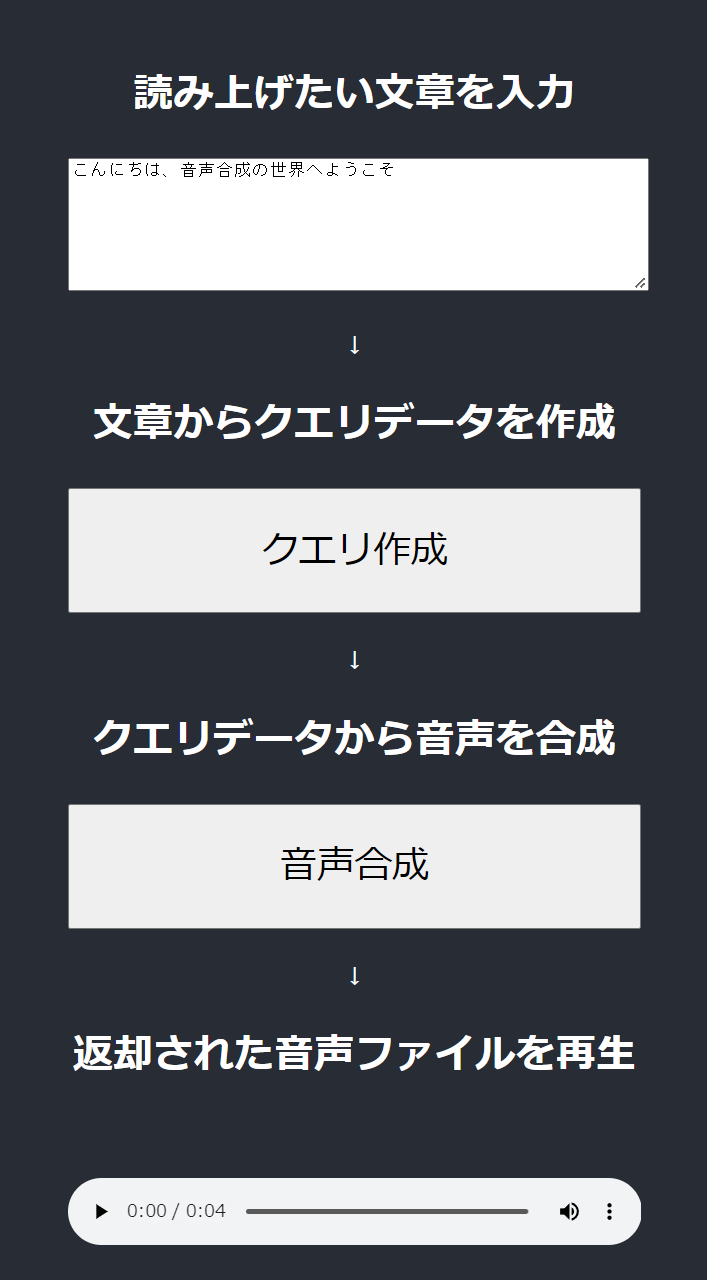
あとはReactを起動して文章入力→クエリ作成→音声合成で再生できます。

興味があればGitHubのリポジトリも覗いてみてください。
まずは全体構成から見るとVOICEVOXの「エディター」「エンジン」「コア」の機能分割について理解できます。
