はじめに
ChatGPTのAPI Keyを見えないようにしながらAPIを呼び出すためには、呼び出す用のエンドポイントを作成する必要があります。
しかし、そのためにサーバーをデプロイするのは少し大変。
そこで、Firebase Functionsを用いてサーバーレスでエンドポイントを作成していきましょう!
Firebaseプロジェクトの作成
Firebaseを開きます。
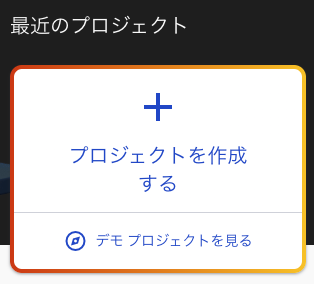
プロジェクトを作成します。
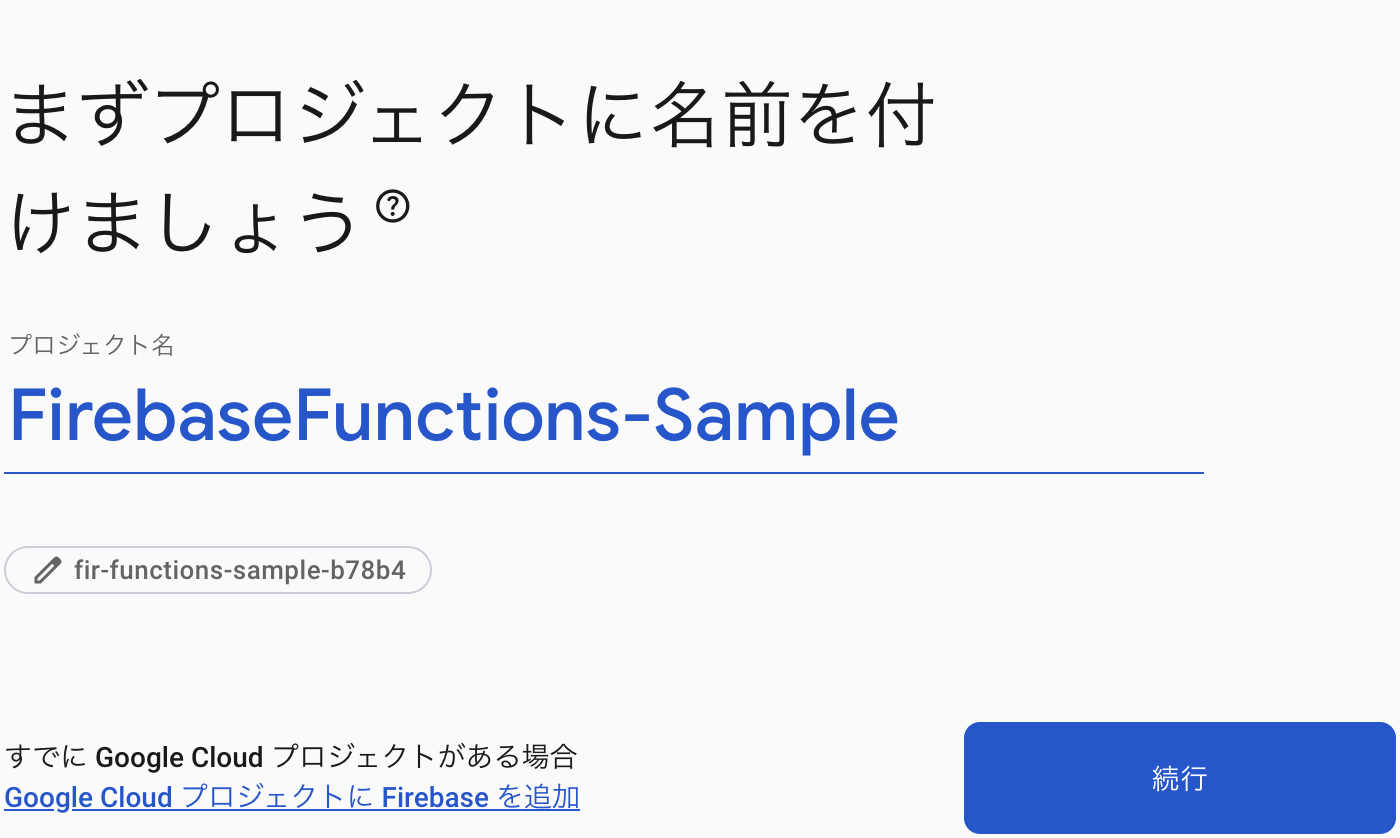
プロジェクトに名前をつけます。
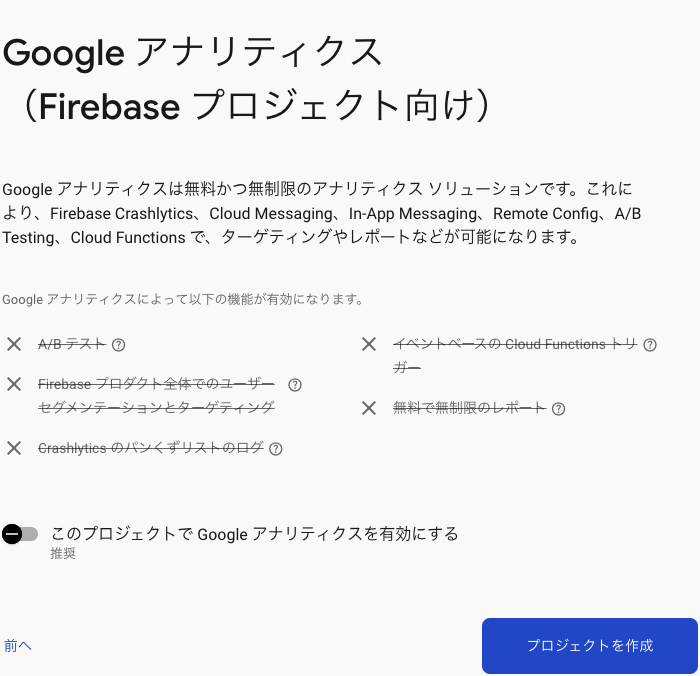
今回はAnalyticsは必要ありません。
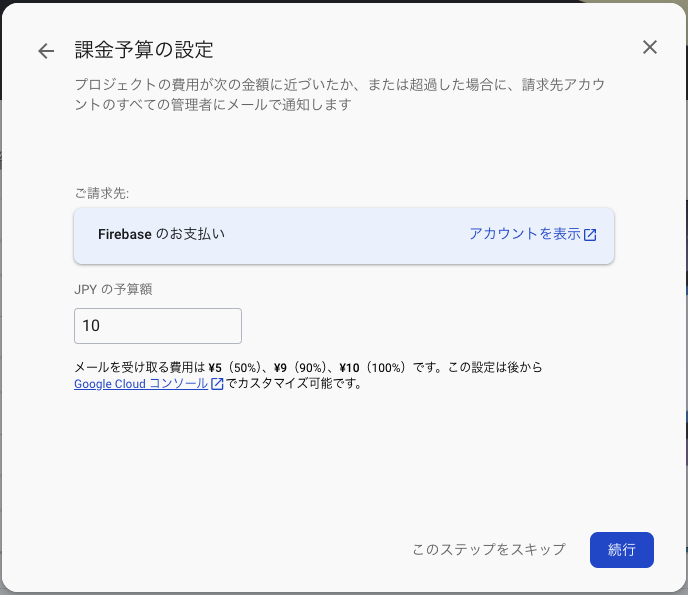
Functionsは課金プランでしか使えないので、支払い情報を追加します。
支払いアカウントを追加すると、以下のような画面になります。
Firebaseプロジェクトとローカルを繋ぎこむ
先にFirebase CLIをダウンロードしておきます。
npm install -g firebase-tools
次にプロジェクトを作成するディレクトリに移動したら、以下を実行します。
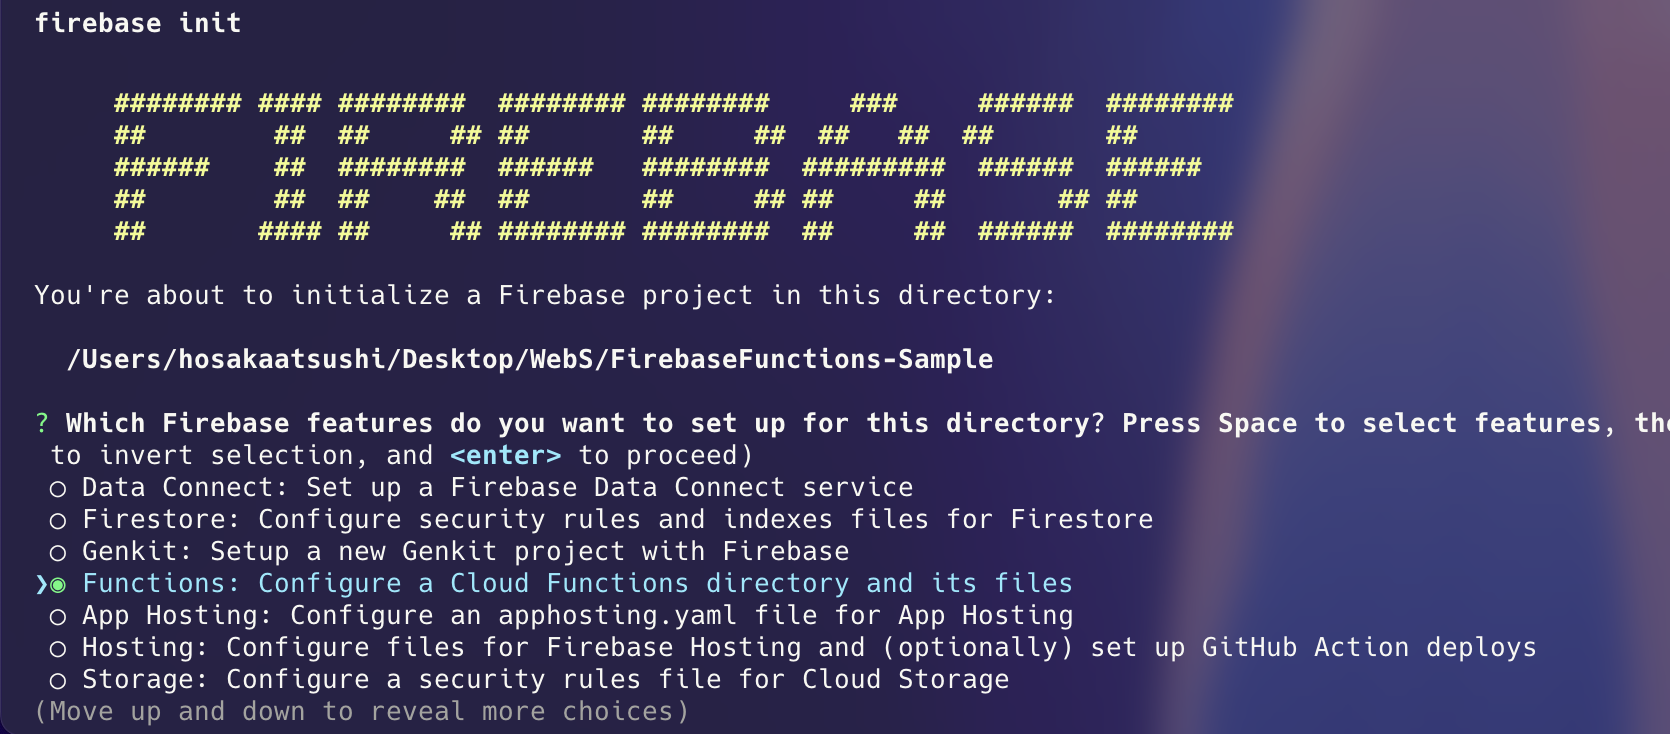
firebase init
Functions ...を、↑↓キーで移動し、Spaceで選択します。
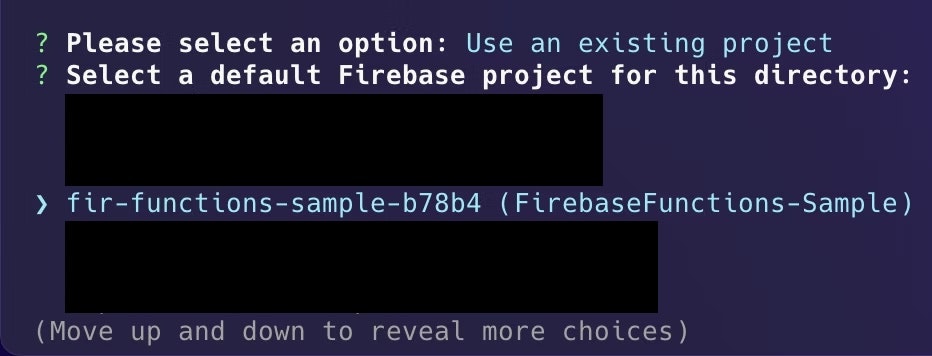
先ほど作成したプロジェクトを登録したいので、Use an existing projectを選択します。
↑↓キーで、先ほど作成したプロジェクトを選択します。
今回はJavaScriptを選択します。
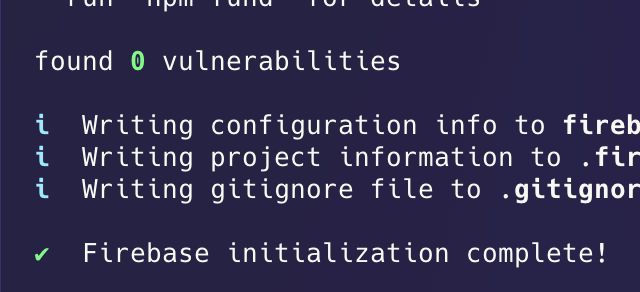
するとプロジェクトの生成が始まります。うまくいけば、以下のように表示されます。
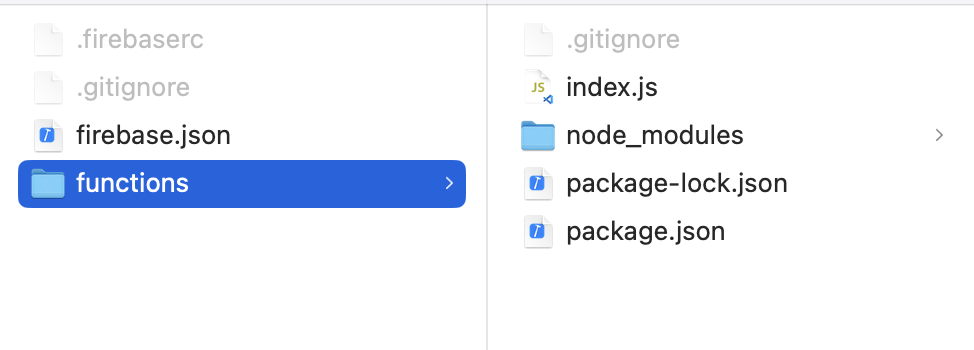
ここまでくると、プロジェクトのファイルが生成されます。
パッケージを追加
functionsに移動します。
cd functions
npmで、dotenvとopenaiを追加します。
npm install dotenv openai
コードを書こう
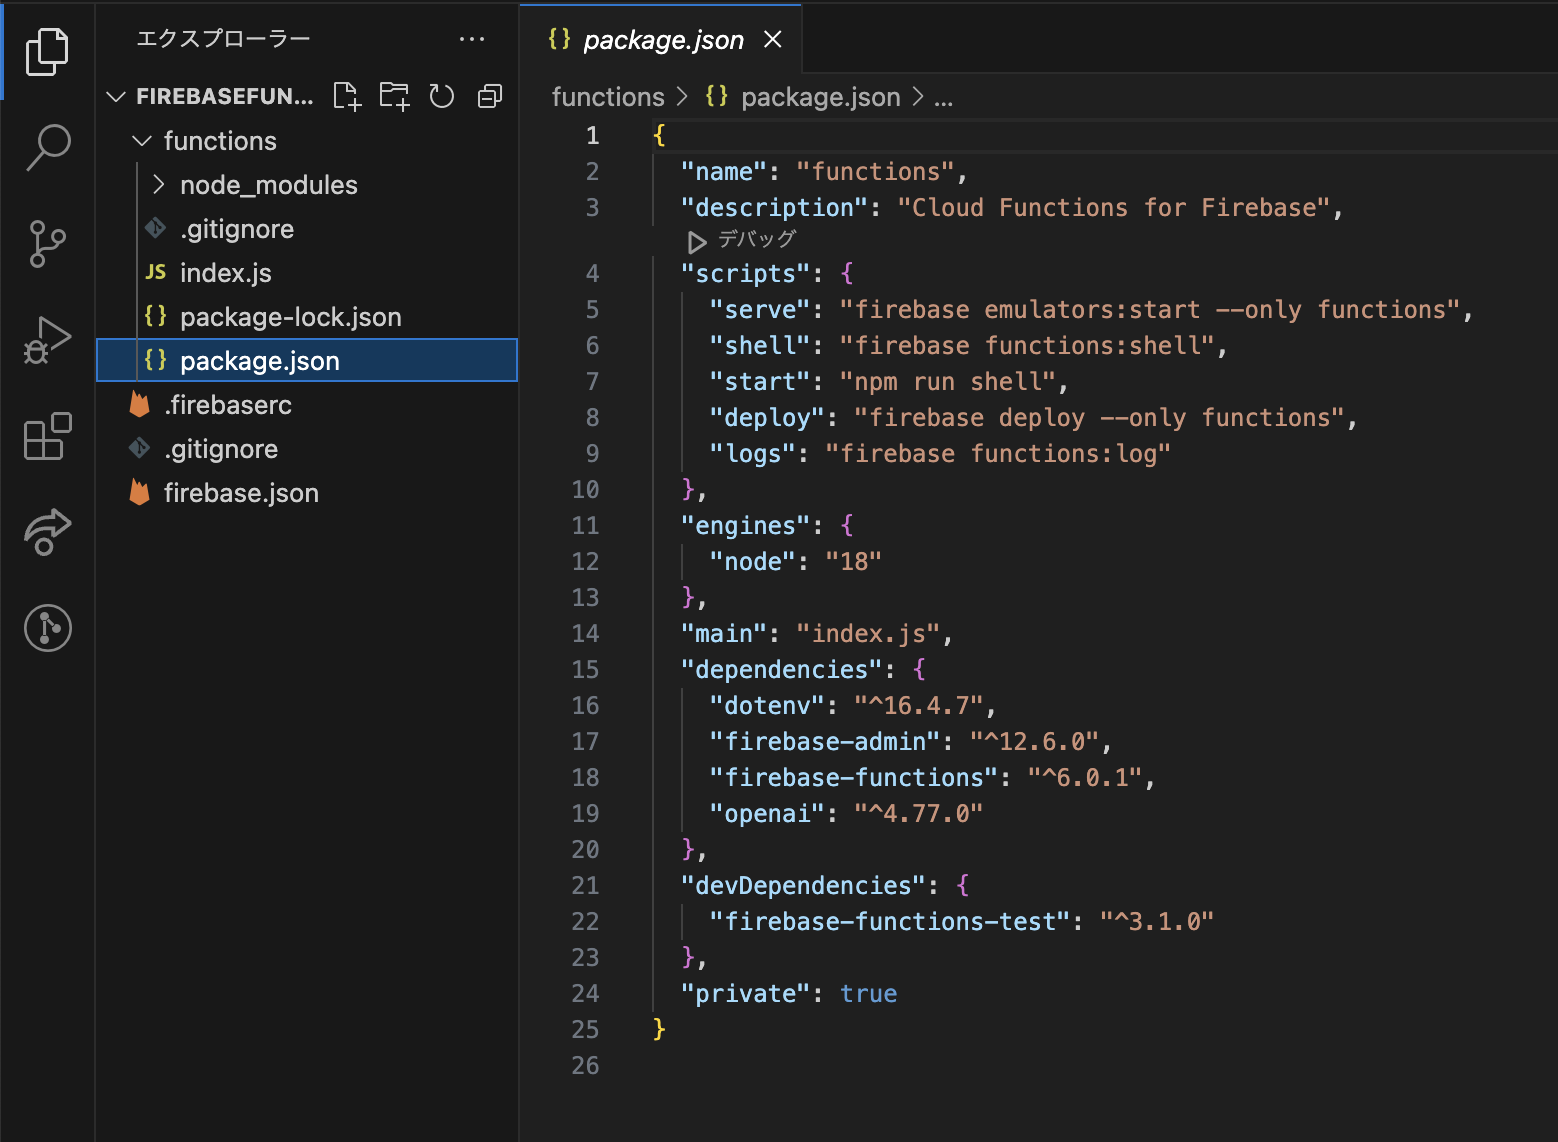
functionsの中のpackage.jsonを開きます。
4行目に以下を追加します。
"name": "functions",
"description": "Cloud Functions for Firebase",
"type": "module",←この行を追加
また、下の方にある行も変更します。
"main": "index.js",
↓以下に変更
"main": "index.mjs",
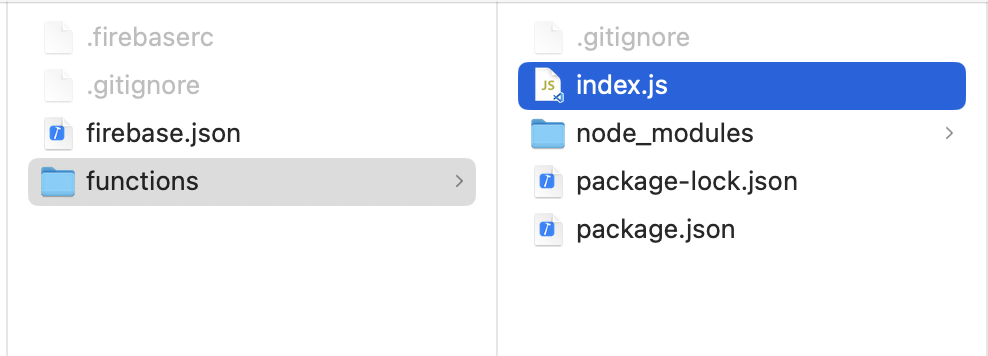
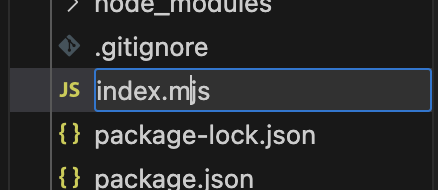
保存したら、functionsの中のindex.jsを開きます。
ファイル名をindex.mjsに変更します。
以下のコードに書き換えます。
import 'dotenv/config';
import { onRequest } from "firebase-functions/v2/https";
import OpenAIApi from "openai";

import {setGlobalOptions} from "firebase-functions/v2";
setGlobalOptions({
  region: "asia-northeast1",
});

const client = new OpenAIApi({
  apiKey: process.env["OPENAI_API_KEY"]
});

export const chatgpt = onRequest(async (req, res) => {
  // CORS対策(必要に応じて調整)
  res.set('Access-Control-Allow-Origin', '*');
  res.set('Access-Control-Allow-Methods', 'GET, POST, OPTIONS');
  res.set('Access-Control-Allow-Headers', '*');

  if (req.method === 'OPTIONS') {
    res.status(204).send('');
    return;
  }

  if (req.method !== "POST") {
    return res.status(405).send({ error: "Only POST method is allowed." });
  }

  const prompt = req.body.prompt;
  if (!prompt) {
    return res.status(400).send({ error: "Prompt is required." });
  }

  try {
    const response = await client.chat.completions.create({
      model: "gpt-3.5-turbo",
      messages: [{ role: "user", content: prompt }]
    });

    const result = response.choices[0].message.content;
    return res.status(200).send({ result });
  } catch (error) {
    console.error("OpenAI API error:", error);
    return res.status(500).send({ error: "Internal server error." });
  }
});
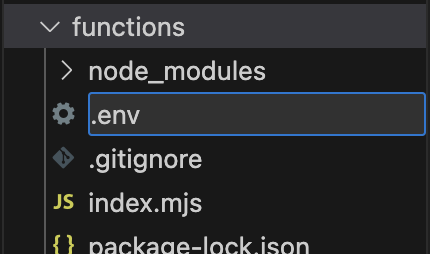
最後に、functionsの中に .envというファイルを作成します。
.envに、ChatGPTのAPI Keyを入力します。
OPENAI_API_KEY=(あなたのAPI Key)
デプロイする
FirebaseFunctions-Sampleディレクトリに戻ります。
cd ..
デプロイのコマンドをうちます。
firebase deploy --only functions
デプロイが成功すると「✔ Deploy complete!」と表示されます。
このとき、デプロイしたエンドポイントのURLは以下から確認できます。
✔  functions[chatgpt(asia-northeast1)] Successful create operation.
Function URL (chatgpt(asia-northeast1)): (ここにURLが書かれている)
i  functions: cleaning up build files...
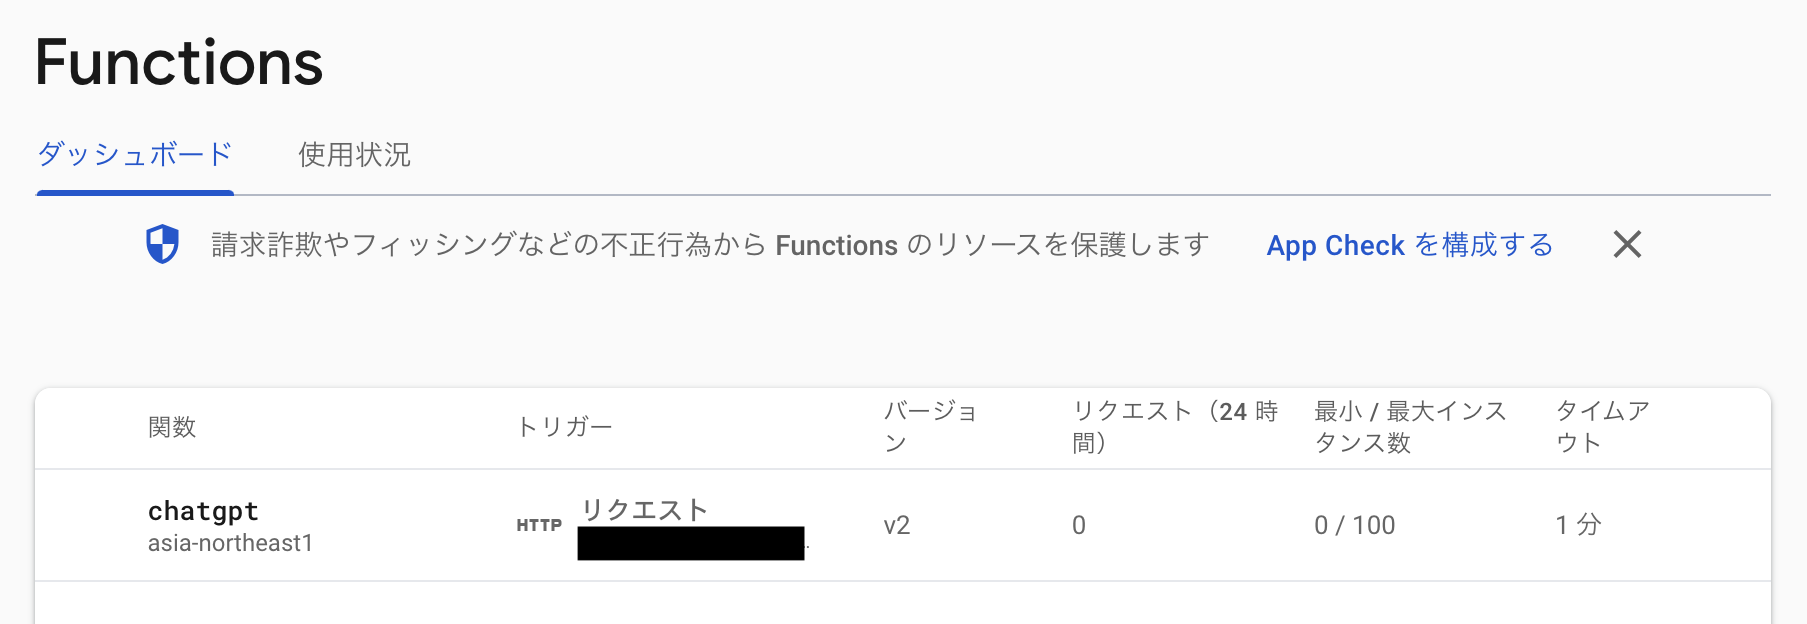
また、Firebase側でも表示を確認することができます。
デプロイ前にテストをしたい場合
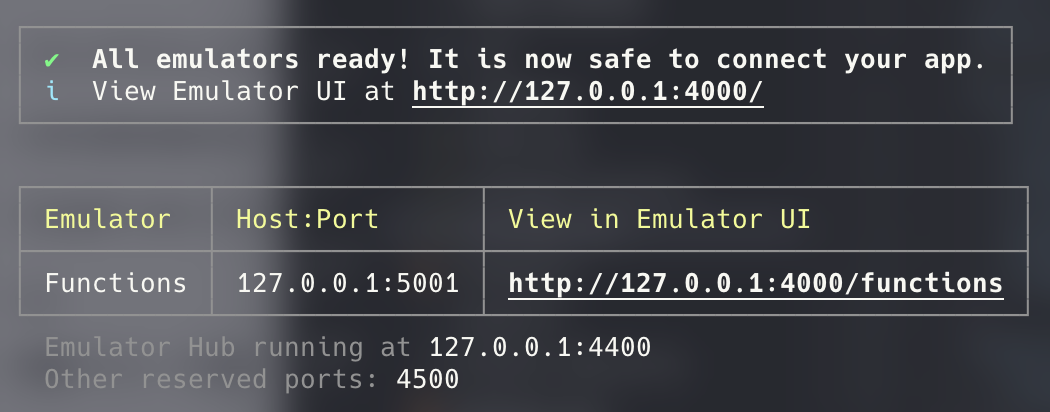
以下のコマンドを打つと、localhostで実行できるようになります。
firebase emulators:start --only functions
まとめ
Firebase Functions、個人利用くらいならほぼ無料で使えるのでみなさんどんどん使っていきましょう!
資料も少ないので、もし改善点等ありましたら教えていただけますと幸いです!
