どうも初めまして、B-kunです。
A-kun Advent Calendar 2024の二日目です。
はじめに
少し前に見つけたこのリポジトリが便利そうだったので、紹介します。
UnityとPythonの通信を行うモジュールです。
https://github.com/konbraphat51/UnityPythonConnectionModules
必要な準備
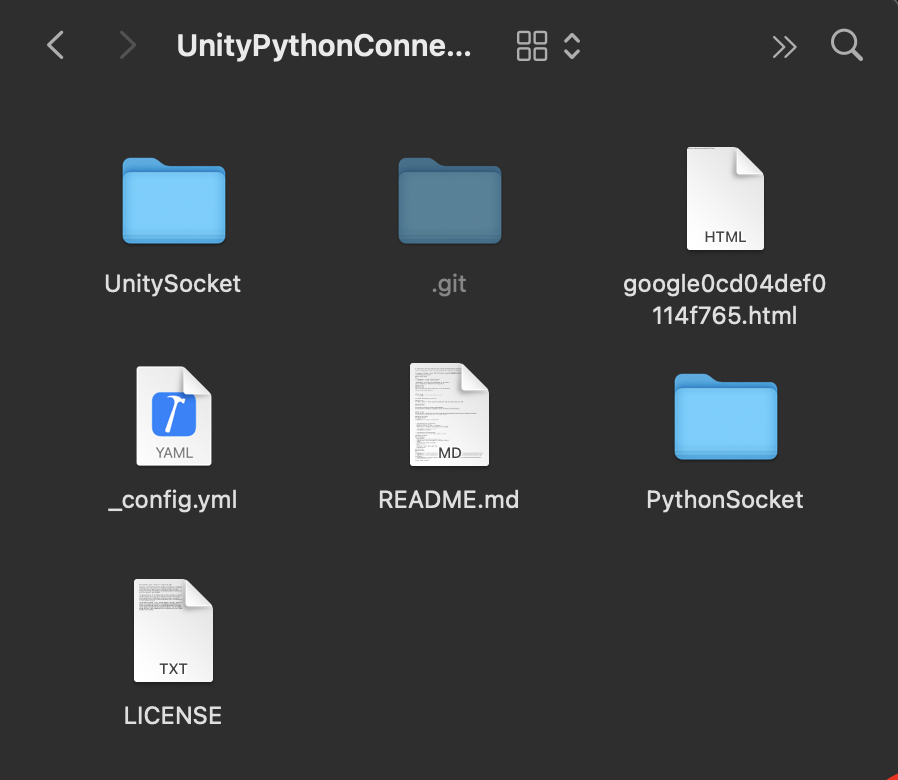
リポジトリにはUnityのプロジェクト「UnitySocket」とPythonのプロジェクト「PythonSocket」が含まれています。
UnitySocketとPythonSocket、それぞれのプロジェクトを開きます。Pythonの方は仮想環境を作成して、下記のライブラリをインストールします。
pip install "git+https://github.com/konbraphat51/UnityPythonConnectionModules.git#egg=UnityConnector&subdirectory=PythonSocket"
とりあえず動かしてみる
PythonのManualConnector.pyを実行したあと、UnityのSampleSceneを再生します。(順序大事です)
Python側のコンソールでEnterキーを押すと、データがUnity側に飛ぶようになっています。
Python側で送信したあと、一度UnityEditor側の画面にクリックしてUnityをアクティブにしないと受信後の処理が走らないので、注意が必要です。
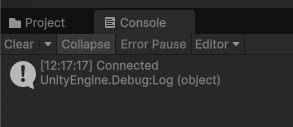
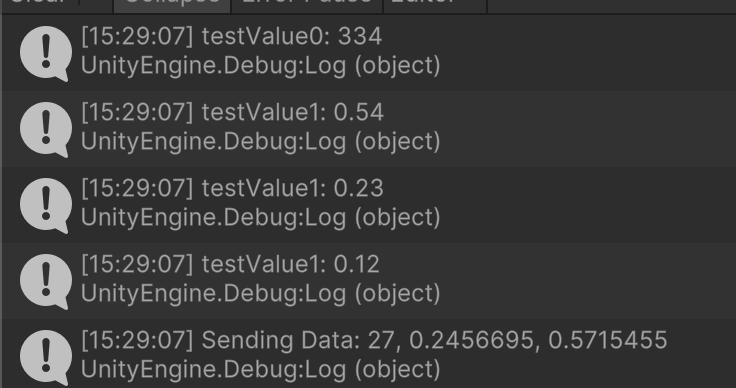
画像のようにUnity・PythonのConsoleに表示されれば、セットアップが成功していることを確認できます。
Python側の実装
Python側はシンプルな処理で書くことができます。ManualTester.pyを見てみましょう。
前半はConnectorがUnity側に接続する際のイベントを登録しています。
on_timeout()でタイムアウト時の処理、on_stopped()で接続が切れた時の処理、on_data_received()でデータを受信した時の処理を登録しています。
from UnityConnector import UnityConnector

def on_timeout():
    print("timeout")

def on_stopped():
    print("stopped")

connector = UnityConnector(
    on_timeout=on_timeout,
    on_stopped=on_stopped
)

def on_data_received(data_type, data):
    print(data_type, data)

print("connecting...")

connector.start_listening(
    on_data_received
)

print("connected")
次に後半です。こちらでは、エンターキーを押した際にデータを送信するように処理を加えています。input()で入力を受け取り、qを入力すると接続を切断します。
while(True):
    input_data = input()

    if input_data == "q":
        connector.stop_connection()
        break

    data = {
        "testValue0": 334,
        "testValue1": [0.54,0.23,0.12,],
    }

    print(data)

    connector.send(
        "test",
        data
    )
後半部分をカスタマイズすることで、さまざまなデータを送信できます。
Unity側の実装
Unity側の処理は少し複雑です。このモジュールでは通信にJsonを、そのデコードにはUnityのJsonUtilityを使っています。JsonUtilityは型を先に指定しておかないとデコードできないので、Pythonから送られてくるデータに柔軟に対応できないという制約があります。
TestDataClass.csでは、受け取るデータの型を定義します。前述のコードに書かれているように、受け取るデータはtestValue0というキーにint型の値、testValue1というキーにdouble型のリストが入っているとします。
using System;
using System.Collections.Generic;
using PythonConnection;
using UnityEngine;

[Serializable]
public class TestDataClass : DataClass
{
    public int testValue0;

    [SerializeField]
    private List<double> testValue1;

    public List<double> v1
    {
        get { return testValue1; }
    }
}
TestDecoderでは、この型を使ってデータを受け取る処理を書きます。
using System;
using System.Collections.Generic;
using PythonConnection;

public class TestDecoder : DataDecoder
{
    protected override Dictionary<string, Type> DataToType()
    {
        return new Dictionary<string, Type>() { { "test", typeof(TestDataClass) } };
    }
}
ConnectionTest.csでは以下のものを定義します。
- SendingDataにUnity側からPython側へ送信するデータを定義。
- Start()内
- PythonConnectorのインスタンスのRegisterActionメソッドを用いて、TestDataClass型のデータを受け取った時の処理を登録。(PythonConnectorはシングルトンで実装されている。)
- PythonConnectorはさらに、DataDecoderのRegisterActionメソッドを用いてイベントを登録している。全体としては、DataがJsonUtilityによってクラスにデコードされた後、そのデータを受け取る処理を登録している。
- 再生時の接続開始処理
- PythonConnectorのインスタンスのRegisterActionメソッドを用いて、TestDataClass型のデータを受け取った時の処理を登録。(PythonConnectorはシングルトンで実装されている。)
- Update()内にてスペースキーを押した時の接続終了処理
- OnTimeout, OnStopを定義(この関数は後ほど、PythonConnector側のUnityEventにInspectorから登録する。)
- OnDataReceived内でデータを受け取った時の処理については後述
using System;
using System.Collections;
using System.Collections.Generic;
using PythonConnection;
using Unity.VisualScripting;
using UnityEngine;

public class ConnectionTest : MonoBehaviour
{
    [Serializable]
    private class SendingData
    {
        public SendingData(int testValue0, List<float> testValue1)
        {
            this.testValue0 = testValue0;
            this.testValue1 = testValue1;
        }

        public int testValue0;

        [SerializeField]
        private List<float> testValue1;
    }

    void Start()
    {
        PythonConnector.instance.RegisterAction(typeof(TestDataClass), OnDataReceived);

        if (PythonConnector.instance.StartConnection())
        {
            Debug.Log("Connected");
        }
        else
        {
            Debug.Log("Connection Failed");
        }
    }

    void Update()
    {
        if (Input.GetKeyDown(KeyCode.Space))
        {
            PythonConnector.instance.StopConnection();
            Debug.Log("Stop");
        }
    }

    public void OnTimeout()
    {
        Debug.Log("Timeout");
    }

    public void OnStop()
    {
        Debug.Log("Stopped");
    }

    public void OnDataReceived(DataClass data)
    {
        TestDataClass testData = data as TestDataClass;

        Debug.Log("testValue0: " + testData.testValue0);
        foreach (float v in testData.v1)
        {
            Debug.Log("testValue1: " + v);
        }

        int v1 = UnityEngine.Random.Range(0, 100);
        List<float> v2 = new List<float>()
        {
            UnityEngine.Random.Range(0.1f, 0.9f),
            UnityEngine.Random.Range(0.1f, 0.9f)
        };
        SendingData sendingData = new SendingData(v1, v2);

        Debug.Log("Sending Data: " + v1 + ", " + v2[0] + ", " + v2[1]);

        PythonConnector.instance.Send("test", sendingData);
    }
}
- OnDataReceivedにてデータを受け取った時の処理
- DataClass型のデータとして受け取っているが、これはDataClass型を継承したTestDataClass型のデータなので、まずはTestDataClass型にキャストする。
- 内容をログに出力
- SendingData型に込めるデータを作成し、インスタンス化
- PythonConnector.instanceのSendメソッドを用いて、Python側にデータを送信する。
まとめ
今回はUnityとPythonの通信を行うモジュールを使ってみました。Python側はシンプルな処理で書くことができ、Unity側はJsonUtilityが扱えるClassであれば柔軟にデータを受け取ることができます。
何より双方向に通信を行えるので、Unityからサーバーにデータを送信するだけでなく、サーバー側からUnityの状態を取得する用途にも活用できるでしょう。


