Docker × PHP × SeleniumでE2E簡単構築
自動でできるE2Eテストをdockerとseleniumを使って構築する方法をご紹介します。
環境
- macOS Catalina 10.15.2
- Docker version 19.03.5
- docker-compose version 1.25.2
- phpunit/phpunit: 8.5
- php-webdriver/webdriver: 1.7
(旧 facebook/webdriver はこちらに変わったようです)
構成
project
├── docker
│   └── test-server
│   │   └── Dockerfile
│   └── selenium-chrome
│       └── Dockerfile
├── docker-compose.yml
└── test-server
    ├── composer.json
    ├── composer.lock
    ├── vendor
    └── tests
        └── SampleTest.php
構築手順
1. ディレクトリ作成
まず、任意のディレクトリ(上記ではproject)を作成します。
その直下にdocker, test-serverディレクトリを作成します。
test-serverがE2E実行サーバーとなる想定です。
2. docker-compose.yml作成
test-server(E2Eテスト実行サーバー),selenium-chromeの2つのコンテナを想定しておりますので、以下のようになります。
docker-compose.yml
version: '3'

services:
  test-server:
    build: ./docker/test-server
    volumes:
      - ./test-server:/app

  selenium-chrome:
    build: ./docker/selenium-chrome
    ports:
      - 4444:4444
      - 5900:5900
3. Dockerfile作成
test-server/Dockerfile作成
phpコンテナ構築時に使われるDockerfileをdocker/test-server/に作成します。
Composerのインストールは公式を参考にしてください。
ハッシュ値は頻繁に変わりますのでご注意ください。
Dockerfile
FROM php:7.3-fpm

RUN apt-get update \
 && apt-get install -y p7zip p7zip-full zip unzip zlib1g-dev libzip-dev
RUN apt-get install -y zlib1g-dev \
    && docker-php-ext-install zip

# composerインストール

WORKDIR /app
RUN chmod 0777 -R /app
RUN php -r "copy('https://getcomposer.org/installer', 'composer-setup.php');"
RUN php -r "if (hash_file('sha384', 'composer-setup.php') === 'c5b9b6d368201a9db6f74e2611495f369991b72d9c8cbd3ffbc63edff210eb73d46ffbfce88669ad33695ef77dc76976') { echo 'Installer verified'; } else { echo 'Installer corrupt'; unlink('composer-setup.php'); } echo PHP_EOL;"
RUN php composer-setup.php
RUN php -r "unlink('composer-setup.php');"
RUN mv composer.phar /usr/local/bin/composer
ENV COMPOSER_ALLOW_SUPERUSER 1
ENV COMPOSER_HOME /composer
ENV PATH $PATH:/composer/vendor/bin
selenium-chrome/Dockerfile作成
今回は日本語のchromeを利用できるように設定します。
FROM selenium/standalone-chrome-debug:3.2.0-actinium

ENV LANGUAGE ja_JP.UTF-8
ENV LANG ja_JP.UTF-8
RUN locale-gen ja_JP.UTF-8 \
  && dpkg-reconfigure --frontend noninteractive locales \
  && apt-get update -qqy \
  && apt-get -qqy --no-install-recommends install \
    language-pack-ja \
  && rm -rf /var/lib/apt/lists/* /var/cache/apt/*
4. docker-compose の起動
バックグラウンドでdocker起動
$ docker-compose up -d
5. composerを使ってモジュールのインストール
// test-serverにインスペクション
$ docker-compose exec test-server bash

// composer.json作成(対話形式)
root@70116da5d1a0:/app# composer init

// モジュールのインストール
root@70116da5d1a0:/app# composer require phpunit/phpunit
root@70116da5d1a0:/app# composer require php-webdriver/webdriver
こんな感じのcomposer.jsonが出来上がります。
composer.jsonを直接触ったりなんてやめてくださいね!
composer.json
{
    "name": "root/app",
    "require": {
        "phpunit/phpunit": "^8.5",
        "php-webdriver/webdriver": "^1.7"
    }
}
6. vncのchrome起動
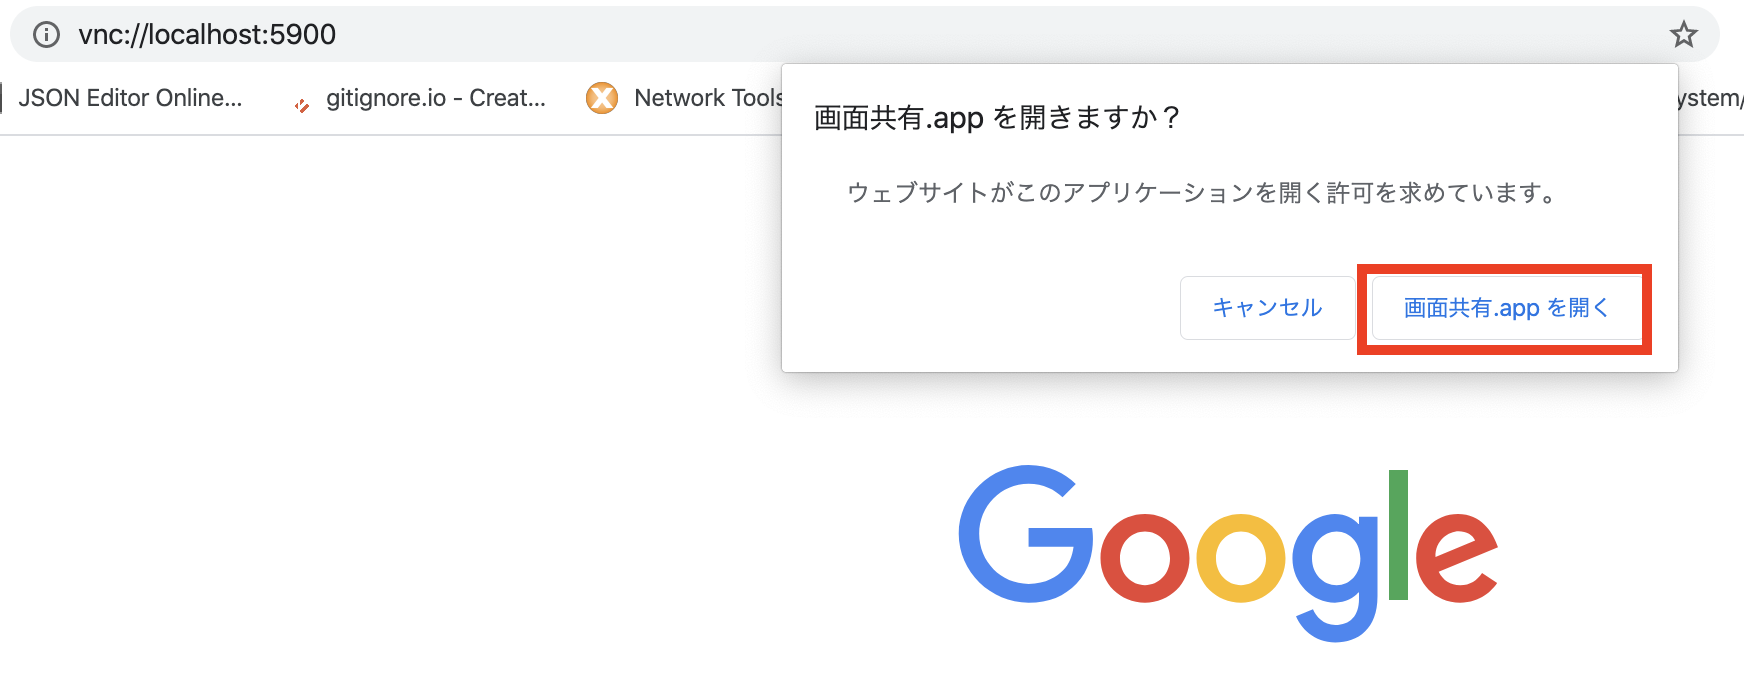
- PCのブラウザ(Google Chromeなど)で下記のURLにアクセスしてみてください。
vnc://localhost:5900 - 「画面共有.app」をクリック
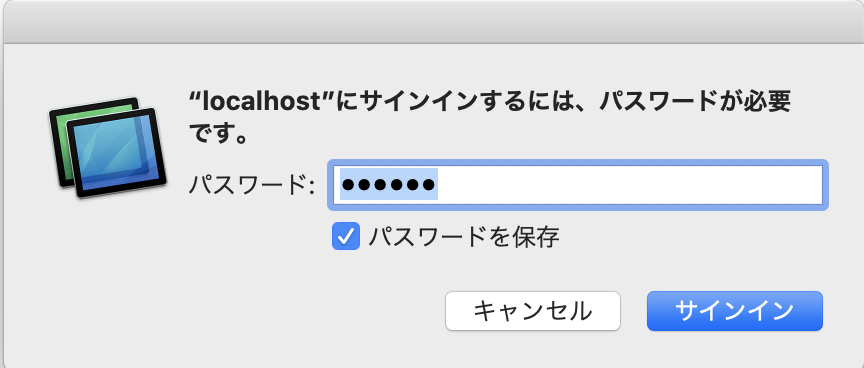
- パスワード 「secret」 を入力して、「サインイン」をクリック
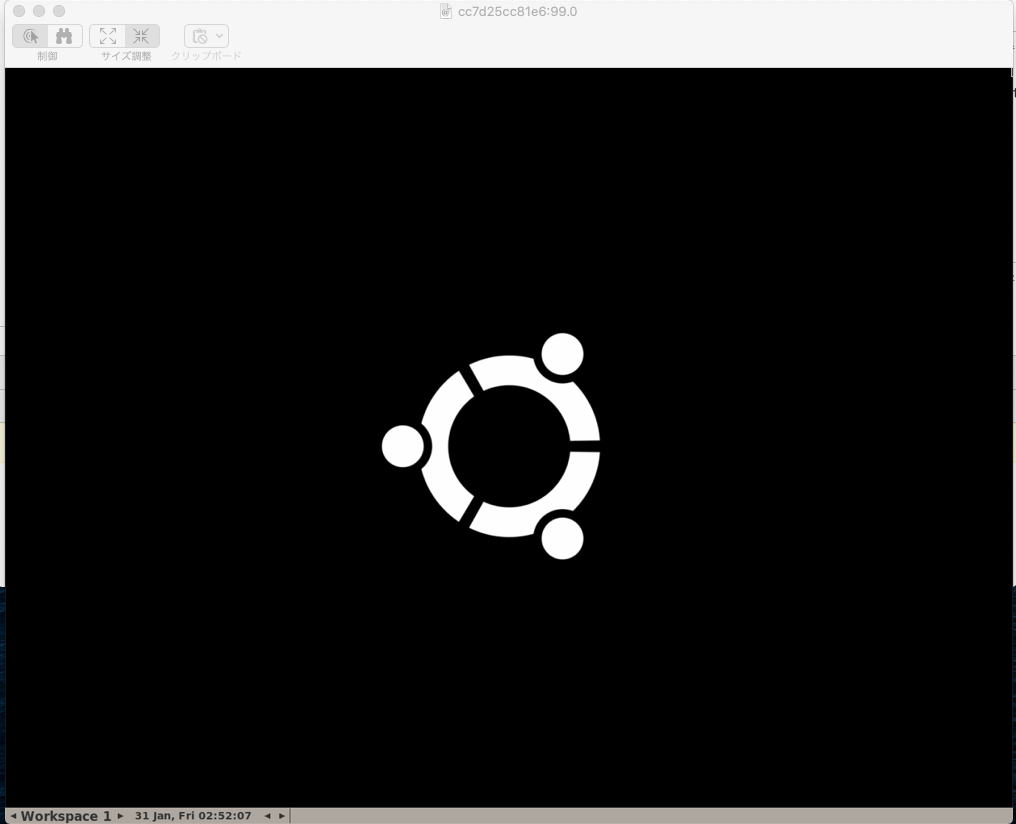
すると以下のような画面が開きます。
6. サンプルのテストスクリプトを作成
サンプルのため、テストはかなりシンプルにしています。
SampleTest.php
<?php

use Facebook\WebDriver\Remote\DesiredCapabilities;
use Facebook\WebDriver\Remote\RemoteWebDriver;
use PHPUnit\Framework\TestCase;
use Facebook\WebDriver\WebDriverExpectedCondition;
use Facebook\WebDriver\WebDriverBy;

class SampleTest extends TestCase
{
	/**
	 * @group google
	 */
	public function testGoogle()
	{
		// selenium
		$host = 'http://host.docker.internal:4444/wd/hub';
		// chrome ドライバーの起動
		$driver = RemoteWebDriver::create($host,DesiredCapabilities::chrome());
		// 指定URLへ遷移 (Google)
		$driver->get('https://www.google.co.jp/');
		// 検索Box
		$element = $driver->findElement(WebDriverBy::name('q'));
		// 検索Boxにキーワードを入力して
		$element->sendKeys('セレニウムで自動操作');
		// 検索実行
		$element->submit();

		// 検索結果画面のタイトルが 'セレニウムで自動操作 - Google 検索' になるまで10秒間待機する
		$driver->wait(10)->until(
			WebDriverExpectedCondition::titleIs('セレニウムで自動操作 - Google 検索')
		);

		//assert
		$this->assertEquals('セレニウムで自動操作 - Google 検索', $driver->getTitle());
		$this->assertEquals('セレニウムで自動操作', $driver->findElement(WebDriverBy::name('q'))->getAttribute("value"));

		// ブラウザを閉じる
		$driver->close();
    }
}
テストの実行
// test-serverにインスペクション
$ docker-compose exec test-server bash

// テストの実行
root@70116da5d1a0:/app# vendor/bin/phpunit tests/SampleTest.php
実行すると以下のように自動でテストが行われます。(Chrome日本語化する前のgifになります。)
