VuePressとは?
vue.jsによる静的サイトジェネレータです。
特定のディレクトリにMarkdownファイルを放り込むと、自動的にページを作成してくれます。
ドキュメントの記述に最適化された静的サイト制作ツールです。
環境
いつも通りDockerを使っていきます!
- macOS Monterey 12.1
- Docker version 20.10.12
- Docker Compose version v2.2.3
構成
.
├── README.md
├── docker
│   └── vue-press
│       └── Dockerfile
├── docker-compose.yml
└── documents
    ├── docs
    │   └── README.md
    ├── node_modules
    ├── package.json
    └── yarn.lock
手順
1. Docker環境構築
1-1. docker-compose.yml作成
docker-compose.yml
version: '3.9'

services:
  vue-press:
    build: docker/vue-press
    ports:
      - "8080:8080"
    volumes:
      - ./documents:/documents
    tty: true
1-2. Dockerfile作成
docker/vue-press/Dockerfile
FROM node:16.0.0
WORKDIR /documents

RUN npm install -g npm@8.5.2
RUN npm cache clean -f
1-3. Docker起動
docker-compose.ymlがあるディレクトリにて以下を実行しましょう。
docker-compose up -d
2. VuePressインストール
公式の手順を参考にします。
2-1. コンテナにインスペクション
docker-compose exec vue-press bash
2-2. yarn初期化
yarn init
2-3. VuePressインストール
yarn add -D vuepress
色々と質問されますがこだわりなければ全てEnterでOKです。
※ Git使っている方は、.gitignoreを使ってnode_modulesを無視することをお勧めします。
documents/.gitignore
/node_modules
2-4. ディレクトリ作成
docsディレクトリを作成します。
mkdir docs
2-5. サンプルドキュメント作成
なんでも良いのですが、以下はサンプルです。
documents/docs/REAME.md
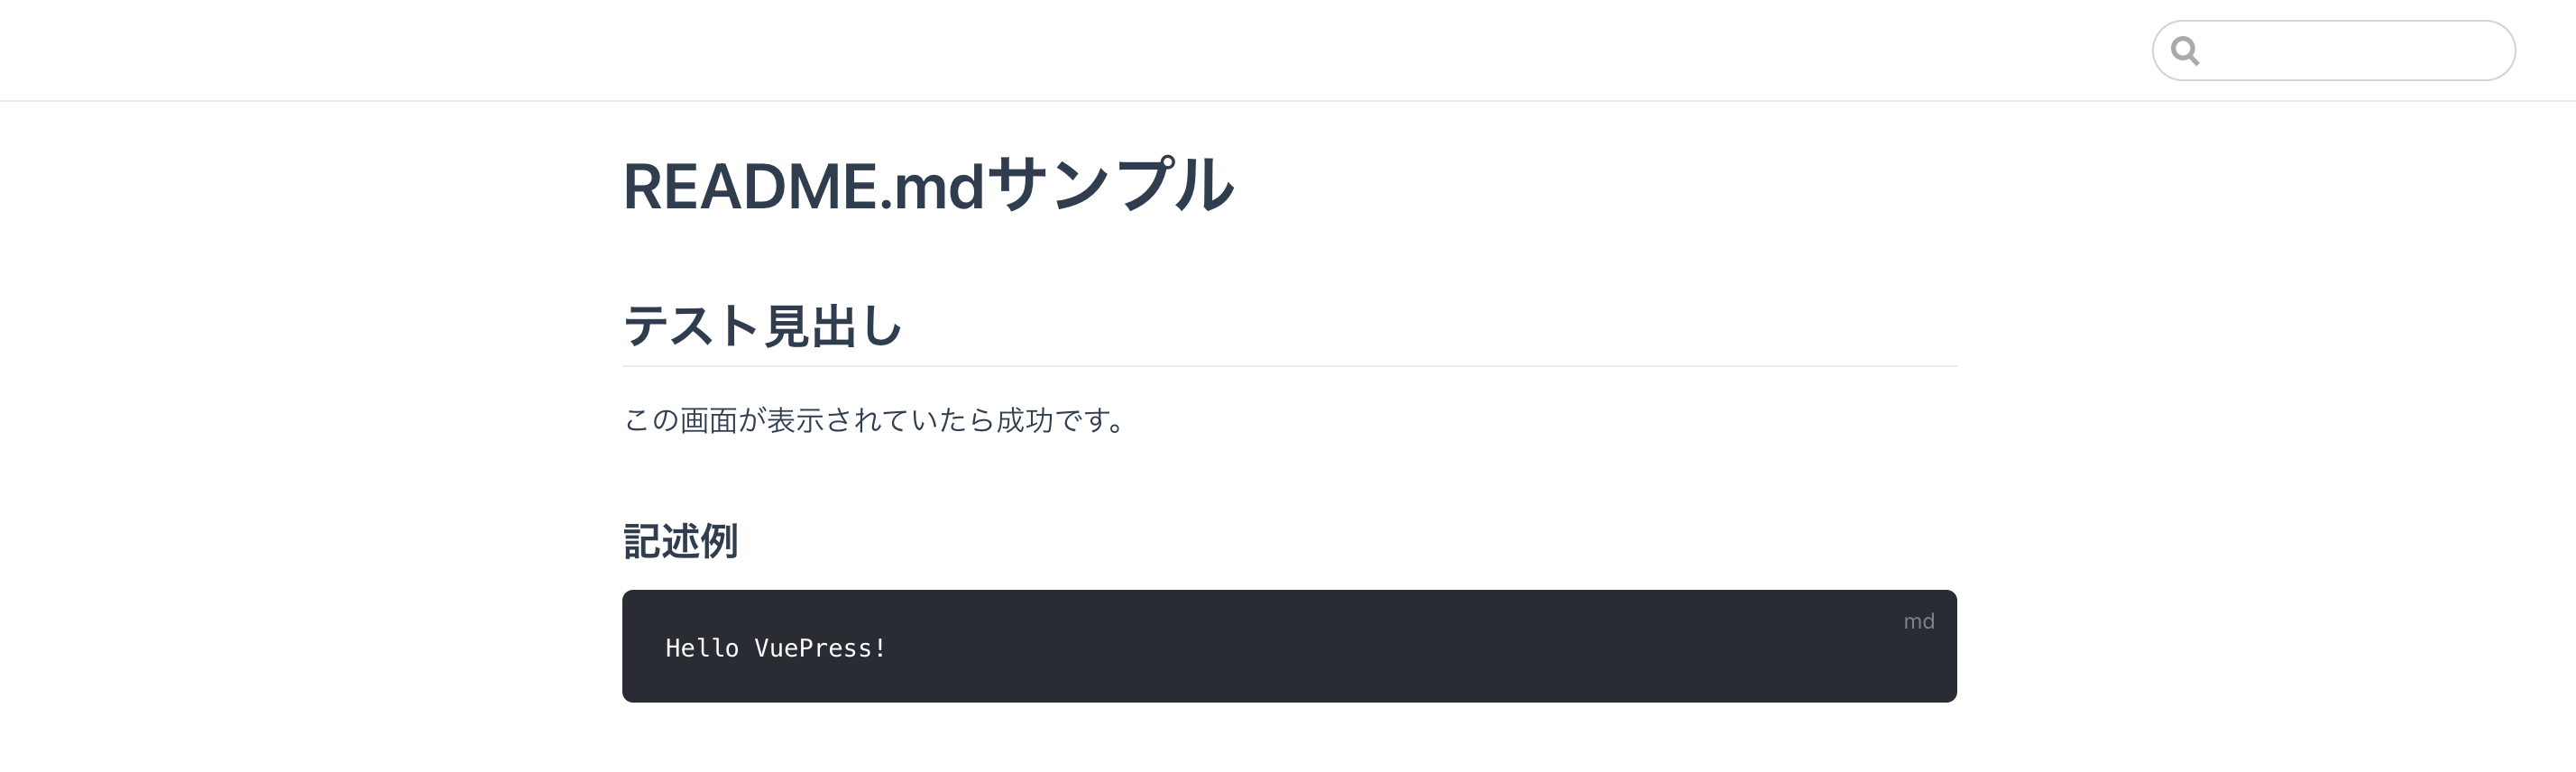
# README.mdサンプル
## テスト見出し

この画面が表示されていたら成功です。

### 記述例
~~~md
Hello VuePress!
~~~
2-6. package.jsonの編集
以下のようにscriptsブロックを追記してください。
documents/package.json
{
  "name": "documents",
  "version": "1.0.0",
  "main": "index.js",
  "license": "MIT",
  "devDependencies": {
    "vuepress": "^1.9.7"
  },
  "scripts": {
    "docs:dev": "vuepress dev docs",
    "docs:build": "vuepress build docs"
  }
}
2-7. ローカルサーバーの起動
yarn docs:dev
3. 確認
http://localhost:8080にアクセスして確認してみましょう。
 |
|---|
おまけ
command追加
Docker起動時にパッケージのインストールとローカルサーバーの起動を行うようにします。
docker-compose.yml
version: '3.9'

services:
  vue-press:
    build: docker/vue-press
    ports:
      - "8080:8080"
    volumes:
      - ./documents:/documents
    tty: true
    command: bash -c "yarn install && yarn docs:dev"