概要
Docker上で動くSwagger環境の構築方法をご紹介します。
成果物
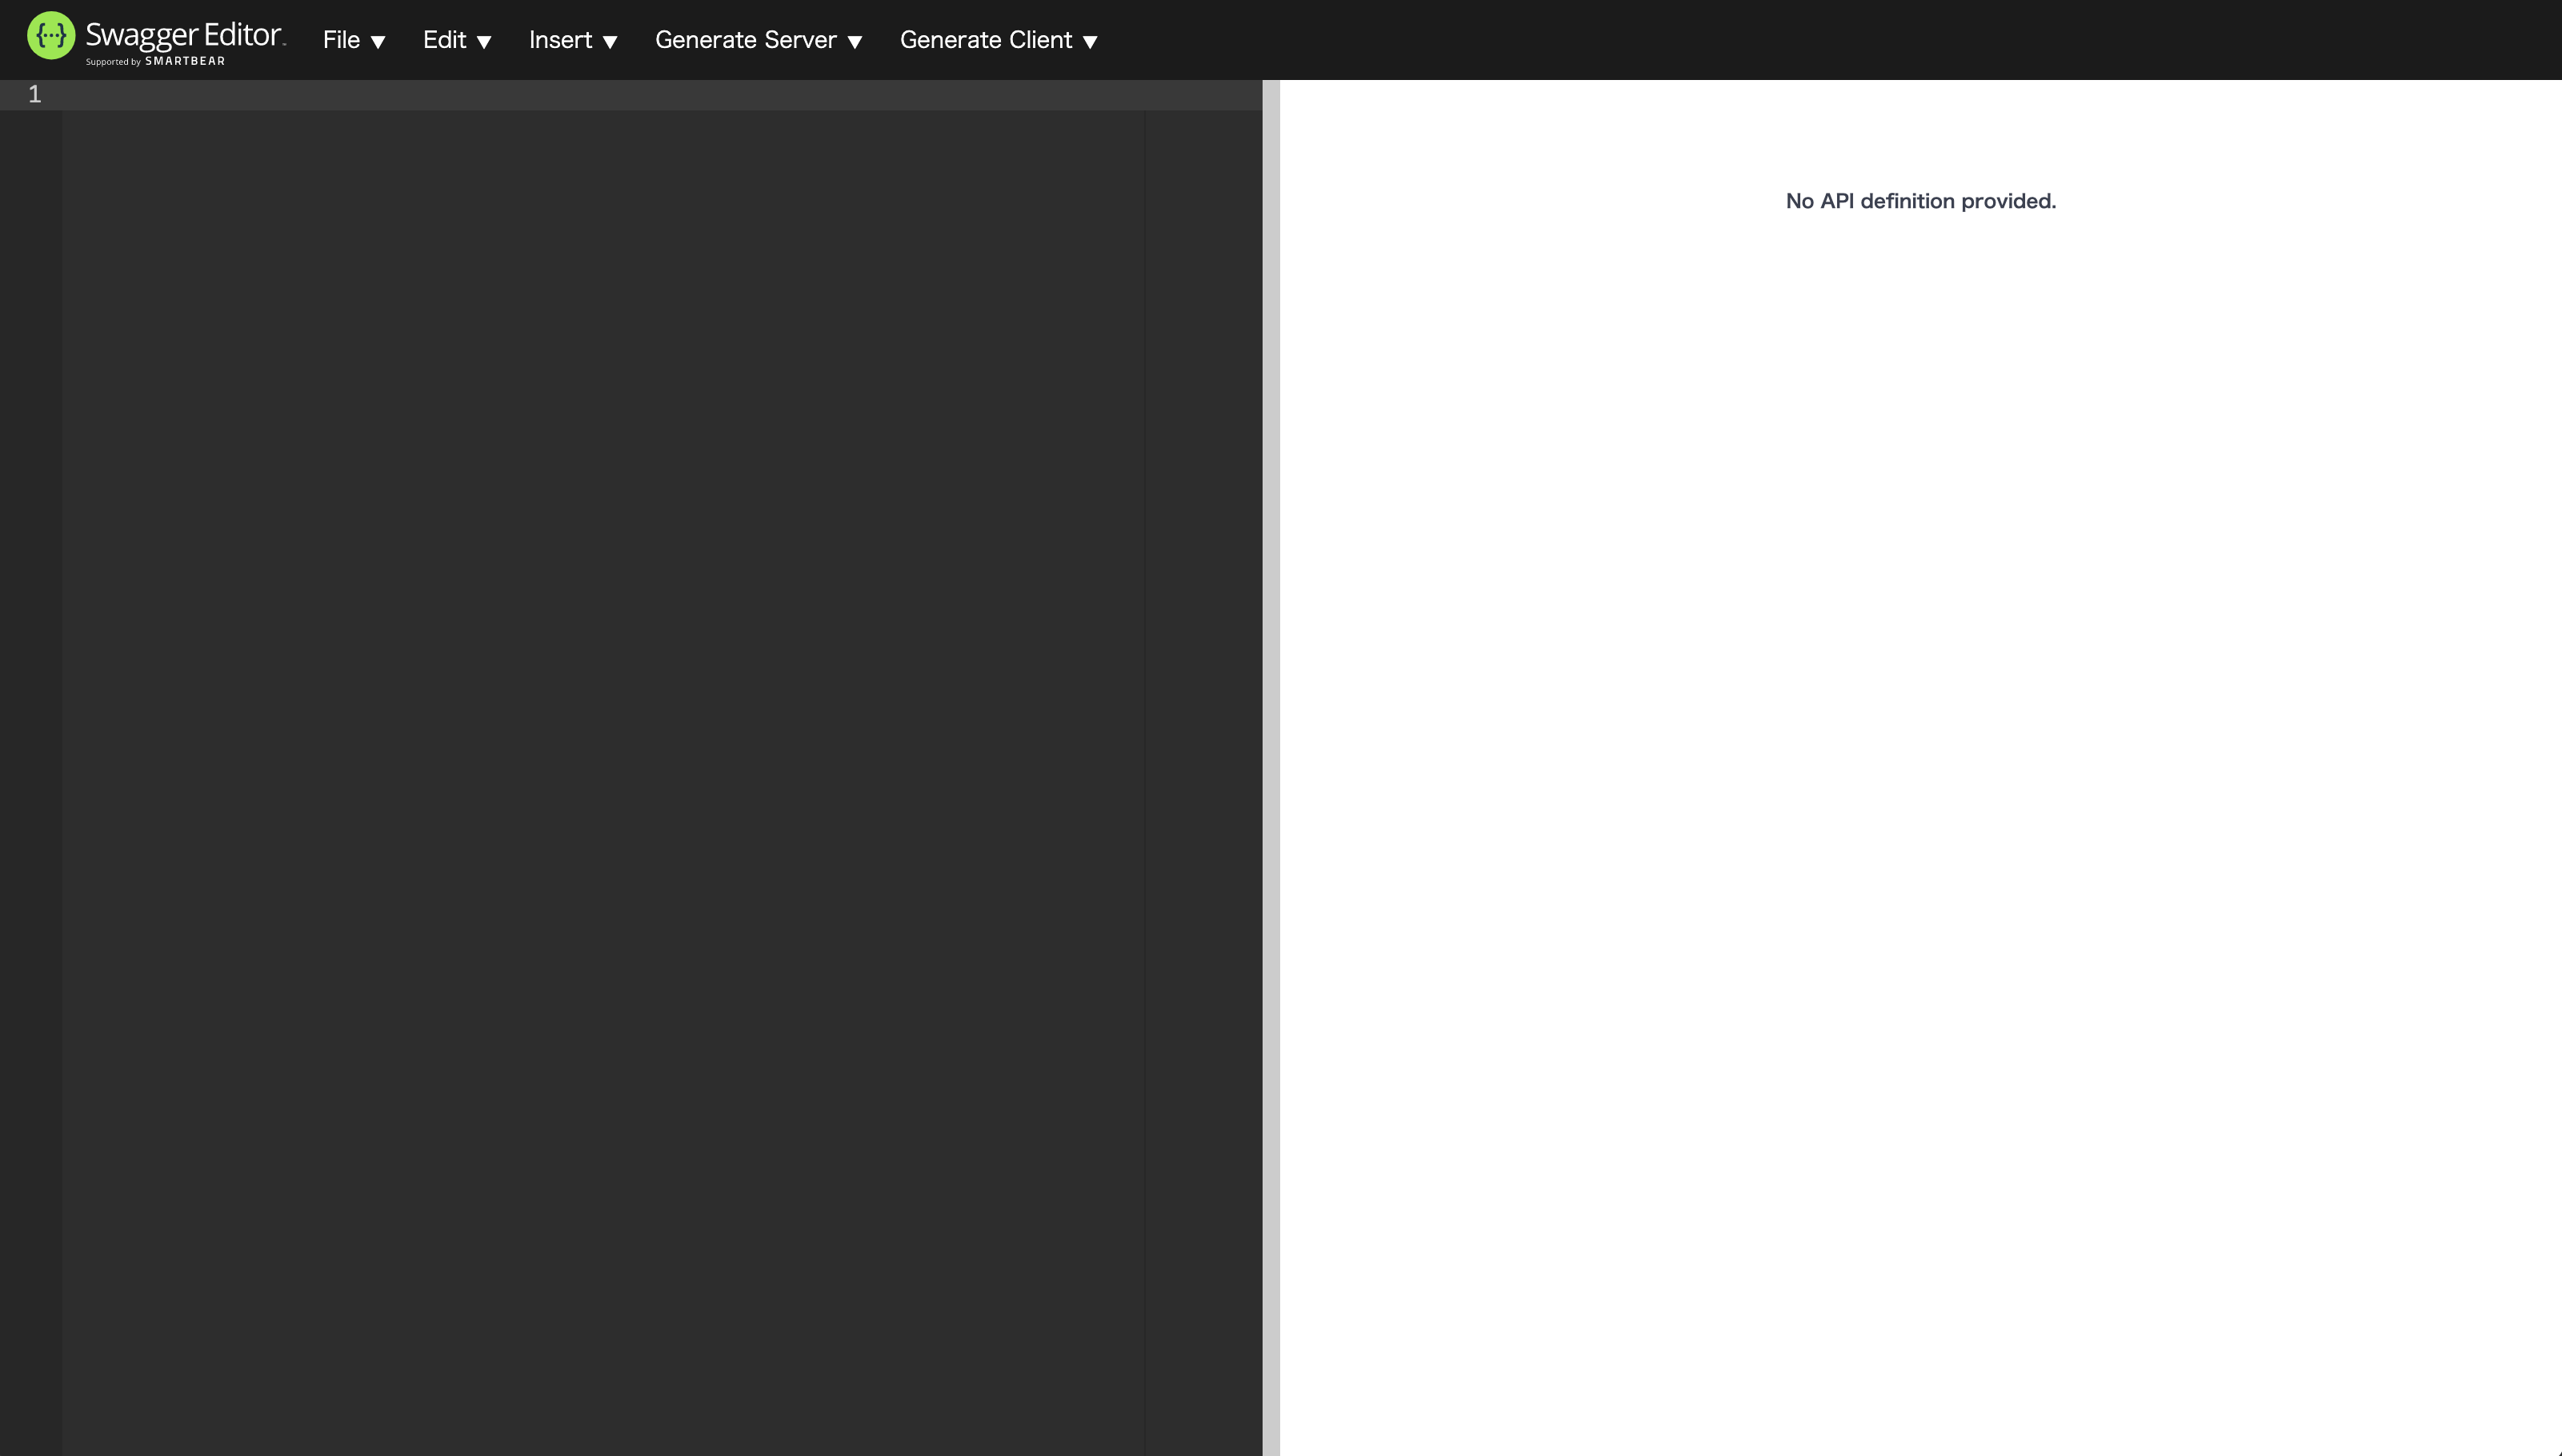
Editor
画面左側がエディター、右側がSwagger UIとなっておりリアルタイムで記法のチェックや定義書を確認できます。
後述するサンプルを左側にコピペすると、右側に結果が表示されますので試してみてください。
UI
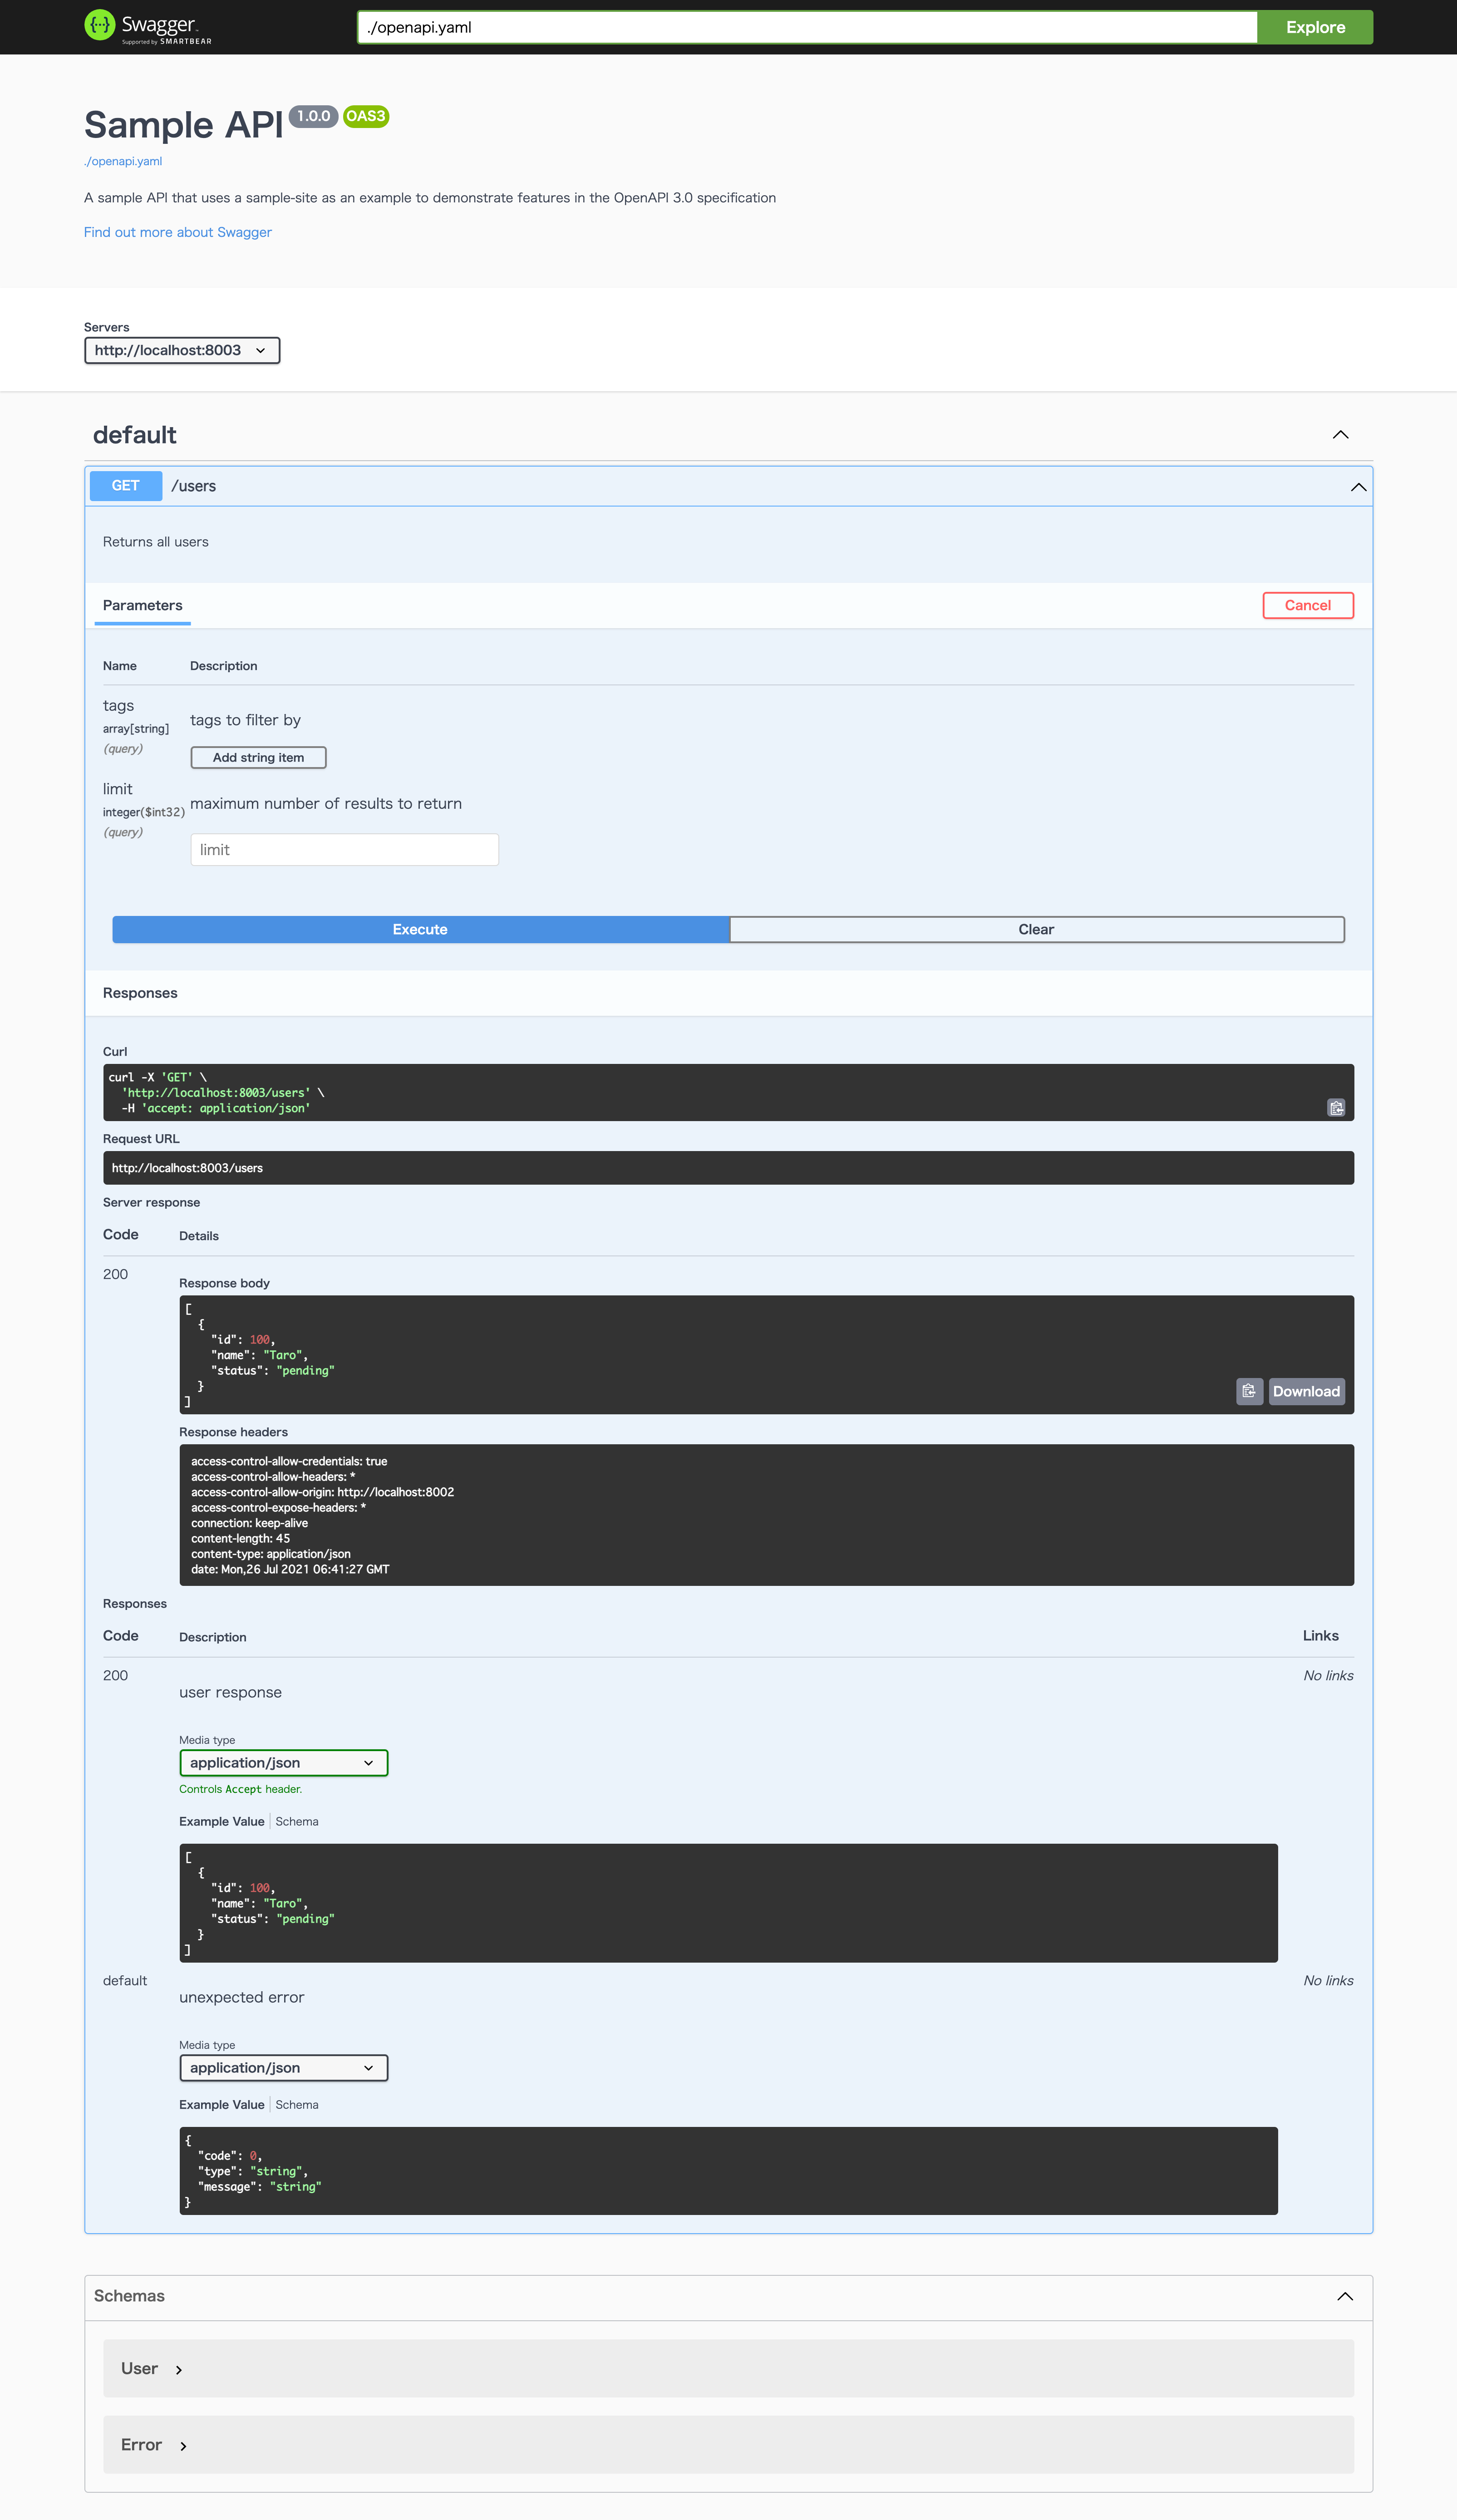
API
アクセスURL: http://localhost:8003/users
[{"id":100,"name":"Taro","status":"pending"}]
環境
- macOS Big Sur 11.4
- Docker 20.10.7
- Docker Compose version v2.0.0-beta.6
構成
今回用意するのは以下の2ファイルだけです!
.
├── api
│   └── openapi.yaml
└── docker-compose.yml
手順
1. docker-compose.yml作成
今回は、swaggerのエディタ・UI・APIモックのコンテナをそれぞれ用意します。
docker-compose.yml
version: '3.9'

services:
  swagger-editor:
    image: swaggerapi/swagger-editor
    container_name: "swagger-editor"
    ports:
      - "8001:8080"

  swagger-ui:
    image: swaggerapi/swagger-ui
    container_name: "swagger-ui"
    ports:
      - "8002:8080"
    volumes:
      - ./api/openapi.yaml:/openapi.yaml
    environment:
      SWAGGER_JSON: /openapi.yaml

  swagger-api:
    image: stoplight/prism:3
    container_name: "swagger-api"
    ports:
      - "8003:4010"
    command: mock -h 0.0.0.0 /openapi.yaml
    volumes:
      - ./api/openapi.yaml:/openapi.yaml
2. openapi.yaml作成
サンプル用のAPI設計書を用意します。
こちらをもとに
openapi.yaml
openapi: 3.0.0
info:
  version: 1.0.0
  title: Sample API
  description: >-
    A sample API that uses a sample-site as an example to demonstrate features in
    the OpenAPI 3.0 specification
servers:
  - url: 'http://localhost:8003'
paths:
  /users:
    get:
      description: >
        Returns all users
      operationId: findUsers
      parameters:
        - name: tags
          in: query
          description: tags to filter by
          required: false
          style: form
          schema:
            type: array
            items:
              type: string
        - name: limit
          in: query
          description: maximum number of results to return
          required: false
          schema:
            type: integer
            format: int32
      responses:
        '200':
          description: user response
          content:
            application/json:
              schema:
                type: array
                items:
                  $ref: '#/components/schemas/User'
        default:
          description: unexpected error
          content:
            application/json:
              schema:
                $ref: '#/components/schemas/Error'
components:
  schemas:
    User:
      type: "object"
      required:
        - "name"
      properties:
        id:
          type: "integer"
          format: "int64"
          example: 100
        name:
          type: "string"
          example: "Taro"
        status:
          type: "string"
          description: "user status"
          enum:
            - "pending"
            - "active"
            - "inactive"
    Error:
      type: "object"
      properties:
        code:
          type: "integer"
          format: "int32"
        type:
          type: "string"
        message:
          type: "string"
externalDocs:
  description: "Find out more about Swagger"
  url: "http://swagger.io"
3. 起動
docker-compose up -d
確認用URL
| 名称 | URL |
|---|---|
| Swagger Editor | http://localhost:8001/ |
| Swagger UI | http://localhost:8002/ |
| Swagger API mock | http://localhost:8003/users |