Unityのシェーダーのコードを読んでいるとBlendは当たり前のように出てくるが、重要そうな割に全然理解していなかったので、いくつかサンプルを作りながら理解してみる。
Blend SrcFactor DstFactor
よく見るパターンはこれ。Blend SrcFactor DstFactor
公式ページには次のように説明されている。
Blend SrcFactor DstFactor: Configure and enable blending. The generated color is multiplied by the SrcFactor. The color already on screen is multiplied by DstFactor and the two are added together.
SrcFactor
The generated color is multiplied by the SrcFactor.
つまり、**"Fragmentシェーダーでreturnされた色"**にSrcFactorを乗算する。
DstFactor
The color already on screen is multiplied by DstFactor
該当Shaderが処理される前に、すでに画面に描画されている色にDstFactorを乗算する。
最終的に描画される色
上記二つの色を加算するので、次のようになる。
Shaderで計算した色 * SrcFactor + 既に画面に描画されている色 * DstFactor
検証
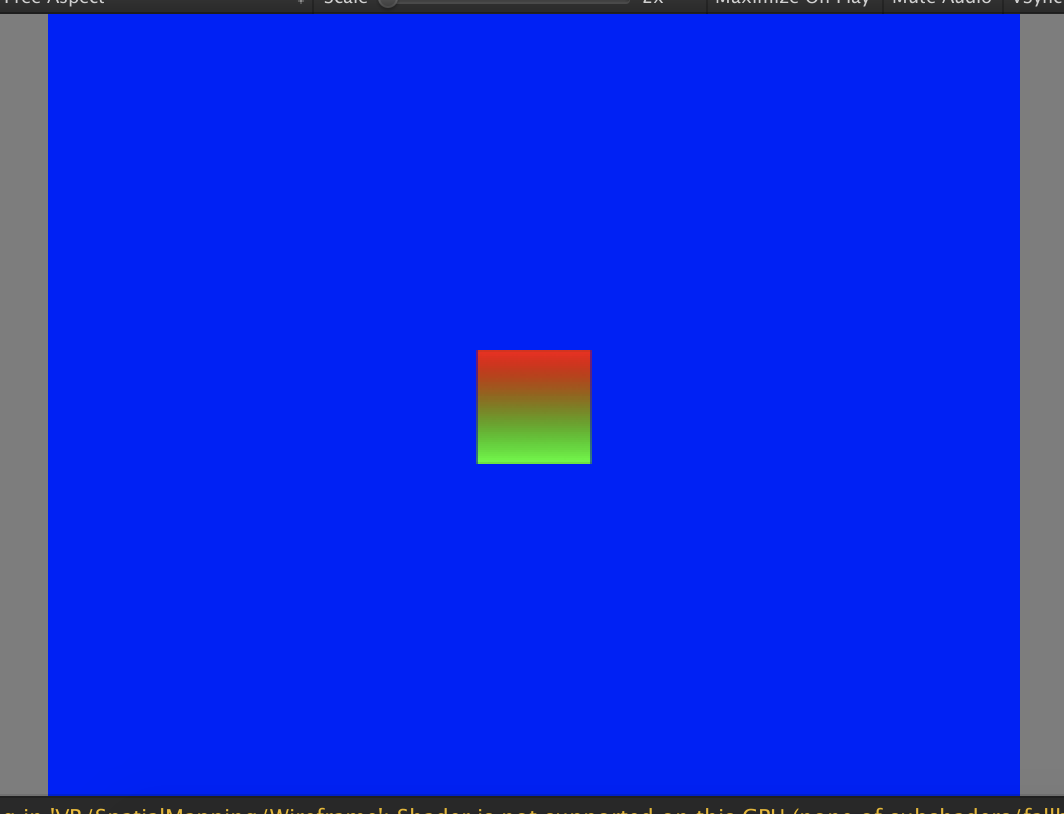
青(0,0,1)のPlaneの上方向に、赤(1,0,0)から緑(0,1,0)のグラデーションテクスチャをセットしたQuadを配置。このQuadのにセットしたシェーダーでBlendを変更してみる。
Blend factors
公式ページによるとBlend factorは10個あって、SrcFactorとDstFactorに設定できるので、合計100通りの組み合わせがあることにある。
全部確認するのは大変なので、その内のいくつかを試してみる。
One, Zero
- Shaderで計算した色 * One = Shaderで計算した色
- 既に画面に描画されている色 * Zero = (0,0,0)
っといった風に各色をそのまま使用するか、あるいは黒にしてしまう。
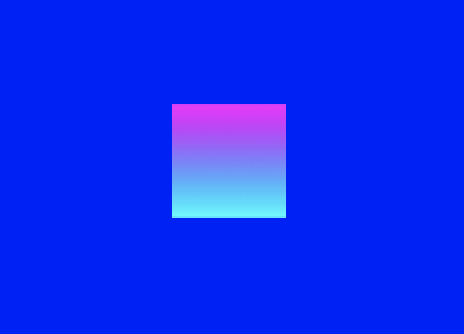
Blend One One
赤(1,0,0) * 1 + 青(0,0,1) * 1 = (1,0,1)
から
緑(0,1,0) * 1 + 青(0,0,1) * 1 = (0,1,1)
へのグラデーションになっているっぽい
Blend Zero One
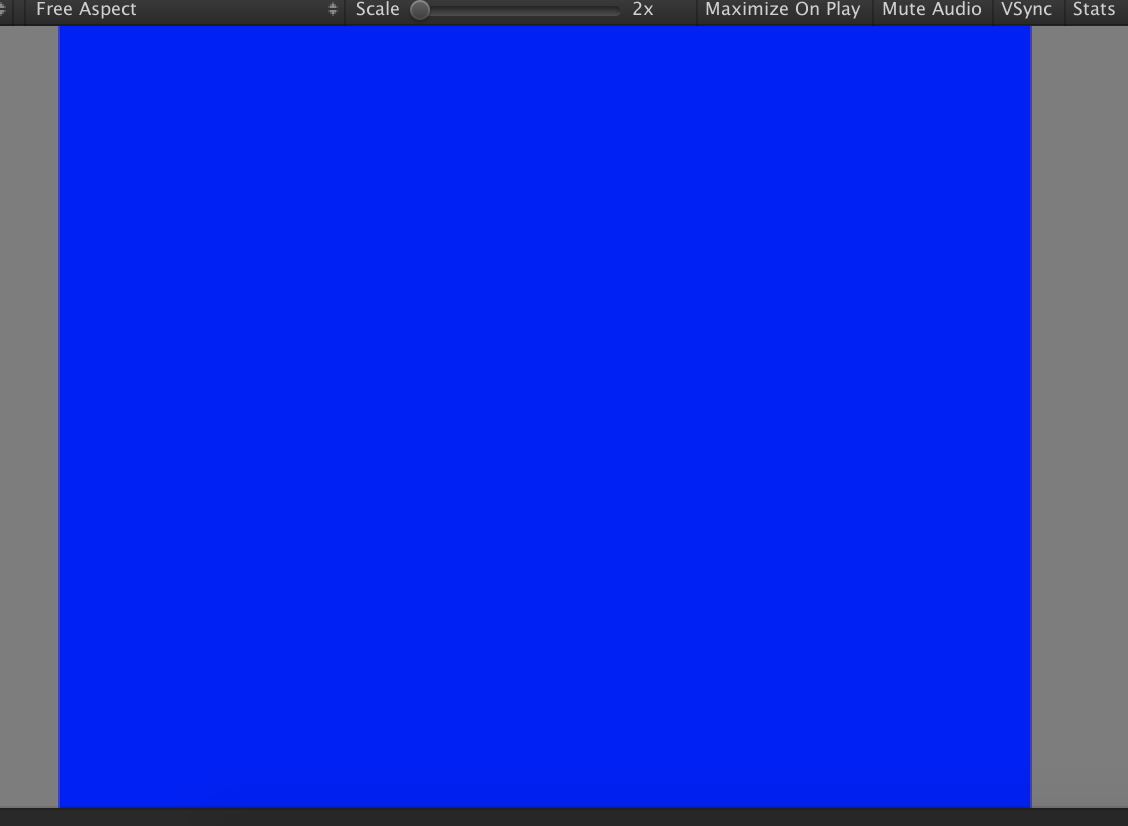
シェーダーで計算された色に0を乗算するので、既にあるPlaneの色だけが描画される。
赤(1,0,0) * 0 + 青(0,0,1) * 1 = (0,0,1)
緑(0,1,0) * 0 + 青(0,0,1) * 1 = (0,0,1)
Blend One Zero
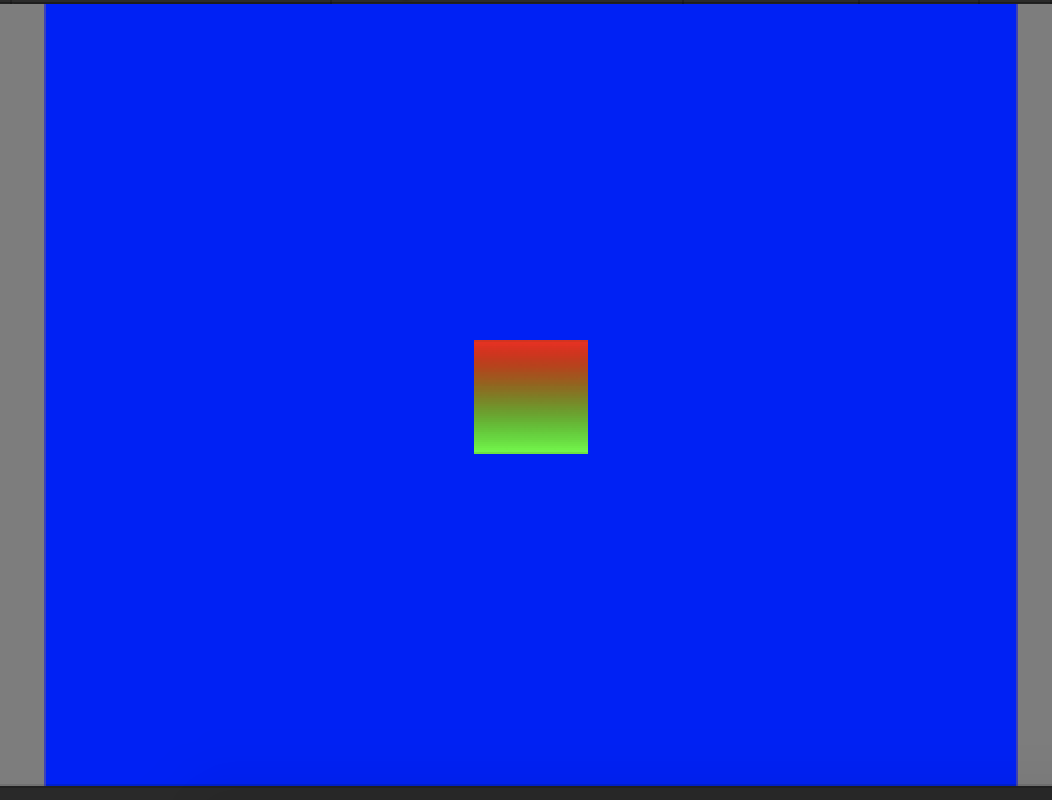
既にあるPlaneの色に0をかけるので、グラーデーションの色が描画される
赤(1,0,0) * 1 + 青(0,0,1) * 0 = (1,0,0)
緑(0,1,0) * 1 + 青(0,0,1) * 0 = (0,1,0)
Blend Zero Zero
シェーダーで計算された色、既にあるPlaneの色のどちらにも0を乗算するので、黒(0,0,0)になる
赤(1,0,0) * 0 + 青(0,0,1) * 0 = (0,0,0)
緑(0,1,0) * 0 + 青(0,0,1) * 0 = (0,0,0)

SrcColor, DstColor
SrcColor
The value of this stage is multiplied by the source color value.
Shaderで計算された色を乗算する
DstColor
The value of this stage is multiplied by frame buffer source color value
既に描画されている(実際にはバッファに保存されている?)色を乗算する。
Blend Zero SrcColor
シェーダーで計算した色とPlaneの色は被っている要素がないので、Quadを配置した部分は黒(0,0,0)になる。
赤(1,0,0) * 0 + 青(0,0,1) * 赤(1,0,0) = (0,0,0)
緑(0,1,0) * 0 + 青(0,0,1) * 緑(0,1,0) = (0,0,0)

Blend DstColor Zero
この場合もQuadは黒になる。
赤(1,0,0) * 青(0,0,1) + 青(0,0,1) * 0 = (0,0,0)
緑(0,1,0) * 青(0,0,1) + 青(0,0,1) * 0 = (0,0,0)
Blend SrcColor Zero
シェーダーで計算した色を2乗することになるので、全体的に暗くなる。
例えば(0.5, 0.5, 0)の点を考えると
(0.5, 0.5, 0) * (0.5, 0.5, 0) + 青(0,0,1) * 0 = (0.25, 0.25 ,0)

OneMinusSrcColor, OneMinusDstColor
OneMinusSrcColor
The value of this stage is multiplied by (1 - source color).
(1 - Shaderで計算された色)を乗算する。仮に計算された色が(0.3, 0.3, 0.3)だとしたら、(0.7, 0.7, 0.7)が乗算される。
OneMinusDstColor
The value of this stage is multiplied by (1 - destination color).
Blend Zero OneMinusSrcColor
Planeの青だけになる。
赤(1,0,0) * 0 + 青(0,0,1) * (1 - (1,0,0))
= 0 + (0,0,1) * (0,1,1)
= (0,0,1)
緑(0,1,0) * 0 + 青(0,0,1) * (1 - (0,1,0))
= 0 + (0,0,1) * (1,0,1)
= (0,0,1)

Blend OneMinusSrcColor Zero
(0.5,0.5,0)点で考えると、
(0.5,0.5,0) * (1 - (0.5,0.5,0)) + 青(0,0,1) * 0
= (0.5,0.5,0) * (0.5,0.5,1) + 0
= (0.25,0.25,0)
画像はちょっと分かりにくいが、暗い黄色のグラデーションになる。

アルファも試してみる
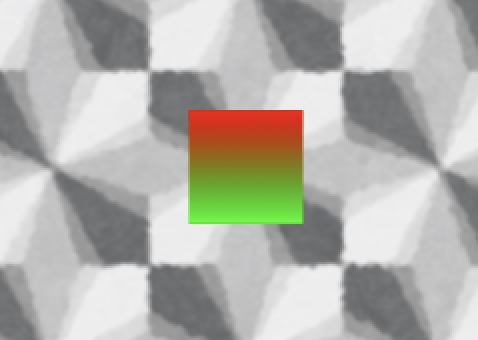
アルファによる変化がわかりやすいようにPlaneのテクスチャを以下のような画像に変更。
SrcAlpha
The value of this stage is multiplied by the source alpha value.
Shaderで計算されたアルファを乗算する。
DstAlpha
The value of this stage is multiplied by frame buffer source alpha value.
フレームバッファに保存されたアルファを乗算する。
OneMinusSrcAlpha
The value of this stage is multiplied by (1 - source alpha).
OneMinusDstAlpha
The value of this stage is multiplied by (1 - destination alpha).
Blend SrcAlpha OneMinusSrcAlpha
公式によるとこれば一般的な透過設定とのこと。
アルファを以下の様にフラグメントシェーダーで変更した場合を考えてみる。
fixed4 frag (v2f i) : SV_Target
{
    fixed4 col = tex2D(_MainTex, i.uv);
    col.a = ここを変更;
    return col;
}
前提
フラグメントシェーダーで計算された色は赤(1,0,0)、Planeの色は白(1,1,1)の点を例にとって考えてみる。
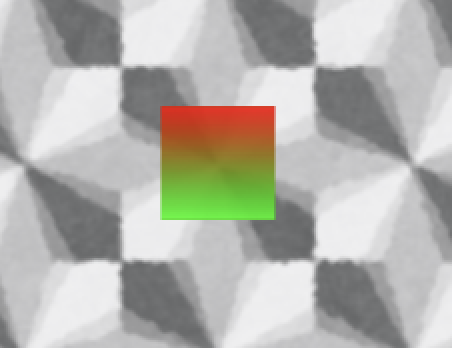
アルファを0.1とした場合
col.a = 0.1の場合は以下のように計算して、ブレンド後の色は白に近くなる。
赤(1,0,0) * 0.1 + 白(1,1,1) * (1 - 0.1)
= (0.1, 0, 0) + (0.9, 0.9, 0.9)
= (1, 0.9, 0.9)

アルファを0.9とした場合
col.a = 0.9の場合は以下のように計算して、ブレンド後の色はほぼ赤となる。
赤(1,0,0) * 0.9 + 白(1,1,1) * (1 - 0.9)
= (0.9, 0, 0) + (0.1, 0.1, 0.1)
= (1, 0.1, 0.1)
Blend SrcAlpha SrcAlpha
こんな設定をすることは無いだろうけど、確認のためにこの設定もためしてみる。
アルファを0.1とした場合
赤(1,0,0) * 0.1 + 白(1,1,1) * 0.1
= (0.1, 0, 0) + (0.1, 0.1, 0.1)
= (0.2, 0.1, 0.1)
黒に近くなる。
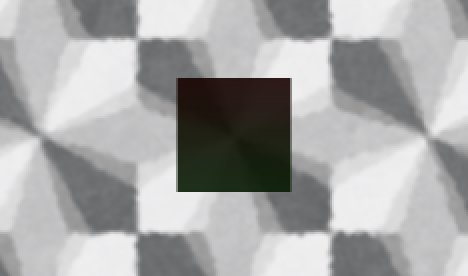
アルファを0.9とした場合
白に近くなる。
赤(1,0,0) * 0.9 + 白(1,1,1) * 0.9
= (0.9, 0, 0) + (0.9, 0.9, 0.9)
= (1.0, 0.9, 0.9)

今回のコード
コード自体は新規作成したUnlitシェーダーに以下の変更をしただけ。
- Fogの記述を削除
- Tagを変更
- Blendを追加
Shader "Unlit/SH_GradientColor"
{
    Properties
    {
        _MainTex ("Texture", 2D) = "white" {}
    }
    SubShader
    {
        Tags { "RenderType"="Transparent" "Queue" = "Transparent" }
        LOD 100

//        Blend One One

        Pass
        {
            CGPROGRAM
            #pragma vertex vert
            #pragma fragment frag
            #include "UnityCG.cginc"

            struct appdata
            {
                float4 vertex : POSITION;
                float2 uv : TEXCOORD0;
            };

            struct v2f
            {
                float2 uv : TEXCOORD0;
                float4 vertex : SV_POSITION;
            };

            sampler2D _MainTex;
            float4 _MainTex_ST;

            v2f vert (appdata v)
            {
                v2f o;
                o.vertex = UnityObjectToClipPos(v.vertex);
                o.uv = TRANSFORM_TEX(v.uv, _MainTex);
                return o;
            }

            fixed4 frag (v2f i) : SV_Target
            {
                // sample the texture
                fixed4 col = tex2D(_MainTex, i.uv);
                return col;
            }
            ENDCG
        }
    }
}
参考