はじめに
16bit の dicom画像をヒストグラム平坦化したかったのだが、OpenCV の equalizeHist() は、8bit しか受けとらないということで、できなかった。8bit に変換すると情報がだいぶ失われてしまうので、ImageJ を使ってヒストグラムを平坦化した。
私は dicom画像を扱っていたが、dicom画像 である必要はない。
こちらの記事を参考に行った。
ImageJのインストール
ImageJ については、こちらを読めばわかる。
https://imagej.net/Fiji
ここから自分のOSにあったImageJ Fijiをインストールする。
ヒストグラム平坦化
ImageJ Fiji を開いて、File > Open から対象の画像を開く。
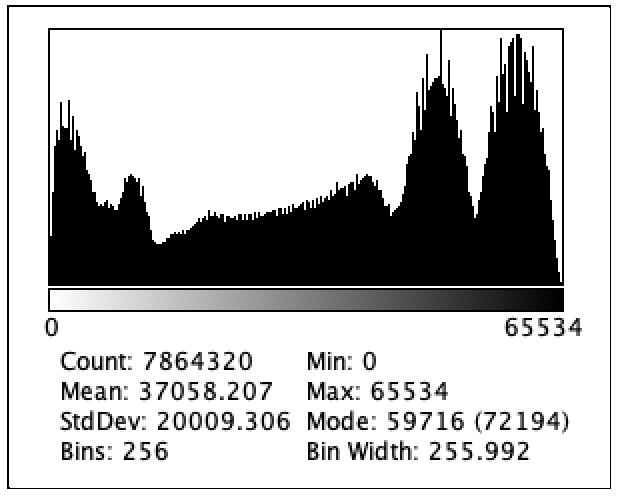
ヒストグラムを確認したければ、Analyze > Histogram から確認することができる。
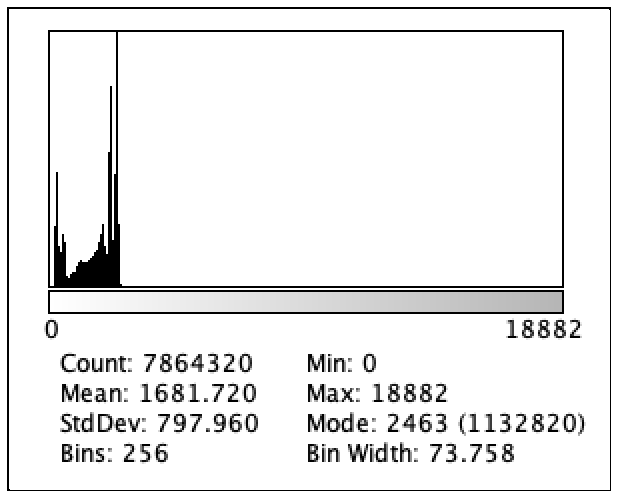
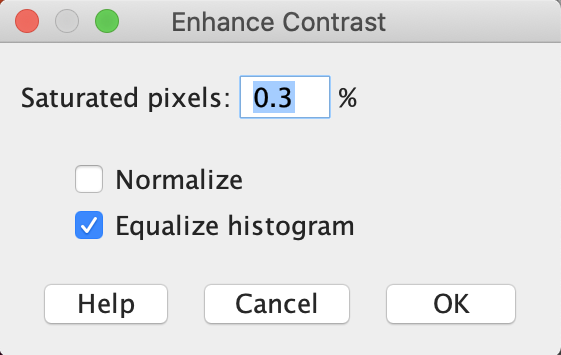
ヒストグラム平坦化は、Process > Enhance Contrast を開き、Equalize histogram にチェックを入れOKを押す。
dcm, tif, jpg 等よしなに保存する。ただし、16bit の場合、jpg で保存すると 8bit に変換されて保存される。
フォルダの全画像に対して適用する
画像が大量にある場合にこれを1枚1枚やるのはあり得ないので、まとめて処理する。
先に、16bit の dicom画像をヒストグラム平坦化して jpg画像 (8bit) として保存するコードを記載する。
# your script の部分が画像処理に対応する。
from ij import IJ
from ij.io import DirectoryChooser
import os


def Analysis(imagepath):
    imp = IJ.openImage(imagepath)
    savefilepath = os.path.splitext(imagepath)[0]
##########################
    # your script
    IJ.run(imp, "Enhance Contrast...", "saturated=0.3 equalize")
    IJ.saveAs(imp, "Jpeg", savefilepath + ".jpg")
##########################
    imp.close()

srcDir = DirectoryChooser("Choose Folder").getDirectory()
IJ.log("directory: " + srcDir)

for root, directories, filenames in os.walk(srcDir):
    for filename in filenames:
        if filename.endswith(".dcm"):
            path = os.path.join(root, filename)
            IJ.log(path)
            Analysis(path)

IJ.log("Finish")
Recorderで処理を記録
# your script の部分は ImageJ での処理を記録することで容易に取得できる。
ImageJ で画像を開いたのちに、Plugins > Macros > Record を選択すると Recorder が開く。
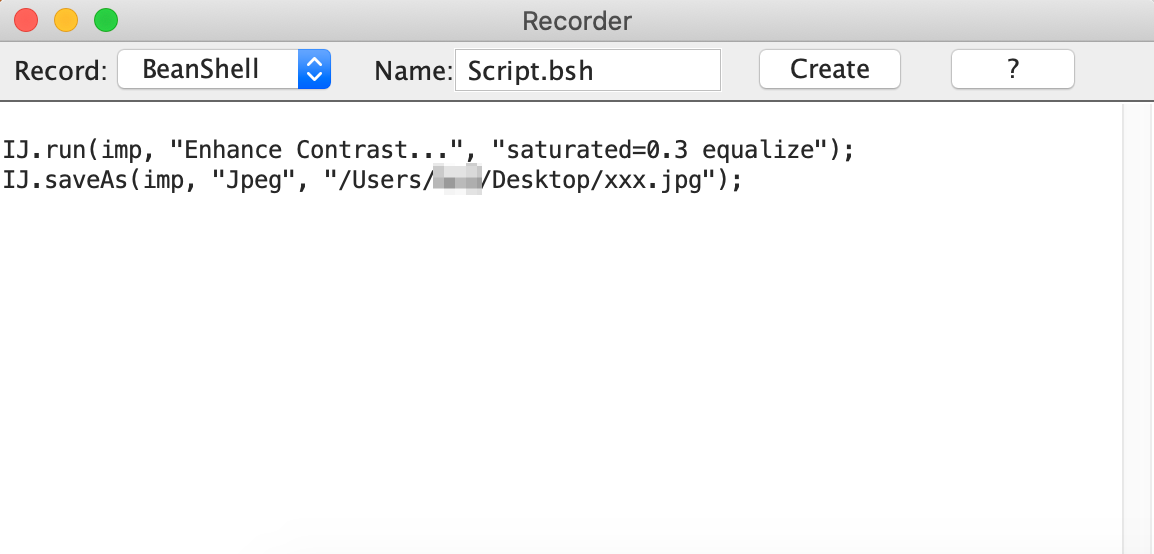
以後、ImageJ 上で行った操作は全てここに記録される。Record は BeanShell にしておく。
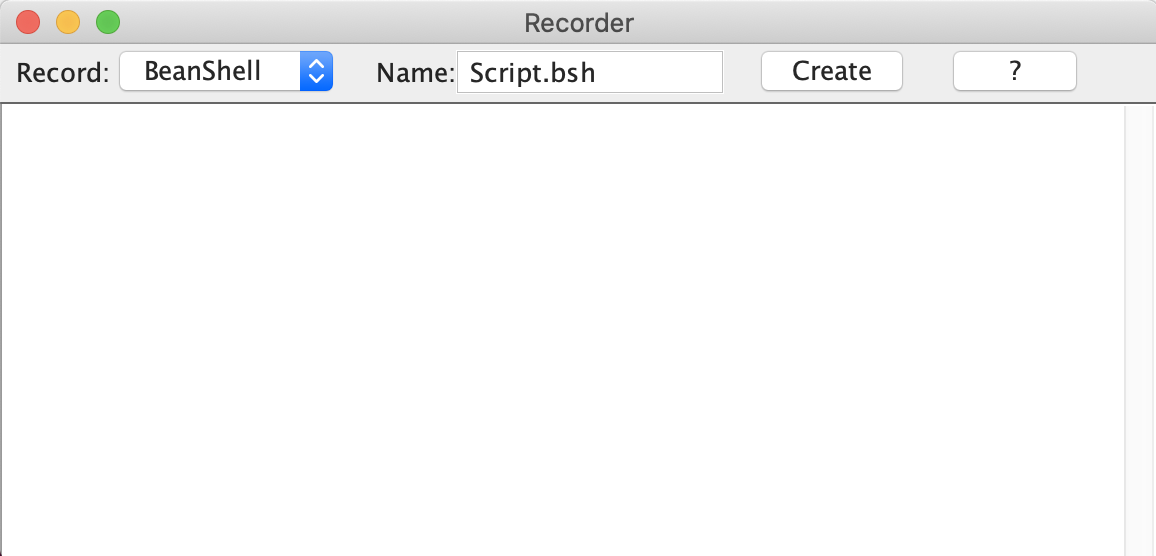
例えば、白黒反転である Invert を行うと、
IJ.run(imp, "Invert", "");
が Recorder に追加される。
今回は、
IJ.run(imp, "Enhance Contrast...", "saturated=0.3 equalize")
IJ.saveAs(imp, "Jpeg", "xxx.jpg")
となったものを後からファイルのパスを書き換えた。
実行ファイルの作成・実行
File > New > Text Window からエディタを起動し、上記のコードをコピペし、Language で Python を選択する。
### に囲まれた部分には先ほど記録した Recorder の中身をコピペする。
Run を押して、画像の入ったフォルダの選択を行うと、一括処理が開始する。
上記のコードでは、そのフォルダ内にある、拡張子が".dcm"であるファイルを対象にしている。
終わりに
記録用にざっくりと書きました。
ちなみに、私は全然処理が適用されないなと思ったら、ウイルスバスターズが見事にブロックしていたので、うまくいかない場合はセキュリティのブロックも確認してみましょう。
