楽しいインタラクションを手軽に実装できないかと色々漁っていたら、Riveが良さそうだったので自分用にメモとしてまとめてみます。
使ったもの
- React
- Rive
※Reactのプロジェクトを用意したところから始めます。
Riveのインストール
こちらのReactでの使い方を参考にインストールします。
npm i --save @rive-app/react-canvas
これをすればとりあえず使えるようになります。
Riveを.rivファイルでエクスポート
今回Reactで使うには、Riveのファイルを.ribの拡張子形式でエクスポートしたものをReactのプロジェクトに入れて、画像データとかと同じように引っ張ってきます。
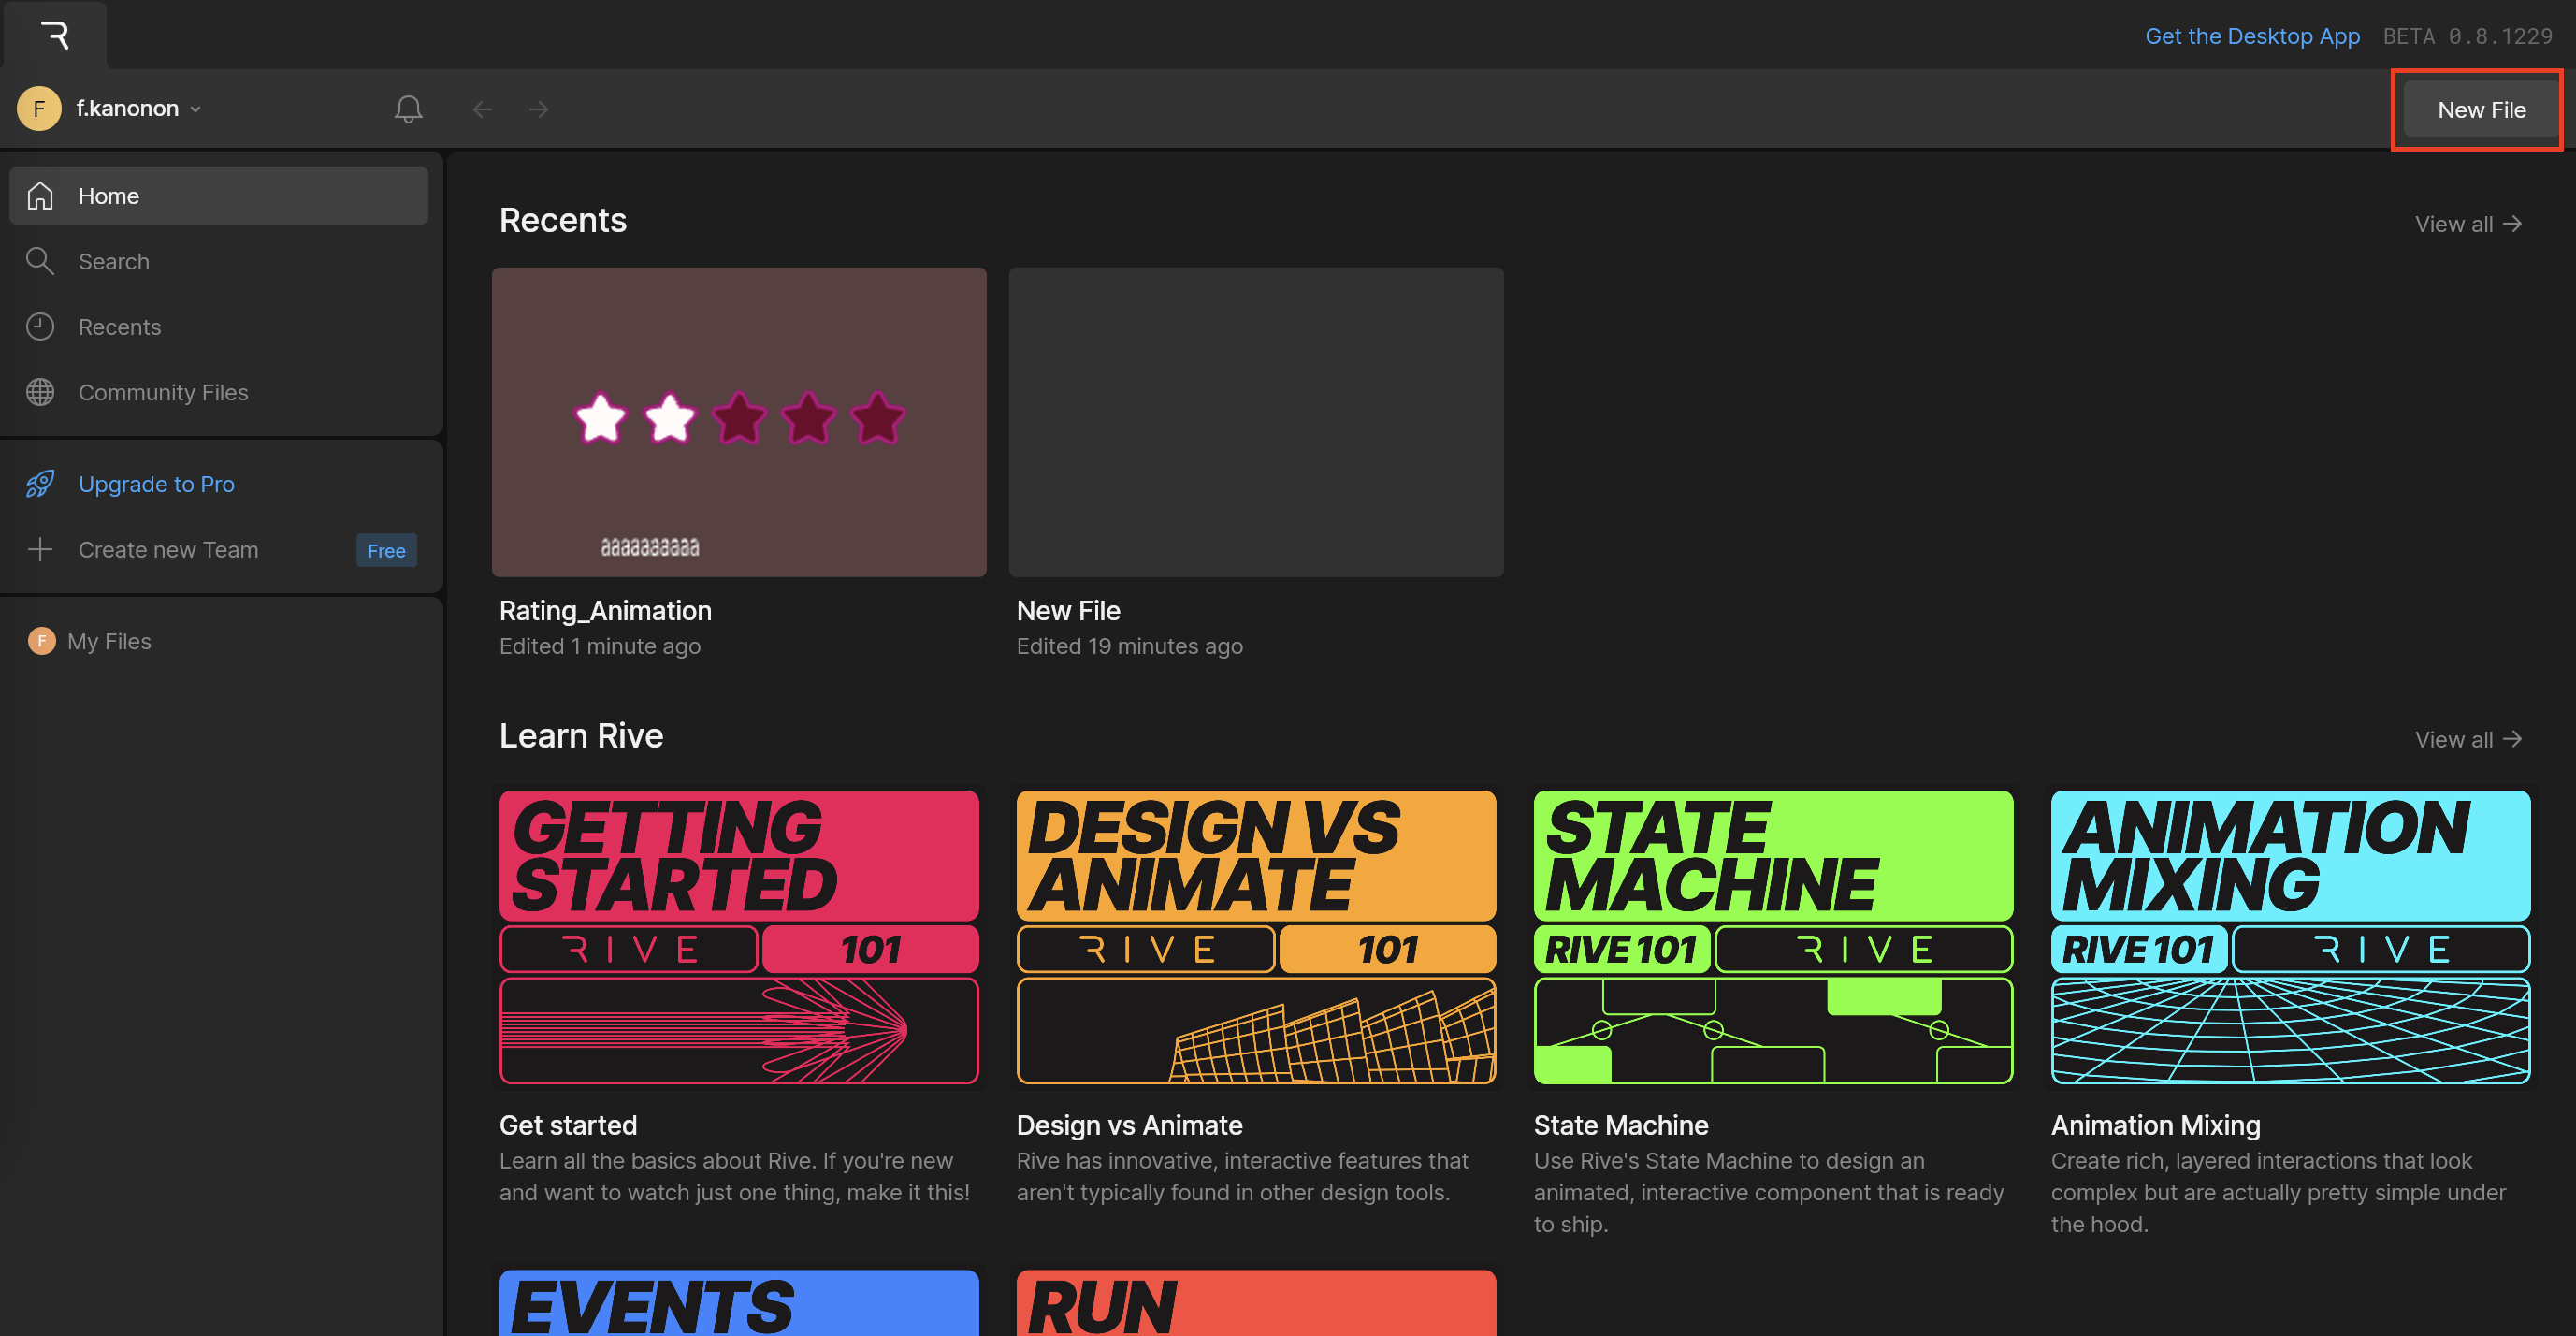
Riveのアカウントを作成すると、こんな感じのホーム画面になるので、右上のNew fileボタンを押すとファイルを作成できます。

今回はサンプルファイルのStar ratingを使ってやっていきます。

※アニメーションの作り方とかは今回説明を省くので、気になる人は実際に触ってみましょう。Affter effectとBlenderのアニメーションを触ったことある人なら割とサクッと使えると思います。
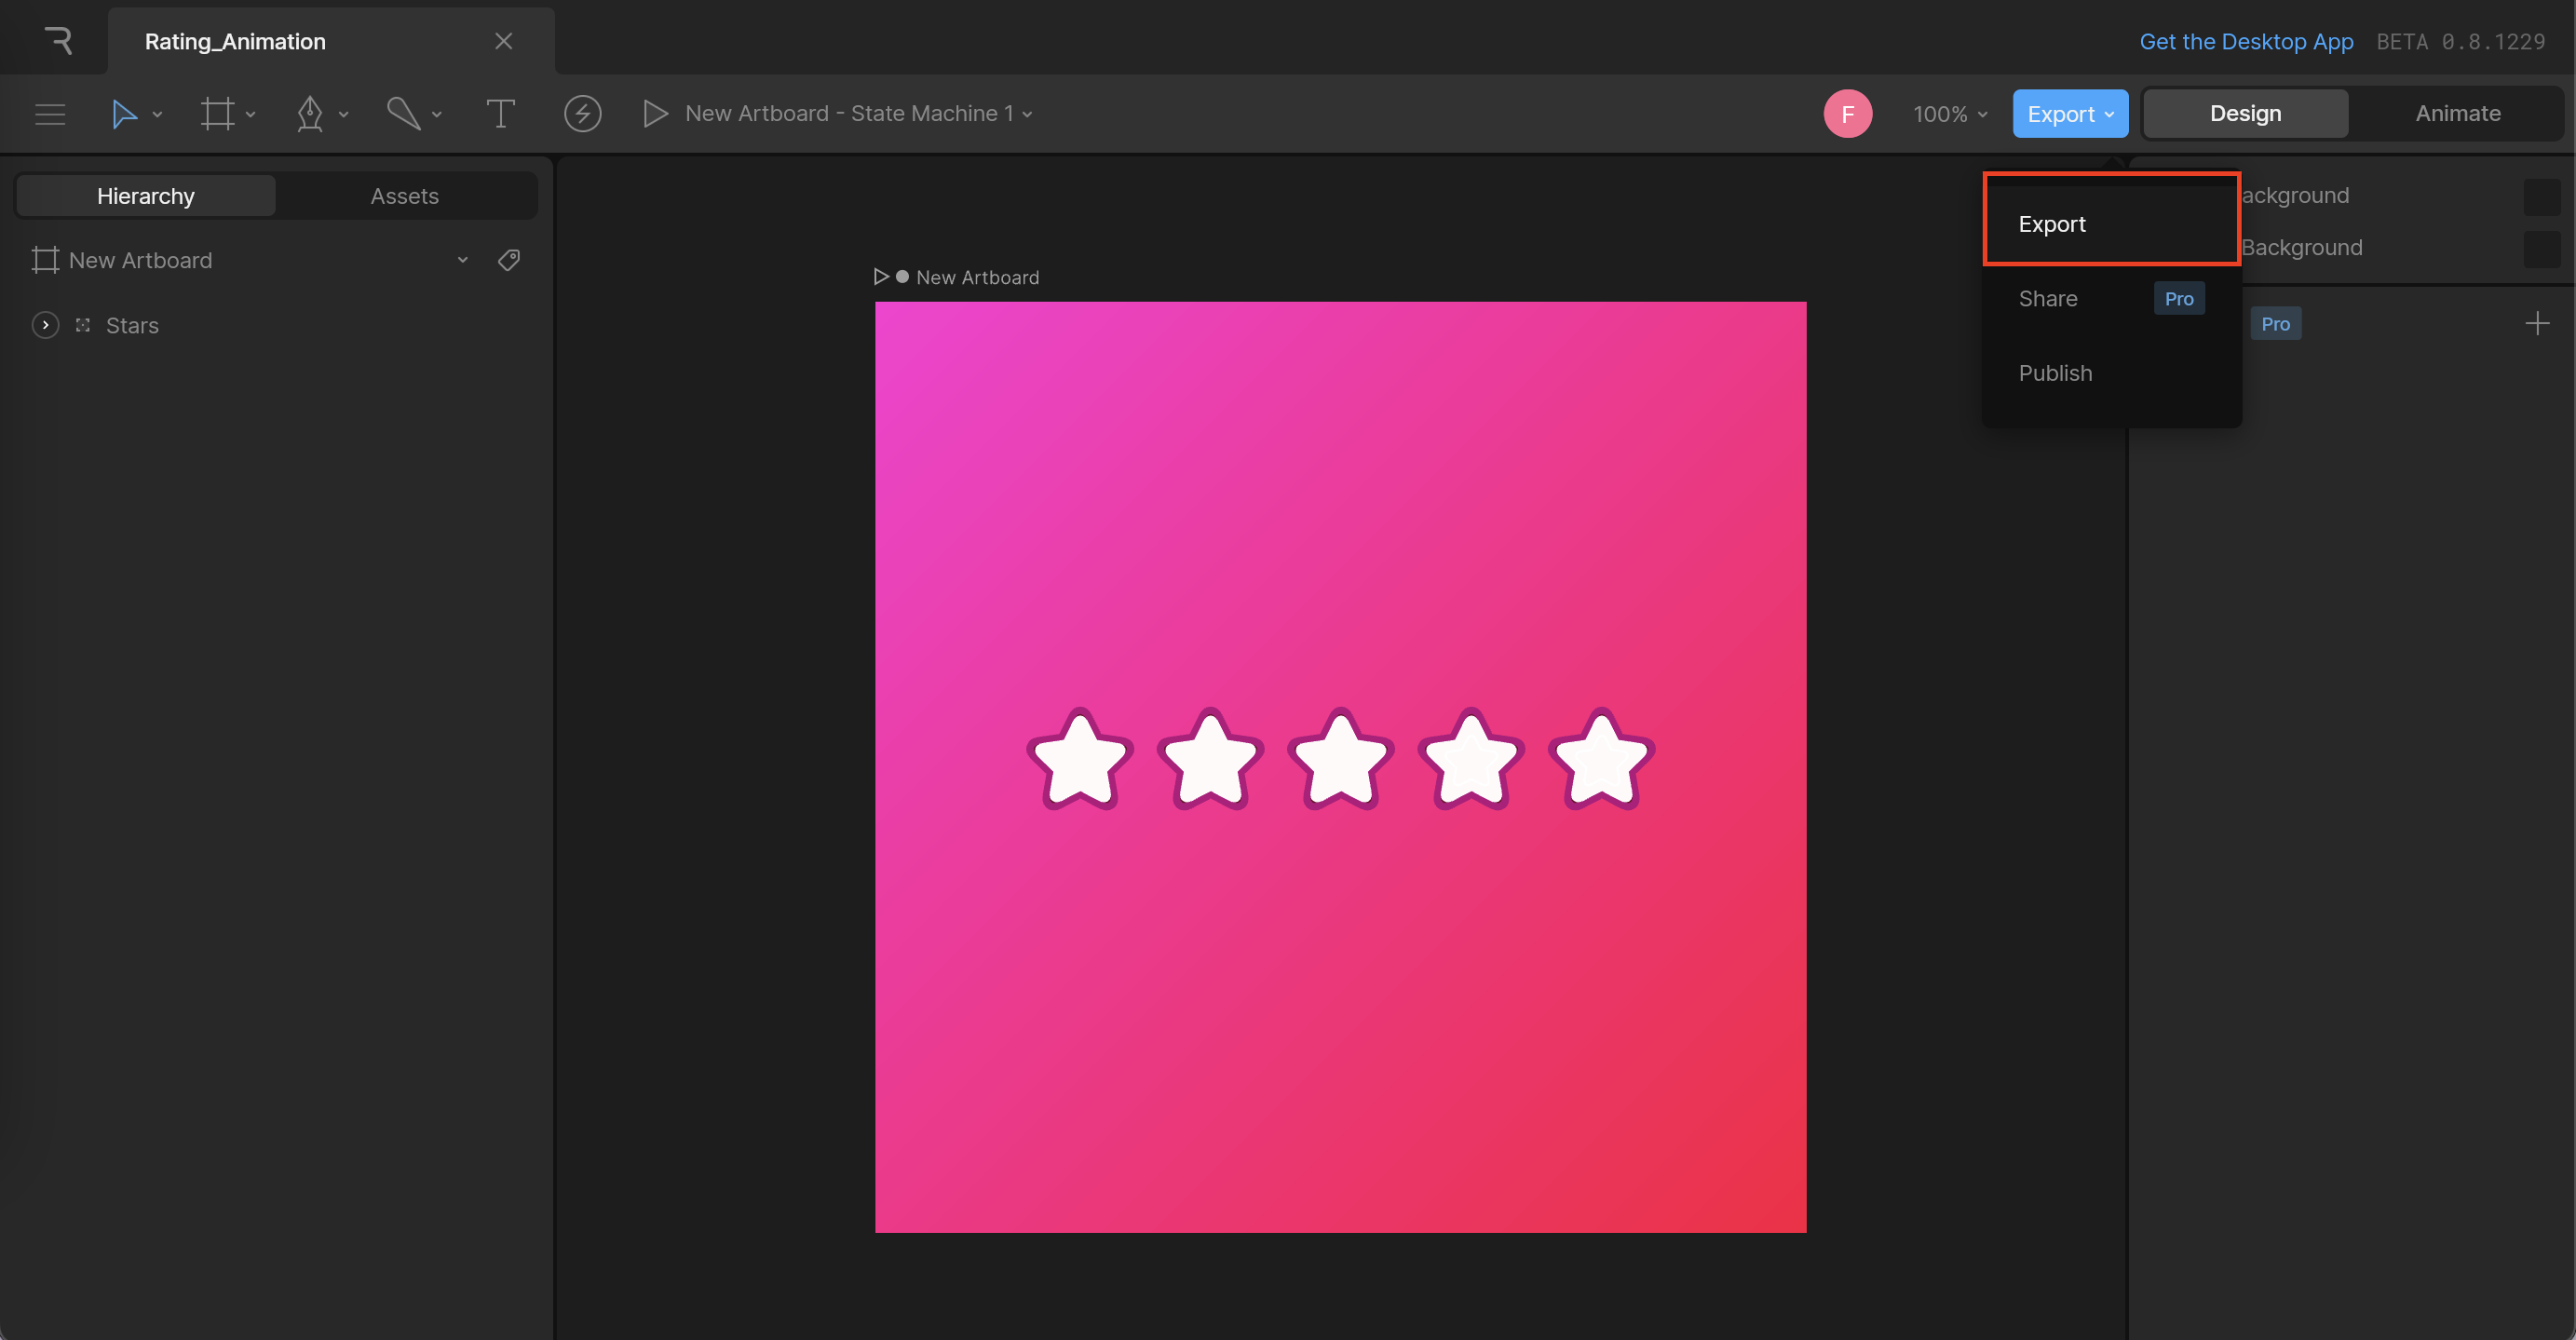
ファイルを作るとEditページに遷移します。右上にプルダウンのボタンがあるので、Exportを押すと、rating_animation.rivがダウンロードされます。

このrating_animation.rivをReactのプロジェクトに投げ入れます。一応srcフォルダに入れています。
Riveファイルで見るべきものはとにかくState machineとinput
Riveファイルの下部に、アニメーションの設定できるエリアがあります。ここでアニメーションのステータスを管理しています。今回で言うと、Animations>State Machine 1と、Inputs>ratingの数字がコードを書いていく上で使うので、しっかりと見ておきます。

rating_animationのコンポーネントを作ろう
このアニメーションのファイルを作ります。インタラクティブにするために、useRiveとuseStateMachineInputのHookを使います。
ここで、STATE_MACHINE_NAMEと、INPUT_NAMEに使うのが、さっきRiveでこれだけは見とけっていったState machineとinputです。RiveファイルでそれぞれState Machine 1とratingを使っているので、これを入れます。
import { useRive, useStateMachineInput } from '@rive-app/react-canvas';

export default function RatingAnimation() {
    const STATE_MACHINE_NAME = 'State Machine 1';
    const INPUT_NAME = 'rating';
    const { rive, RiveComponent: RiveComponentTouch} = useRive({
    src: 'rating_animation.riv',
    autoplay: true,
    stateMachines: STATE_MACHINE_NAME,
    artboard: 'New Artboard',
    });
    const animation = useStateMachineInput(rive, STATE_MACHINE_NAME, INPUT_NAME);

    return (
    <div>
        <RiveComponentTouch />
    </div>
    );
}
これでindex.jsにを入れるとあら不思議。Riveファイルで見たインタラクティブアニメーションが実装されています!!!
return以下をこれにして、アニメーションを外のボタンから変えられるようにしてみると、より仕組みが理解できます。
    return (
    <div>
        <RiveComponentTouch />
        {/* ボタンでも状態を変えられるようにした */}
        <div>
            <button onClick={() => animation && (animation.value = 0)}>0</button>
            <button onClick={() => animation && (animation.value = 1)}>1</button>
            <button onClick={() => animation && (animation.value = 2)}>2</button>
            <button onClick={() => animation && (animation.value = 3)}>3</button>
            <button onClick={() => animation && (animation.value = 4)}>4</button>
            <button onClick={() => animation && (animation.value = 5)}>5</button>
        </div>
    </div>
    );
Rive上でもこのようにアニメーションの状態を数字で決めていて、これをvalueで指定するといけるってことのようです。(この状態は星が2個白くなるアニメーションのことを示している)

実際にアニメーションを動かしている様子を上げてるので参考にどうぞ
まとめ
- Riveを使えば気軽にゴリゴリアニメーション付きのインタラクティブ的なあれこれを実装できそう
- 割と知識浅めでも使えたからReact初心者にもおすすめ