1. はじめに
最近アカウント情報を集結させたproviderと,
その情報をちょこちょこと使うclientの両方を作る機会があったので,まとめてみる.
今回,何をまとめた情報かを簡潔に示すと,
twitter連携のように別のサービスからアカウントを引っ張る機構を作ります.
twitter(provider)とそれを使うapp(client)の設定をまとめています.
結構長くなるので,とりあえず最小構成で記述しています.
2. provider
必要なgem
gem 'devise'
gem 'doorkeeper'
それぞれの役割は以下の通り
- devise
- providerのユーザ情報を作るために利用
- doorkeeper
- omniauthのproviderにするために必要
まずはdeviseのインストールから.
rails g devise:install
rails g devise User
rake db:migrate
一般的にomniauthのproviderにある情報を適当にユーザに追加します.
また,doorkeeperの管理ページを管理者制限を書けたほうが良いかと思うのでadminカラムも持たせておきます.
rails g migration AddOmniauthToUser uid name admin:boolean
rake db:migrate
今回はUserのidをそのままuidに渡す形にするため,以下を追加.
providerなのでomniauthableは付ける必要はなし.
class User < ActiveRecord::Base
  # Include default devise modules. Others available are:
  # :confirmable, :lockable, :timeoutable and :omniauthable
  devise :database_authenticatable, :registerable,
         :recoverable, :rememberable, :trackable, :validatable
  after_create :update_uid!

  def update_uid!
    update(uid: id)
  end
end
次にdoorkeeperの設定を行います.
まずはインストール&テーブル作成.
rails g doorkeeper:install
rails g doorkeeper:migration
rake db:migrate
次に,doorkeeperの設定を弄ります.
以下を追記していく形.
  # 既にproviderログイン済ならログインユーザを返し,それ以外はログイン画面へリダイレクト
  resource_owner_authenticator do
    session[:return_to] = request.fullpath
    current_user || redirect_to(new_user_session_url)
  end

  # 管理者権限以外のユーザがdoorkeeper管理ページに来たらログイン画面へリダイレクト
  admin_authenticator do
    current_user.try(:admin) || redirect_to(new_user_session_url)
  end

  # アクセストークンの期限はとりあえず1ヶ月
  access_token_expires_in 1.months

  # SSLでなくても動作させる
  force_ssl_in_redirect_uri false
続いでユーザアカウントを作ります.
今回はコンソールから直接作成します.
User.create(email: 'hoge@bar.com', password: 'hogehoge', name: 'fuga', admin: true)
ここまで来たら,サーバを起動させ,
http://localhost:3000/oauth/applications
にアクセスしましょう.
ログイン画面に飛ばされるので,ログインして再度アクセスして下さい.
続いて,New Applicationを選択し,以下のように入力してsubmitします.

そうすると,Application IdとSecretが発行されます.
以降のclient編ではこの2つを用います.
最後にユーザ情報の得るためのAPIを作りましょう.
まずはAPI用のコントローラを作ります.
rails g controller api/v1/api
rails g controller api/v1/users
それぞれ以下のように設定します.
class Api::V1::ApiController < ApplicationController
  private
  def current_resource_owner
    User.find(doorkeeper_token.resource_owner_id) if doorkeeper_token
  end
end
class Api::V1::UsersController < Api::V1::ApiController
  before_action :doorkeeper_authorize!
  respond_to :json

  def me
    respond_with current_resource_owner
  end
end
次にログイン後のリダイレクト処理です.
rails g controller users/sessions
sessionにリダイレクト情報が存在する場合はそちらにリダイレクトするように修正しています.
class Users::SessionsController < Devise::SessionsController
  def create
    self.resource = warden.authenticate!(auth_options)
    set_flash_message(:notice, :signed_in) if is_flashing_format?
    sign_in(resource_name, resource)
    yield resource if block_given?
    if session[:return_to]
      redirect_to session[:return_to]
      session[:return_to] = nil
    else
      respond_with resource, location: after_sign_in_path_for(resource)
    end
  end
end
最後にAPIとsessionのroutesを設定しましょう.
Rails.application.routes.draw do
  use_doorkeeper
  devise_for :users, controllers: {
    sessions: 'users/sessions'
  }
  namespace :api do
    namespace :v1 do
      get '/me' => 'users#me'
    end
  end
end
これでprovider側の設定は全て終了です.
3. client
続いてclient側を作っていきます.
providerはlocalhost:3000, clientはlocalhost:3001で動かす前提で進めていきます.
現段階のclient側で必要なgemは以下の通りです.
gem 'devise'
gem 'omniauth'
gem 'omniauth-oauth2'
先ほど同様にdeviseの設定を行います.
rails g devise:install
rails g devise User
rake db:migrate
omniauthで得られる情報を格納するカラムを作ります.
rails g migration AddOmniauthToUser uid provider name token raw:text
rake db:migrate
続いて自分用にomniauthのstrategiesを作っていきます.
module OmniAuth
  module Strategies
    class Mock < OmniAuth::Strategies::OAuth2
      RAW_INFO_URL = 'api/v1/me'

      uid { raw_info['uid'] }

      info do
        {
          email: raw_info['email'],
          name: raw_info['name']
        }
      end

      extra do
        { raw_info: raw_info }
      end

      def raw_info
        @raw_info ||= JSON.parse(access_token.get(RAW_INFO_URL).response.body)
      end
    end
  end
end
そしてdeviseの設定に以下を追加します.
APP_IDとAPP_SECRETは先ほどproviderで発行したものを使います.
require File.expand_path('../../../lib/omniauth/strategies/mock', __FILE__)
Devise.setup do |config|
  config.omniauth :mock, 'APP_ID', 'APP_SECRET', client_options: { site: 'http://localhost:3000' }
end
次にomniauthのcallback先の設定を行います.
rails g controller users/omniauth_callbacks
class Users::OmniauthCallbacksController < Devise::OmniauthCallbacksController
  def mock
    @user = User.find_for_mock(request.env['omniauth.auth'])

    if @user.persisted?
      flash[:notice] = I18n.t 'devise.omniauth_callbacks.success', kind: 'mock'
      sign_in_and_redirect @user, event: :authentication
    else
      session['devise.mock_data'] = request.env['omniauth.auth']
      redirect_to new_user_session_url, alert: @user.errors
    end
  end
end
最後にUserモデルの設定です.
2つのメソッドをUserモデルに追加します.
  def self.find_for_mock(auth)
    parameters = {
      name:     auth.info.name,
      email:    auth.info.email,
      provider: auth.provider,
      uid:      auth.uid,
      token:    auth.credentials.token,
      password: Devise.friendly_token[0, 20],
      raw: auth.extra.to_json
    }
    user = User.find_by(uid: auth.uid)
    return update_mock!(user, parameters) if user

    User.create(parameters)
  end

  def self.update_mock!(user, parameters)
    user.update(parameters)
    user
  end
これで全ての準備は整ったのでclient側のサーバも立ち上げ,
http://localhost:3001/users/sign_in
にアクセスすると,
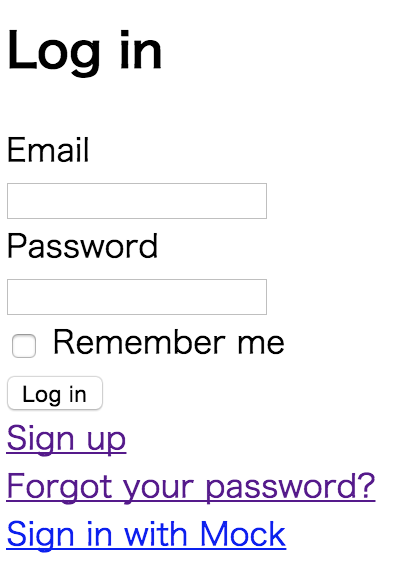
一番下にSign in with Mockというのが追加されているかと思います.
それを選択し,
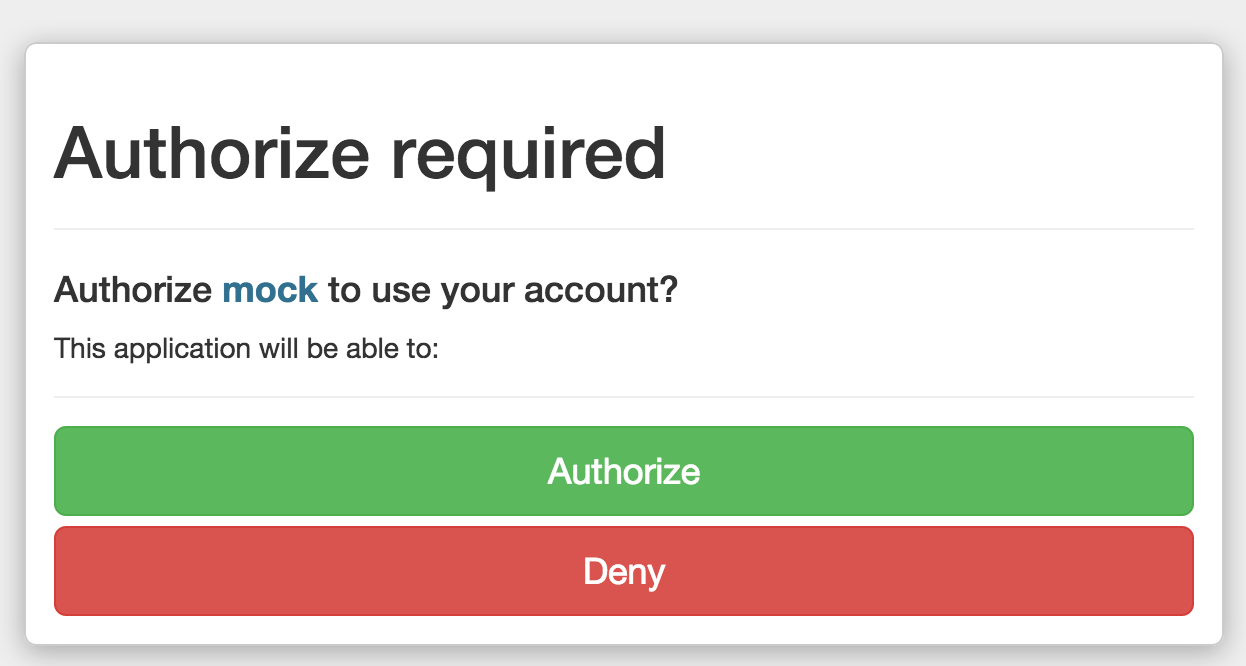
Authorizeを選択するとサーバ側のログイン画面に飛びます(画面が全く同じなので気づきにくいと思いますが).
ここでログインするとclient側のサーバへとリダイレクトされており,
Userモデルにこのような感じでデータができているはずです.
 #<User:0x007fc3bf12db00
 id: 1,
 email: "hoge@bar.com",
 encrypted_password: "$2a$10$eb3QQ0W4.GKzWdRzidCYeOE63qIPxoY1IxH6XVeAlPI7TJi3SkJJa",
 reset_password_token: nil,
 reset_password_sent_at: nil,
 remember_created_at: nil,
 sign_in_count: 1,
 current_sign_in_at: Sun, 26 Jul 2015 08:16:37 UTC +00:00,
 last_sign_in_at: Sun, 26 Jul 2015 08:16:37 UTC +00:00,
 current_sign_in_ip: "127.0.0.1",
 last_sign_in_ip: "127.0.0.1",
 created_at: Sun, 26 Jul 2015 08:16:37 UTC +00:00,
 updated_at: Sun, 26 Jul 2015 08:16:37 UTC +00:00,
 uid: "1",
 provider: "mock",
 name: "fuga",
 token: "1021048dce5544e2ec0a459d6cf97527dd2e0f96d6f57d1c59bb7efba3dbfa89",
 raw: "{\"raw_info\":{\"id\":1,\"email\":\"hoge@bar.com\",\"created_at\":\"2015-07-26T08:03:33.005Z\",\"updated_at\":\"2015-07-26T08:09:37.576Z\",\"uid\":\"1\",\"name\":\"fuga\",\"admin\":true}}">
4.おわりに
これでproviderとclient周りの設定は以上です.
ちょこちょこと修正しながら書いているので,
typo,動かない,もっと良い書き方があるよなどあればコメントにお願いします.