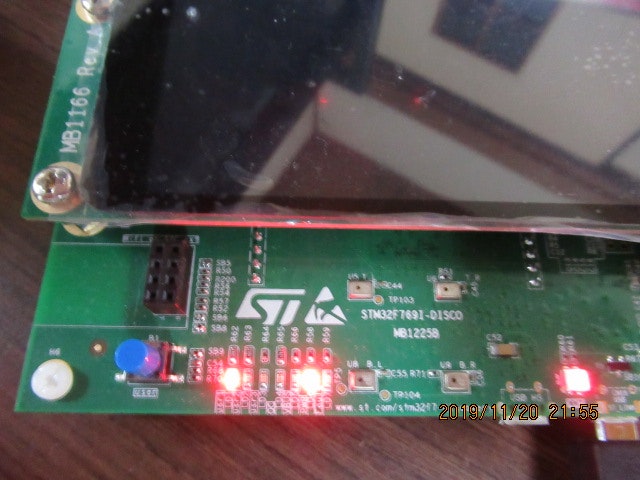
動作環境
Ubuntu 18.04 LTS
STM32F769 Discovery Kit (以下、STM32F769)
Zephyr 2.1.0-rc1
概要
- KernelのTimer機能を使う
- LEDのサンプルblinkyプロジェクトをベースとする
参考
-
Docs / Latest » API Reference » Kernel Services » Timers
- v2.1.0-rc1の最新版
手順
- blinkyプロジェクトをコピー (wrk_blinky_timerとする)
cp -rp samples/basic/blinky samples/basic/wrk_blinky_timer
- src/main.cを後述のようにする
west build -p auto -b stm32f769i_disco samples/basic/wrk_blinky_timerwest flash
以下はmain.cをTimer使用にしたもの。
src/main.c
/*
 * Copyright (c) 2016 Intel Corporation
 *
 * SPDX-License-Identifier: Apache-2.0
 */

/*
Nov.20, 2019 change to timer driven
	- use timer instead of k_sleep() in while()
	- branched from [blinky] project
*/

# include <zephyr.h>
# include <device.h>
# include <drivers/gpio.h>

# define LED_PORT	DT_ALIAS_LED0_GPIOS_CONTROLLER
# define LED		DT_ALIAS_LED0_GPIOS_PIN

struct device *dev;

struct k_timer my_timer;
void my_expiry_function(struct k_timer *timer_id)
{
	static u32_t cnt = 0;

	gpio_pin_write(dev, LED, cnt % 2);
	cnt++;
}

void main(void)
{
	dev = device_get_binding(LED_PORT);
	gpio_pin_configure(dev, LED, GPIO_DIR_OUT);

	k_timer_init(&my_timer, my_expiry_function, NULL);
	k_timer_start(&my_timer, K_SECONDS(1), K_SECONDS(1)); // first duration=1s, interval=1s

	while (1) {
		//
	}
}
結果
画面左下のLED(青色ボタンの右側の点灯しているLED)が2秒周期で点滅する。
備考
- devの定義の仕方がいまいちだが、タイマーの練習としてとりあず
