どうも7noteです。画像装飾に使える様々なトリミング方法について
HTMLでは画像を配置すると、基本的には四角形で画像が表示されます。
ですがそのままでは味気ない場合もあると思います。
CSSでできる画像を切り抜いて、装飾をつける方法6つを紹介します。
CSSで画像切り抜く方法6選
①普通の角丸
index.html
<img src="hogehoge.gif" alt="" class="kadomaru">
style.css
.kadomaru {
  border-radius: 10px;
}

②円
index.html
<img src="hogehoge.gif" alt="" class="kadomaru">
style.css
.circle {
  border-radius: 50%;
}

③葉っぱ型
index.html
<img src="hogehoge.gif" alt="" class="kadomaru">
style.css
.leaf {
  border-radius:60% 3%;
}

④ストライプ
index.html
<img src="hogehoge.gif" alt="" class="kadomaru">
style.css
.stripe {
  width: 320px;
  height: 320px;
  position: relative;
}
.stripe::before {
  content: "";
  position: absolute;
  top: 0;
  left: 0;
  width: 100%;
  height: 100%;
  background-image: linear-gradient(-90deg, #fff 50%, transparent 50%);
  background-size: 15px 15px;
  display: block;
}

⑤ボーダー
index.html
<img src="hogehoge.gif" alt="" class="kadomaru">
style.css
.border {
  width: 320px;
  height: 320px;
  position: relative;
}
.border::before {
  content: "";
  position: absolute;
  top: 0;
  left: 0;
  width: 100%;
  height: 100%;
  background-image: linear-gradient(#fff 50%, transparent 50%);
  background-size: 15px 15px;
  display: block;
}

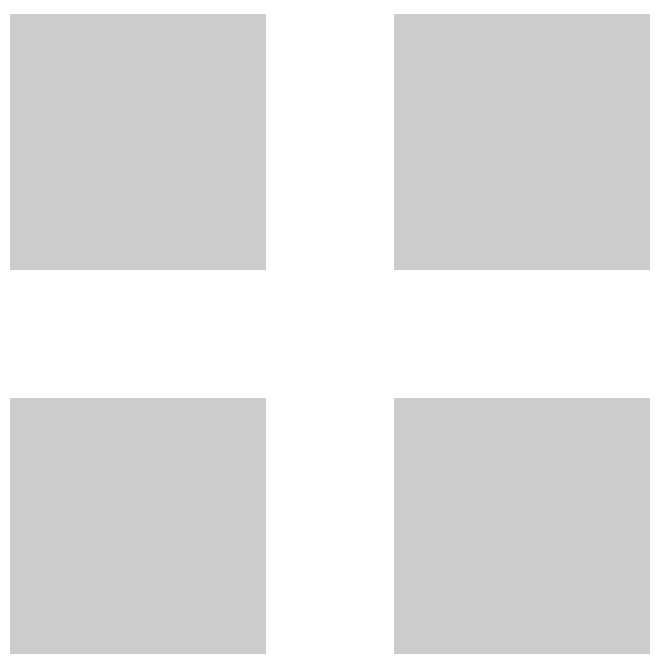
⑥十字形
index.html
<img src="hogehoge.gif" alt="" class="kadomaru">
style.css
.cross {
  width: 320px;
  height: 320px;
  position: relative;
}
.cross::before,
.cross::after{
  content: "";
  position: absolute;
  top: 0;
  left: 0;
  width: 100%;
  height: 100%;
  display: block;
}
.cross::before {
  background-image: linear-gradient(transparent 40%, #fff 40%, #fff 60%, transparent 60%);
}
.cross::after {
  background-image: linear-gradient(90deg,transparent 40%, #fff 40%, #fff 60%, transparent 60%);
}
おまけ(SVGで好きな形に切り抜く)
SVGを使えば好きな形に切り抜くことも可能です。
手順①:イラレ等でSVGを作る

手順②:コードをクリップボードにコピー

手順③:コピーしたソースをhtmlに貼り付け
手順④:貼り付けたソースに<clipPath>タグを追加する。
index.html
<!-- 切り抜く画像 -->
<img src="hogehoge.gif" alt="" class="clip">

<!-- コピーしたSVGソース -->
<svg version="1.1" id="レイヤー_1" xmlns="http://www.w3.org/2000/svg" xmlns:xlink="http://www.w3.org/1999/xlink" x="0px" y="0px" width="320px" height="320px" viewBox="0 0 320 320" enable-background="new 0 0 320 320" xml:space="preserve">
  <clipPath id="myClip"><!-- この行を追記 -->
    <polygon fill="#FFFFFF" points="299.784,223.569 198.13,220.013 137.571,301.738 109.54,203.96 13.101,171.62 97.431,114.745
98.388,13.033 178.538,75.66 275.568,45.139 240.773,140.72 "/>
  </clipPath><!-- この行を追記 -->
</svg>
手順⑤:CSSを書く
style.css
/* clipPathに書いたid名を使う */
.clip {
  clip-path: url(#myClip);
}
結果

参考:https://pisuke-code.com/css-examples-of-clip-path/#clip-path-svg-example
まとめ
あらかじめデザインデータから切り抜かれたpng画像を使うのもいいのですが、写真や画像変更になるたびにデザインデータを差し替えて書き出して。。。よりも、正方形や長方形の画像をスパっと切り抜いた方が加工や微調整もしやすいので、使い所はそこそこあるのかなと思います。
特にSVGによる切り抜きなんかは、手間はかかってしまうかもしれませんができることの幅は無限大に広がっているように思います。
私もまだあまり使ったことがないので今後どんどん実践で使っていきたいですね。
おそまつ!
~ Qiitaで毎日投稿中!! ~
【初心者向け】WEB制作のちょいテク詰め合わせ