TL;DR
管理者でPowerShellを開き( Win + x, a )、以下を実行してください。公開鍵は自分のに置き換えてもいいです。( ssh-ed25519で始まる文字列 )
Add-WindowsCapability -Online -Name OpenSSH.Server~~~~0.0.1.0; `
Set-Service -Name sshd -StartupType Automatic; `
Start-Service sshd; `
Add-Content -Path $env:ProgramData\ssh\administrators_authorized_keys -Value 'ssh-ed25519 AAAAC3NzaC1lZDI1NTE5AAAAINJThW5ogPD1jSSkPjKKnhbity186S9e2HAfwQ1B3Nus'; `
icacls $env:ProgramData\ssh\administrators_authorized_keys /inheritance:r /grant Administrators:F /grant SYSTEM:F /remove 'Authenticated Users'
ssh -i private_key.txt username@192.168.11.7とかでログインできます。192.168.11.7はPowerShellでipconfigと入力して確認してください
ログインシェルの変更
管理者でPowerShellを開き( Win + x, a )、以下を実行してください。
PowerShellを使用
New-ItemProperty -Path "HKLM:\SOFTWARE\OpenSSH" -Name DefaultShell -Value "C:\Windows\System32\WindowsPowerShell\v1.0\powershell.exe" -PropertyType String -Force
Git Bashを使用
New-ItemProperty -Path "HKLM:\SOFTWARE\OpenSSH" -Name DefaultShell -Value "C:\Program Files\Git\bin\bash.exe" -PropertyType String -Force
公開鍵の追加
管理者でPowerShellを開き( Win + x, a )、以下を実行してください。
Add-Content -Path $env:ProgramData\ssh\administrators_authorized_keys -Value 'ssh-ed25519 AAAAC3NzaC1lZDI1NTE5AAAAINJThW5ogPD1jSSkPjKKnhbity186S9e2HAfwQ1B3Nus'
外出先からアクセス
管理者でPowerShellを開き( Win + x, a )、以下を実行してください。<token>は、以下のサイトにログインして頂いてください
Set-ExecutionPolicy Bypass -Scope Process -Force; [System.Net.ServicePointManager]::SecurityProtocol = [System.Net.ServicePointManager]::SecurityProtocol -bor 3072; iex ((New-Object System.Net.WebClient).DownloadString('https://community.chocolatey.org/install.ps1'))
choco install ngrok -y
ngrok config add-authtoken <token>
ngrok tcp 22
ssh -i private_key.txt -p 12345 username@0.tcp.jp.ngrok.ioとかでログインできます。
PC起動時にngrokを起動
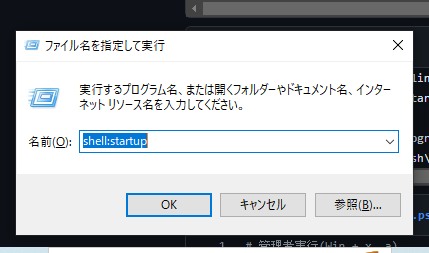
Win + rを押し、shell:startupを入力
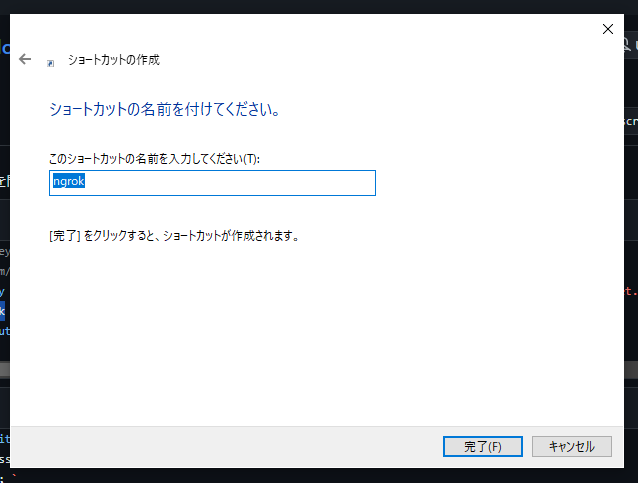
右クリックし、新規作成 > ショートカットを押す

ngrok tcp 22を入力

完了を押す
ngrokの固定TCPアドレスは有料のため、外出先から接続先を確認するときはダッシュボードかAPIをご利用ください
ダッシュボード ← オススメ✨
https://dashboard.ngrok.com/
APIキーの作成
https://dashboard.ngrok.com/api
接続先確認
https://ngrok.com/docs/api/resources/endpoints/#example-request
curl \
  -X GET \
  -H "Authorization: Bearer {API_KEY}" \
  -H "Ngrok-Version: 2" \
  https://api.ngrok.com/endpoints
Configの確認
sshd -T -C user=$env:username
解説
Add-WindowsCapabilityをするとファイアウォールルールが追加される
Add-WindowsCapability -Online -Name OpenSSH.Server~~~~0.0.1.0
StartupTypeがManual→Automatic(宇多田ヒカル)になっていること確認
Get-Service -Name sshd | Select-Object -property Name,StartupType
Set-Service -Name sshd -StartupType Automatic
Get-Service -Name sshd | Select-Object -property Name,StartupType
Start-Serviceをすると$env:ProgramData\sshフォルダが作成される。
Start-Service sshd
公式ドキュメントにはないが、Authenticated Usersを削除しないと動かない
Add-Content -Path $env:ProgramData\ssh\administrators_authorized_keys -Value 'ssh-ed25519 AAAAC3NzaC1lZDI1NTE5AAAAINJThW5ogPD1jSSkPjKKnhbity186S9e2HAfwQ1B3Nus'
icacls $env:ProgramData\ssh\administrators_authorized_keys /inheritance:r /grant Administrators:F /grant SYSTEM:F /remove 'Authenticated Users'
アンインストール
Remove-WindowsCapability -Online -Name OpenSSH.Server~~~~0.0.1.0; `
Remove-Item $env:ProgramData\ssh -Recurse -Force
よいSSHライフをお過ごしください