Ubuntu 20.04 -> 20.10 にアップグレード後、カーネルパニックが起こるようになり、zfsの機能で20.04に戻すことができたという記事です。
また、/home/であるpool/USERDATAに対して、時間での自動スナップショットを設定しました。
zfsを有効にする
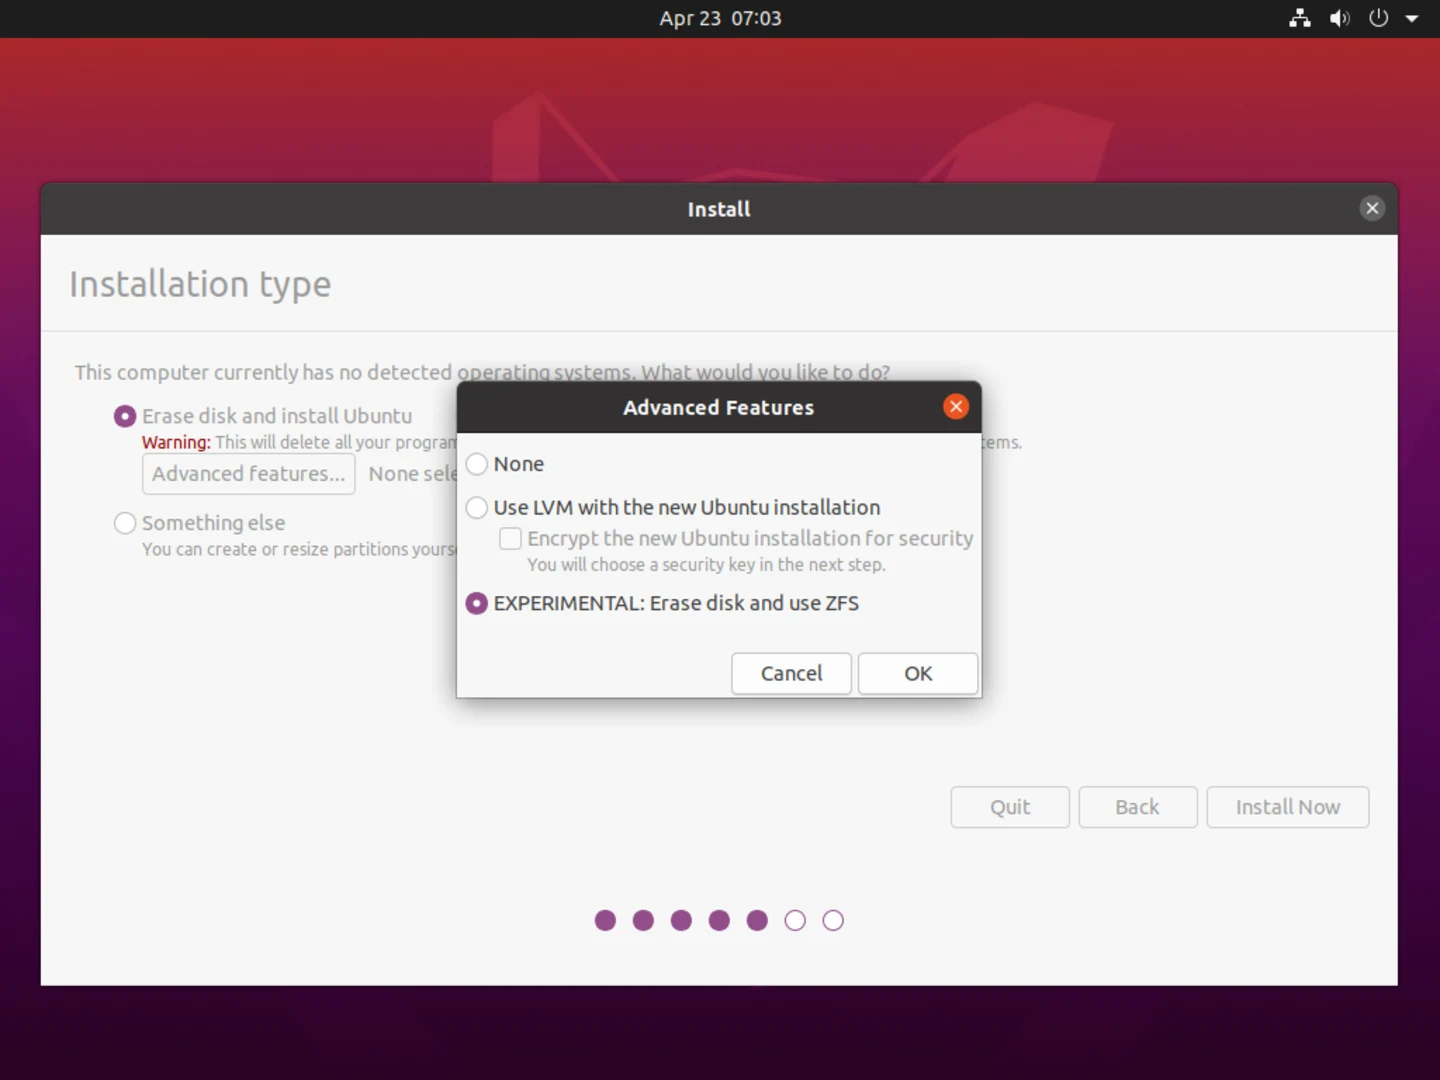
Ubuntu 20.04 には、Experimental Supportであるが、zfs supportが入っている。
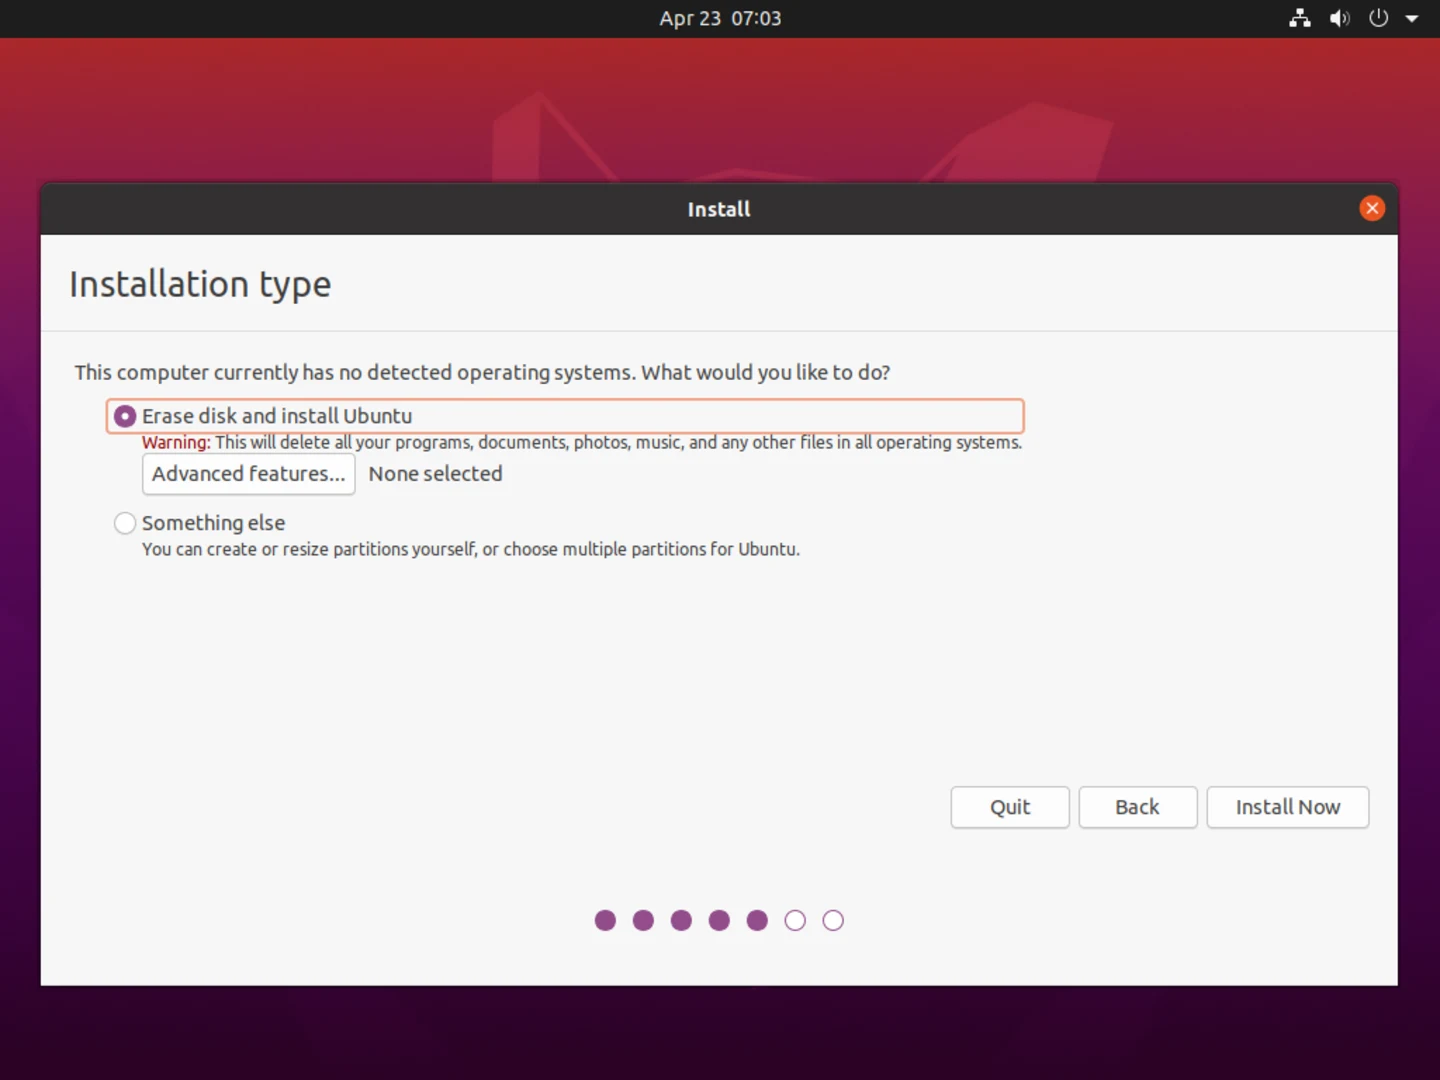
インストール時に、Installation TypeのAdvanced featuresの中に"EXPERIMENTAL: Erase disk and use ZFS"という項目があり、これを使うことでZFSを有効化できる。
※画像引用 https://ubuntu.com/blog/zfs-focus-on-ubuntu-20-04-lts-whats-new
ZFSのツリー構成の一部は以下のようになっている。
$sudo zfs list
NAME                                               USED  AVAIL     REFER  MOUNTPOINT
bpool                                              337M  1.42G       96K  /boot
bpool/BOOT                                         335M  1.42G       96K  none
bpool/BOOT/ubuntu_4yihjq                           335M  1.42G      180M  /boot
rpool                                             26.8G   888G       96K  /
rpool/ROOT                                        8.73G   888G       96K  none
...
rpool/USERDATA                                    18.0G   888G       96K  /
...
apt-get installするたびにスナップショットがとられるので、いつでも戻すことができる。
スナップショットの作成とロールバック
現在のスナップショットのリストは以下のコマンドで確認できる。
sudo zfs list -t snapshot
作成日を確認する場合は以下を実行する
sudo zfs list -t snapshot -o name,creation
個別にsnapshotを取りたい場合は、以下のようにする。before-2010がスナップショット名となる。-rはマウントポイント配下を再帰的にスナップショットに追加する。
sudo zfs snapshot -r bpool/BOOT@before-2010
sudo zfs snapshot -r rpool/ROOT@before-2010
このときのスナップショットに戻したいときは、以下のようにする。
再帰的に設定したスナップショットでも、xargsを使ってそれぞれ復帰させる必要がある。
zfs list -t snapshot -o name | grep @before-2010 | xargs -L 1 zfs rollback -rR
実際に、Recovery Modeを起動し、sudo do-release-upgradeを実行後に、上記コマンドでもとのバージョンに戻すことができました。
時間で自動的にスナップショットを取る
zfs-auto-snapshotというパッケージを導入すると、15分、1時間、1日、1月ごとに、適度な数のスナップショットが作られるようになる。
インストールするには、以下を実行する。
sudo apt install -y zfs-auto-snapshot
この実行と、設定自体は、cronで記述されている。ここの--keep 4を変更することで、何世代残すっかを設定できる。
- 15分ごと /etc/cron.d/zfs-auto-snapshot
- 1時間ごと /etc/cron.hourly/zfs-auto-snapshot
- 1日ごと /etc/cron.daily/zfs-auto-snapshot
- 1週ごと /etc/cron.weekly/zfs-auto-snapshot
- 1月ごと /etc/cron.monthly/zfs-auto-snapshot
*/15 * * * * root which zfs-auto-snapshot > /dev/null || exit 0 ; zfs-auto-snapshot --quiet --syslog --label=frequent --keep=4 //
初期設定では、全部を示す//となっていて、/var/dockerのsnapshot残すのは危険な気がして、rpool/USERDATAのみとした。
上のcronのスクリプトの//を全てrpool/USERDATAに変更した。

