この記事について
最近、PHPのフレームワーク「Laravel」の記事を上げています。
別のフレームワークはどのような感じなのかなと思って、今回はPythonのフレームワーク「Django」を触ってみました。
他のフレームワークも色々触ってみようと思っています。
環境
OS:Windows10 Home
Python:3.9.2
Django:3.1.7
Pythonのインストール
Pythonをインストールしてない場合はインストールします。
インストールサイト
今回は最新版(2021/02/20時点)のPython 3.9.2をインストールしてみました。
インストール後、コマンドで楽にPythonを使うために環境変数に以下を追記します。
・~/Python39
・~/Python39/script
Djangoのインストール
pipを使ってDjangoをインストールします。
pip install django
これで完了です。
Djangoプロジェクトの作成
次にプロジェクトを作成します。
プロジェクトフォルダをインストールしたいパスにしておいて、以下のコマンドで作成します。
django-admin startproject demosite
「demosite」は各自設定するプロジェクト名です。
これで作成完了です。
ちゃんと作成できたかを確認してみます。
作成したプロジェクトフォルダに移動します。
cd demosite
その後、以下でプロジェクト実行します。
python manage.py runserver
「http://127.0.0.1:8000」にアクセスしてみます。
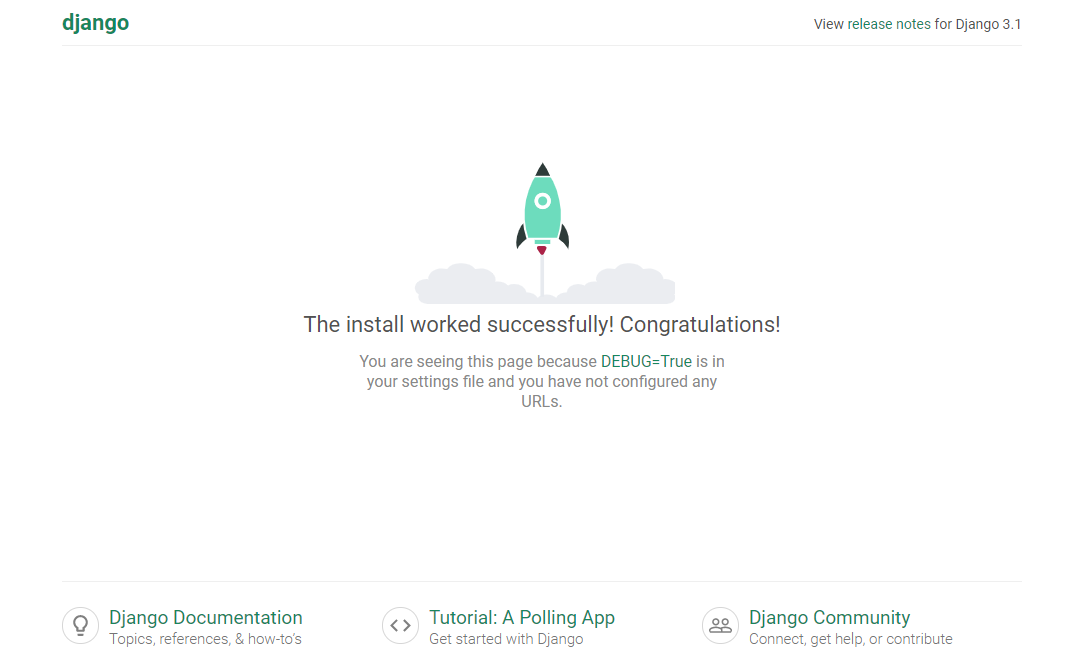
この画面が表示されればOKです!
ちなみに、「http://127.0.0.1:8000/admin」にアクセスすると・・・
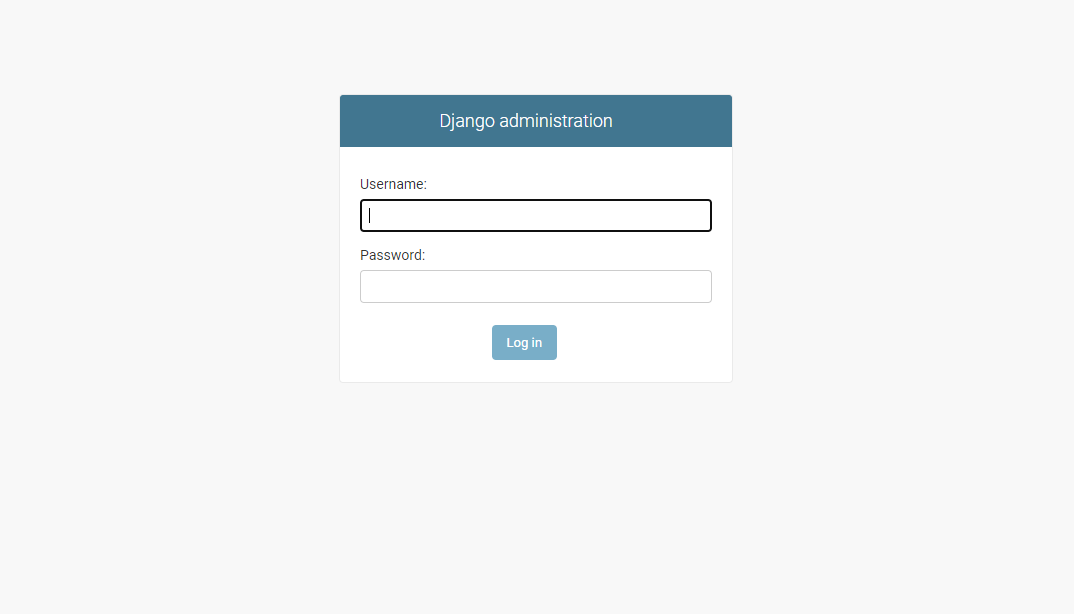
Djangoの管理画面が表示されます。
HTMLファイルを表示
自分で作成したHTMLファイルを表示してみます。
今回、demositeというプロジェクトファイルを作成しましたが、本来はプラスでアプリケーションフォルダなるものを作成する感じらしいのですが・・・
ややこしくなるかもなので、今回は作成せずに進めます。
HTMLファイルの作成
まずプロジェクトフォルダの直下にtemplatesフォルダを作成します。
このフォルダ内にHTMLファイルを置いていきます。
試しにsample.htmlを以下のように作成しておいておきます。
<!DOCTYPE html>
<html>
    <head>
        <meta charset="UTF-8">
        <title>てすと<ぺーじ/title>
    </head>
    <body>
        <h1>【Python】Djangoで遊ぶ</h1>
    </body>
</html>
設定ファイルの編集
次にdemosite/demositeにある設定ファイルsettings.pyを修正します。
※「demosite」はプロジェクト名です。各自のプロジェクトファイル名に置き換えてください。
python:settings.py
"""
Django settings for demosite project.
Generated by 'django-admin startproject' using Django 3.1.7.
For more information on this file, see
https://docs.djangoproject.com/en/3.1/topics/settings/
For the full list of settings and their values, see
https://docs.djangoproject.com/en/3.1/ref/settings/
"""
from pathlib import Path
import os #追加
Build paths inside the project like this: BASE_DIR / 'subdir'.
BASE_DIR = Path(file).resolve().parent.parent
Quick-start development settings - unsuitable for production
See https://docs.djangoproject.com/en/3.1/howto/deployment/checklist/
SECURITY WARNING: keep the secret key used in production secret!
SECRET_KEY = '-7w5go^j$%*@%106xkw1+bf)(h#m9xv5xj938@zv0j6u8^q-oq'
SECURITY WARNING: don't run with debug turned on in production!
DEBUG = True
ALLOWED_HOSTS = []
Application definition
INSTALLED_APPS = [
'django.contrib.admin',
'django.contrib.auth',
'django.contrib.contenttypes',
'django.contrib.sessions',
'django.contrib.messages',
'django.contrib.staticfiles',
]
MIDDLEWARE = [
'django.middleware.security.SecurityMiddleware',
'django.contrib.sessions.middleware.SessionMiddleware',
'django.middleware.common.CommonMiddleware',
'django.middleware.csrf.CsrfViewMiddleware',
'django.contrib.auth.middleware.AuthenticationMiddleware',
'django.contrib.messages.middleware.MessageMiddleware',
'django.middleware.clickjacking.XFrameOptionsMiddleware',
]
ROOT_URLCONF = 'demosite.urls'
TEMPLATES = [
{
'BACKEND': 'django.template.backends.django.DjangoTemplates',
'DIRS': [
os.path.join(BASE_DIR, 'templates'), #追記
],
'APP_DIRS': True,
'OPTIONS': {
'context_processors': [
'django.template.context_processors.debug',
'django.template.context_processors.request',
'django.contrib.auth.context_processors.auth',
'django.contrib.messages.context_processors.messages',
],
},
},
]
WSGI_APPLICATION = 'demosite.wsgi.application'
Database
https://docs.djangoproject.com/en/3.1/ref/settings/#databases
DATABASES = {
'default': {
'ENGINE': 'django.db.backends.sqlite3',
'NAME': BASE_DIR / 'db.sqlite3',
}
}
Password validation
https://docs.djangoproject.com/en/3.1/ref/settings/#auth-password-validators
AUTH_PASSWORD_VALIDATORS = [
{
'NAME': 'django.contrib.auth.password_validation.UserAttributeSimilarityValidator',
},
{
'NAME': 'django.contrib.auth.password_validation.MinimumLengthValidator',
},
{
'NAME': 'django.contrib.auth.password_validation.CommonPasswordValidator',
},
{
'NAME': 'django.contrib.auth.password_validation.NumericPasswordValidator',
},
]
Internationalization
https://docs.djangoproject.com/en/3.1/topics/i18n/
LANGUAGE_CODE = 'ja' #変更
TIME_ZONE = 'Asia/Tokyo' #変更
USE_I18N = True
USE_L10N = True
USE_TZ = True
Static files (CSS, JavaScript, Images)
https://docs.djangoproject.com/en/3.1/howto/static-files/
STATIC_URL = '/static/'
追加、変更したところにはコメントしています。
TEMPLATES = [
{
'BACKEND': 'django.template.backends.django.DjangoTemplates',
'DIRS': [
os.path.join(BASE_DIR, 'templates'), #追記
],
ここでテンプレートフォルダのパスを設定します。
僕が調べたなかで、```os.path.join(BASE_DIR, 'templates')```の追記は記載されているのですが、追記しただけではエラーになります。
osモジュールをインストールすることを明記してあげないといけません。

なので、冒頭の方で以下を追記しています。
```python
import os
あとはおまけで、言語とタイムゾーンを変更しています。
LANGUAGE_CODE = 'ja' #変更

TIME_ZONE = 'Asia/Tokyo' #変更
urls.pyの編集
次にurls.pyはURLを開いた時の処理を管理しているファイルになります。
Larvelで言うところのRouteでしょうか。
urls.pyを以下のとおり編集します。
from django.contrib import admin
from django.urls import path
from . import sample #追加

urlpatterns = [
    path('admin/', admin.site.urls),
    path('sample/', sample.index, name='sample'), #追加
]
admin/のところは初期から記載されています。
その下のsample/のところを追記していて、sample/を開くとsample.pyファイルのindex関数を処理するように記載しています。
sample.pyの作成
最後にsample/を開くと処理されるsample.pyを新規で作成します。
ここはLaravelで言うところのControllerが近いでしょうか?
from django.shortcuts import render

def index(request):
    return render(request, 'sample.html')
index関数に記載しているrenderはHttpResponseオブジェクトを返しています。
ここではsample.htmlを返していることになります。
sampleページの表示
それではhttp://127.0.0.1:8000/sampleにアクセスします。
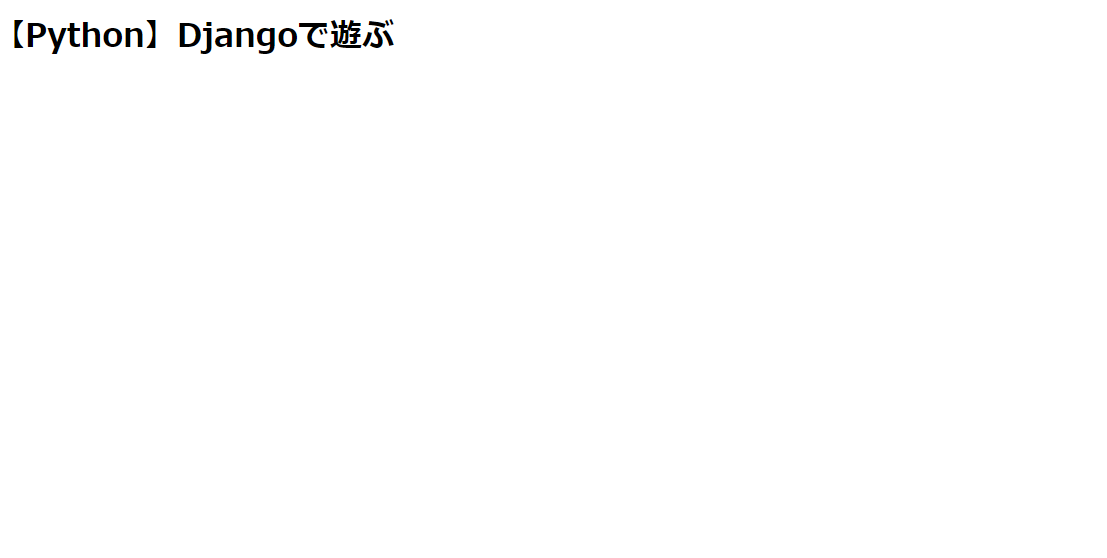
ちゃんと表示されましたね!
最後に
今回は触りだけです。
この流れが基本なのかは分かりませんが、Djangoというフレームワークの動きはなんとなく理解できるかなと思います。
p.s.
2/20の記事です(寝るまでは今日)