1. はじめに
以前(2017年頃)にSonarQubeによる静的ソースコード解析の記事を投稿しましたが、久しぶりにまたSonarQubeを利用したので現時点の情報を残したいと思います。以下が当時の記事になります。
前回と異なるポイントにフォーカスしたいと思います。
- SonarQubeサーバへの接続に認証トークンが必要になっていた
- SonarScannerを利用する
- プログラミング言語やパッケージマネージャ(maven、gradle、npm等々)毎に環境設定やコマンドを覚えるのがメンドウなので
2. 資材のダウンロード
2.1. SonarQubeサーバ
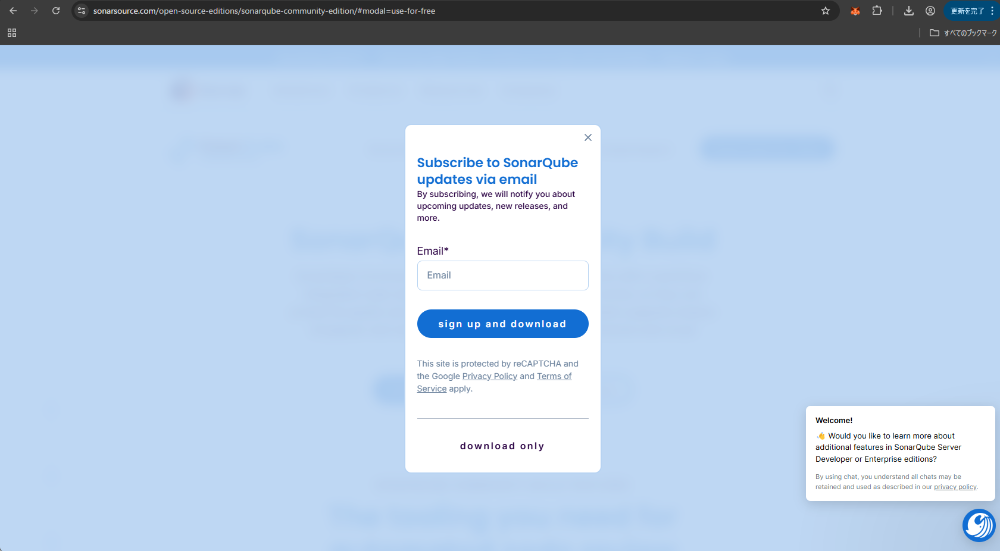
SonarQubeの公式サイトから無償のコミュニティ版のZipをダウンロードします。
ユーザ登録が必要に見えますが「download only」の箇所がダウンロードのリンクになっています。
https://www.sonarsource.com/open-source-editions/sonarqube-community-edition/#modal=use-for-free
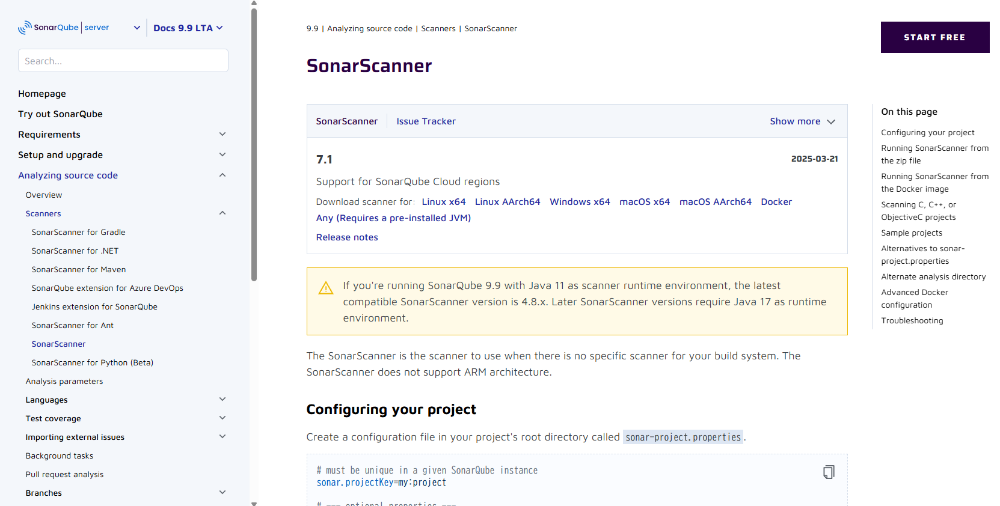
2.2. SonarScanner
「Download scanner for」のリンクからプラットフォームに適したZipをダウンロードします。
https://docs.sonarsource.com/sonarqube-server/9.9/analyzing-source-code/scanners/sonarscanner/
3. インストールと設定
インストールはZipファイルを任意のディレクトリに展開するだけです。それぞれの展開先を環境変数に登録しておくと便利です。
-
SONAR_HOME: 例)C:/tools/sonarqube-25.5.0.107428 -
SONAR_SCANNER_HOME: 例)C:/tools/sonar-scanner-7.1.0.4889-windows-x64 -
path:%SONAR_SCANNER_HOME%/binをパスに追加しましょう
3.1. SonarQubeサーバの設定
SonarQubeサーバの設定は%SONAR_HOME%/conf/sonar.propertiesで行います。
よくおこなう変更を以下に示します。
- SonarQubeサーバのWebサイトのポート変更
# The default value is root context (empty value).
#sonar.web.context=
# TCP port for incoming HTTP connections. Default value is 9000.
#sonar.web.port=9000
- 解析結果を保存するリポジトリを組み込みH2DBからPorsreSQL等の外部のRDBに変更
# User credentials.
# Permissions to create tables, indices and triggers must be granted to JDBC user.
# The schema must be created first.
#sonar.jdbc.username=
#sonar.jdbc.password=
#----- PostgreSQL 13 or greater
# By default the schema named "public" is used. It can be overridden with the parameter "currentSchema".
#sonar.jdbc.url=jdbc:postgresql://localhost/sonarqube?currentSchema=my_schema
3.2. SonarScannerの設定
SonarScannerの設定は%SONAR_SCANNER_HOME%/conf/sonar-scanner.propertiesで行います。
SonarScannerのデフォルトではローカルのSonarQubeサーバではなくSonarCloudに解析結果を登録する動きとなります。(試していませんがコメントではそのように書かれています)
ローカルのSonarQubeサーバの場合はhttp://localhost:9000等に変更します。
#----- SonarQube server URL (default to SonarCloud)
#sonar.host.url=https://mycompany.com/sonarqube
4. SonarQubeサーバの起動と認証トークンの取得
StartSonar.batでSonarQubeサーバを起動します。詳細については以前の記事を参照ください。
Webブラウザで http://localhost:9000/ にアクセスしてSonarQubeサーバにログインします。なお、初回ログイン時のユーザID&パスワードは「admin」です。
4.1. 認証トークンの生成
SonaeScanner等で静的ソースコード解析を実行した結果をSonarQubeサーバに登録する際に必要となる認証トークンを生成します。
認証トークンには種類があるようですが、今回はユーザに紐づく認証トークンを利用します。詳細は以下のドキュメントを参照ください。
ヘッダーのアカウントアイコンボタン > My Account > Security
ここで生成した認証トークンをしっかりと保管しておきましょう。
この後の説明のため、ここでは認証トークンを「ABC0123」とします。
5. SonarScannerで静的ソースコード解析
5.1. sonar-project.propertiesの作成
解析対象のプロジェクトディレクトリの直下にsonar-project.propertiesを作成して配置します。解析対象のプログラミング言語の指定は不要でSonarQubeが対応している言語は自動で解析されます。
プロジェクト個別に解析を行うため、最低限以下の3項目はプロジェクト個別に設定します。
sonar.projectKeysonar.projectNamesonar.sources
詳細については以下のドキュメントを参照ください。
https://docs.sonarsource.com/sonarqube-server/9.9/analyzing-source-code/scanners/sonarscanner/#configuring-your-project
5.2. 静的ソースコード解析の実行
プロジェクトディレクトリで以下のコマンドを実行します。
sonar-scanner -Dsonar.login=ABC0123
コマンドが終了したらWebブラウザで http://localhost:9000/ にアクセスして静的ソースコード解析の結果を確認します。
5. さいごに
今回はSonarQubeによる静的ソースコード解析の方法について説明しました。認証トークンが必要になっている以外に利用手順は変わっていないのは良かったです。
記事の発端となったのはTypeScriptのプロジェクトでしたが、資材にAWSのCloudFormationが含まれており、SonarQubeがCloudFormationに対応したことでこのCloudFormationについても解析が行われました。(そしてIssueの指摘)
SonarScannerを利用するようにしたことで、プログラミング言語・パッケージマネージャ依存がなくなって、より汎用的に使い易くなったと思います。