こんにちは!Python Advent Calendar 13日目担当のしげるです。
最近はPythonを利用した機械学習が流行っています。その中で機械学習したデータをpdfなどの外部ファイルに出力することができたら新しい表現方法が増えるのではないでしょうか?
目的
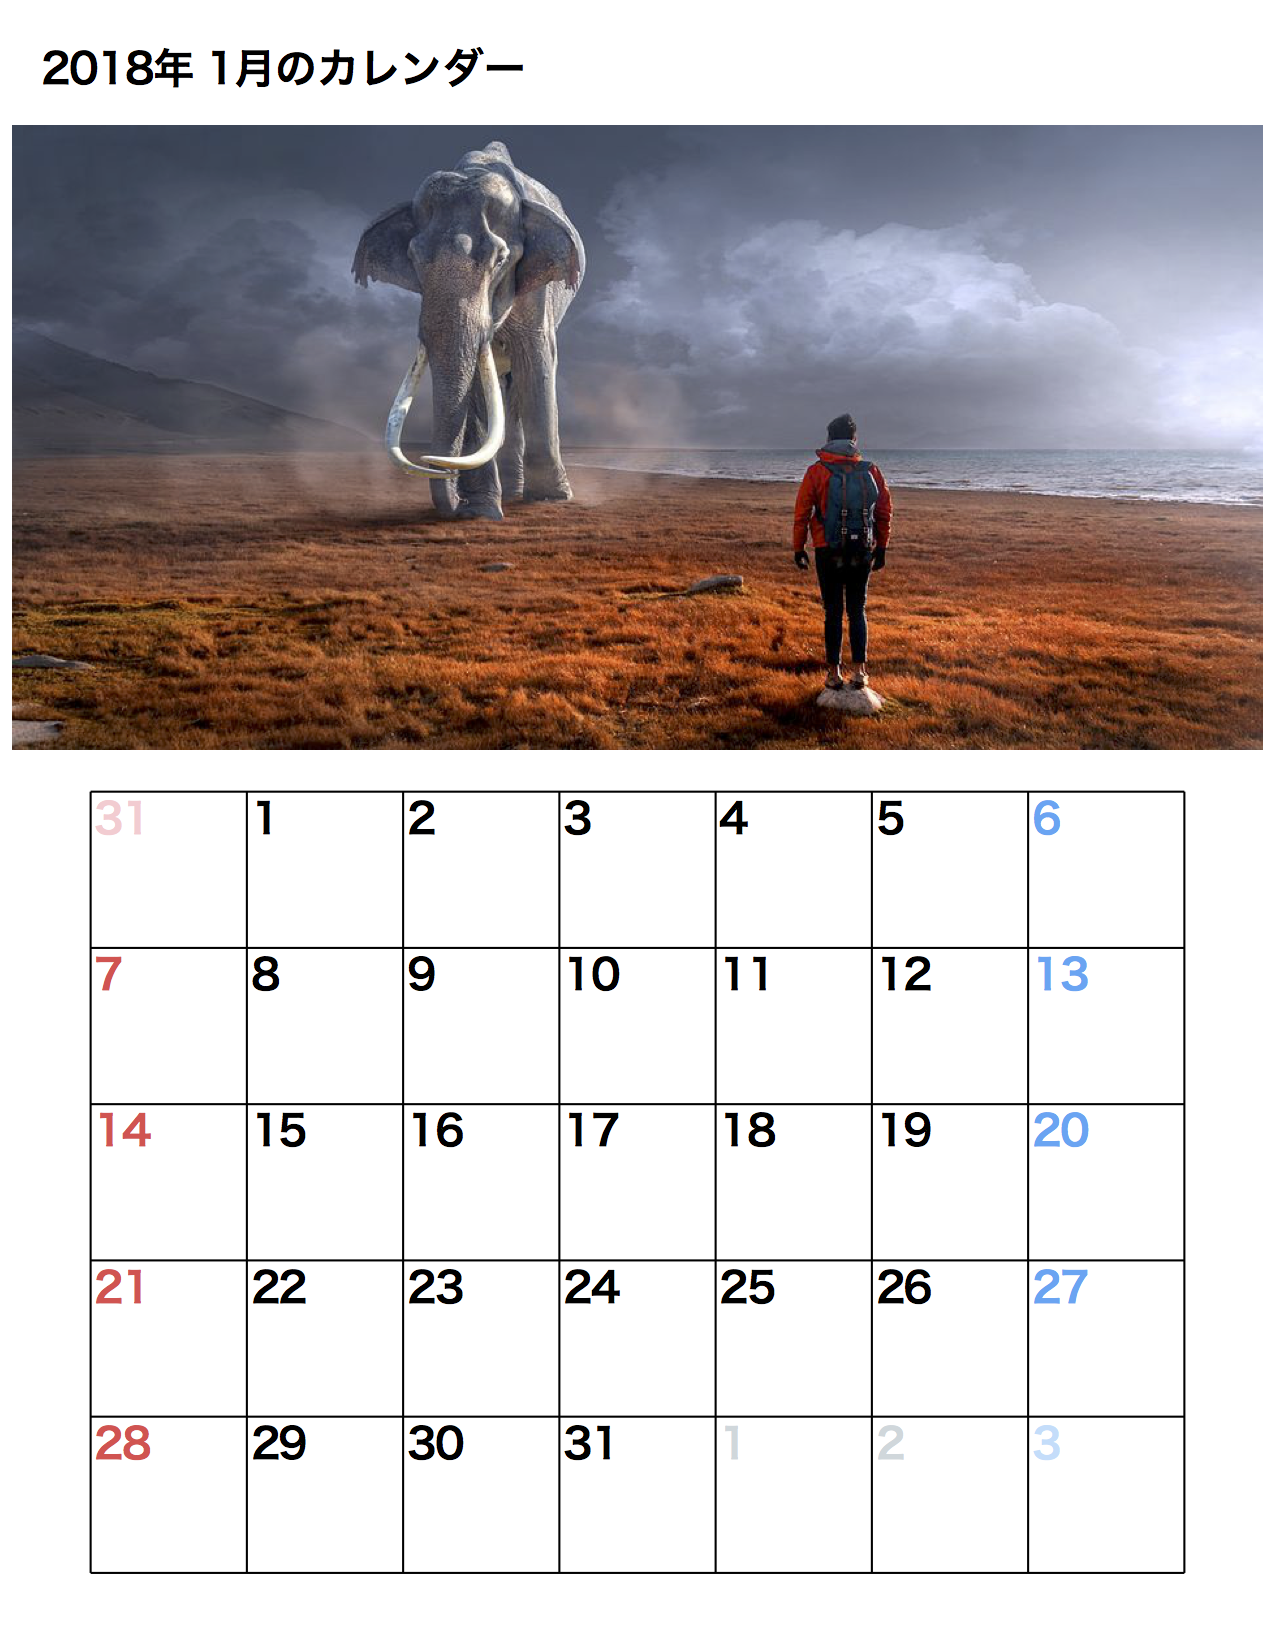
pythonでpdf形式のカレンダーを作成する。
日付と画像(URL or path)を指定するだけで、簡単にカレンダーが作れるといいなー。
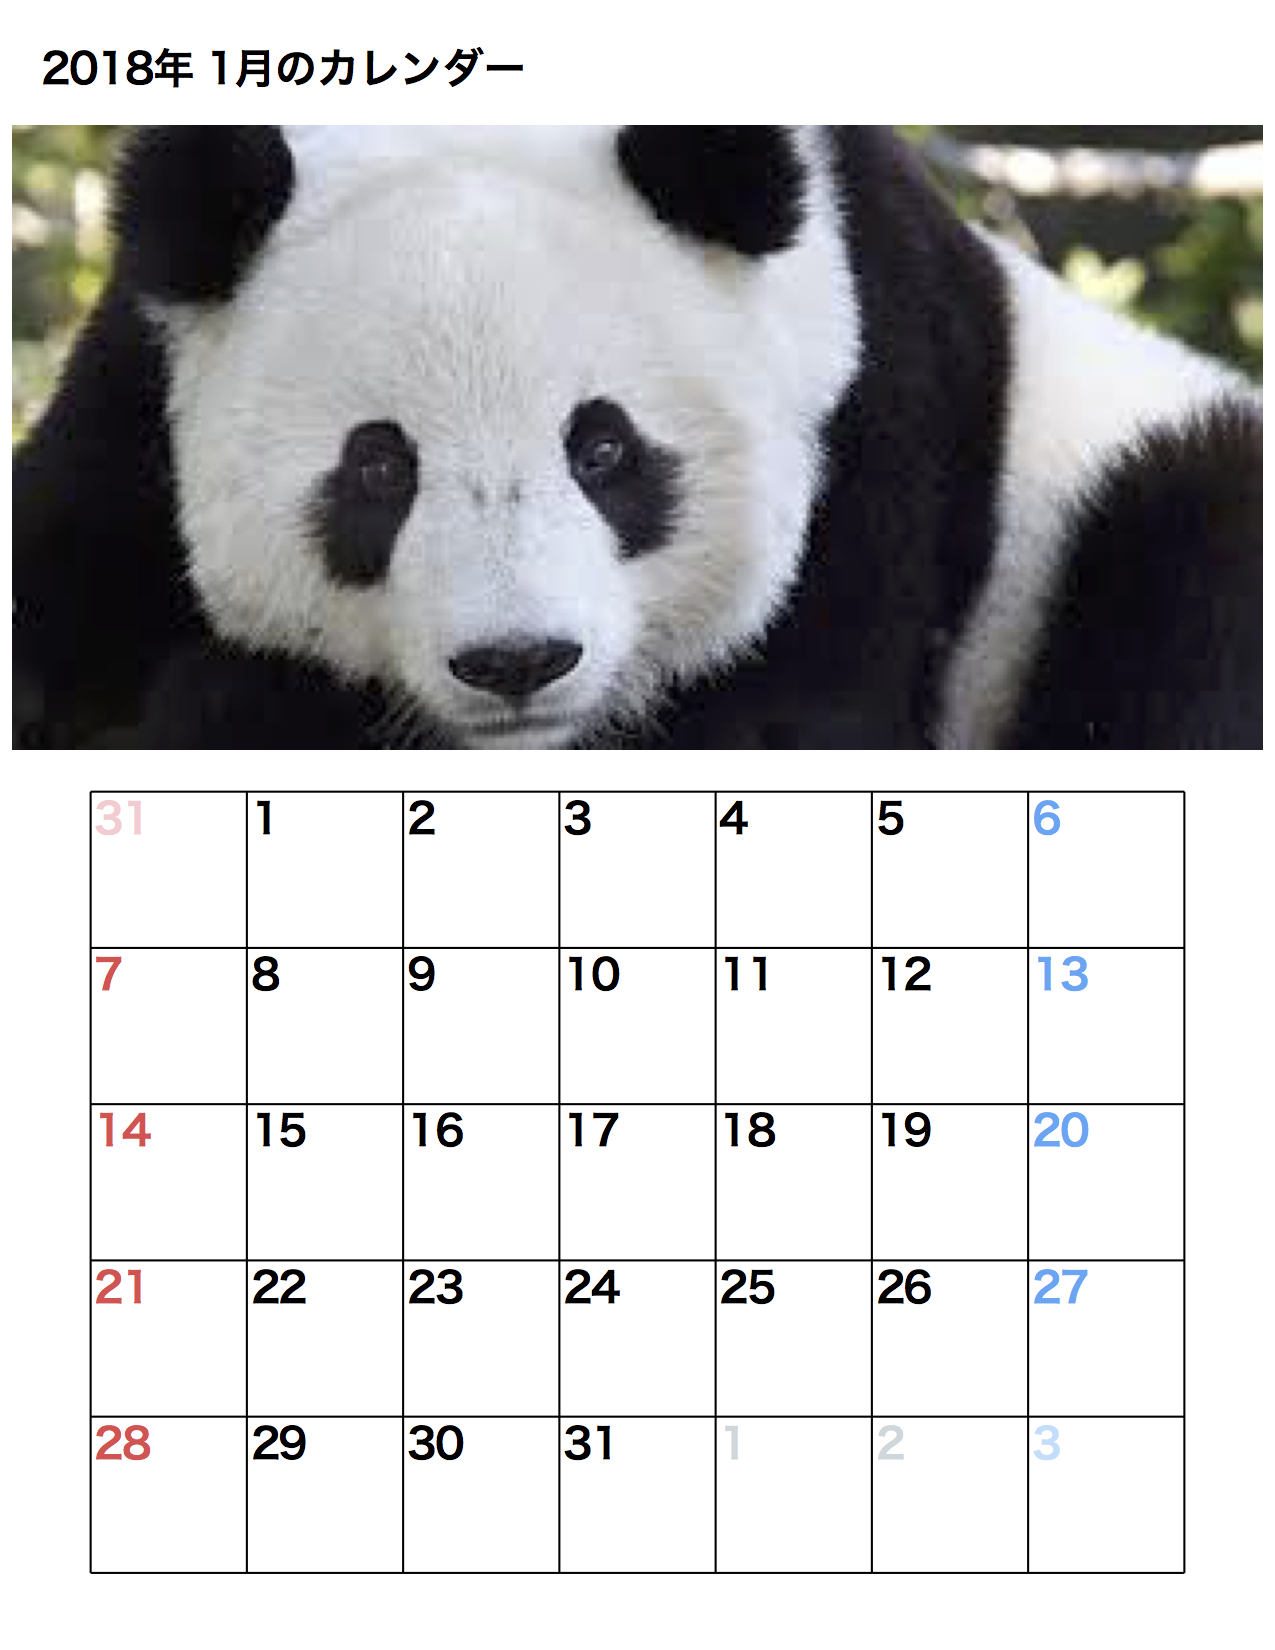 |
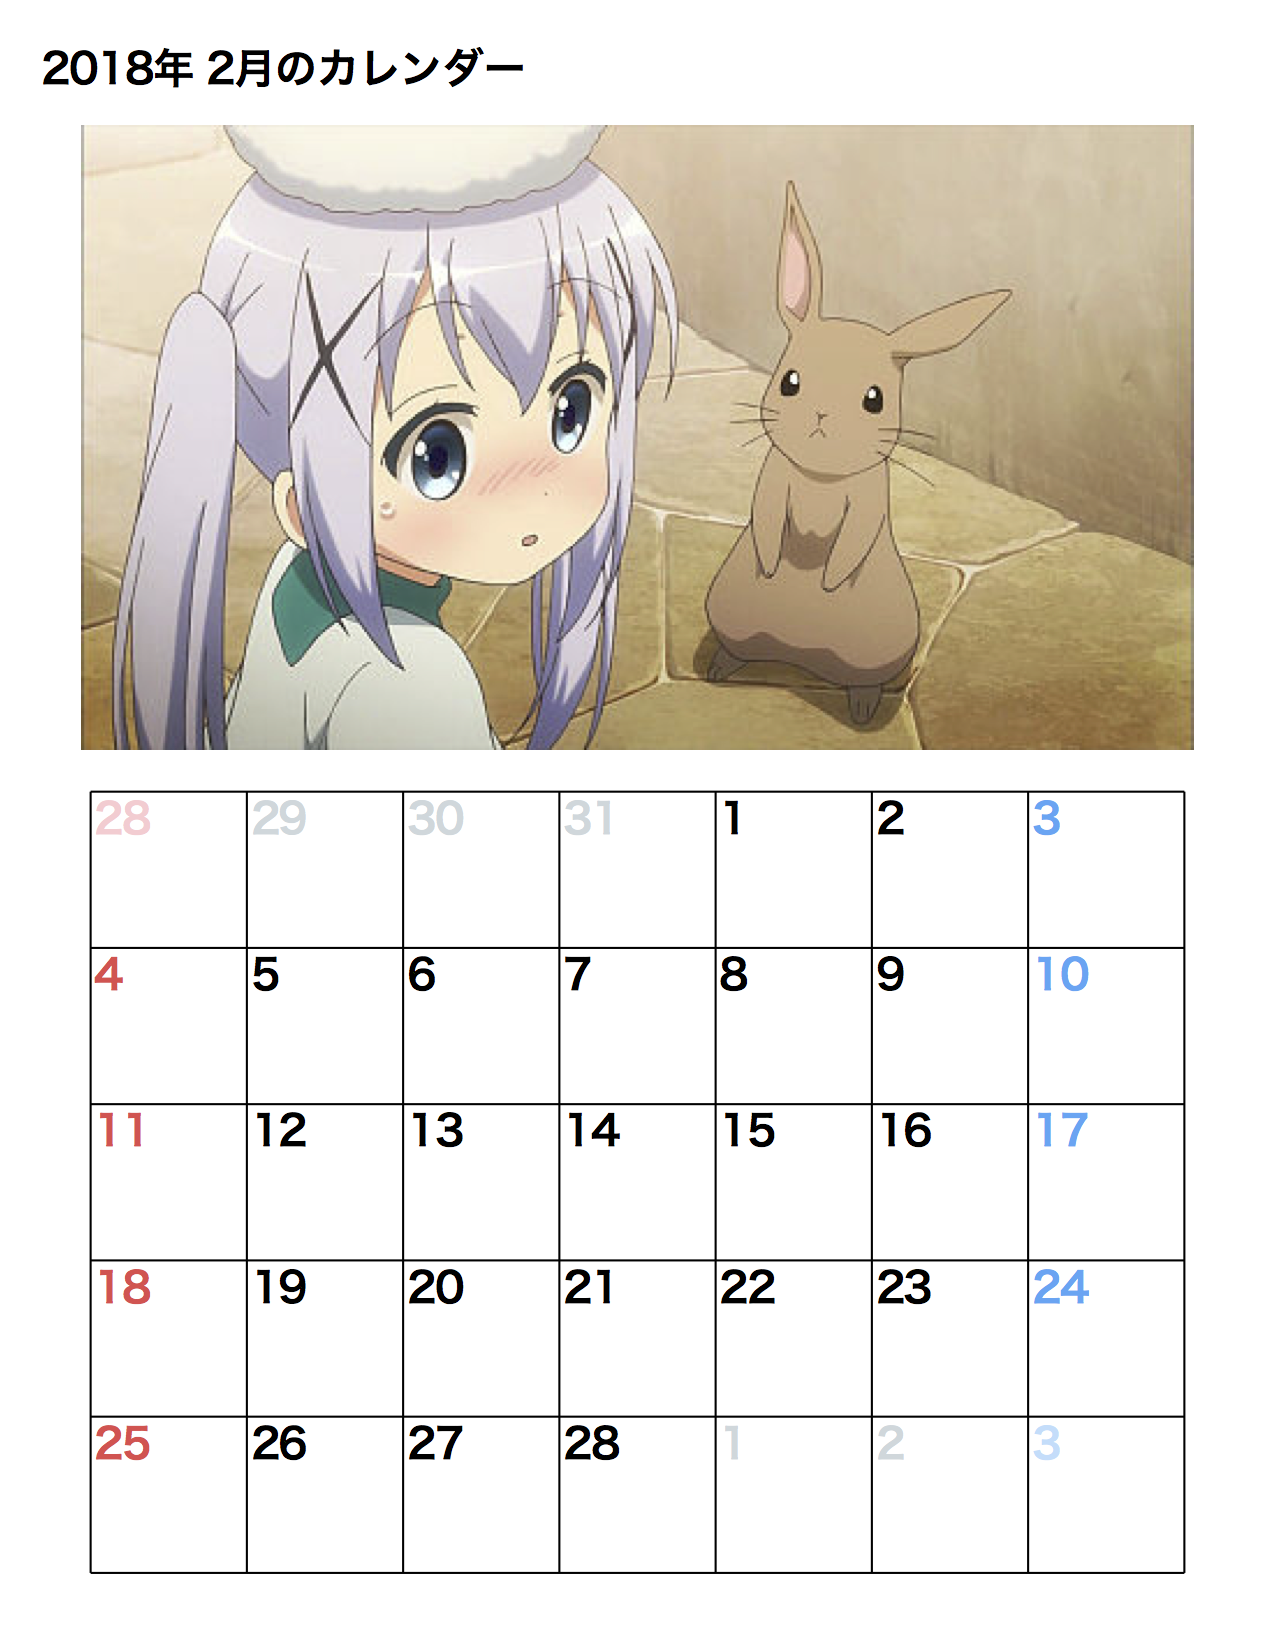 |
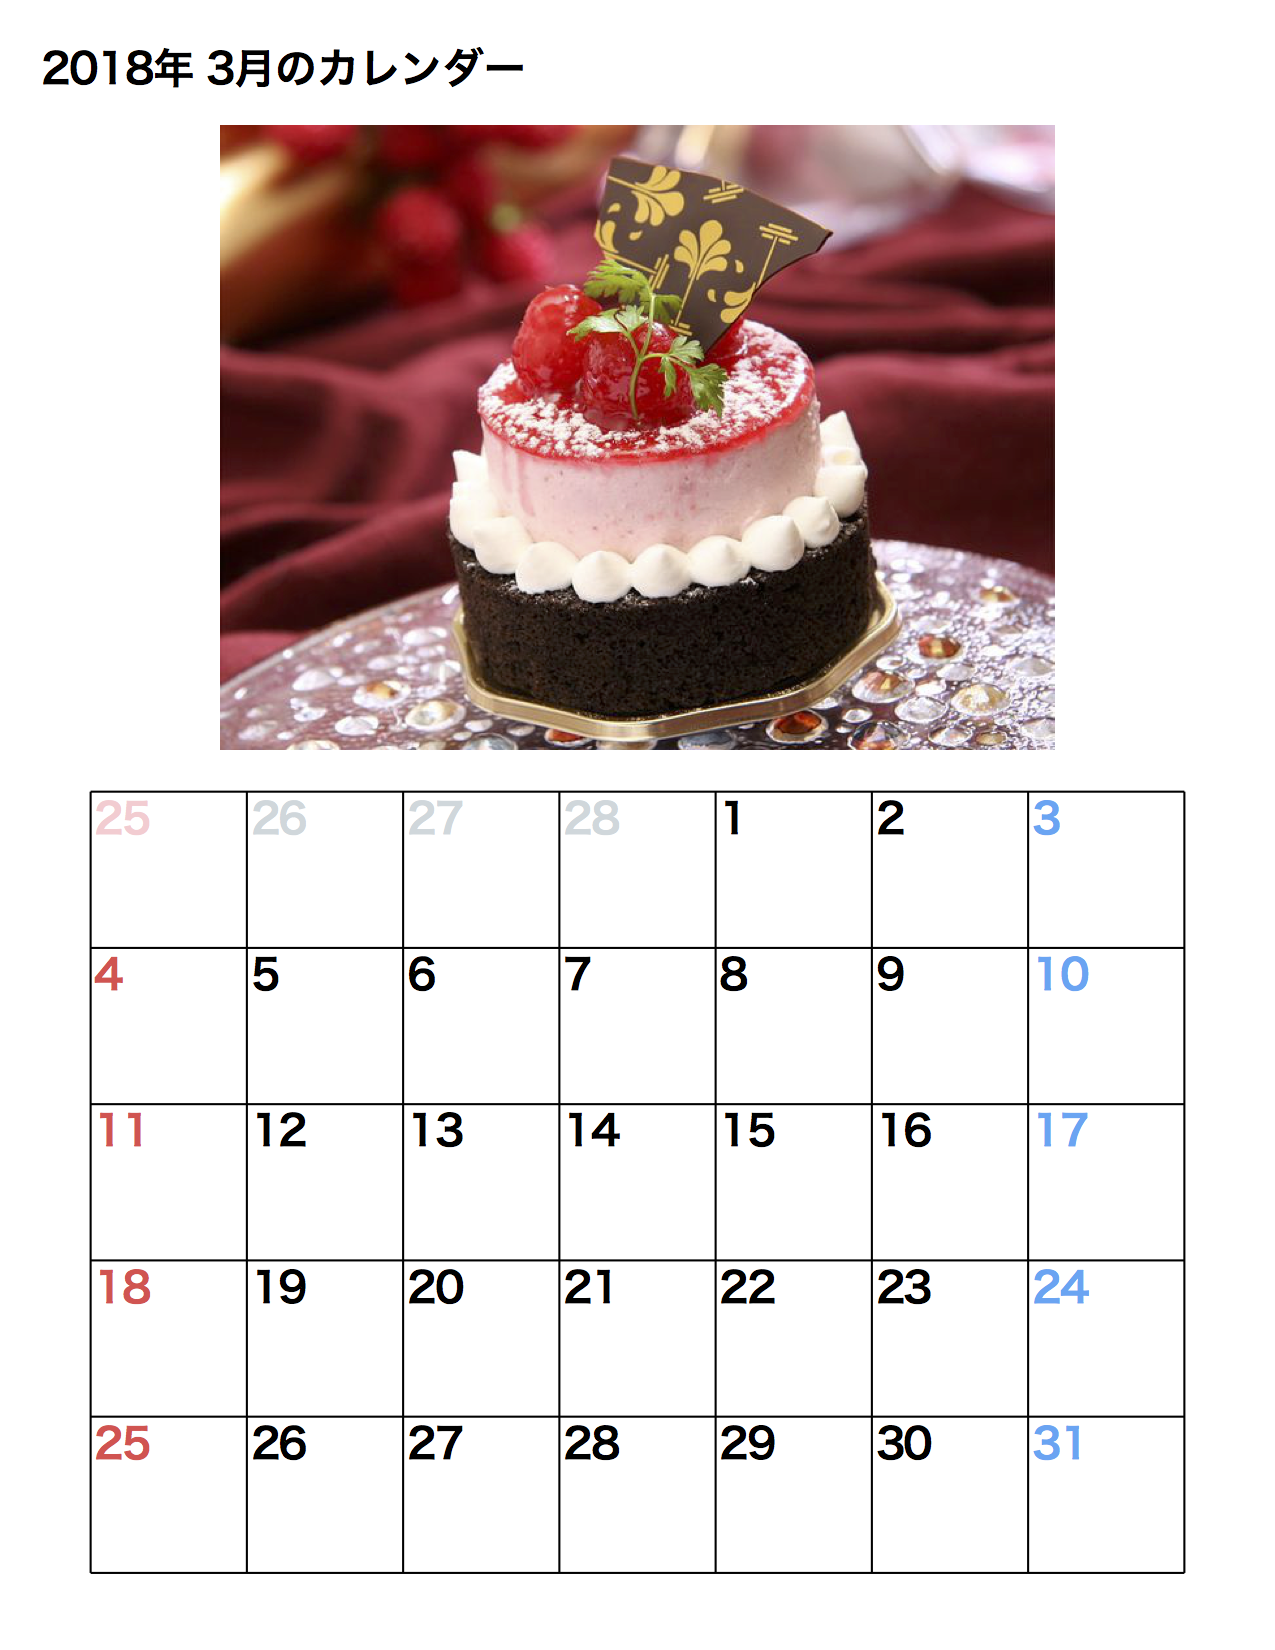 |
ソースコード
環境構築
完成品を実行させるには、以下のコマンドで実行できます。
image_pathは、URL/pathに対応しており、簡単にカレンダーを作成できます。
 $ pip3 install reportlab
 $ git clone https://github.com/4geru/pdf-calendar.git
 $ python3 make_pdf.py 2018 1 image_path
流れ
カレンダー作成の手順は以下の通りです。
pdfに関する設定・文字の表示・線、画像の描画について取り上げていきます。
def make(year,month, img):
  pdf_canvas = set_info("{0:04d}-{1:02d}".format(year,month)) # pdfの設定をする
  print_title(pdf_canvas, year, month) # titleの表示
  print_image(pdf_canvas, img)
  print_box(pdf_canvas) # 箱の描画
  print_word(pdf_canvas, year, month) # 日付の描画
  pdf_canvas.save() # pdfを保存
初期設定
pdfの描画画面の設定をします。
def set_info(filename):
  # 保存先とファイル名の設定
  pdf_canvas = canvas.Canvas("./calendar/{0}.pdf".format(filename), bottomup=False, pagesize=letter)  # 原点は左上

  # ファイル情報の登録(任意)
  pdf_canvas.setTitle(filename)
  pdf_canvas.setSubject(filename + 'のカレンダー')
  pdf_canvas.setAuthor("4geru")

  # キャンバス情報の追加
  return pdf_canvas
文字の表示
色の修正
- フォントの色の設定 HexColorと単色で色を変更できます
def same_month_color(weekday):
  #ef5350 red lighten-1
  if weekday == 0: return color.HexColor("0xef5350")
  #42a5f5 blue lighten-1
  if weekday == 6: return color.HexColor("0x42a5f5")
  return color.black
- フォントの変更
フォントはUnicodeCIDFont'HeiseiKakuGo-W5'を使っているが、
TTFontを利用すると、違うフォントも使えるようです。
文字の描画
def print_title(pdf_canvas, year, month):
  # フォントの設定
  font = 'HeiseiKakuGo-W5'
  pdfmetrics.registerFont(UnicodeCIDFont(font))
  pdf_canvas.setFont(font, 20)

  # 文字の描画
  pdf_canvas.drawString(config.space, config.title.height, "{0}年 {1}月のカレンダー".format(year, month))
線の描画
pdf_canvas.lineで線の描画ができます。
左から右へ・上から下へ線を伸ばすため、横線は左端・縦線は上の位置を決めます。
# カレンダーの線の表示
def print_box(pdf_canvas):
  pdf_canvas.setStrokeColor(color.black) # 色の設定
  step = config.step # 線と線の間隔
  # 縦の開始点
  top  = config.title.height + config.image.height + config.space * 2
  width = step * 7 # 横幅
  height = step * 5 # 縦
  left = (config.width - width)/2 # 横の開始点
  for i in range(0,8):
    x = left + step * i
    pdf_canvas.line(x , top, x, top + height)
  for i in range(0,6):
    y = top + step * i
    pdf_canvas.line(left, y, config.width - left, y)
写真の表示
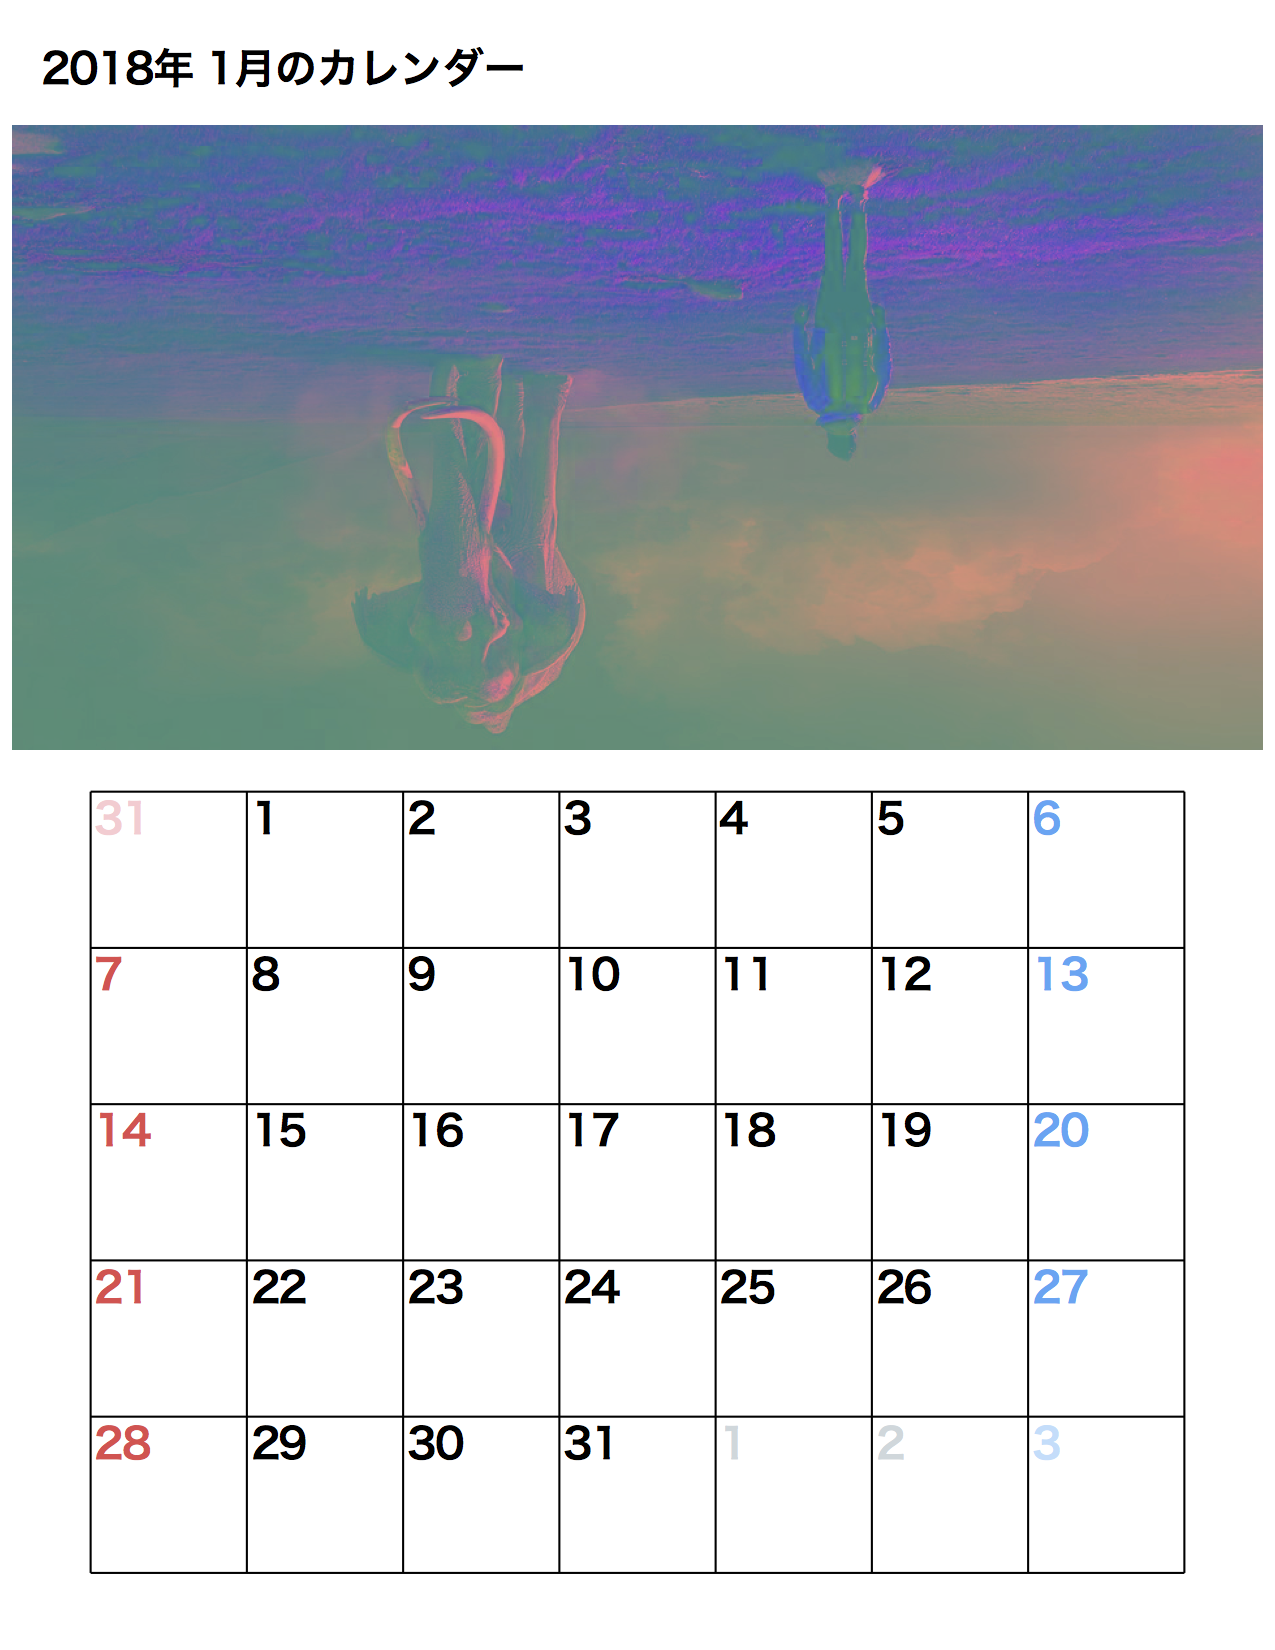
pdfで画像を表示する場合は、PILを使って、画像を表示します。
PILを使っただけだと左の図になってしまいます。しかし、ImageをLoadした後に、transposeで上下逆に変更することにより、右の図のように表示できます。
|
|
画像のdrawInlineImageは、drawInlineImage(描画する画像,左の開始点,上の開始点, 横の長さ, 縦の長さ)で設定することができます。
左の開始点は、画像の横の長さに比例するので、適当な式が代入されています。
縦の開始点は、画像が上下反対に描画されるためその分下に描画しています。
def print_image(pdf_canvas, img):
  image = ''
  if img.find('http') == -1: # URL出なかった時
    image = Image.open(img).transpose(Image.FLIP_TOP_BOTTOM)
  else: # URLだった時
    f = io.BytesIO(urlopen(img).read())
    image = Image.open(f).transpose(Image.FLIP_TOP_BOTTOM)

  height = config.image.height # 縦の長さの設定
  # 縦に合わせて横の長さの設定
  width = image.width * config.image.height / image.height
  top = config.title.height + config.space
  pdf_canvas.drawInlineImage(image,config.width/2-width/2,top-height, width, height)
参考
-
pdf作成
PythonでPDFを生成したい そしてサイコロを作りたい
PDF生成(ReportLab) - Python入門から応用までの学習サイト -
画像挿入
pythonでReportLabを使ったPDFファイルの作り方〜その2〜 - Live the Life you Love
Python + Pillow(PIL)で画像の回転を行う(rotate, transpose) - Symfoware
最後に
もうすぐクリスマス・年明けですね。。。
Pythonカレンダーを使って、周りの友達や家族にオリジナルのカレンダーを作成したら喜ばれるのではないでしょうか?
ぜひ使ってみてください
追加
- 2017/12/13 : 祝日を表示できるようにしました。
$ pip3 install jcal
で使えるようになります。