あまりないかもしれませんが、サイズ指定されたエリアの中に、様々なサイズの画像を縦横中央+長い方で縮小して設置する方法です。
background-imageを使用すれば簡単ですが、ここではimgタグのまま行う方法を紹介します。
下記のjQueryプラグインを使用すると簡単ですが、imgタグをbackground-imageに変換することで可能にしています。
https://github.com/karacas/imgLiquid
僕は、以前はこちらをよく使用していましたが、flexboxが使用できるようになった今ではCSSのみで対応できます。
対応方法
下記のような200×200のエリアを例に説明したいと思います。
<div class="imageBox"></div>
.imageBox {
  $areaSize: 200px;
  width: $areaSize;
  height: $areaSize;

  border: solid 1px #ccc;
  background: #eee;
}
対応方法
HTMLを以下のようにして、画像を設置します。
<div class="imageBox">
  <img arc="" alt="" />
</div>
CSSは下記のように修正します。
.imageBox {
  $areaSize: 200px;
  width: $areaSize;
  height: $areaSize;

  border: solid 1px #ccc;
  background: #eee;

  display: flex;
  align-items: center;
  justify-content: center;

  > img {
    max-width: $areaSize;
    max-height: $areaSize;
    width: auto;
    height: auto;
  }
}
まず、.imageBox(画像を入れる要素)に、display: flex;, align-items: center;, justify-content: center;を指定します。
これによって、子要素のimgタグを縦横中央に設置します。
さらに、子要素のimgタグに縦横サイズの指定を追記ます。
縦横の最大を、親要素のサイズになるように、max-width: $areaSize;, max-height: $areaSize;を指定します。
これによって、縦横のより長い方が縮小され、もう片方(縦/横)も同じ比率で縮小されます。
明示的にwidth: auto;, height: auto;を指定していますが、なくても問題ないです。
また、サイズは変数化しておいた方が、修正漏れなども置きなくなるので、変数化をおすすめします。
縦がエリア以上の場合
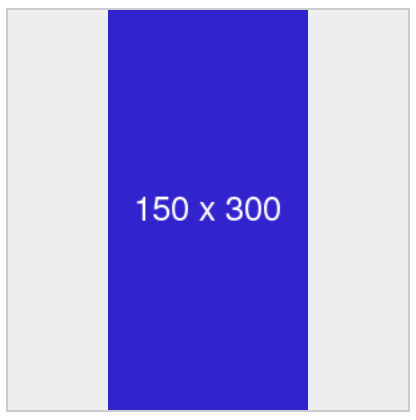
横がエリア以上の場合

縦横がエリア以下の場合

縦横がエリア以上の場合

この場合、横の方がよりエリアより大きかったので、横ベースで縮小されています。
まとめ
以上が、固定エリアの中に可変画像を中央寄せかつ、長い方で縮小して設置する方法でした。