概要
この記事では、2Dゲーム作成時における描画順の制御方法について説明します。
z_index を使う方法
z_indexを使用するとお手軽に描画順を制御できます。
z_indexの値が大きいほど手前に描画され、z_indexの値が小さいほど奥に描画されます。

以下、簡単に検証用コードを書きます。
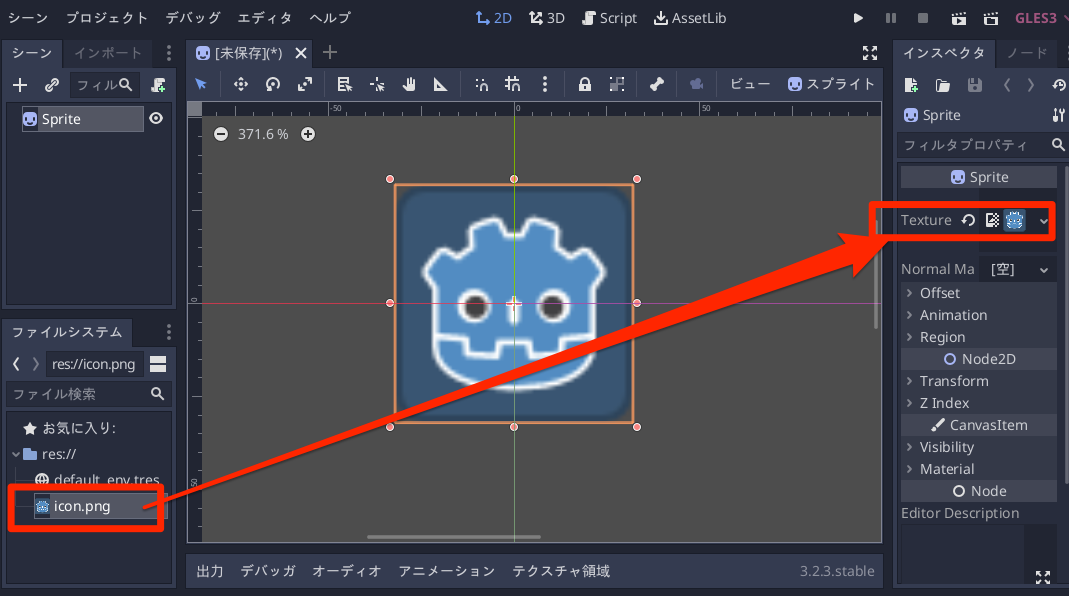
Spriteを作成
Spriteを作成し、"icon.png" をテクスチャに割り当てます。
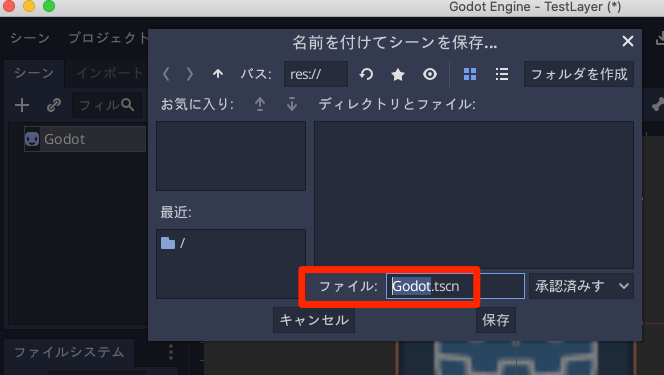
そしてノード名を「Godot」に変更して、シーンとして保存します。
Mainシーンを作成
Godotくんを配置する Mainシーンを作成します。
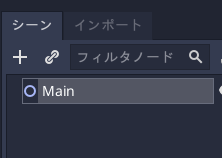
2Dシーン(Node2D)を作成して名前を Main に変更します。
Godotくんを配置するスクリプトを作成
Mainシーンにスクリプトをアタッチして、以下のように記述します
extends Node2D

# Godotくん
var Godot = preload("res://Godot.tscn")

# 生成カウンタ
var idx = 0

func _process(delta: float) -> void:
	if Input.is_action_just_pressed("ui_accept"):
		# Godotくんを生成
		var gd = Godot.instance()

		# 16pxずつオフセットする
		gd.position = Vector2(idx*16, idx*16)

		# z_indexを設定
		gd.z_index = idx

		# シーンに追加する
		add_child(gd)

		# 生成カウンタを増やす
		idx += 1
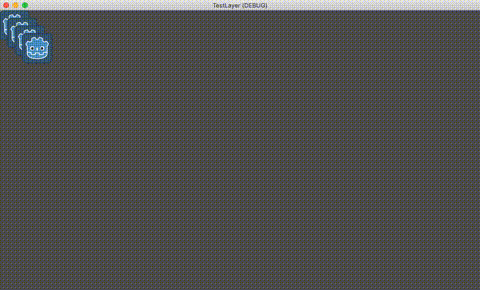
Spaceキーを押すたびに、Godotくんを配置するスクリプトです。
実行すると、後に生成されるほど下に描画されることを確認します。
z_indexをマイナス方向に増やしてみる
z_indexをマイナス方向に増やすとどうなるかを見てみます。
extends Node2D

# Godotくん
var Godot = preload("res://Godot.tscn")

# 生成カウンタ
var idx = 0

func _process(delta: float) -> void:
	if Input.is_action_just_pressed("ui_accept"):
		# Godotくんを生成
		var gd = Godot.instance()

		# 16pxずつオフセットする
		gd.position = Vector2(idx*16, idx*16)

		# z_indexを設定
		gd.z_index = -idx # ※マイナスを設定

		# シーンに追加する
		add_child(gd)

		# 生成カウンタを増やす
		idx += 1
修正箇所は z_index を設定しているところで、値をマイナスして反転しています。
これを実行すると後で生成したGodotくんは奥に描画されていることが確認できます。

CanvasLayerで描画順を制御する
z_index だけで描画順を制御してもよいですが、背景(奥に置きたい)やUI(手前に表示したい)など、柔軟に描画順を制御するには CanvasLayer を使用します。
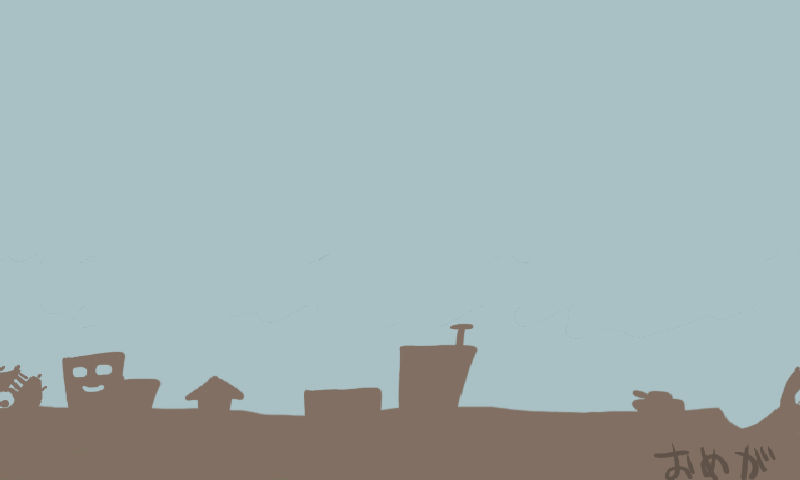
検証用として、奥に描画する用の画像…… (→ "bg_back.png" として保存)
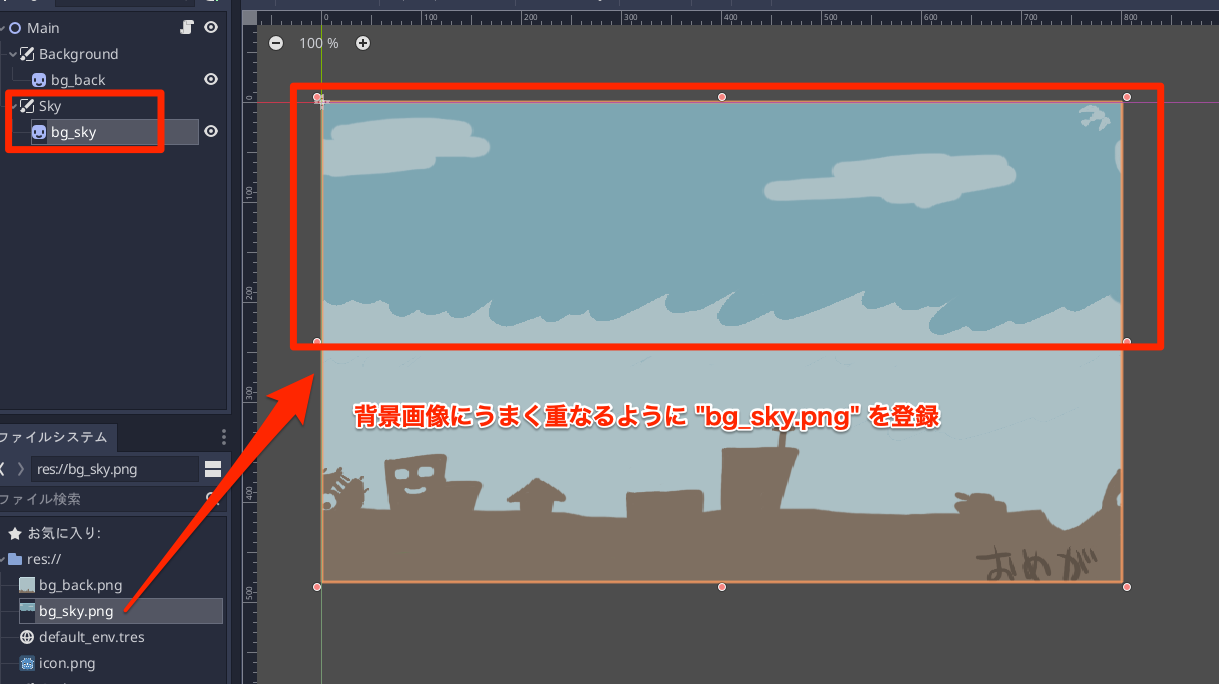
そして手前に描画する空の画像を追加します。(→ "bg_sky.png" として保存)
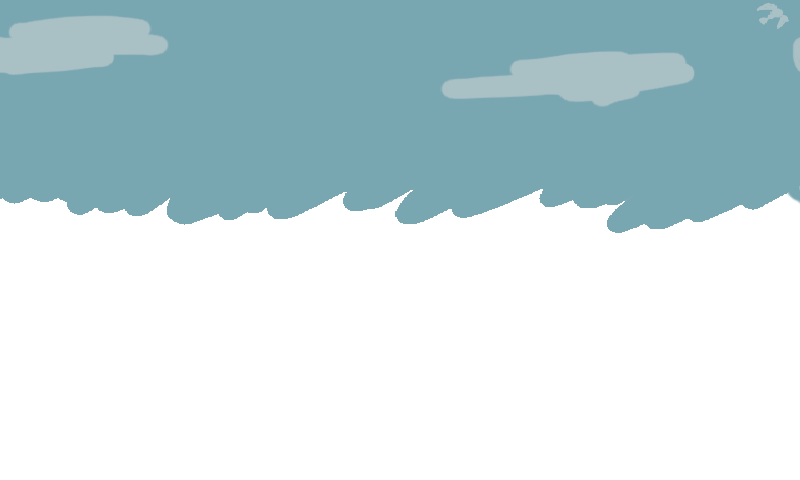
ちなみにこの画像は
http://o-mega.sakura.ne.jp/product/exelinya.html
からお借りしています。
背景画像の登録
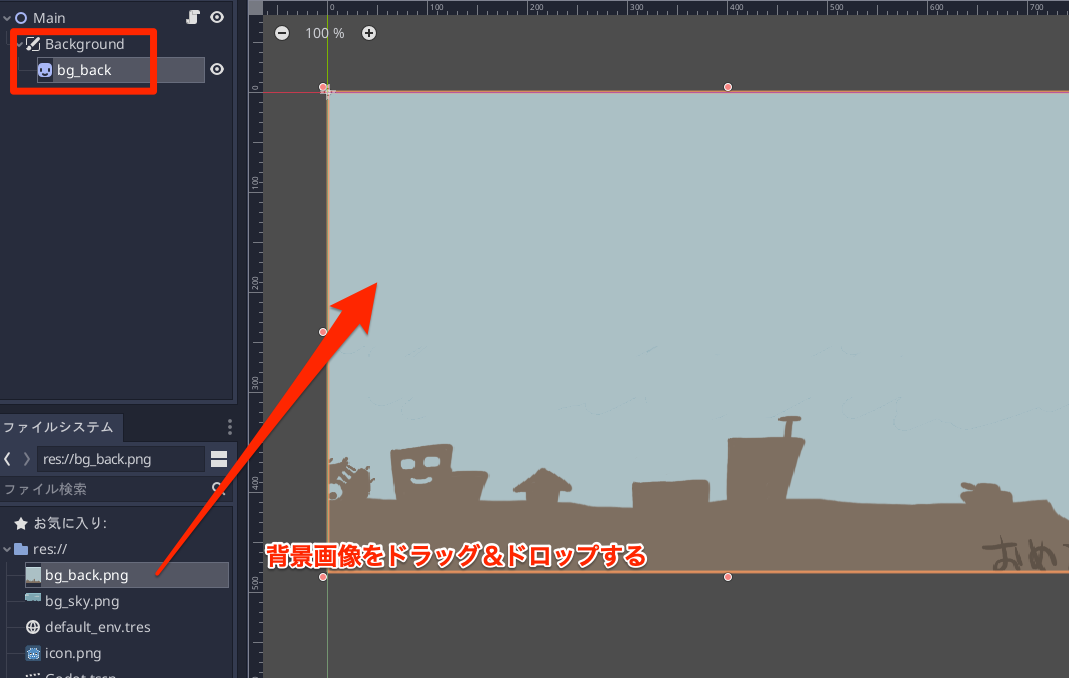
CanvasLayerを 作成します。
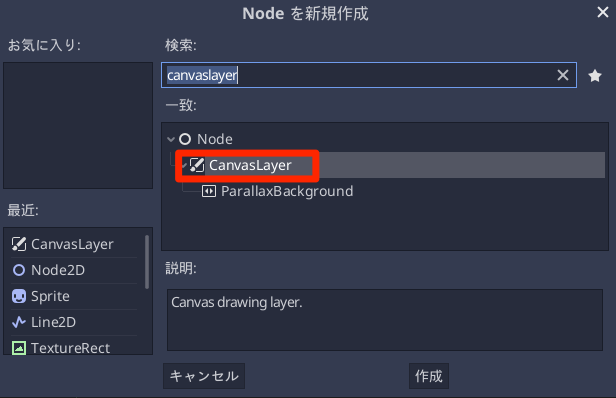
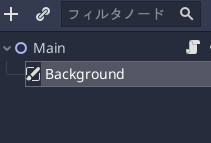
ノード名は「Background」に変更しておきます。
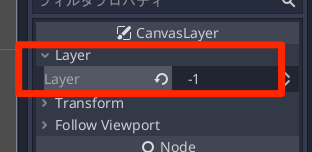
インスペクタから Layer > Layer の値を "-1" にします。この値は小さいほど画面の奥に描画されます
そして「Background」の下に "bg_back.png" を Spriteとしてぶら下げます。
「Background」を選んだ状態で画像をドラッグ&ドロップすると登録できます。
空画像の登録
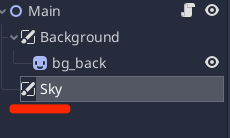
さらに別の CanvasLayer を作成します。
名前は 「Sky」としておきます。
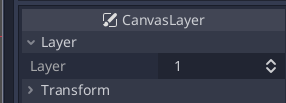
Layerの値は「1」のままで問題ありません。
続けて "bg_sky.png" をドラッグ&ドロップして登録します。
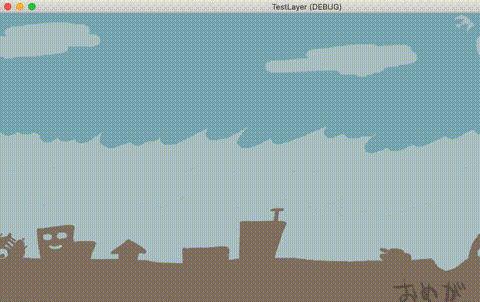
実行して Spaceキーを連打すると、空の中からGodotくんが登場します。
まとめ
今回の記事のまとめです。
-
z_indexで描画順を制御できる-
z_indexは大きいほど手前、小さい(マイナス含む)ほど奥に描画される
-
- まとめて描画順を制御したい場合には
CanvasLayerを使用する-
CanvasLayerのLayerの値が大きいほど手前、小さいほど奥に描画される
-