概要
この記事では、Godot Engineの Viewportを使用して画面をキャプチャする方法について書きます。
画像の登録
以下の画像をプロジェクトに追加します。名前は "mountains.png" としておきます。
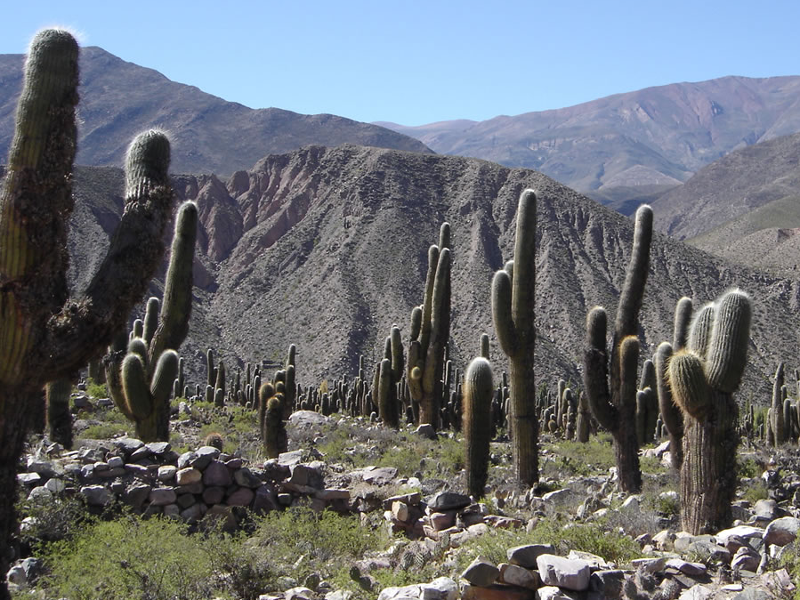
ちなみにこの画像は、Godot Engineの開発者の故郷であるアルゼンチンの史跡「ティルカラのプカラ(要塞)」だそうです。(公式のサンプルに含まれていた画像です)
画像の配置
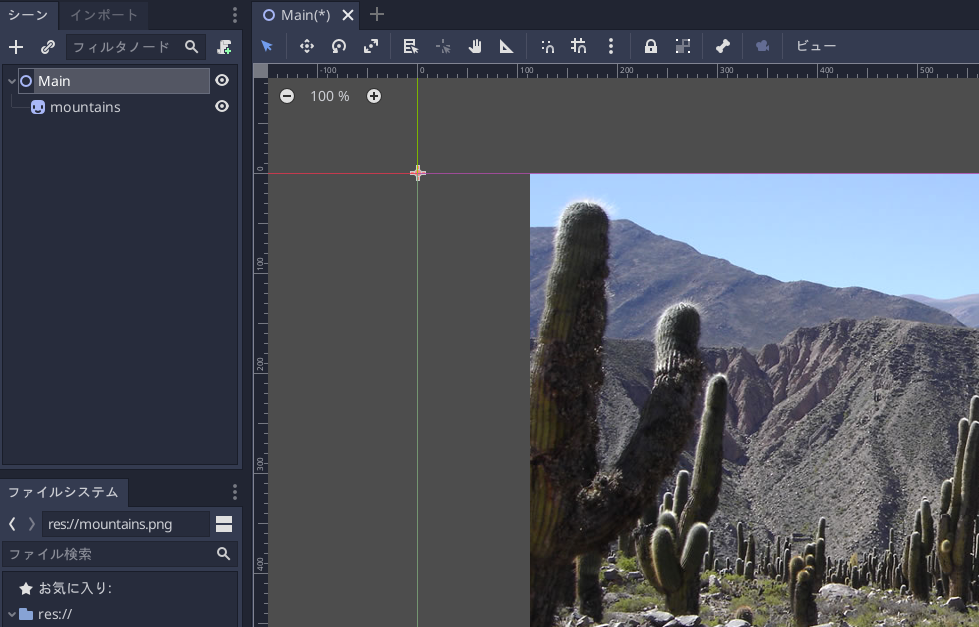
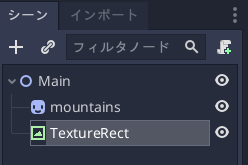
Node2Dシーン(Mainにリネーム)を作成して、"mountains.png" をSpriteとして配置します。
次のキャプチャした画像を表示するために TextureRect を作成します。
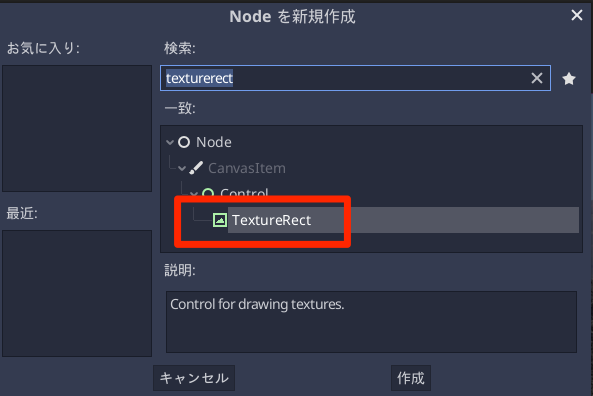
Texture を描画できるノードであればなんであっても構いません。
TextureRect は画面中央に配置しました。
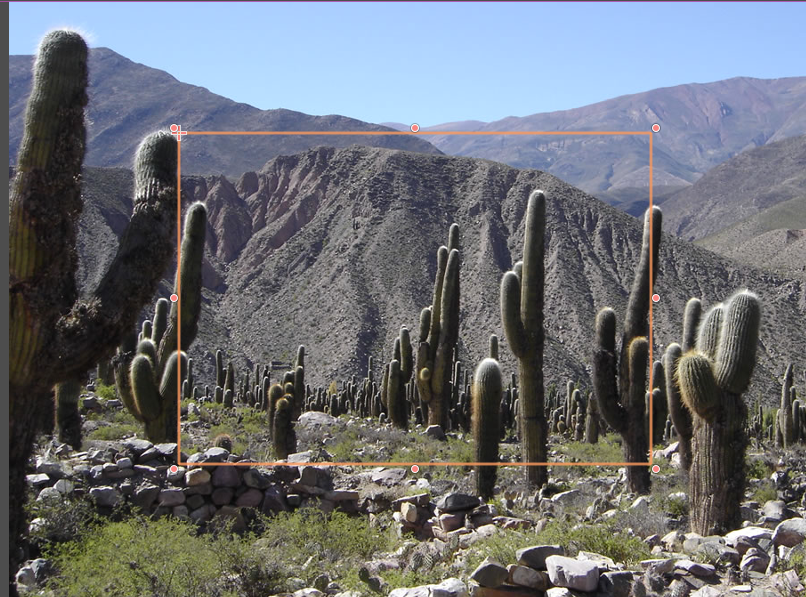
それとTextureRectのインスペクタから Rect > Scale の(x, y)をそれぞれ 0.5 にしておきます。
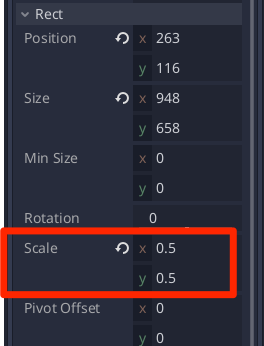
これはキャプチャの結果がわかりやすいように、半分のサイズに変形させるためです。
シーンの構成はこのようになりました。
キャプチャするスクリプトの実装
Mainノード(ルートノード)に以下のスクリプトをアタッチします。
Main.gd
extends Node2D

# キャプチャした画像を保存する
onready var captured_image:TextureRect = $TextureRect

func _process(delta: float) -> void:
	if Input.is_action_just_pressed("ui_accept"):
		# "Space"キーを押したら画面のキャプチャを開始する

		# Wait until the frame has finished before getting the texture.
		# ①描画完了を待つようにする
		yield(VisualServer, "frame_post_draw")

		# Retrieve the captured image.
		# ②ビューポートの画像イメージを取得する
		var img = get_viewport().get_texture().get_data()

		# Flip it on the y-axis (because it's flipped).
		# ③画像の上下を逆にする
		img.flip_y()

		# Create a texture for it.
		# ④テクスチャを生成
		var tex = ImageTexture.new()
		# ⑤画像データを設定
		tex.create_from_image(img)

		# Set the texture to the captured image node.
		# ⑥キャプチャ画像を保持しておく
		captured_image.set_texture(tex)
以下、簡単な説明です。
- Viewport に描画する情報は、そのフレームの最後で更新されます。そのため
VisualServerの "frame_post_draw" を待つようにしています - そのフレームでの描画が終了したら、ビューポートから画像イメージを取得します
- ビューポートの描画は上下逆(スクリーン座標系では下方向がプラスですが、3D座標系では上方向がプラスになるため)なので、画像の情報を
Image.flip_y()で上下逆にします - 新しくテクスチャを生成します
- 生成したテクスチャに画像データをコピーします
- 生成したテクスチャを
TextureRectにコピーします
実行すると、Spaceキーを押すたびに、キャプチャした画像が中央に表示されます。
こんな感じで Viewport が使えるようになるとポストエフェクトも簡単にできそう……!
参考
- Godot Docs » ビューポート » ビューポート
-
公式のビューポートのデモ
- ここにある「viewport > screen_capture」を参考にしました
- Godot Docs » Godot API » Viewport