GodotでAndroidをビルドする (*.apkを作成する) 手順をまとめてみました。
Androidテンプレートエクスポートをインストール
まずはAndroidテンプレートエクスポートのインストールを行います。
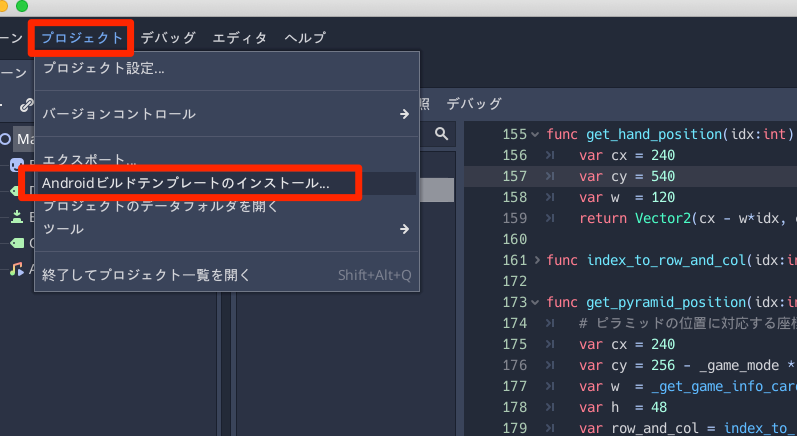
メニューから プロジェクト > Androidテンプレートエクスポートのインストール を選択します。
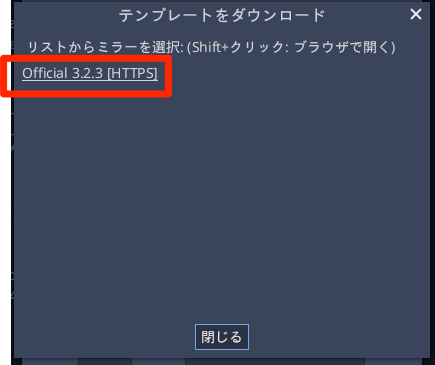
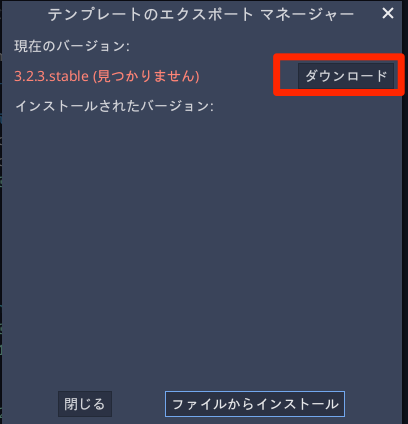
現在のバージョンに対応したテンプレートをダウンロードします。
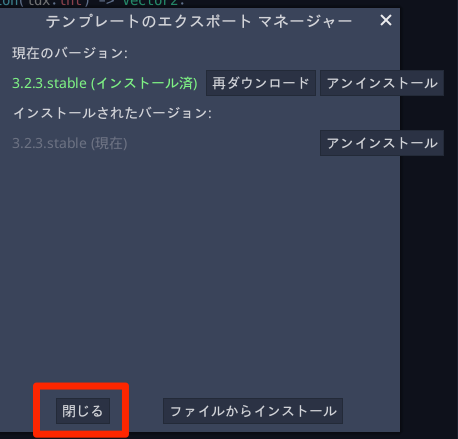
ダウンロードが完了すると インストール済みの表示がされます。
Android Studio をインストール
以下のリンクからAndroid Studioをインストール
https://developer.android.com/studio
私の環境ではインストール済みだったので、手順は省略します。
公式マニュアルを見ると、
- ビルドツール: 30.0.1
- プラットフォーム: 29
あたりが推奨のようです (2021.2.7 現在)
OpenJDKをインストール
JDK (Java SDK) がインストールされていない場合は以下のリンクからインストール
https://adoptopenjdk.net/index.html
もしリンク先が正しくない場合には Godot公式マニュアルを参考にインストール
インストーラーを起動します。「続ける」をクリック
色々とインストール設定を聞かれますが、すべてデフォルトでOKです。
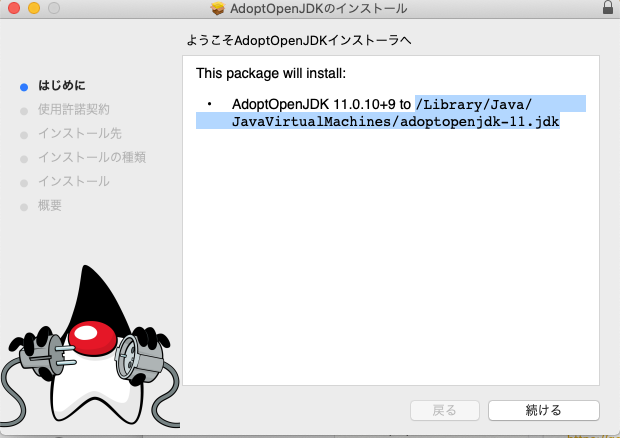
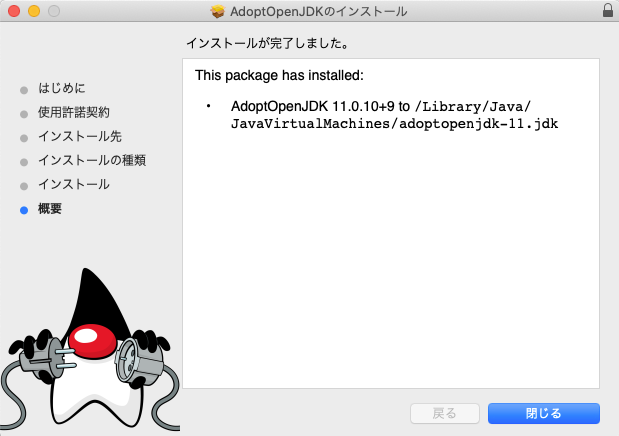
インストールが完了したら、JDKのインストール先をコピーしておきます。
エディタ設定
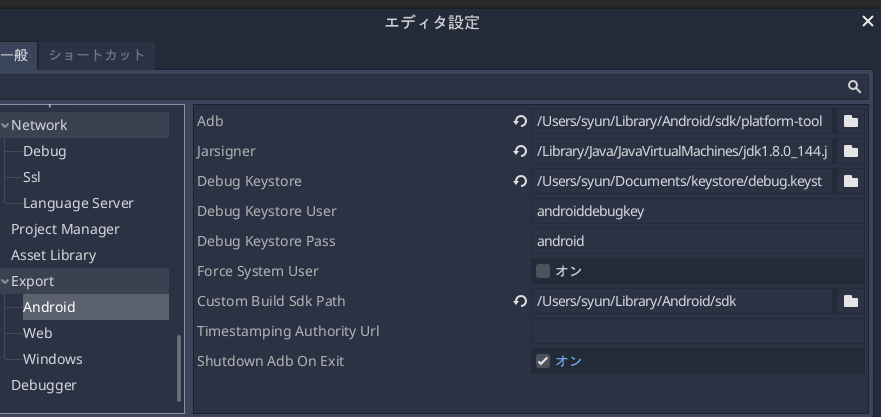
メニューから エディタ > エディタ設定 > Export > Android で各種ツールのパスを設定します。
私の設定は以下のようになりましたが、環境によって異なります。
- Adb: /Users/syun/Library/Android/sdk/platform-tools
- jarsigner: /Library/Java/JavaVirtualMachines/jdk1.8.0_144.jdk/Contents/Home/bin/jarsigner
- Debug Keystore: /Users/syun/Documents/keystore/debug.keystore
- Debug Keystore User: デフォルト値
- Debug Keystore Pass: デフォルト値
- Force System User: チェックしない
- Custom Build Sdk Path: /Users/syun/Library/Android/sdk
- Timestamping Authority Url: 指定なし
- Shutdown Adb On Exit: デフォルト値
Debugキーストアの作成
以下のページを参考にDebugキーストアを作成し、作成したキーストアファイルへのパスを設定します
https://docs.godotengine.org/ja/stable/getting_started/workflow/export/exporting_for_android.html
keytool -keyalg RSA -genkeypair -alias androiddebugkey -keypass android -keystore debug.keystore -storepass android -dname "CN=Android Debug,O=Android,C=US" -validity 9999 -deststoretype pkcs12
上記コマンドで作成した場合は、デフォルトのユーザー「androiddebugkey」パスワード「android」で問題なさそう。
正式版(Googl Playストア)の提出には別途正式なキーストアを作ることになりそうです。
エクスポート
ここまでできたらようやくエクスポートができます。
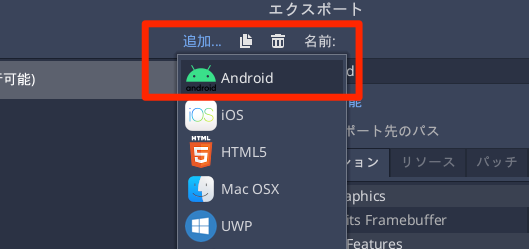
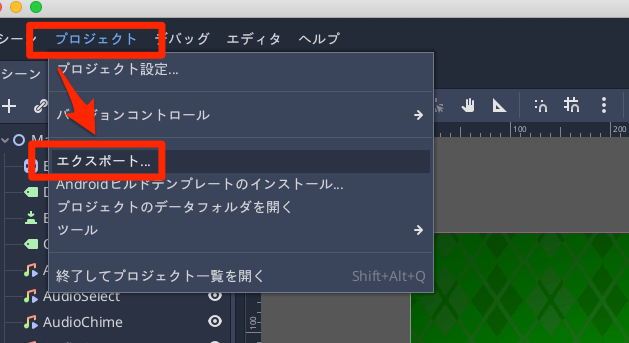
メニューから プロジェクト > エクスポート を選択
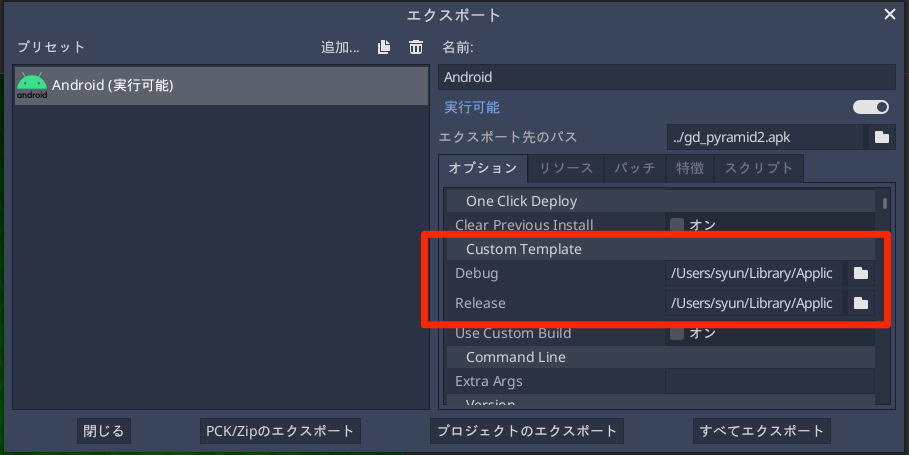
カスタムテンプレート (Debug/Release) を設定
エクスポートのカスタムテンプレート設定を行います。
Custom Template > Debug Custom Template > Release のパスを設定します。
私の環境では /Users/syun/Library/Application Support/Godot/templates/3.2.3.stable にインストールされていました
- Debug :/Users/syun/Library/Application Support/Godot/templates/3.2.3.stable/android_debug.apk
- Release :/Users/syun/Library/Application Support/Godot/templates/3.2.3.stable/android_release.apk
プロジェクトのエクスポート
*.apkの出力は「プロジェクトのエクスポート」から行います。
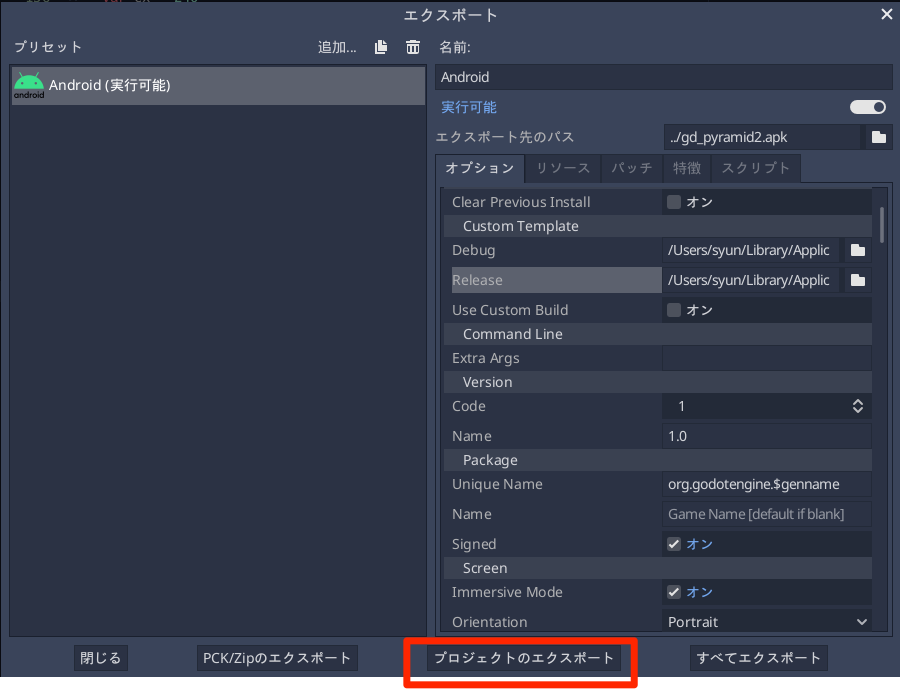
もしエラーが出てこのボタンが押せなかったり、エクスポート時にエラーが出る場合は、エラーが出ないように修正します。
モバイル用設定
以下、出力設定で少し悩んだところです。
縦画面モードにならない場合
エクスポート設定の Screen > Orientation を Portrait にしてもなぜか縦画面にならない
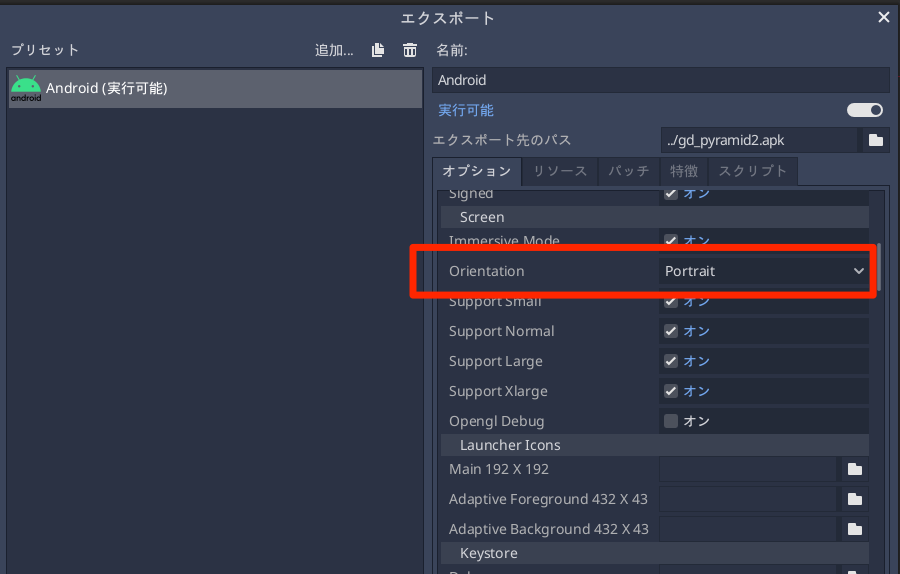
プロジェクト設定の変更が必要。
プロジェクト設定 > Display > Window > Handheld > Orientation を portrait
に変更する
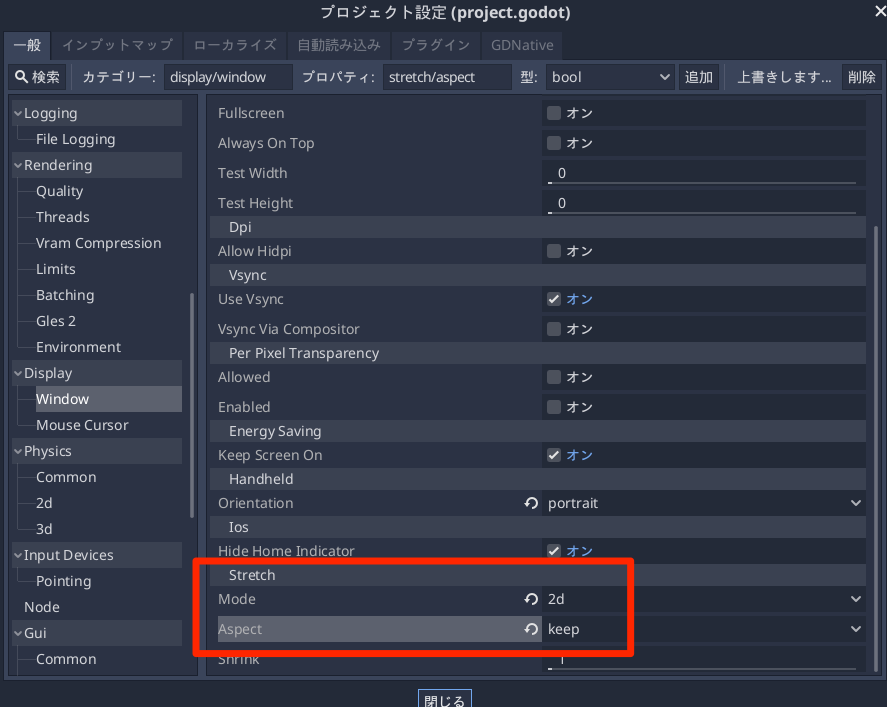
画面解像度に合わせて自動でスケールする
デフォルトだと、画面が大きくなっても自動でスケーリングしてくれない。
これもプロジェクト設定から。
Stretch > Mode > 2dStretch > Aspect > keep
参考
- Godot 3.1 –簡単な手順でAndroidにエクスポートする方法
- Godot 3.2 – Android用のGoogle広告(AdMob)を統合する方法
- Androidへのエクスポート - Godot Engine(stable)の日本語のドキュメント
- Android用のコンパイル - Godot Engine(stable)の日本語のドキュメント
- https://www.youtube.com/watch?v=XHj2CMu4rJQ
追記
以下のページを参考にすると、実機に直接転送できそう(未確認)

