概要
この記事では Godot Engineでの 2Dスプライトアニメーションの基本的な機能について書きます
スプライトシートを使ったアニメーションについて
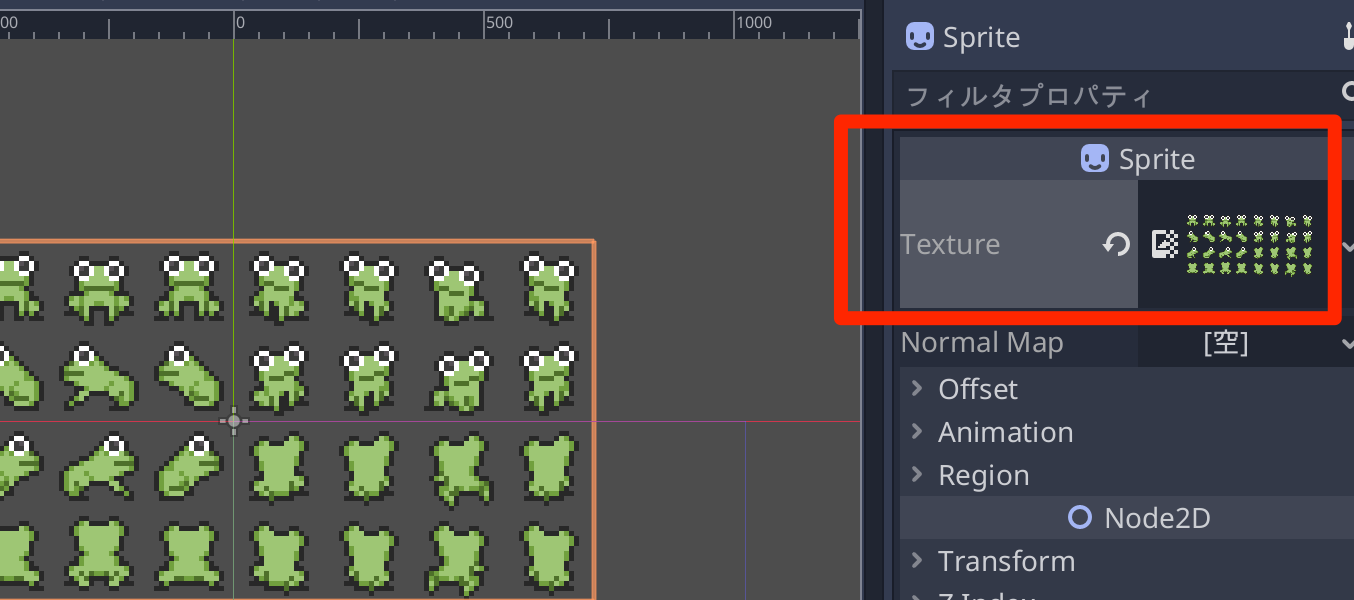
Sprite には以下のような等間隔で並んだ画像(スプライトシート)を扱う機能があります。
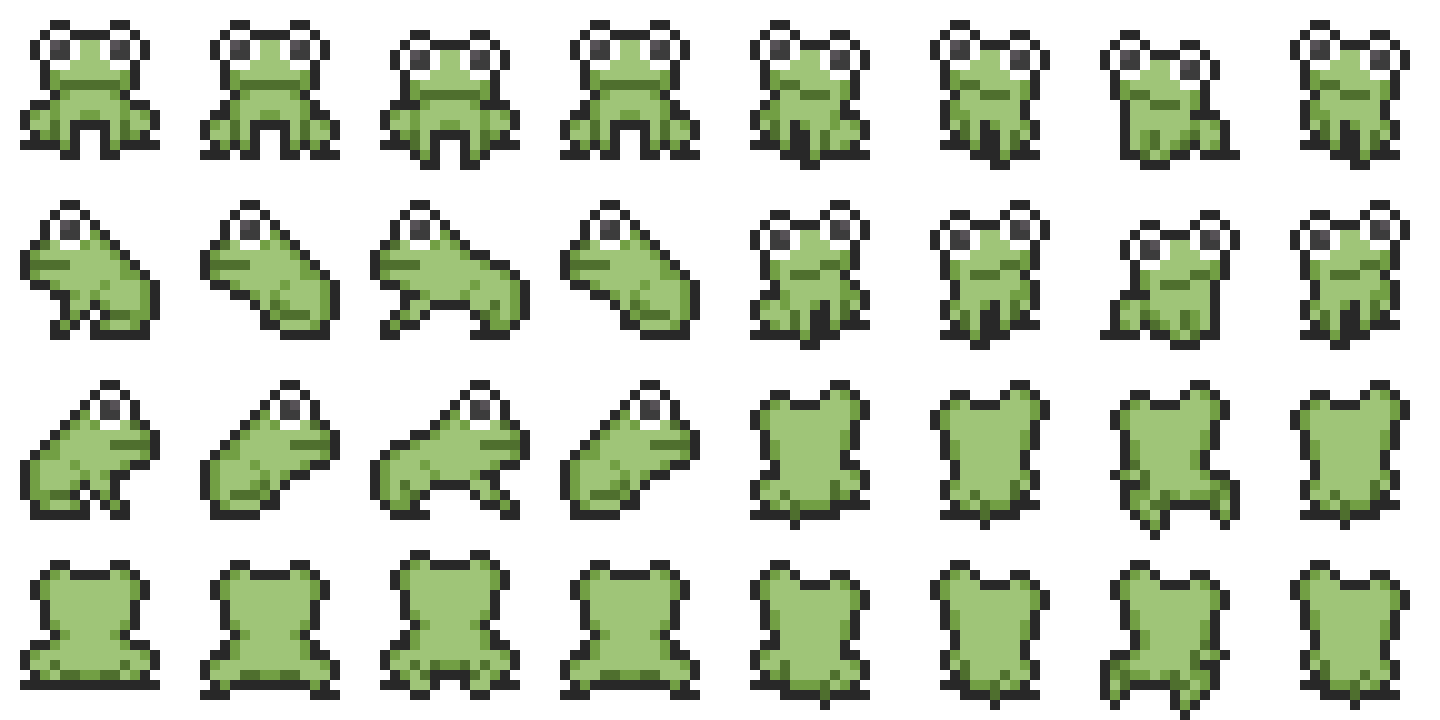
この画像を "frog.png" という名前で保存します。
なお素材は 尾羽の小屋様からお借りしました。
Sprite ノードを追加して、Texture にこの画像を読み込みます。
そして、Animation > Vframes を 「4」、Animation > Hframes を「8」に設定します。
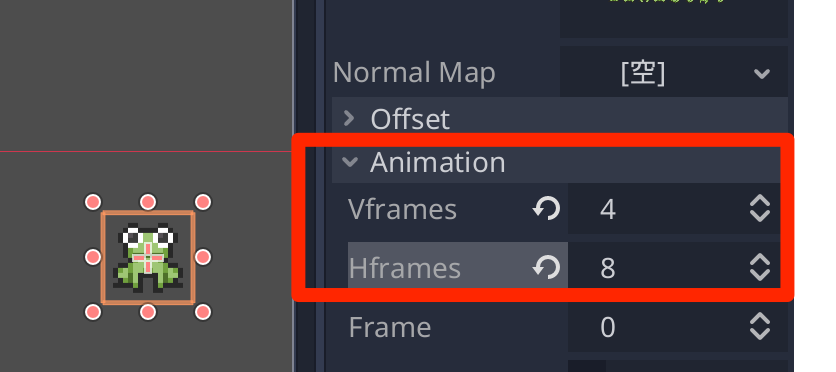
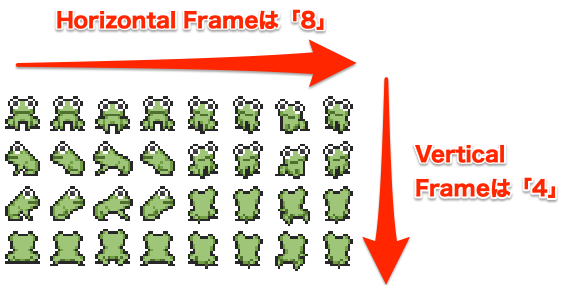
これはスプライトシートが、横方向に8つ、縦方向に4つ並んでいる、という指定となります。
そして、Frameの値を変更するとパターンが変化します。
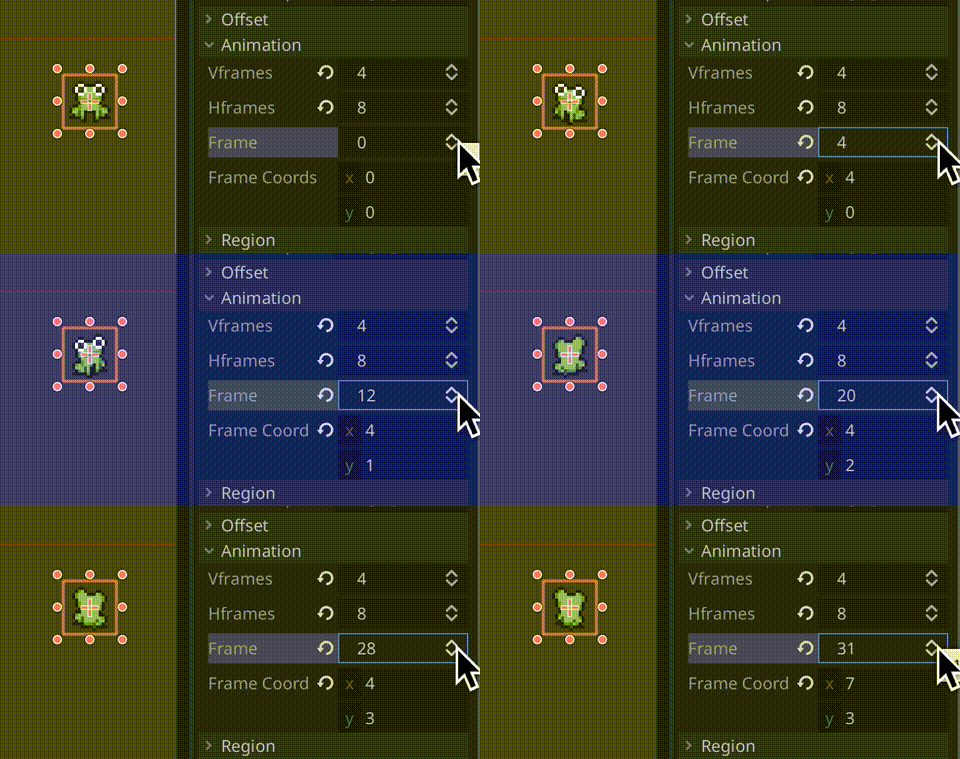
Frameには切り出したフレームの番号を指定します。8 x 4 = 32 なので 32パターン(0〜31)のフレームが存在することになります。
AnimatedSprite によるアニメーション制御
アニメーションをどの順番で行うかをスクリプトだけで制御したい場合は以下の手順は不要です。
アニメーション制御を定型化したい場合には、AnimatedSprite を使用するとどのフレームを待機モーションとするか、向きはどっちを向いているかという定義を作ることができます。
AnimatedSprite を使用する場合は Spriteは不要なので削除してしまって問題ありません。
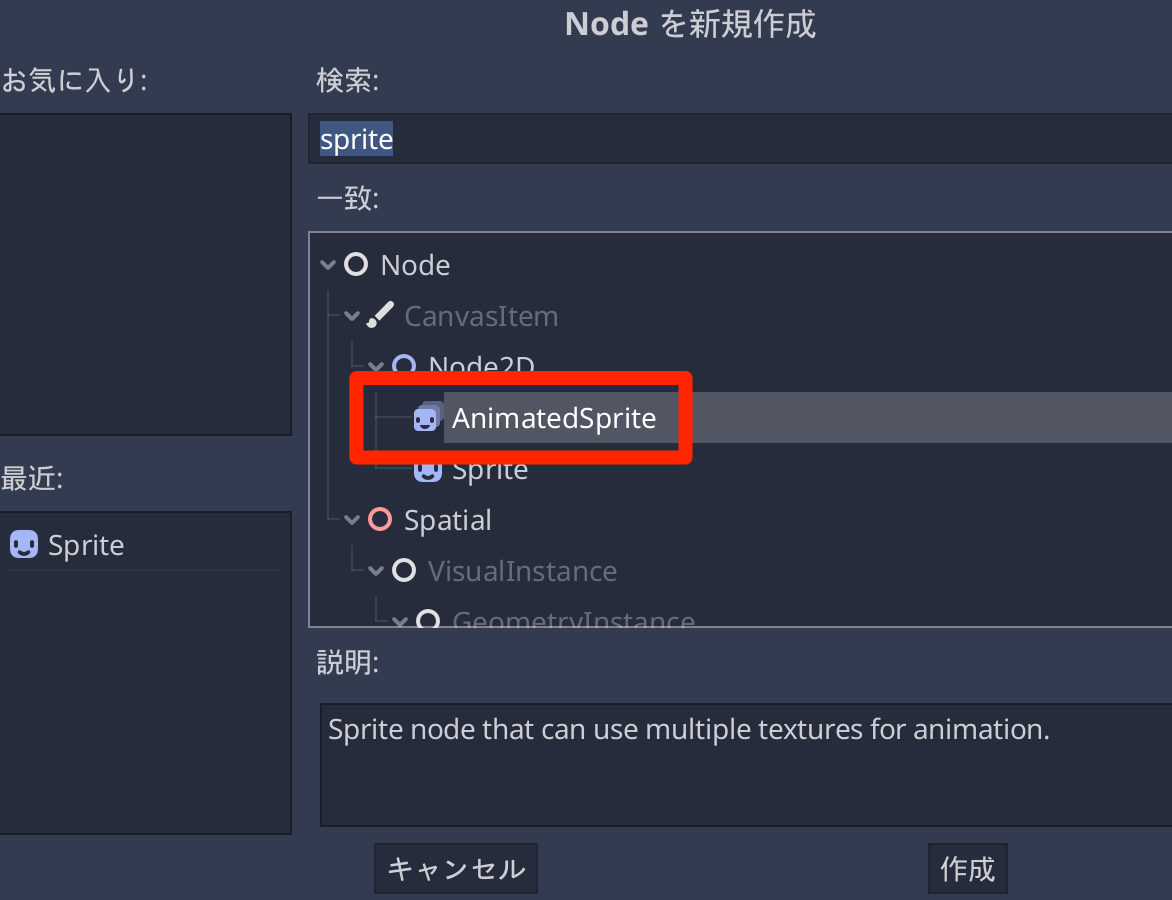
では、AnimatedSprite ノードを作成します。
作成直後は警告マークが表示されています。
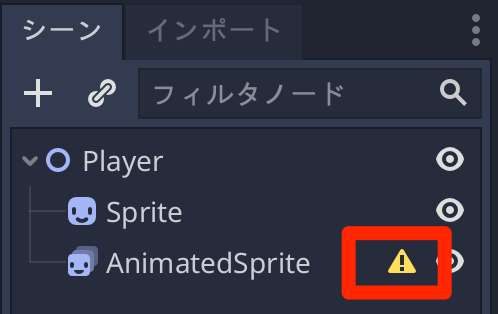
警告マークをクリックすると、"Frames"プロパティに値設定が必要、とのメッセージが表示されます。

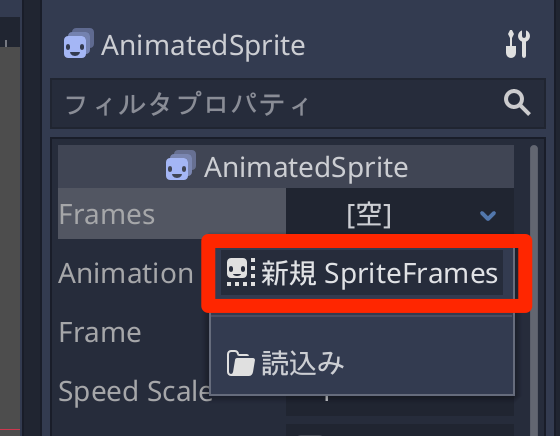
AnimatedSpriteノードのインスペクタから、Frames > [空]をクリックして、「新規 SpriteFrames」を選びます。
作成された「SpriteFrames」をクリックすると、「スプライトフレームエディタ」が表示されます。
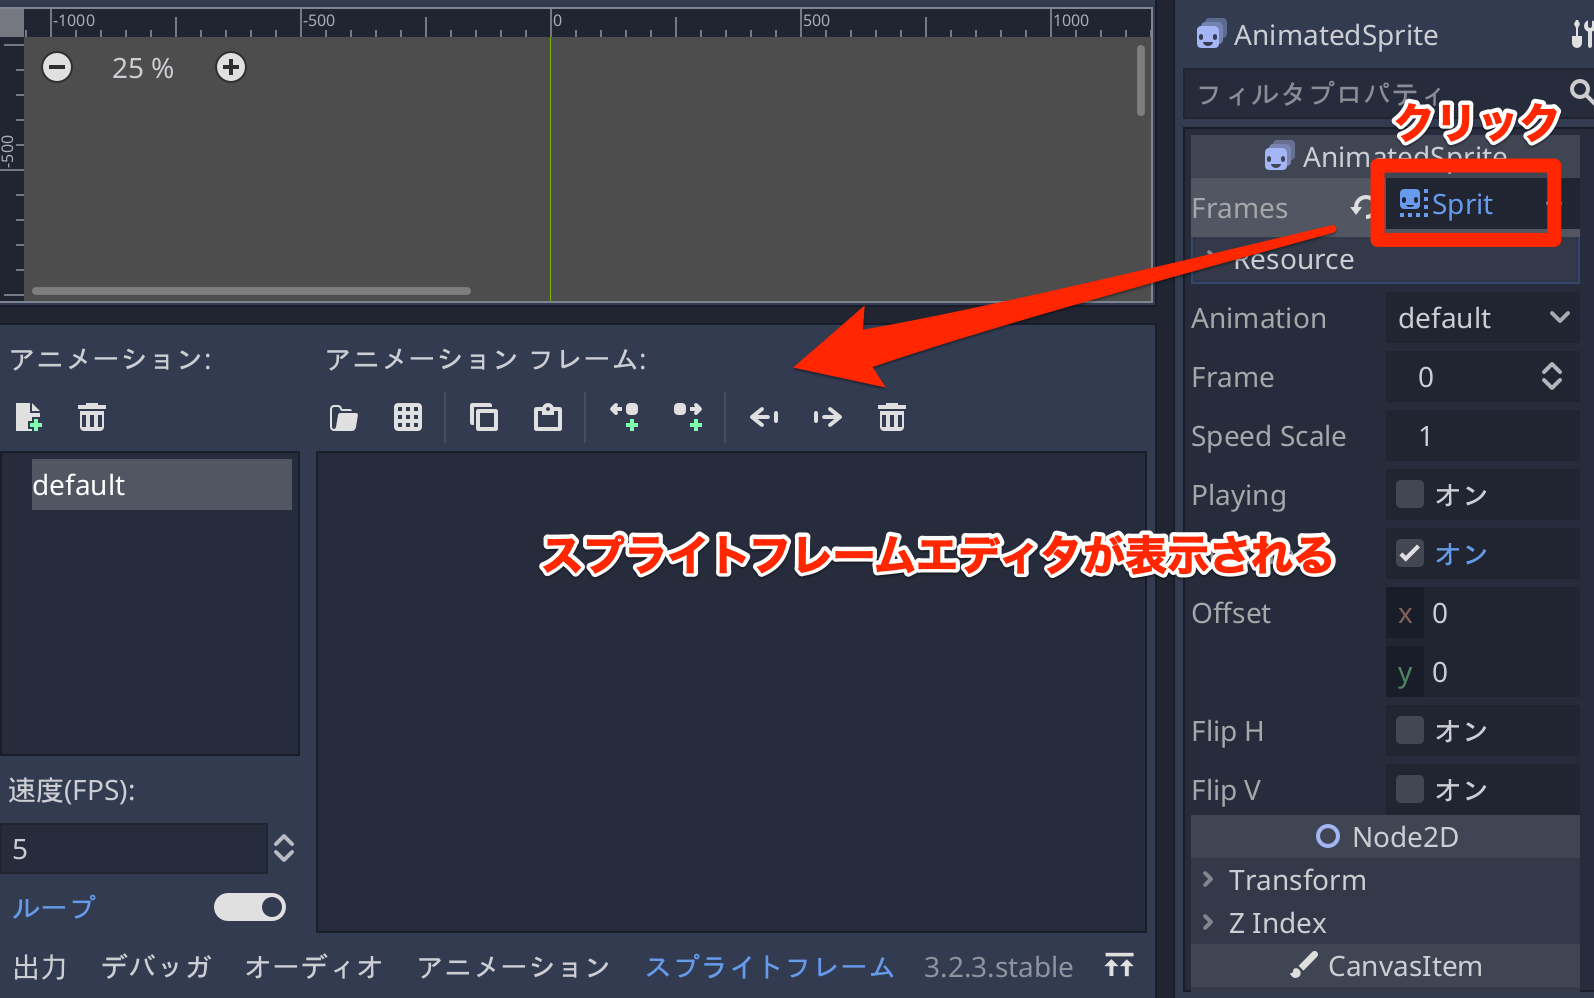
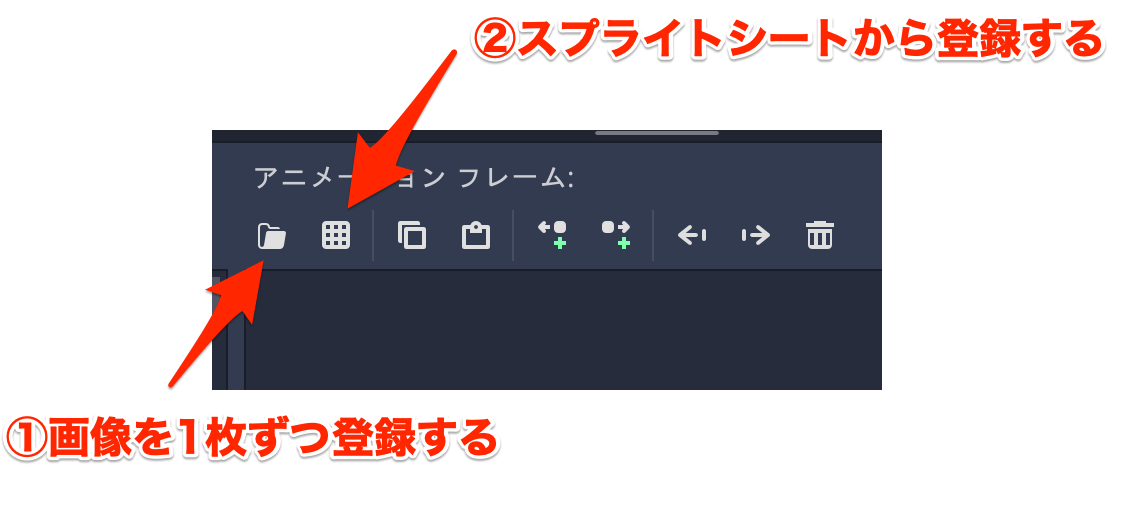
スプライトフレームに画像を登録する方法は2つあります。
- 画像(.pngなど)を1枚ずつ登録する
- スプライトシートを登録する
今回は「②スプライトシートから登録する」なので、格子状になっているアイコンをクリックします。
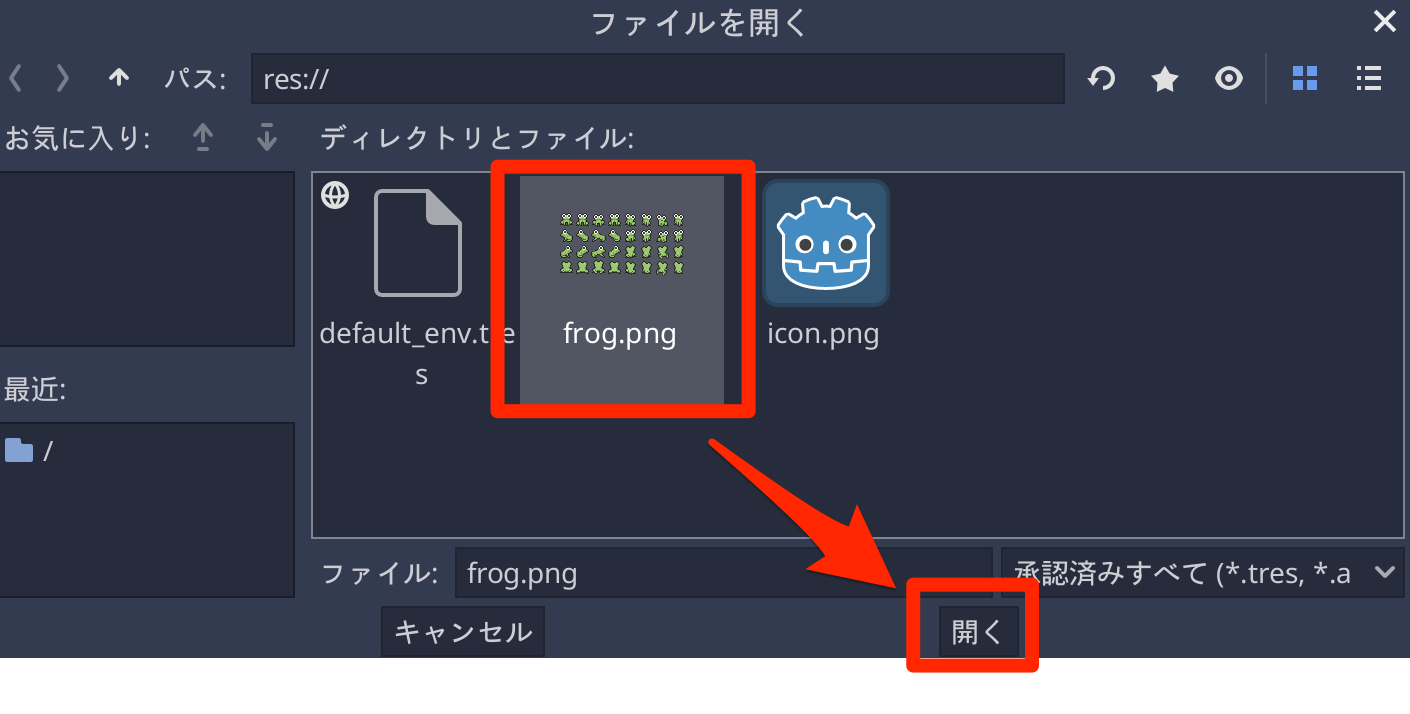
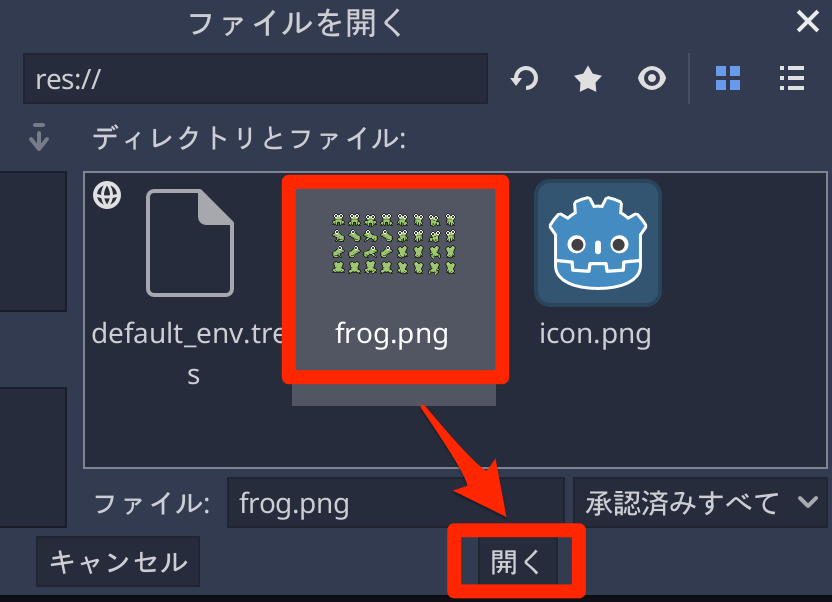
するとファイル選択ダイアログが表示されるので、「frog.png」を選んで「開く」をクリックします。
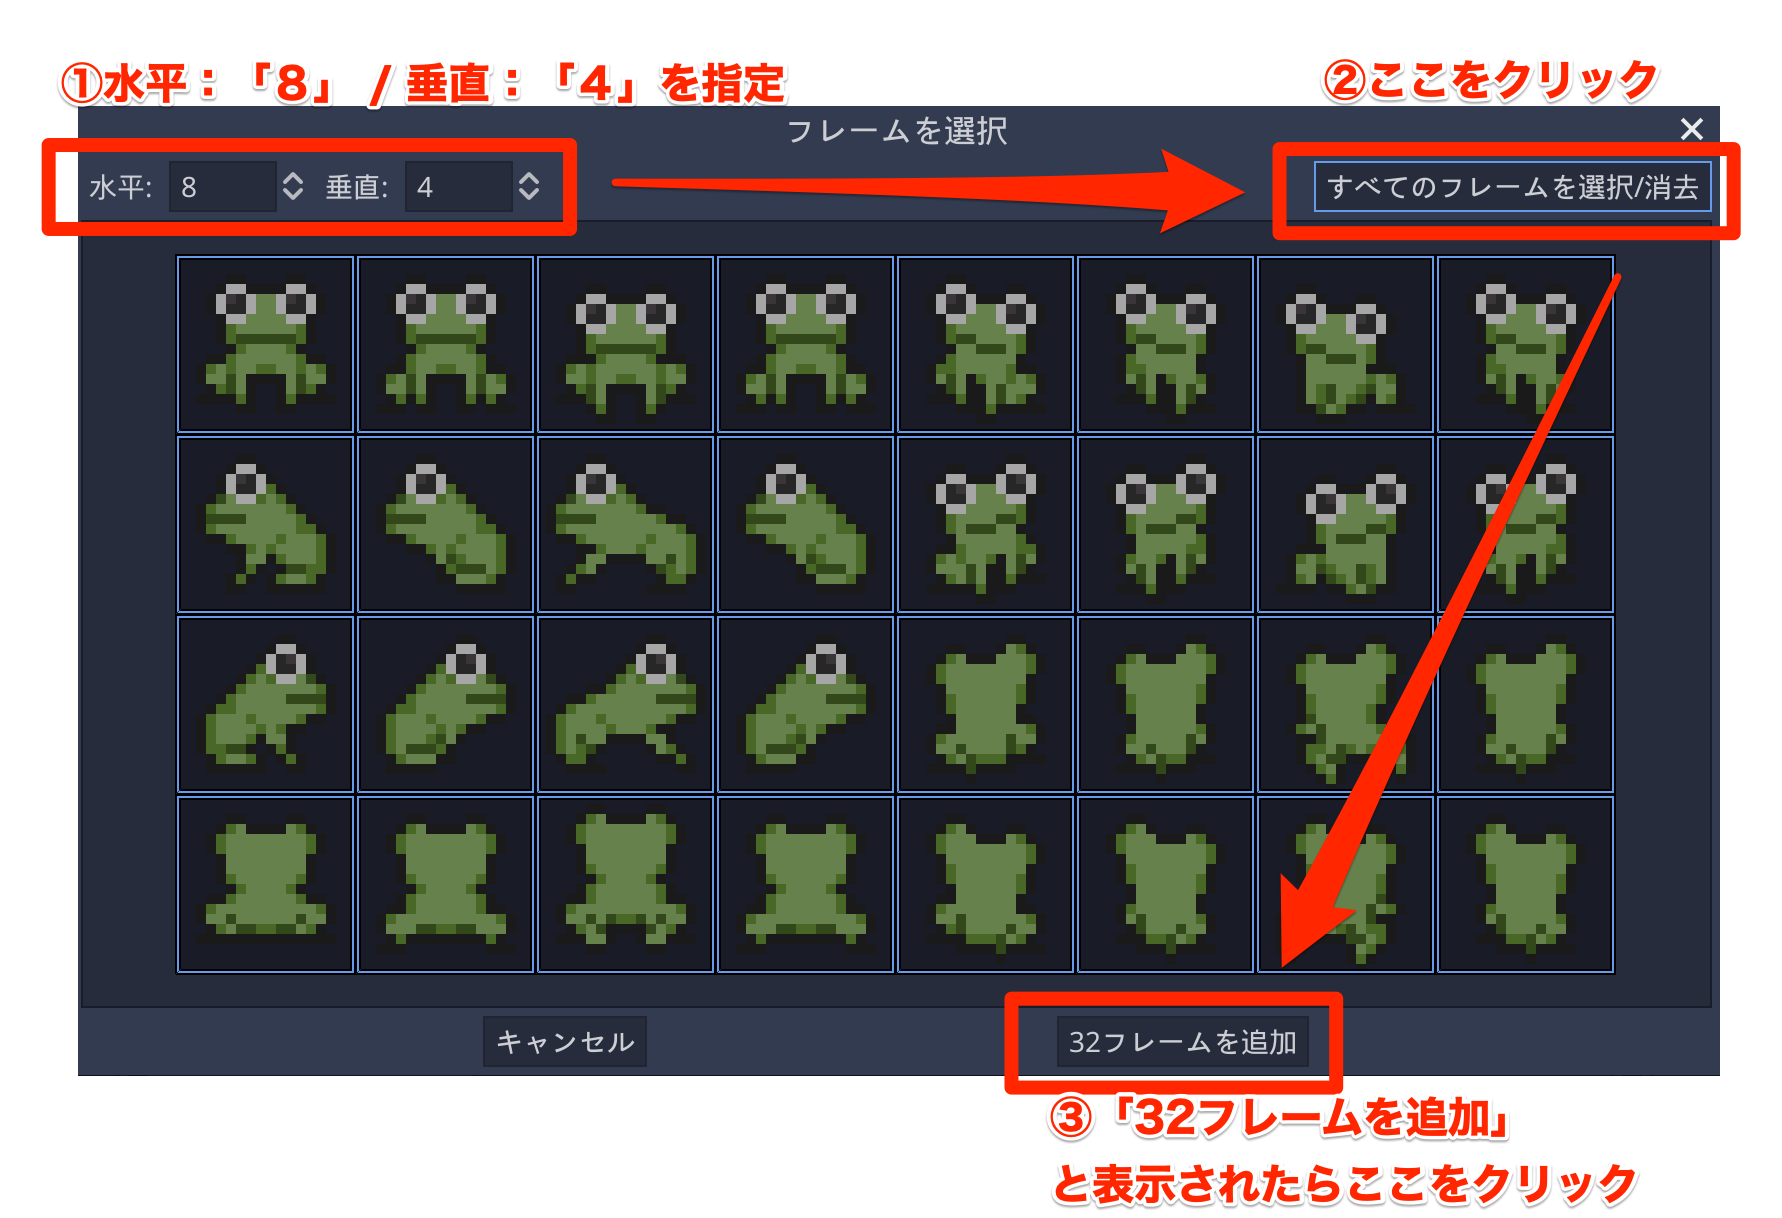
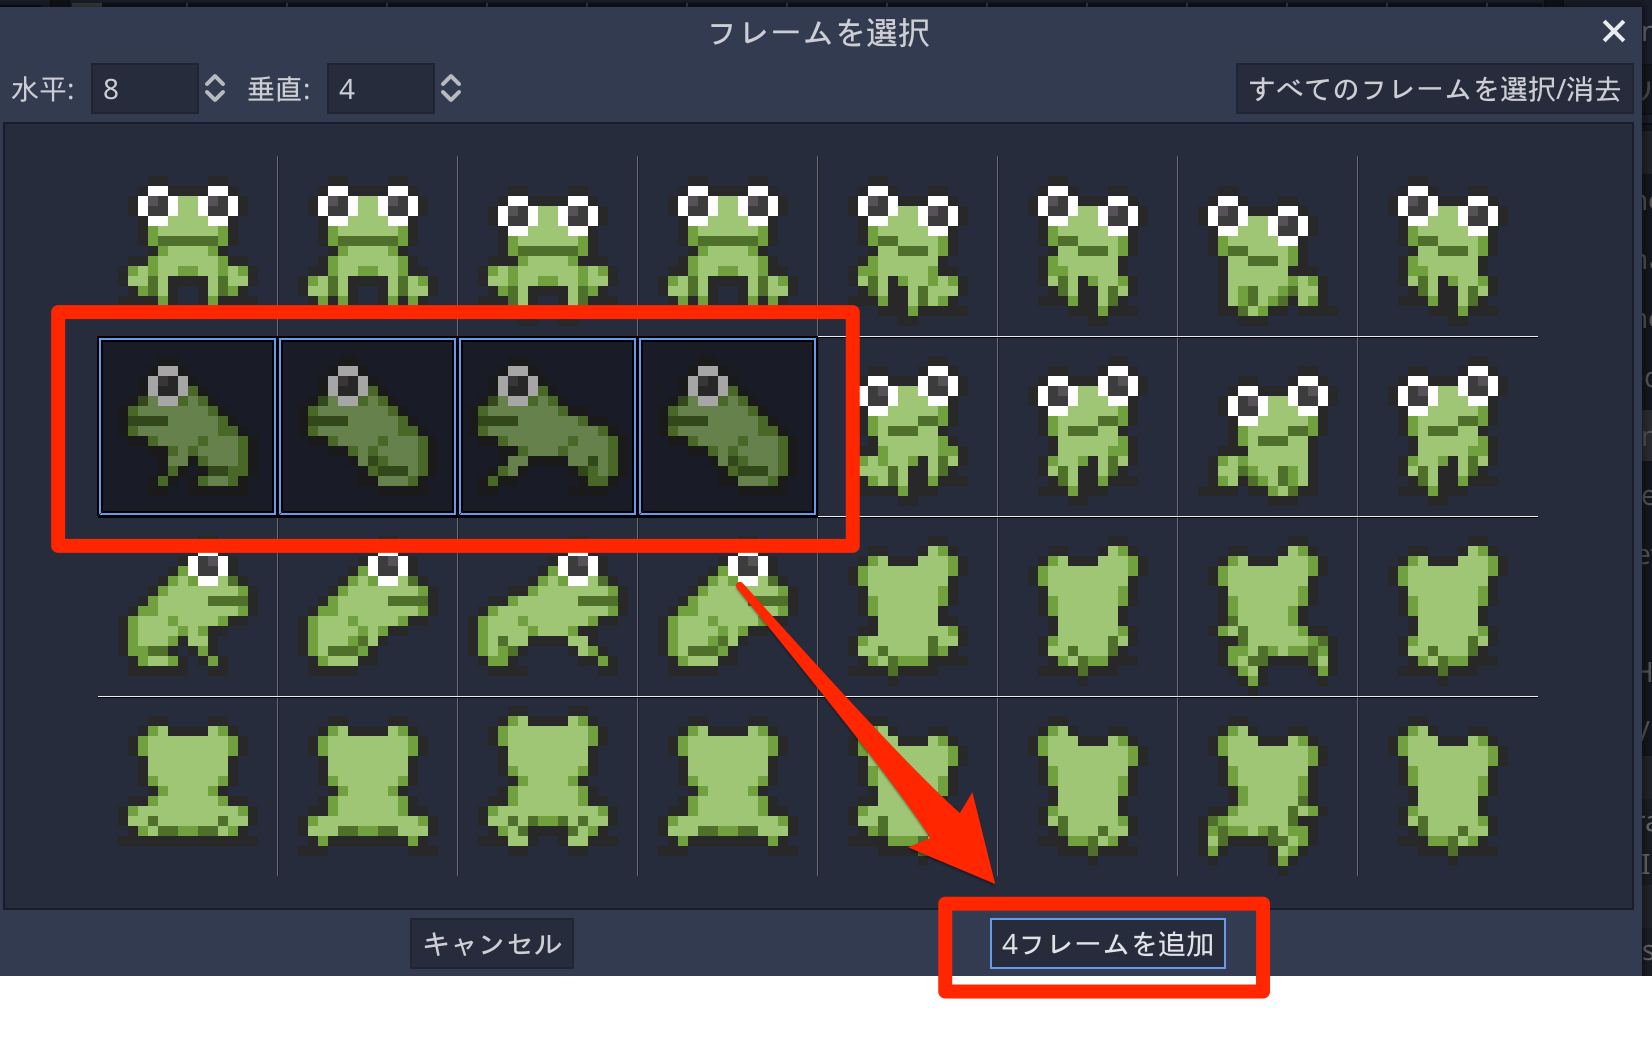
フレーム選択ダイアログが表示されるので以下のように設定します。
- 水平:「8」 / 垂直:「4」を指定
- 「すべてのフレームを選択/消去」をクリック
- 「32フレームを追加」と表示されたらクリック
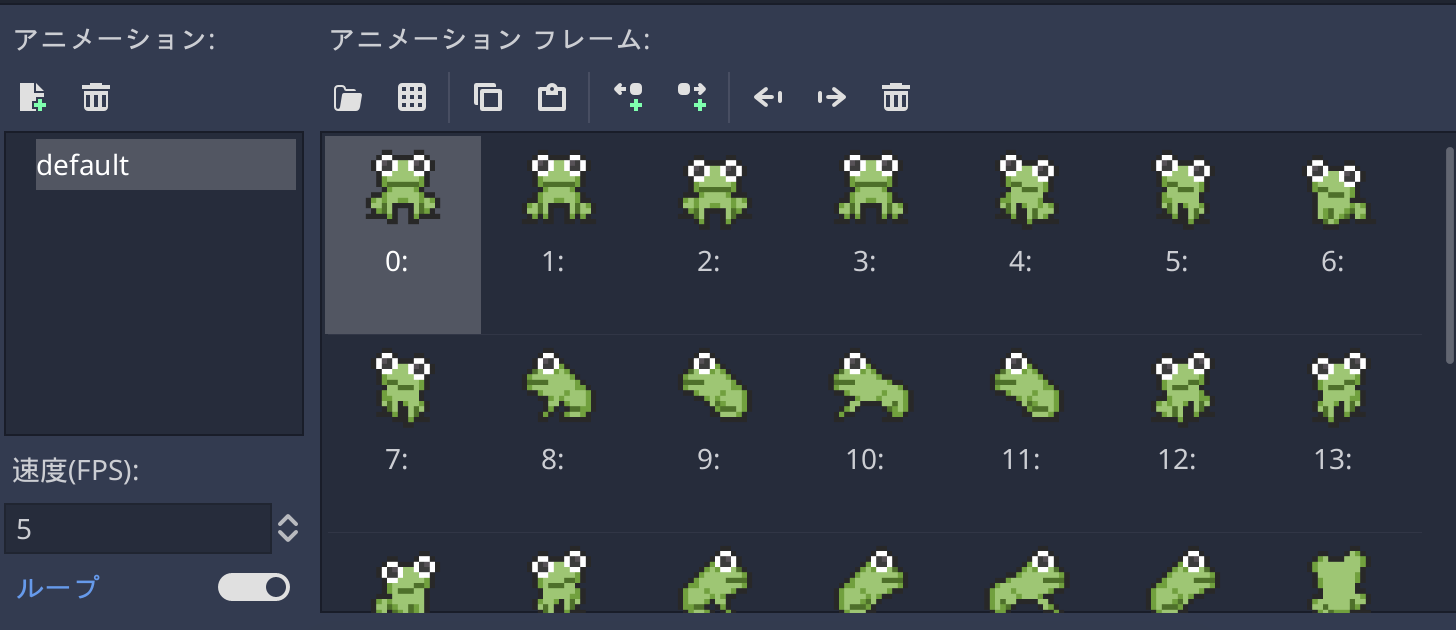
するとアニメーションフレームにすべてのフレームが表示されます。
そうしたら、インスペクタからPlaying にチェックを入れます。
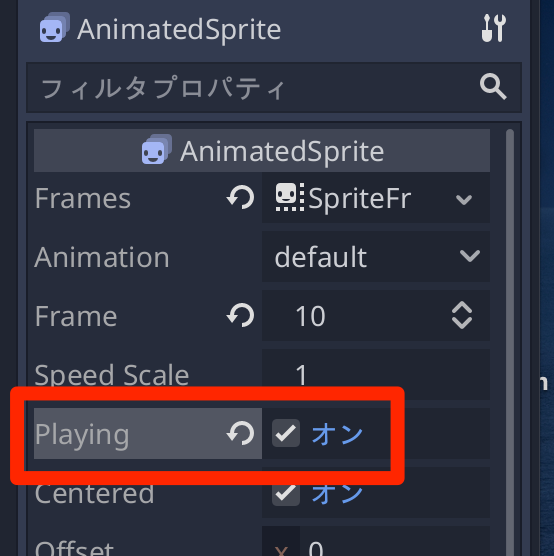
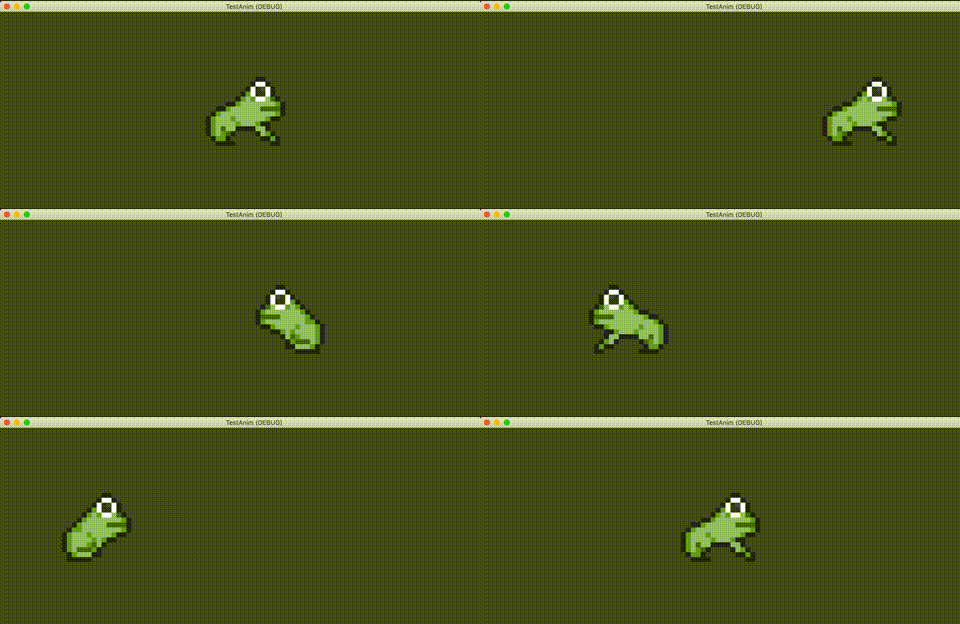
すると、アニメーションが再生されます。
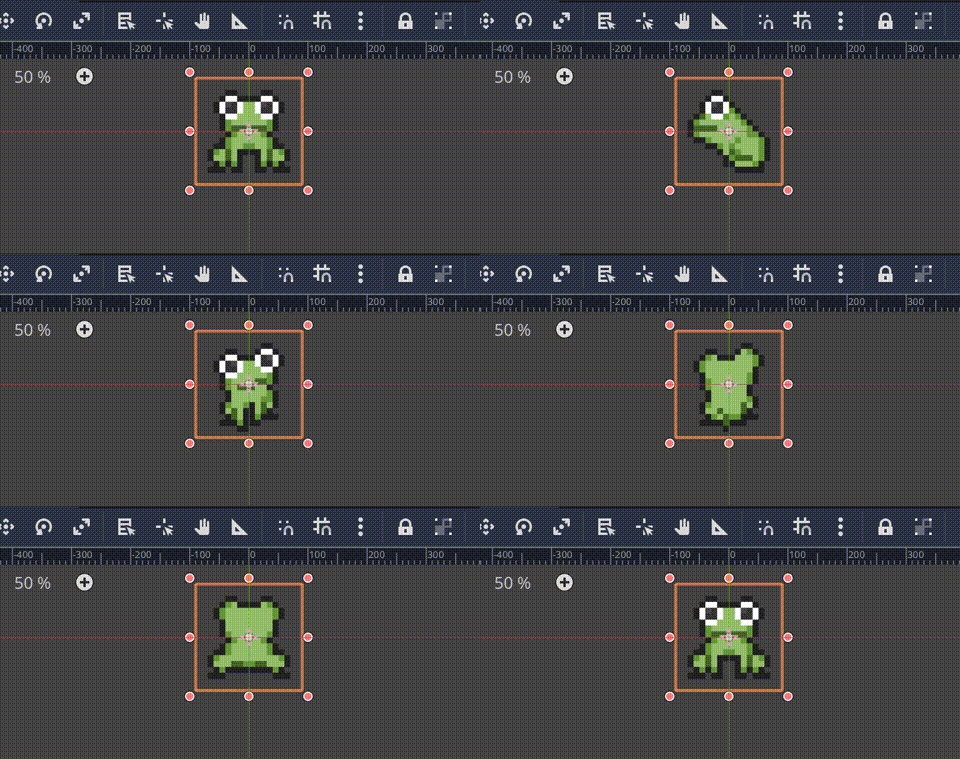
ただ、これだとすべてのフレームが再生されているだけなので、適切なアニメーションを作成します。
アニメーションの文字の下にある「新規作成アイコン」をクリックします。
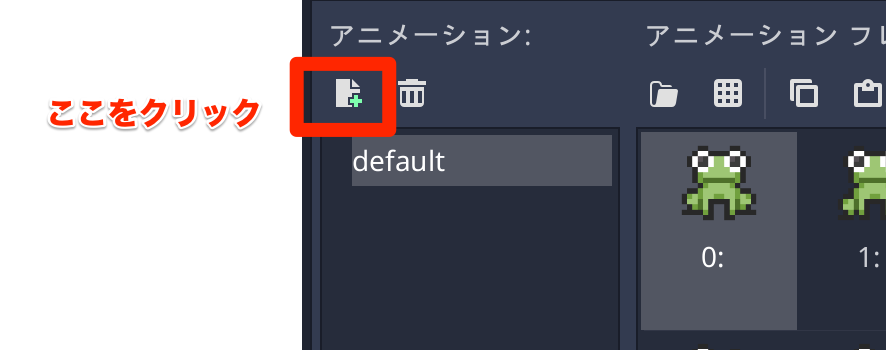
すると「New Anim」というアニメーションが追加されます。
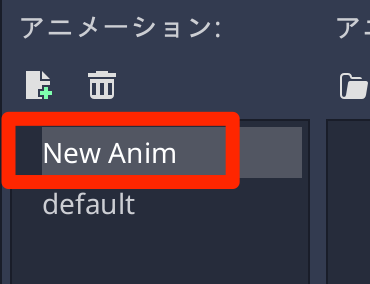
これを「move_left」にリネームします。
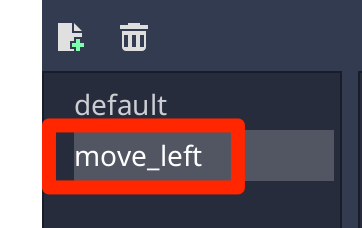
そうしたら、スプライトシート追加ボタンをクリックします。

"frog.png" を選んで「開く」をクリックします
左向きの画像を4つ選んで「4フレームを追加」ボタンをクリックします。
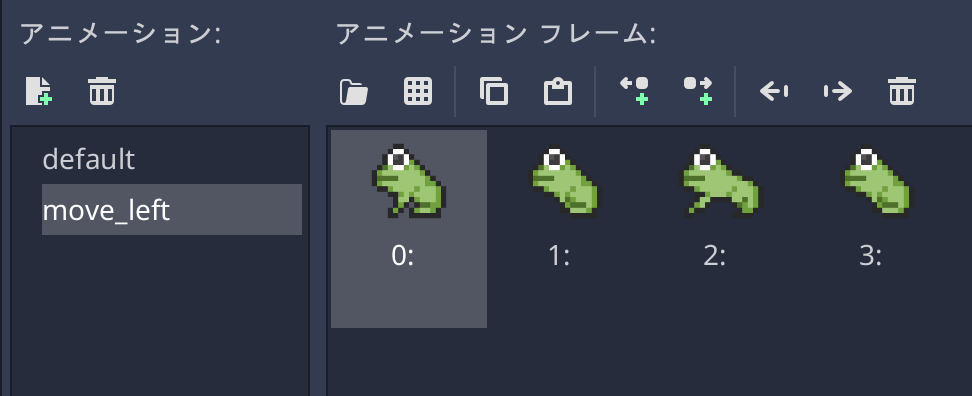
"move_left" アニメーションに4つのフレームが追加されました。
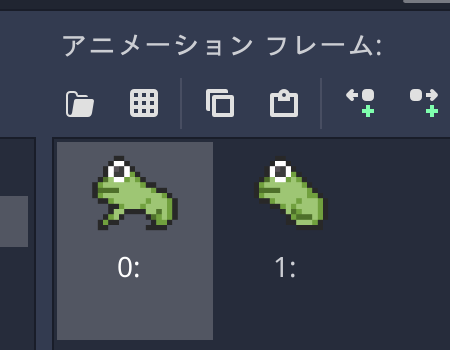
なのですが、「0」「1」は待機アニメーションなので消しておきます。
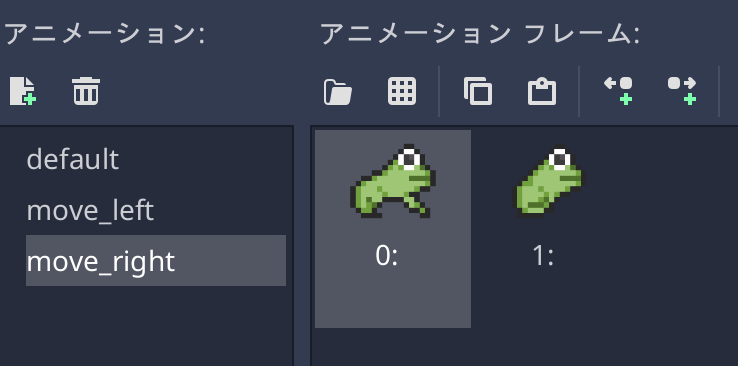
同様の手順で、右向きの移動アニメーション "move_right" を追加します。
移動スクリプトの追加
Playerノードに以下のスクリプトをアタッチします。
extends Node2D

# スプライトアニメーション
onready var anim = $AnimatedSprite
# 移動速度
var velocity = Vector2(300, 0)

func _process(delta):
	if Input.is_action_pressed("ui_left"):
		# 左に移動
		anim.animation = "move_left"
		position -= velocity * delta

	elif Input.is_action_pressed("ui_right"):
		# 右に移動
		anim.animation = "move_right"
		position += velocity * delta
