はじめに
私の普段利用しているterminal環境の構築備忘録です。
環境
macOS Monterey version 12.5
Homebrew 導入
Macのパッケージ管理ソフトです。これを入れなきゃ始まらない。
https://brew.sh/index_ja
公式に従い、以下でインストール
$ /bin/bash -c "$(curl -fsSL https://raw.githubusercontent.com/Homebrew/install/HEAD/install.sh)"
git 導入
$ brew install git
このとき、 以下の場所ば参照されればOK
$ which git
/usr/bin/git
されなければこのあたりを参考にパスを通す。
https://yumegori.com/mac-git-install20191121
# パスの追加
$ echo 'export PATH="/usr/local/bin:$PATH"' >> ~/.bash_profile
# 反映
$ source ~/.bash_profile
iTerm2 導入
Mac標準のTerminalの強化版です。
$ brew install iterm2
もしくは以下より、zipをダウンロードする。
https://www.iterm2.com/index.html
解凍すると iTerm.app が出てくるのでApplicationsディレクトリに移してインストール完了
設定
素早く呼び出せるようにHotkeyを設定。
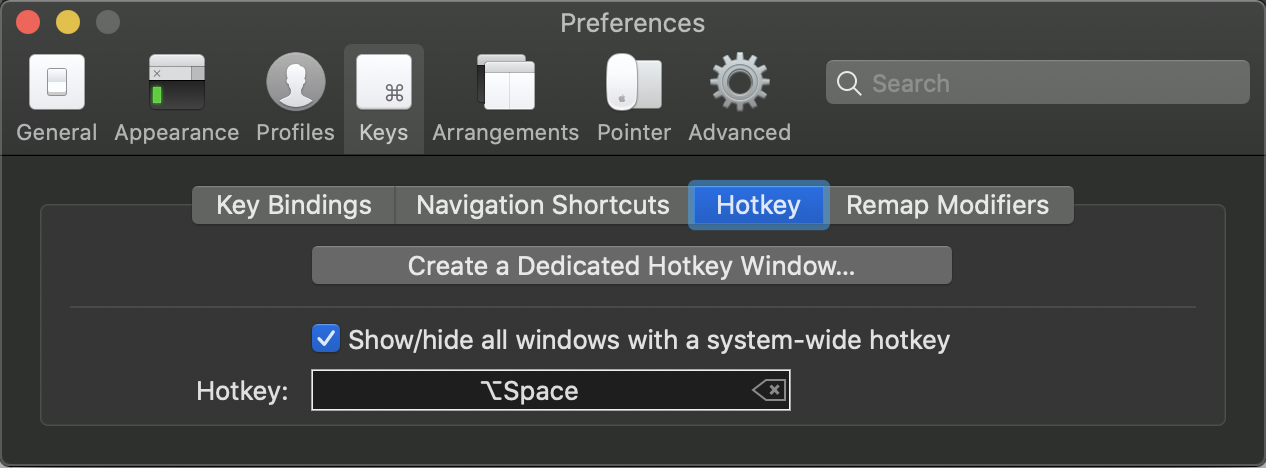
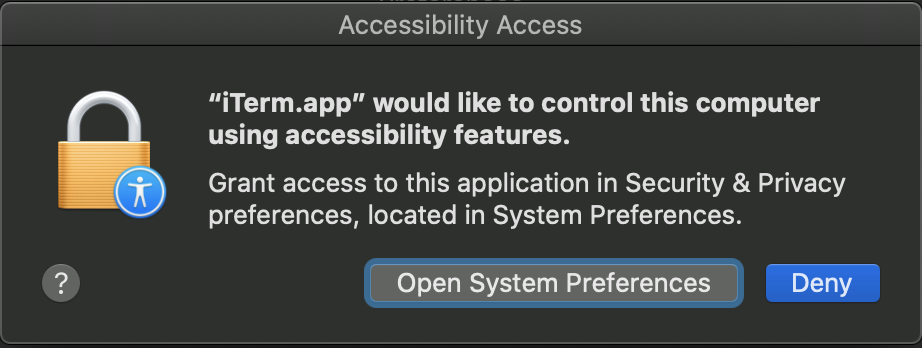
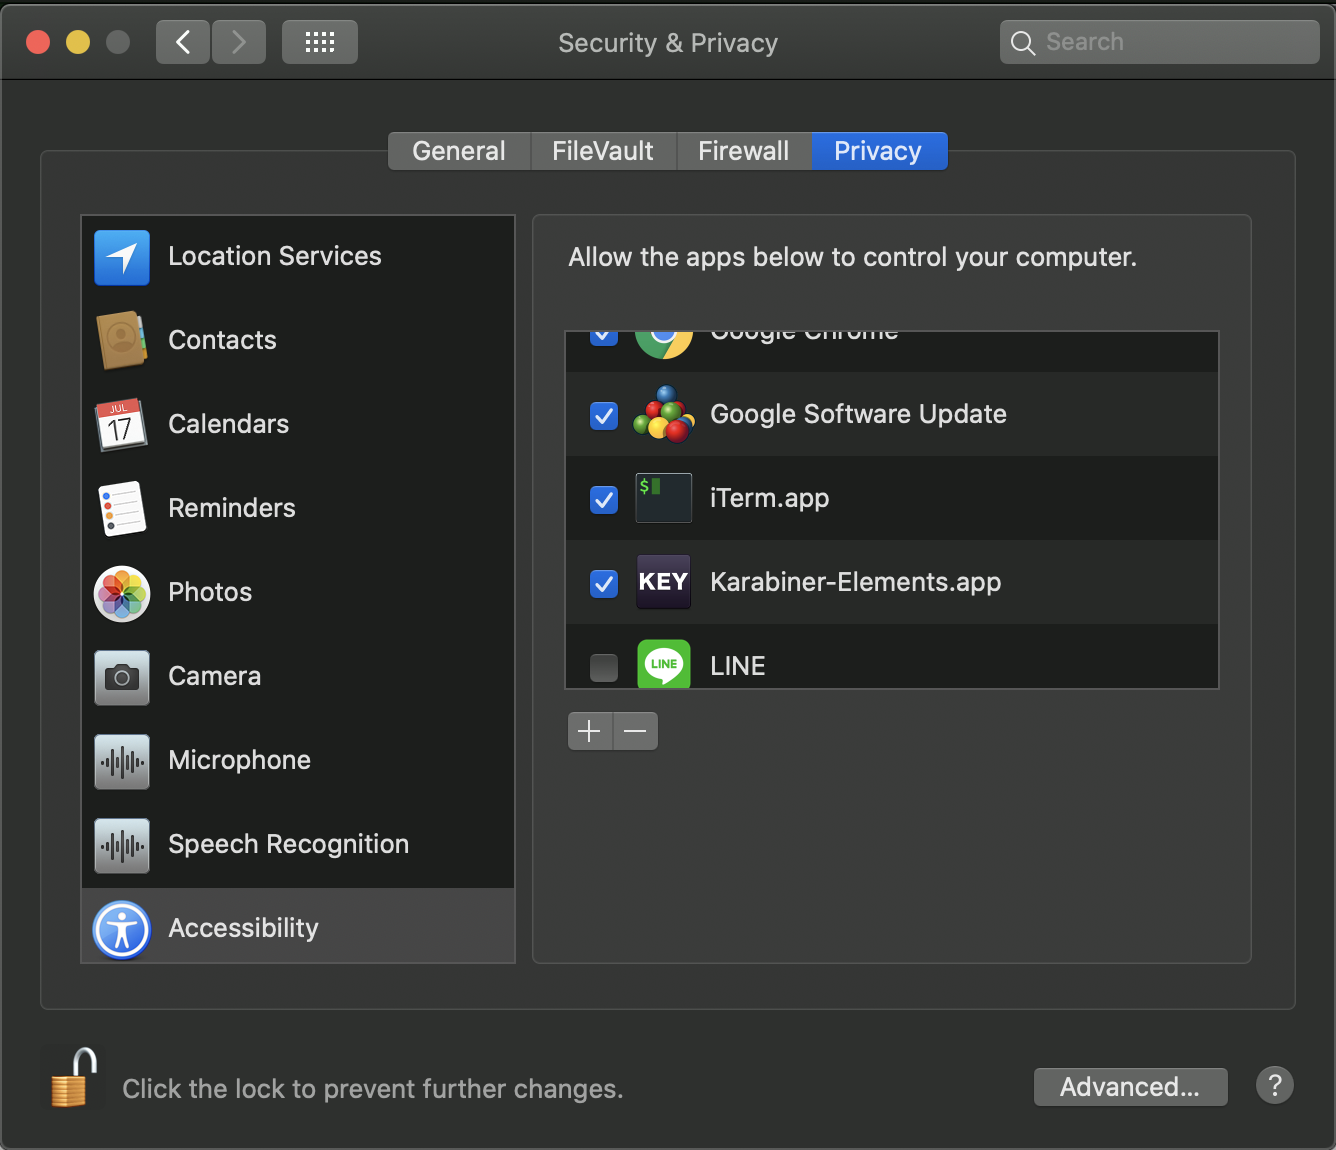
このとき、Accessibilityの許可を行う。
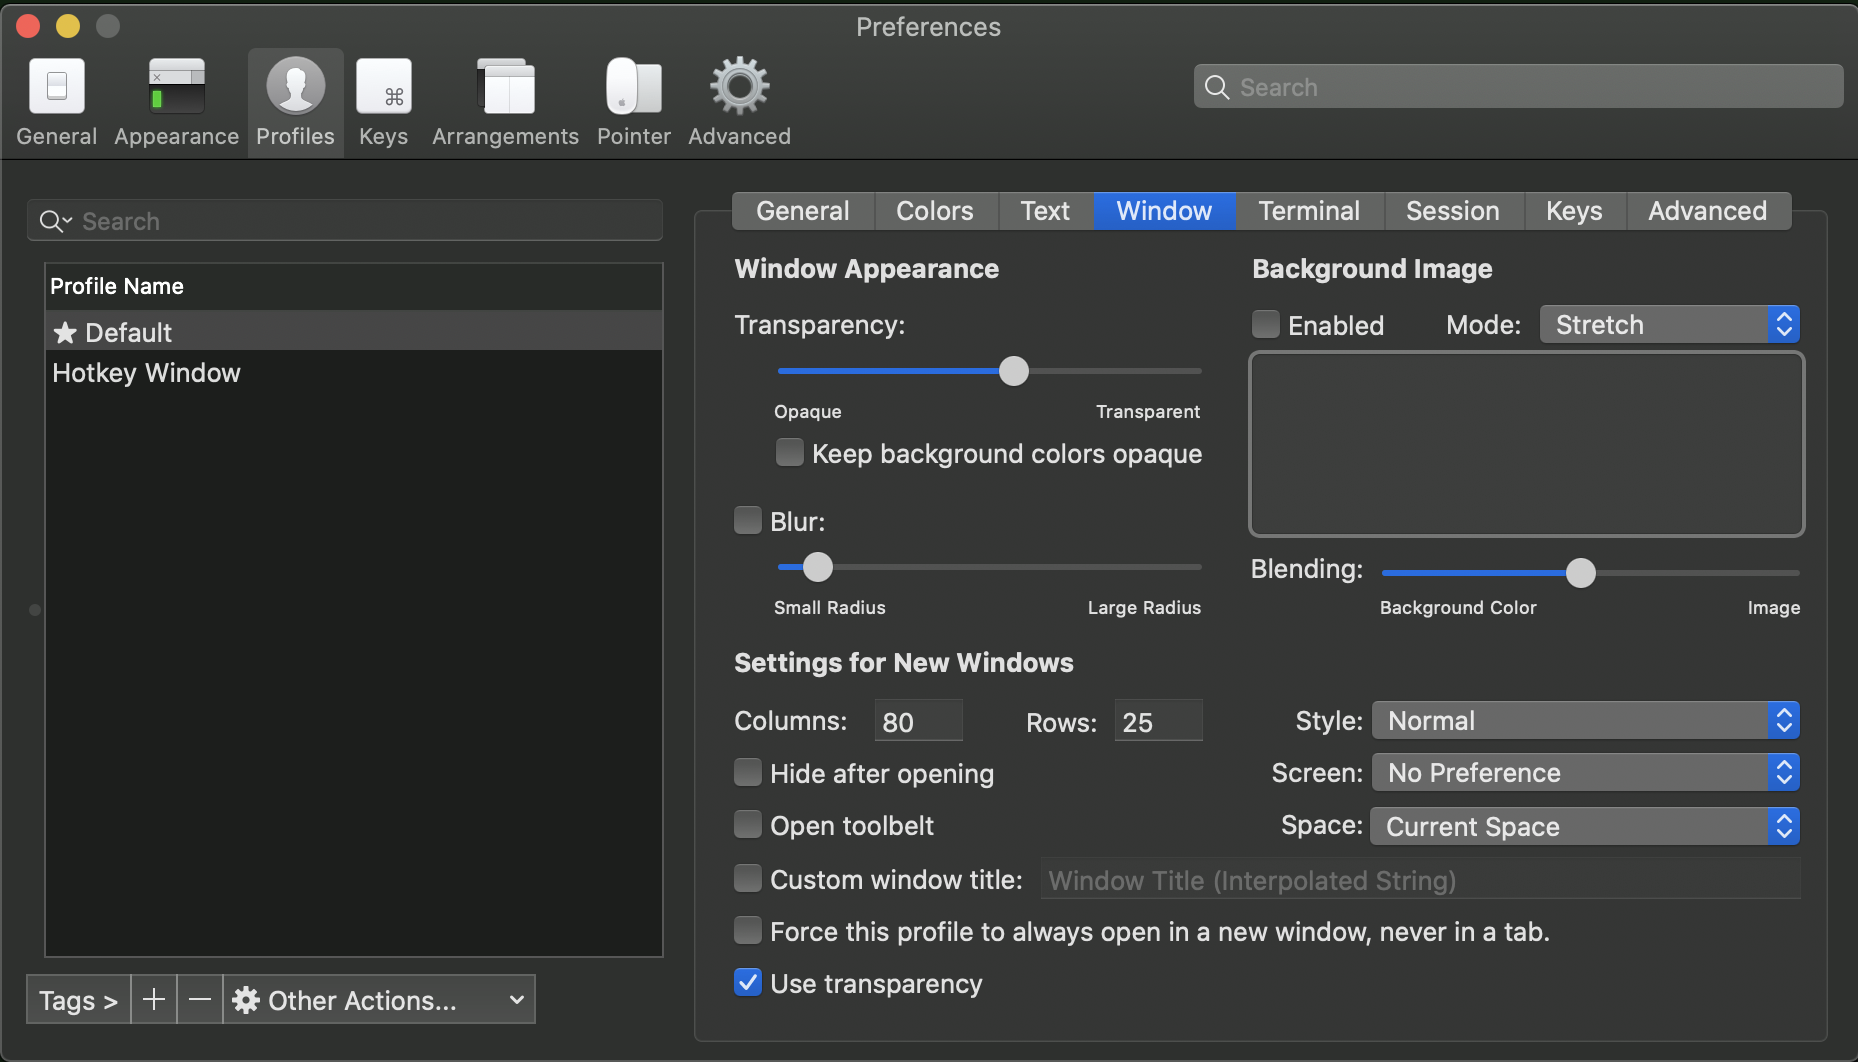
透過度を適当に設定しておく。
ちなみに透過/不透過は cmd + u で切り替えられる
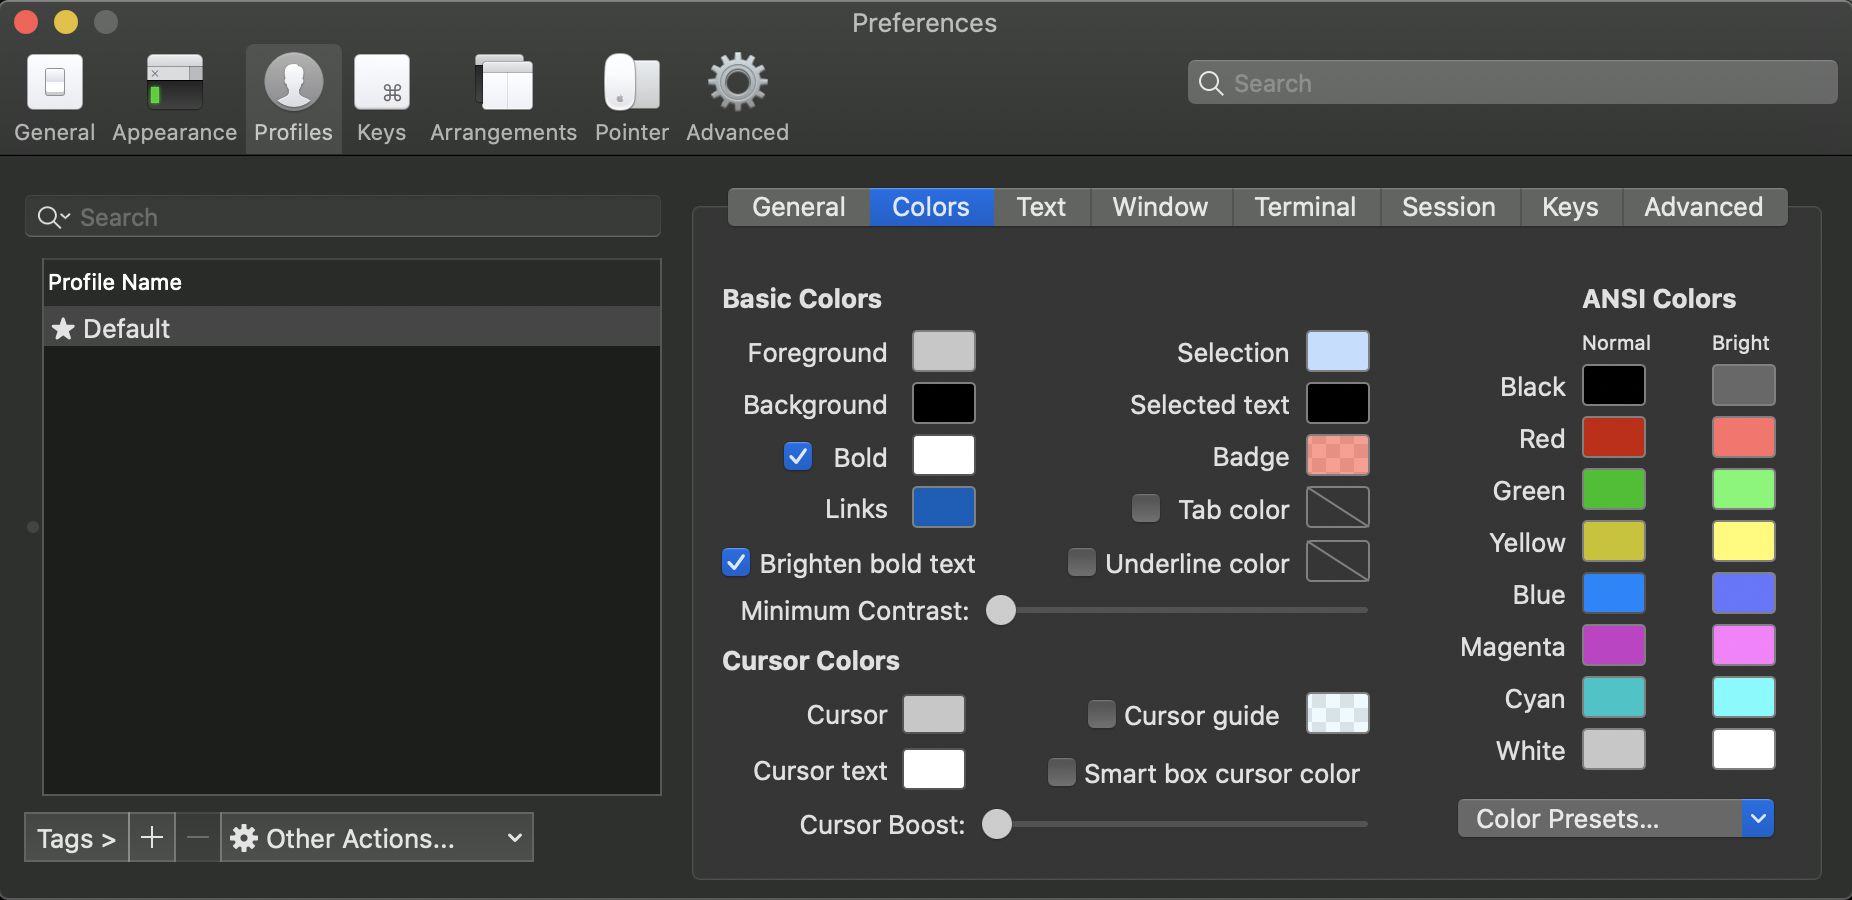
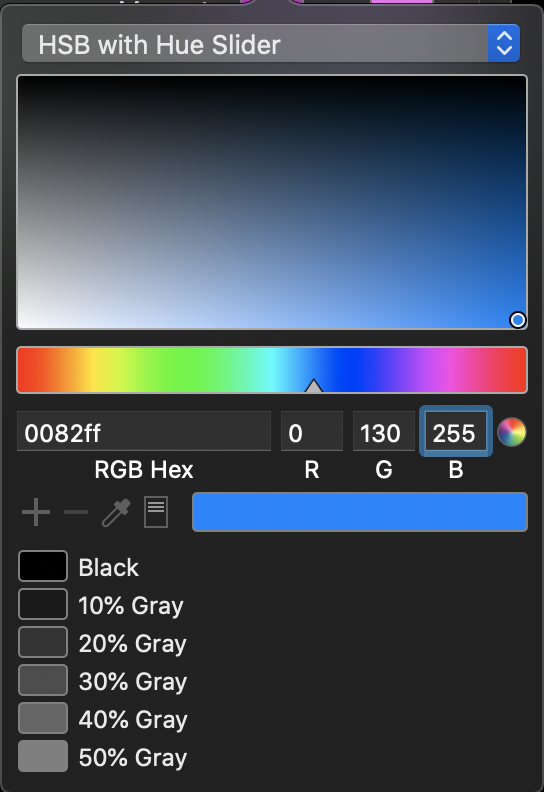
デフォルトだと Blue が見づらいので変更する。色はお好みで。
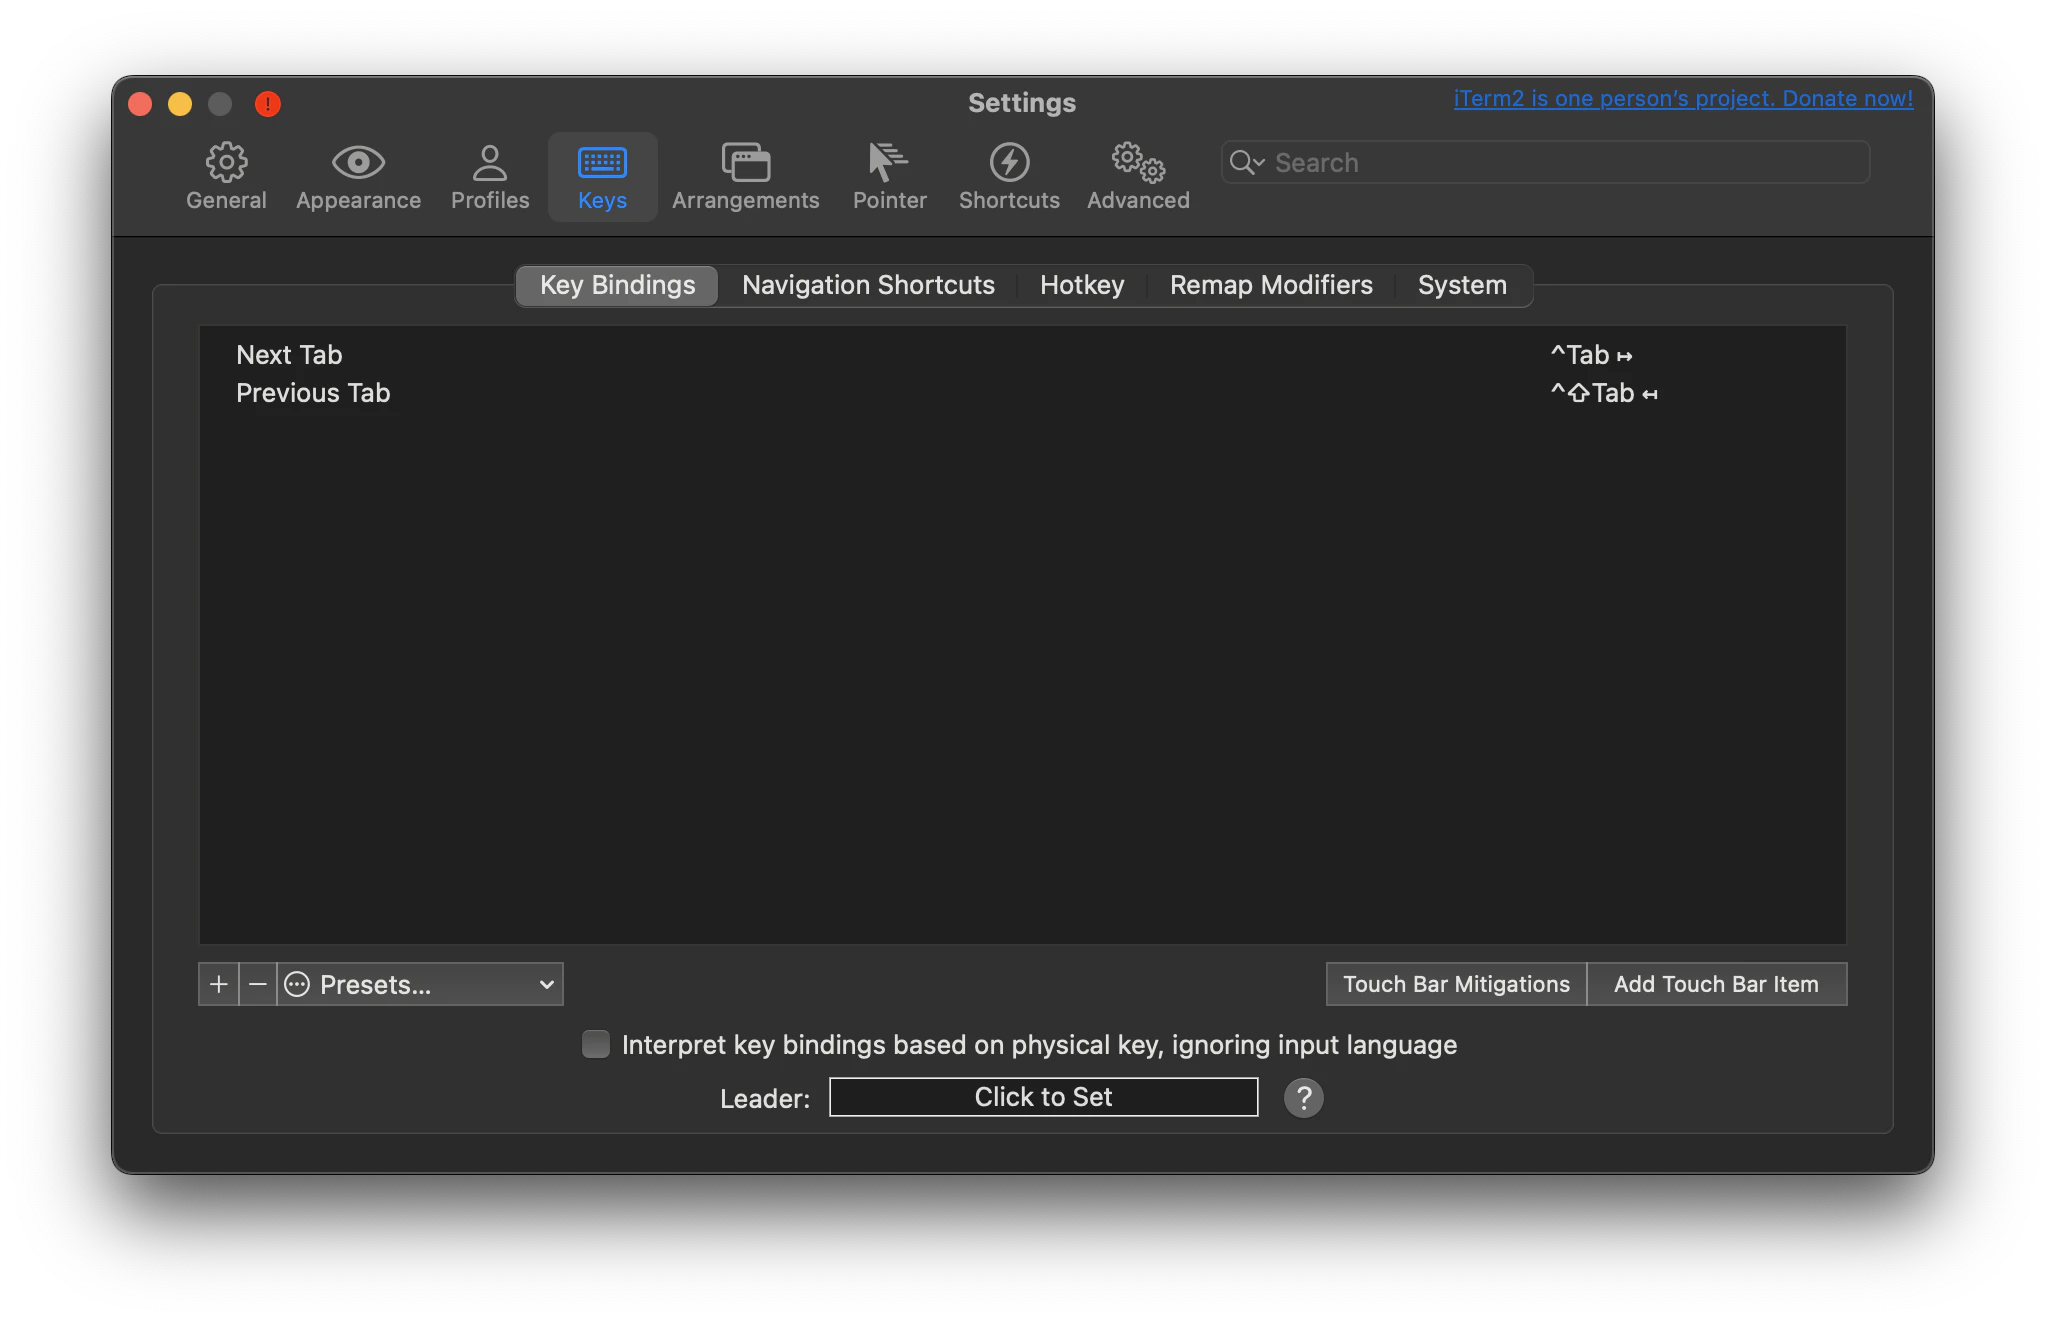
ctrl + tab でのタブ切り替えができないので Key Bindings に設定を追加
Powerline Fonts のインストール
後でfishを使うときに文字化けすることがあるため入れておく。
https://github.com/powerline/fonts
インストール
# clone
$ git clone https://github.com/powerline/fonts.git --depth=1

# install
$ cd fonts
$ ./install.sh

# clean-up a bit
$ cd ..
$ rm -rf fonts
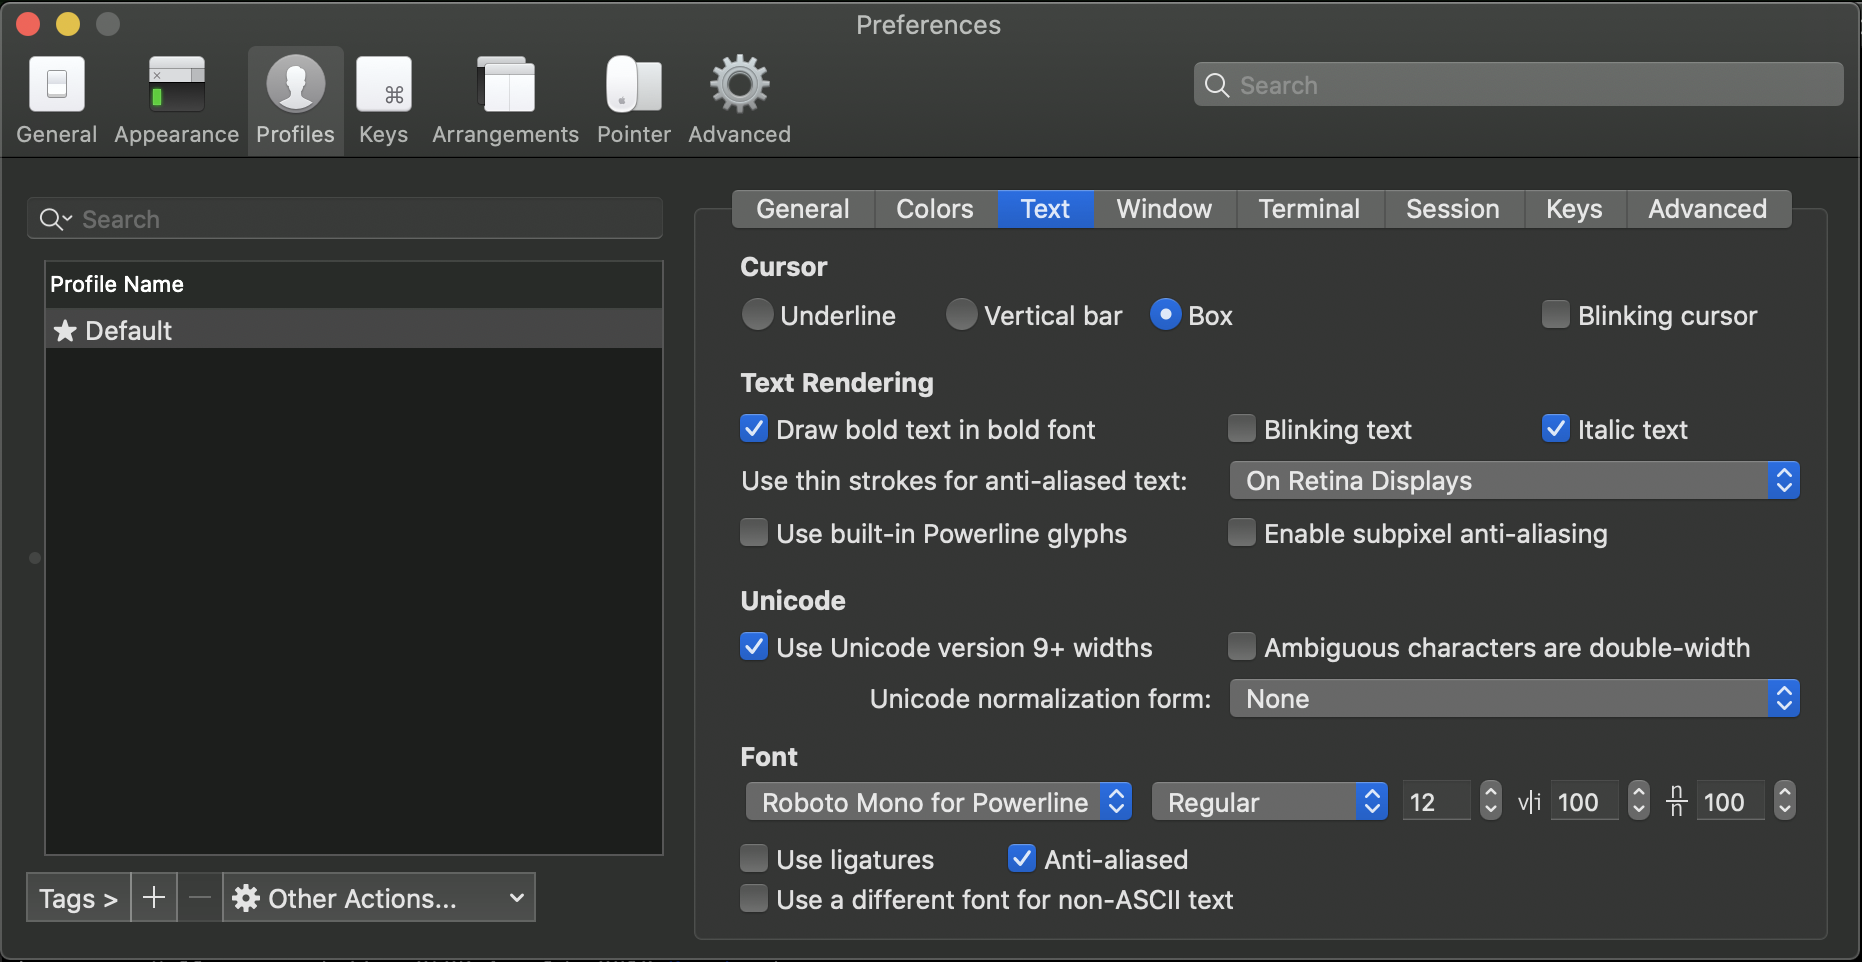
フォントを Roboto Mono for Powerline に変更
vim 設定
カラースキーマはこちらを使う
https://github.com/tomasr/molokai
# .vim ディレクトリを作成
$ mkdir ~/.vim

# 任意の場所にクローンして、 ~/.vim 配下にコピー
$ git clone https://github.com/tomasr/molokai.git
$ cp -r molokai/colors ~/.vim
.vimrc を修正
$ vi ~/.vimrc
" 表示設定
set number " 行番号を表示
set laststatus=2 " ステータスバー表示

" 操作設定
set virtualedit=onemore " 行末の1文字先までカーソルを移動できるように
set backspace=2 " backspaceの有効化

" インデント設定
set smartindent
set noautoindent

" タブキー設定
set smarttab
set expandtab

" 検索設定
set hlsearch " ハイライト
set ignorecase "大文字/小文字の区別なく検索する
set smartcase "検索文字列に大文字が含まれている場合は区別して検索する

" シンタックスハイライト
filetype on
syntax on
colorscheme molokai
set t_Co=256
fish 導入
bash, zsh より凄いと噂のshell
https://fishshell.com/
まずはインストール
$ brew install fish
デフォルトshellをfishに変更
# fishのインストール先を確認
$ which fish
/opt/homebrew/bin/fish

# 末尾に /opt/homebrew/bin/fish を追加
$ sudo vi /etc/shells

# デフォルト shell を fish に変更
$ chsh -s /opt/homebrew/bin/fish

# iTermを再起動
brew のパスが通っていない場合、設定する。
$ brew --version
fish: Unknown command: brew

$ vi .config/fish/config.fish
if status is-interactive
    # Commands to run in interactive sessions can go here
    eval (/opt/homebrew/bin/brew shellenv) # <= これを追加
end

# shell を再起動
$ exec $SHELL -l

$ brew --version
Homebrew 3.5.10
Homebrew/homebrew-core (git revision 78d20a0ac51; last commit 2022-08-25)
Homebrew/homebrew-cask (git revision f44e97f476; last commit 2022-08-25)
color 設定
以下を実行するとブラウザで設定画面が出てくる。
$ fish_config
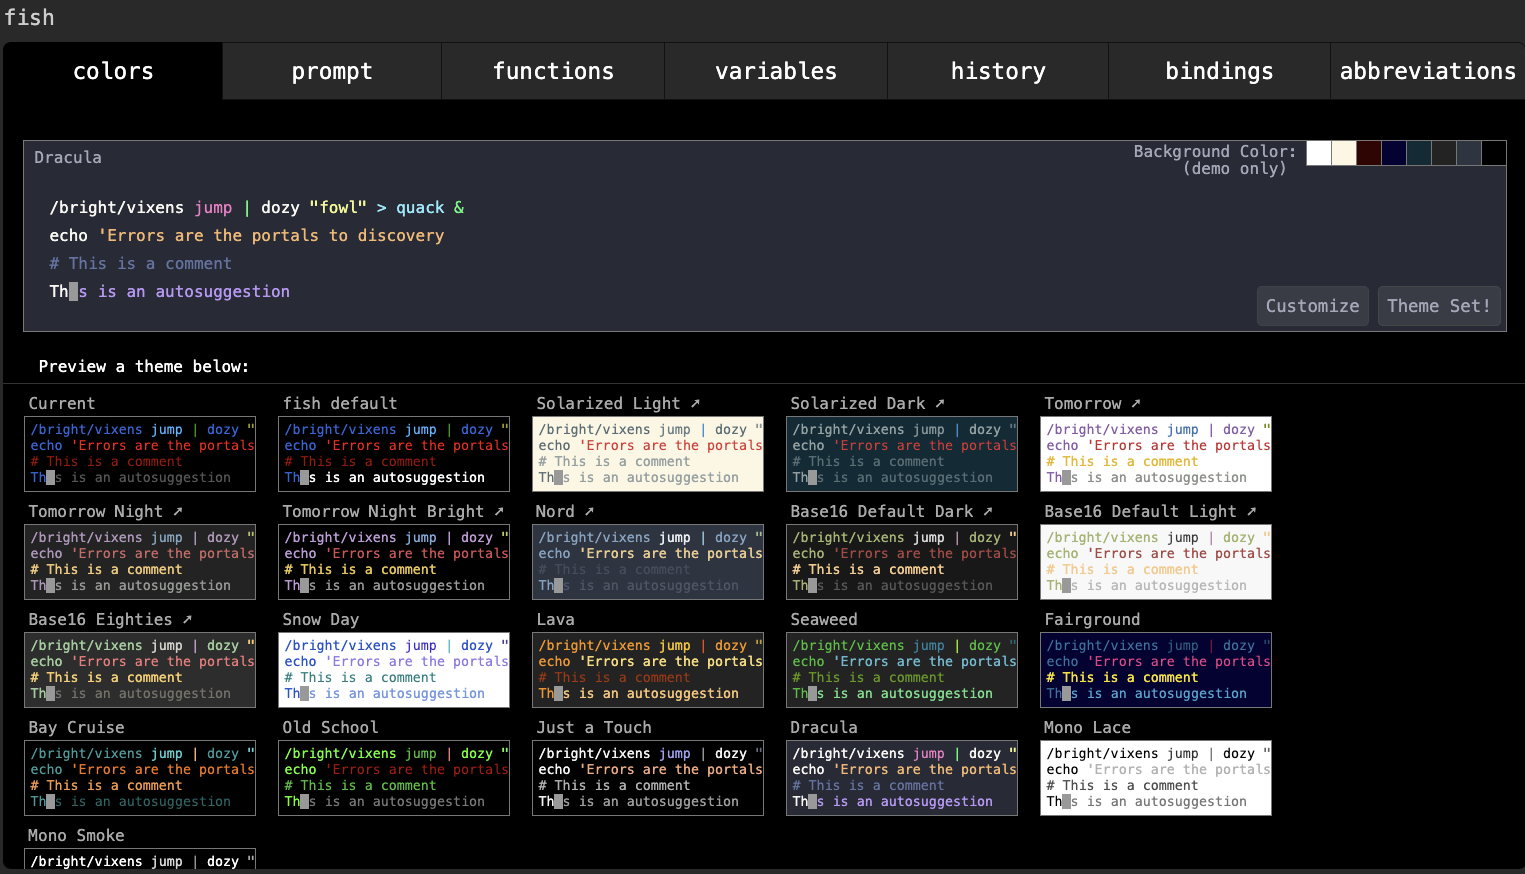
好きなテーマを選んで Theme Set ! を押す
alias 設定
git 関連のコマンドを alias に登録。このへんもお好みで。
$ vi .config/fish/config.fish
alias ga  'git add . '
alias gb  'git branch '
alias gc  'git checkout '
alias gcb 'git checkout -b '
alias gcm 'git commit -m '
alias gl  'git log --oneline '
alias gp  'git pull '
alias gs  'git status '
Fisher のインストール
fishのプラグインの管理ツール
https://github.com/jorgebucaran/fisher
インストール
$ curl -sL https://git.io/fisher | source && fisher install jorgebucaran/fisher
theme
ここに画像つきの一覧があるので好きなテーマを入れる
https://github.com/oh-my-fish/oh-my-fish/blob/master/docs/Themes.md
人気なのはこちら
https://github.com/oh-my-fish/theme-bobthefish
個人的にはシンプルなものが好きなのでこちらも利用
https://github.com/oh-my-fish/theme-mars
# Fisher でテーマを追加
$ fisher install oh-my-fish/theme-bobthefish
$ fisher install oh-my-fish/theme-mars

# さらにカスタマイズしたい場合は以下を編集することもできる。
$ vi ~/.config/fish/functions/fish_prompt.fish
jethrokuan/fzf
曖昧検索が凄いやつです。
https://github.com/jethrokuan/fzf
# fzf 本体をインストール
$ brew install fzf

# Fisher で fzf を追加
$ fisher install jethrokuan/fzf
これで ctrl + r で履歴の曖昧検索ができます。
decors/fish-ghq
gitのリポジトリ管理が楽になるやつです。
https://github.com/decors/fish-ghq
# ghq 本体をインストール
$ brew install ghq

# Fisher で fzf を追加
$ fisher install decors/fish-ghq

# ghq.root を設定します。
# ghq.root は複数指定でき、この配下のディレクトリを管理できるようになります。
$ vi .gitconfig
[ghq]
    root = ~/Documents
これで ctrl + g でリポジトリの曖昧検索ができるようになります。
おまけ
anyenv
pyenvとかnodenvをさらに管理するものです。
pyenvとかをそれぞれ入れる前に入れておきましょう。
https://github.com/anyenv/anyenv
# インストール
$ brew install anyenv

# 初期化
$ anyenv init
# Load anyenv automatically by adding
# the following to ~/.config/fish/config.fish:

status --is-interactive; and source (anyenv init -|psub)

# 上記に従い、configファイルを修正
$ vi ~/.config/fish/config.fish

# 以下を追記
status --is-interactive; and source (anyenv init -|psub)

# configを読み直す
$ source ~/.config/fish/config.fish
ANYENV_DEFINITION_ROOT(/Users/hoge/.config/anyenv/anyenv-install) doesn\'t exist. You can initialize it by:
> anyenv install --init

# 指示に従う
$ anyenv install --init
Manifest directory doesn\'t exist: /Users/hoge/.config/anyenv/anyenv-install
Do you want to checkout ? [y/N]: y
Cloning https://github.com/anyenv/anyenv-install.git master to /Users/hoge/.config/anyenv/anyenv-install...
Cloning into '/Users/hoge/.config/anyenv/anyenv-install'...
remote: Enumerating objects: 48, done.
remote: Total 48 (delta 0), reused 0 (delta 0), pack-reused 48
Unpacking objects: 100% (48/48), done.

Completed!
使い方は非常に簡単で、例えば nodenv をインストールしたかったら以下のコマンドを打つ。
$ anyenv install nodenv

# shell 再起動
$ exec $SHELL -l
あとは普通に Node.js 等をインストールすればOKです。