こんにちは
前回挫折してしまったDfinityのローカルネットワークの導入について、成功したので、改めて記事にします。
現在HiÐΞに投稿されているものの多くはmacOSを使用しているものが多いと思いますが、私はWSL(Windows Subsystem for Linux)で行いました。前回はDockerを使用したのですが、うまくいかなかったので、WSLを使用しています。
WindowsでDfinityの開発をしたい方の参考になれば幸いです。
Dfinityは上の記事のとおりに作成しています。
1.WSLの導入
Windowsの方はこれからですね。
Windows 10 用 Windows Subsystem for Linux のインストール ガイド
これのとおりに作成すればよいと思います。
10分でできる!WSL2でWindowsにLinux開発環境を作ろう!
上の記事が詳しいです。
私はUbuntuをダウンロードしました。
2.ターミナルのダウンロード
Windows Terminal
をダウンロードします。
Ubuntuではコピペができないので、ターミナルをダウンロードした方が良いです。
設定を開きます。
設定のUbuntuの"ディレクトリの開始"というところで
//wsl$/Ubuntu-20.04/home/ユーザー名
と設定します。ユーザー名はUbuntuの初期設定のときに決めます。
初期では、WSL2のUbuntuを起動すると、デフォルトディレクトリが
/mnt/c/Users/ユーザー名となりますが、これでは後々dfx deployができません。
ちなみに、Ubuntuのディレクトリはエクスプローラーのネットワークというところに入っています。ローカルディスクの下にあるやつです。
3.node.jsをインストール
ここからはUbuntuのターミナルで開発を進めていきます。
/mnt/c/Users/ユーザー名
ではなく、
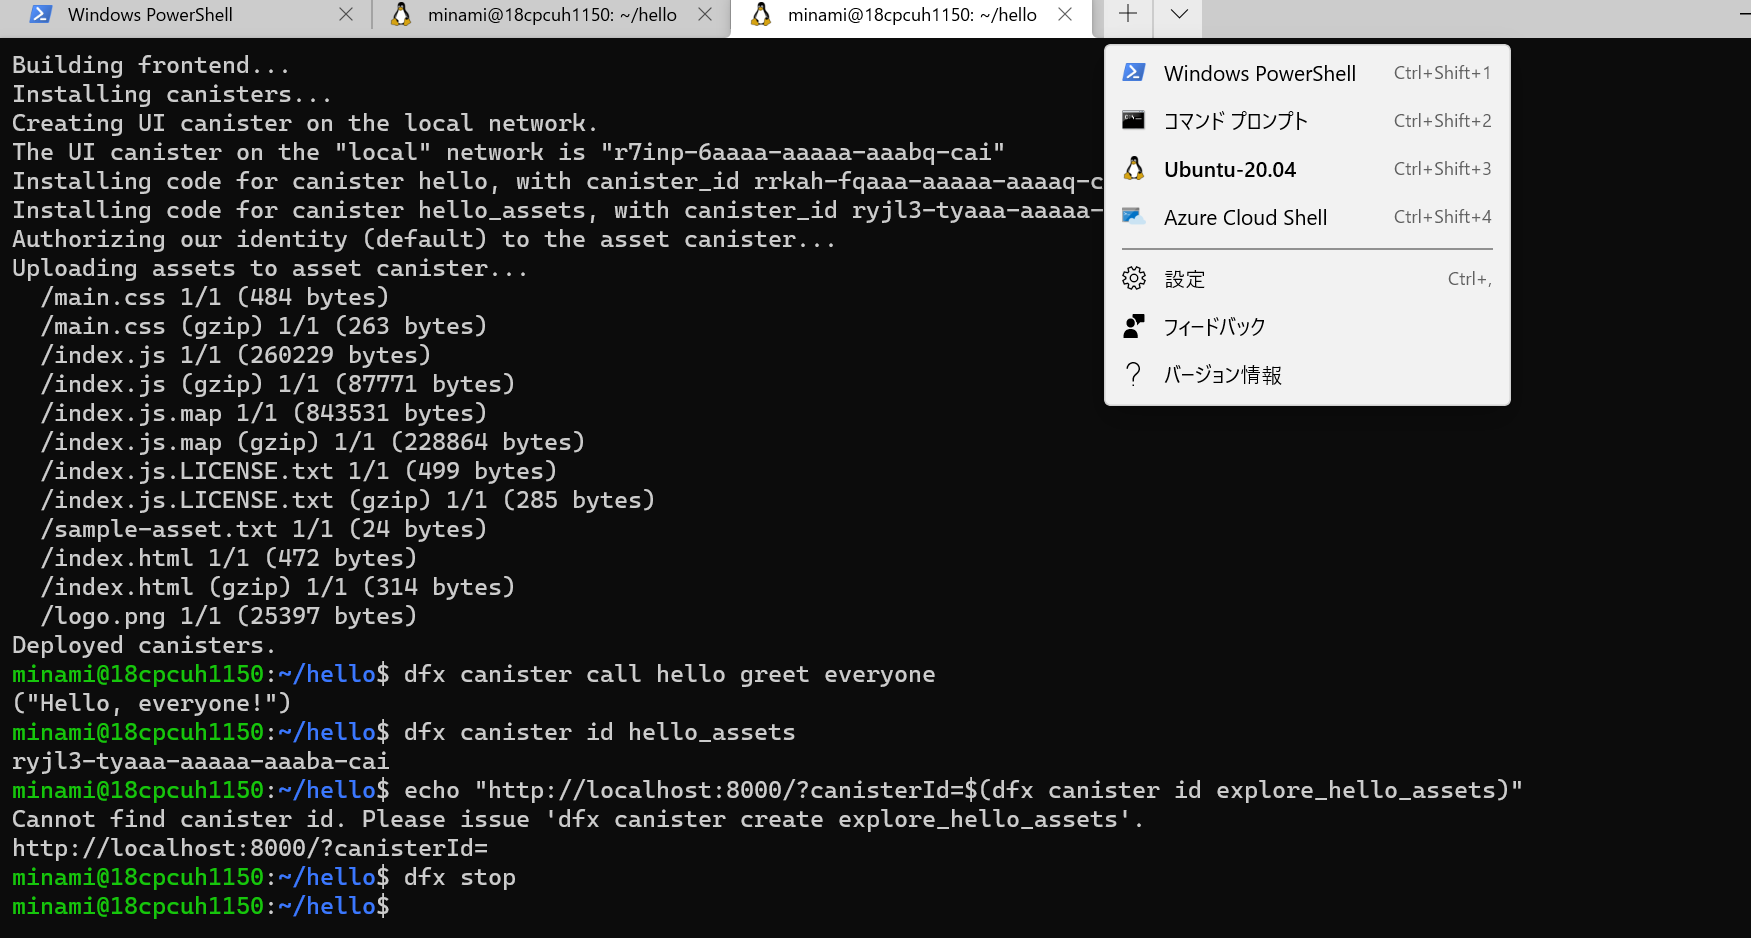
ユーザー名@~:~$ (私の場合は上の画像でminami@~:$)
であることを確認して以降進んでください。
Dfinityはnode.jsが必要らしいのでインストールします。
$ apt-get update
$ apt install -y nodejs npm curl
この3つのインストールにかなり時間がかかります。
4.DfinityのSDKをインストール
$ sh -ci "$(curl -fsSL https://sdk.dfinity.org/install.sh)"
~
Do you agree and wish to install the DFINITY Canister SDK [y/N]?
y //yを入力
info: Version found: 0.7.2
info: Creating uninstall script in ~/.cache/dfinity
info: uninstall path=/root/.cache/dfinity/uninstall.sh
info: Checking for latest release...
Will install in: /usr/local/bin
info: Installed /usr/local/bin/dfx
これでインストール成功です。
5.Dfinityのプロジェクトを作成
helloというファイルを作成します。
$ dfx new hello
Welcome to the internet computer developer community!
You're using dfx 0.7.2
helloファイルに移動します。
$ cd hello
6.ローカルネットワークを開く
$ dfx start --background
$ dfx deploy
backgroundはなくてもできますがその場合はターミナルを切り替える必要があります。別のターミナルに切り替える場合はcd helloを忘れないようにしましょう。
7.Register, build, and deploy the application
よくわかってないですが、手順通り進めていきます。canisterは肝みたいです。
$ npm install
$ dfx deploy
Deployed canisters.
さっきも書きましたが、/mnt/c/Users/ユーザー名 のままではデプロイできません。
$ dfx canister call hello greet everyone
("Hello, everyone!")
$ dfx canister id hello_assets
?canisterId=<YOUR-ASSET-CANISTER-IDENTIFIER>
$ echo "http://localhost:8000/?canisterId=$(dfx canister id hello_assets)"
http://127.0.0.1:8000/?canisterId=
canisterIdがみんなそれぞれ違うんじゃないかと思います。
これで成功しました!!!
$ dfx stop
で停止です。
おわりに
なんとかURLを表示させるところまでできました。Dockerではlocalhostにアクセスできなくて大変でした。
必死にDFINITY Developer Forumを読んで頑張りました。(DeepL翻訳で)
やっとスタートラインに立てたんで、また頑張っていこうと思います。
間違いあればご指摘いただければと存じます。
参考
Dfinity Motoko を学ぶファーストステップ
初心者による初心者のためのInternet Computerチュートリアル備忘録その1「Explore the default project」
Trouble with local development on WSL2

