今日やること
・画像URLをimagefieldを使って保存する
・APIViewを新しく作る
参考記事
Django save image from url and connect with ImageField
imagefieldの保存方法
URLから画像を取得したい
imagefieldとURLfieldを持ったモデルを作る
ここでは、instagramの画像を保存したいので『MediaPost』というモデルクラスを定義して、その中のフィールドオブジェクトとして『image_name』,『image』,『image_url』を作成しています。
そしてUser modelとの紐付けをする。
from django.db import models
from django.contrib.auth.models import User


class MediaPost(models.Model):
    user = models.ForeignKey(User, on_delete=models.CASCADE)
    image_name = models.CharField(max_length=500)
    image = models.ImageField(max_length=100, null=True, blank=True, upload_to='medias')
    image_url = models.URLField(max_length=1000)

    def __str__(self):
        return str(self.id)
画像URLをデータとして保存する。
次に学習のために一度shell(ipython)でimagefieldに画像を保存してみる。とりあえず、画像URLを保存してデータとして開けるようにする。
使用するライブラリー/関数
・urllib.request / URL を開くための拡張可能なライブラリ
・urlretrieve / URLを通して画像データを取得し一時的に保存する関数
In [1]: from core.models import MediaPost

In [2]: igpost = MediaPost.objects.first()

In [3]: igpost.image_url
Out[3]: 'https://scontent-nrt1-1.cdninstagram.com/v/t51.29350-15/109130871_149225830105794_6871359187132379915_n.jpg?_nc_cat=107&ccb=1-3&_nc_sid=8ae9d6&_nc_ohc=QnKpVyNkJ7YAX-2HEmk&_nc_ht=scontent-nrt1-1.cdninstagram.com&oh=cca63e1391b65a1478c5e97d445336cb&oe=606F1FBB'

In [4]: from urllib import request

In [5]: result = request.urlretrieve(igpost.image_url)

In [6]: result
Out[6]:
('/var/folders/pl/c0lccdcn32ggnndflmf9r6yh0000gn/T/tmpiazqg0da',
 <http.client.HTTPMessage at 0x1105f09d0>)
変数resultの結果はtuple型である。
/var/folders/pl/c0lccdcn32ggnndflmf9r6yh0000gn/T/tmpiazqg0daの/var/folders/pl/c0lccdcn32ggnndflmf9r6yh0000gn/Tがファイル場所,
tmpiazqg0daがファイル名をしてしているので新しいターミナルを開いて
open /var/folders/pl/c0lccdcn32ggnndflmf9r6yh0000gn/T
とすると画像が保存されているファイルが開かれる。そこで先程保存したimagefileを見つけて開くと無事画像の保存ができていることが確認できる。
先ほども説明したがresultの結果はtuple型である。tuple型とlist型は非常に似ているのでここで違いを確認しておこう
list...ミュータブル(可変)
tuple...イミュータブル(不変)
つまりtupleは上書きすることができないということだ。
list,tupleの定義方法
# list型
>>> list = ["apple", "grape"]
>>> print(list)
['apple', 'grape']

# tuple型
>>> tuple = ("baseball", "soccer", "basketball")
>>> print(tuple)
('baseball', 'soccer', 'basketball')
保存した画像URLのファイルを開く
使う知識
バイナリファイルの読み込み (open(file name, "rb"))
バイナリファイルを読み込むためにファイルを開く場合、 open 関数のモードとして "r" に "b" を加えた "rb" を指定して次のように実行します。
※ open関数はPythonの関数の1つで、ファイルの新規作成や保存、書き込みなどファイル操作ができます。
f = open('FileName', 'rb')
File() / 初期設定時に作られるFile classの属性を利用することができる。
次にシェル上でfileをフォルダー保存したのちにモデルのimage fieldにも保存する。
In [9]: f = open(result[0], 'rb')

In [10]: f
Out[10]: <_io.BufferedReader name='/var/folders/pl/c0lccdcn32ggnndflmf9r6yh0000gn/T/tmpiazqg0da'>

In [12]: from django.core.files import File

In [13]: ig_file = File(f)
In [21]: igpost.image.save(str(uuid.uuid4()),ig_file)

In [22]: igpost
Out[22]: <MediaPost: 1>

In [23]: igpost.save()
これで無事にMediaPostモデルのimage fieldを保存することができた。
APIViewを作る
Viewの実装(クラスベースと関数ベース)
ここではクラスベースのAPIViewsを作る。HTTPのメソッドがクラスのメソッドになるので、わかりやすい。
from rest_framework import views, response
from linebot import LineBotApi
from linebot.models import TextSendMessage
from linebot.exceptions import LineBotApiError


class LineWebHookView(views.APIView):
    def post(self, request):
        line_bot_api = LineBotApi('6uwpQB6+n8WdqkWPQIPYEiuh168/EPrOSdhmwBf813v9MSq4F3JqZ7V4wCAan3BBH7/sKrfNLzHFmHIfN3z9cefAfAh+yos1feTZCUORRCTsTe0tBLNIHJzLPNMTzN4Oj6n1wwxf6CyVFxugHa9kAwdB04t89/1O/w1cDnyilFU=')
        user_id = request.data['events'][0]['source']['userId']
        try:
            line_bot_api.push_message(user_id, TextSendMessage(text='http://localhost:8080/login/' + '?user_id=' + user_id))
        except LineBotApiError as e:
            print(e)
        return response.Response({'status': 'Ok'})
・ postをハンドリングする
前回の記事で取得したrow bodyの中身をJson形式フォーマットを使って整える。
ここで書いたコードのrequestの中身はrequest.dataで確認することができる。今、line_user_idを取得したので
user_id=request.data['events'][0]['source']['userId']
([json フォーマット(https://jsonformatter.curiousconcept.com/#)を使って正しい形のjsonを取得する。)
ルーティングの実装
次にurlを設定していく。
from django.contrib import admin

from django.conf import settings
from django.conf.urls.static import static


from rest_framework import routers
from core.viewsets import UserViewSet, AccountViewSet, FbPostViewSet, IgPostViewSet, MediaPostViewSet

+ from core.views import LineWebHookView
from django.urls import path, include


router = routers.DefaultRouter()
router.register(r'users', UserViewSet)
router.register(r'accounts', AccountViewSet)
router.register(r'fbposts', FbPostViewSet)
router.register(r'igposts', IgPostViewSet)
router.register(r'mediaposts', MediaPostViewSet)


urlpatterns = [
    path('admin/', admin.site.urls),
    path('', include(router.urls)),
    path('api-auth/', include('rest_framework.urls', namespace = 'rest_framework')),
+    path('line-webhook/', LineWebHookView.as_view())
]

if settings.DEBUG:
    urlpatterns += static(settings.MEDIA_URL, document_root=settings.MEDIA_ROOT)
as_view は Djangoのビューの条件を満たす関数
ここまで完成すればAPIViewsが完成したと言える。django apiに戻り先ほど指定したURLにアクセスすると
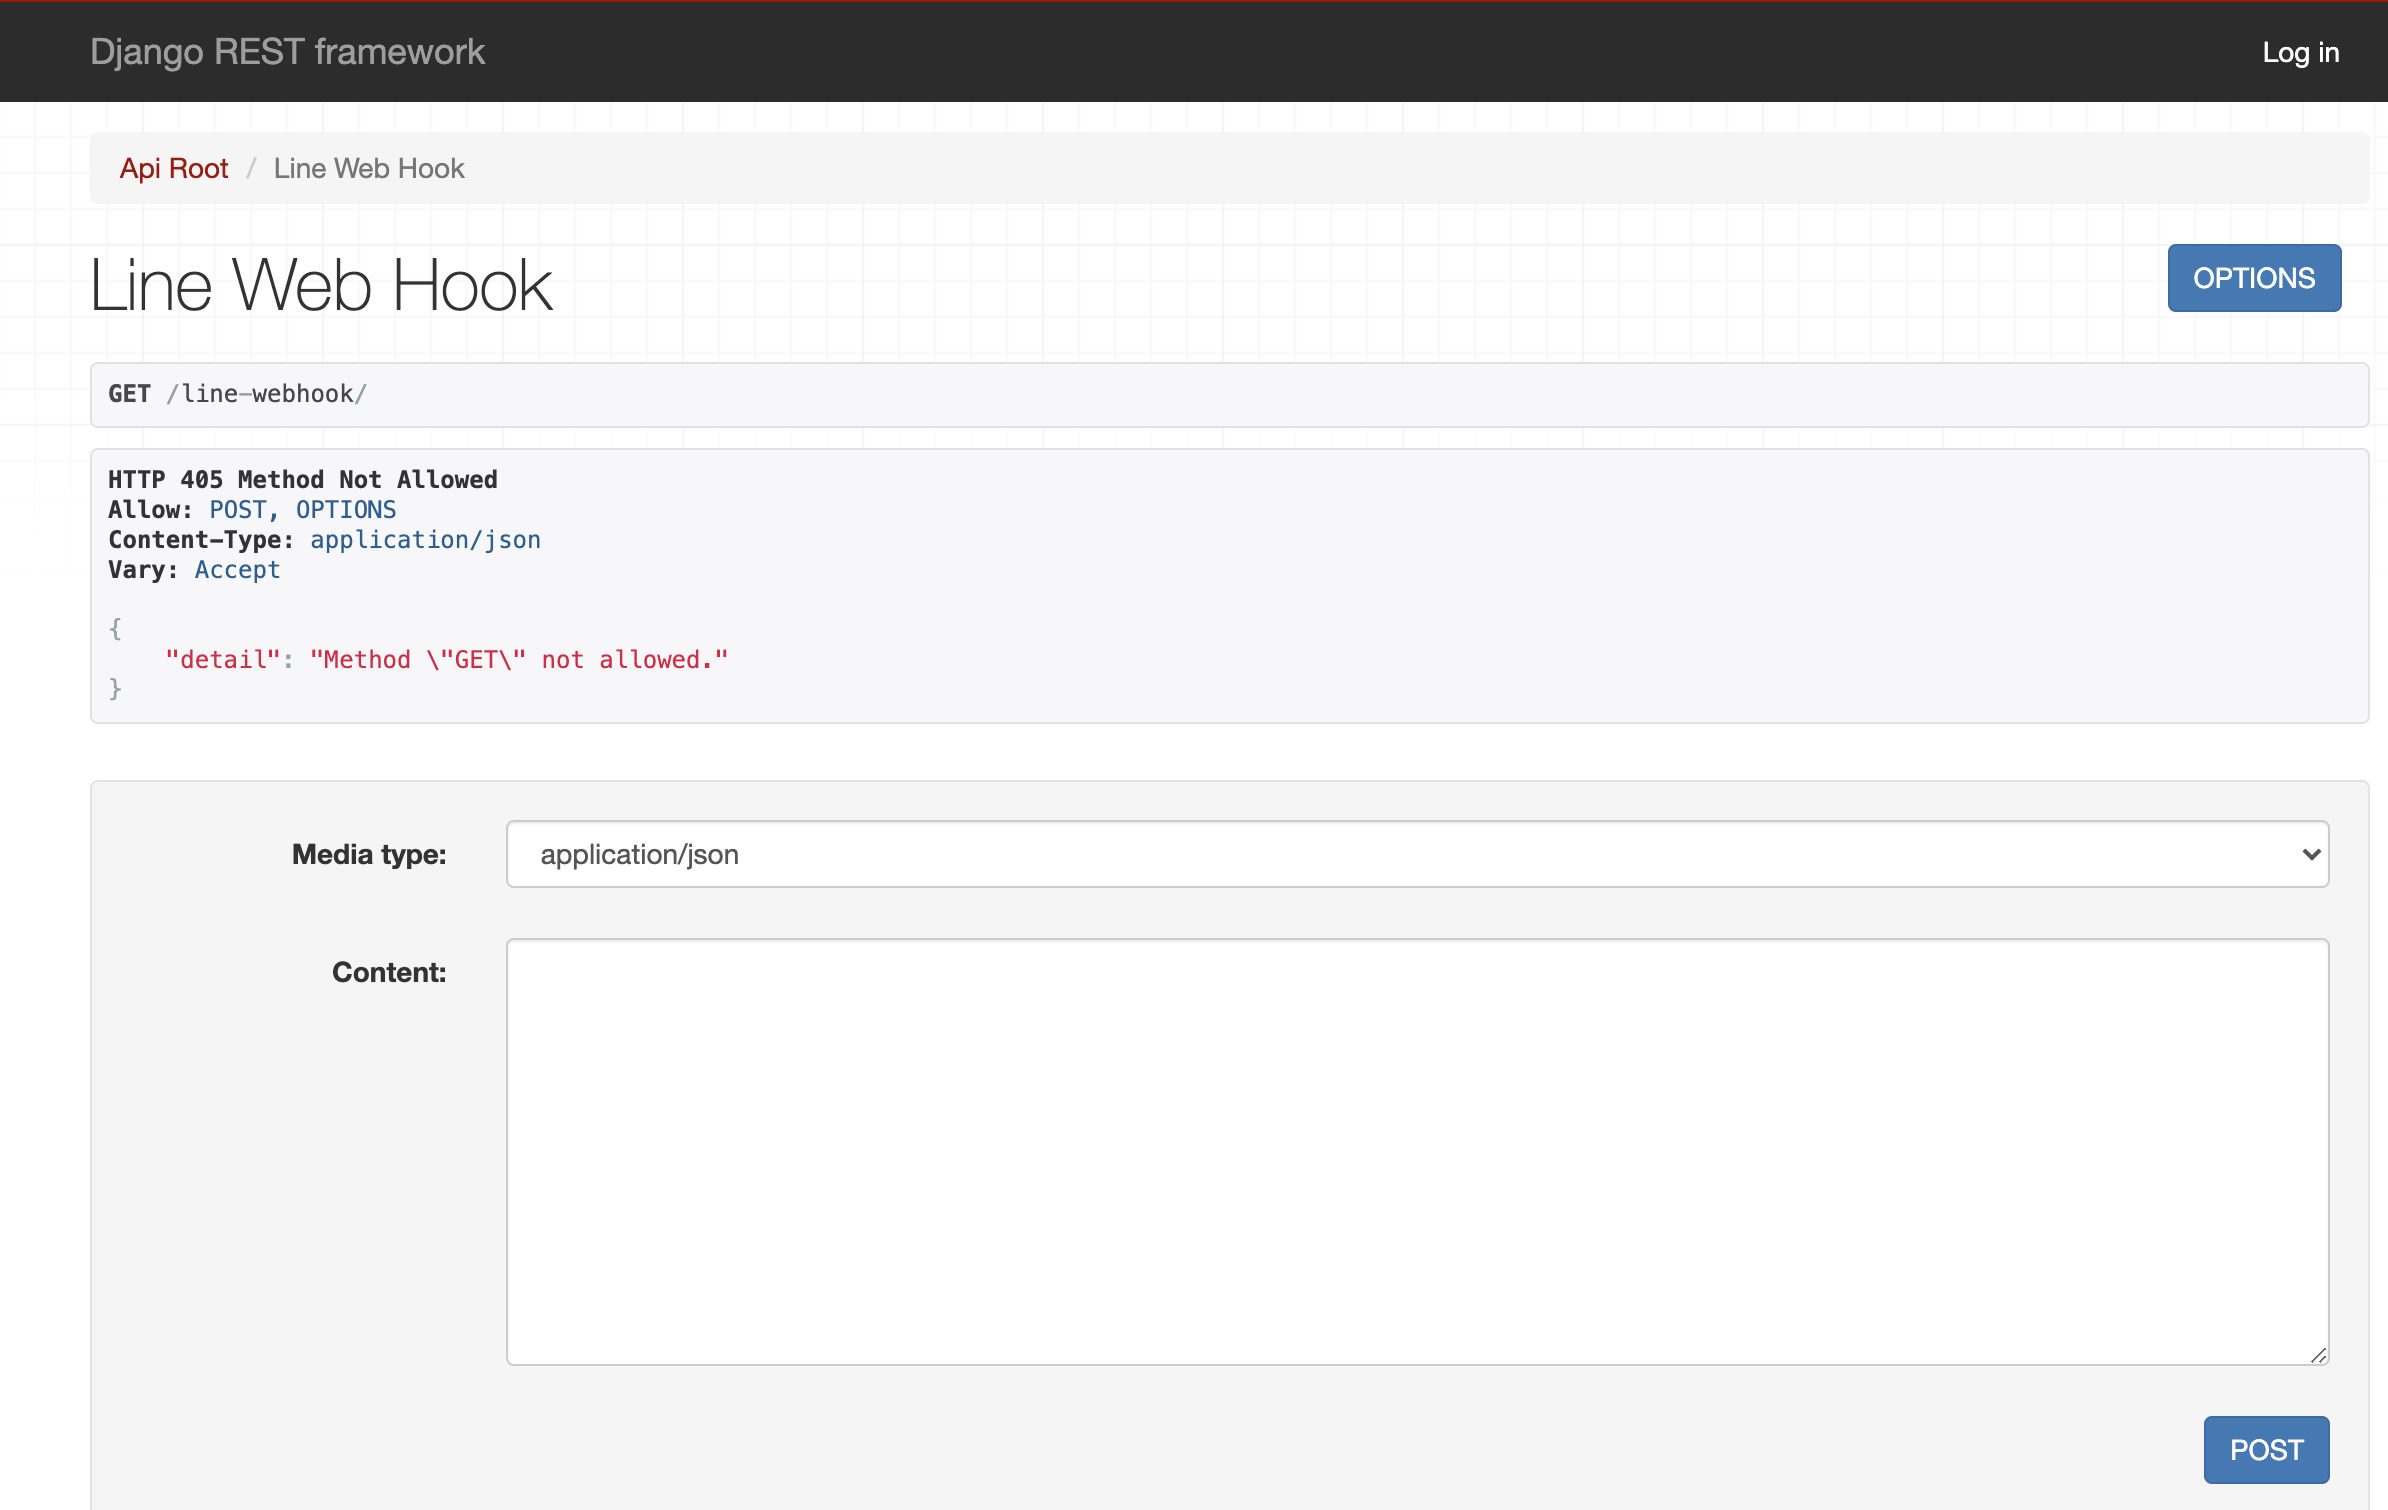
このページが開かれていたら成功だ!contentのなかにJson形式で保存した値をcontentの中に入れる。
すると、実行されLineメッセージの送信をする。
今日の課題
フロントエンドでinstagramとfacebookのどちらかでログインしていない場合もう一方でもログインするように紐付けボタンを追加する。