データソースマネージャーで接続できなかったので
ストアからexampleを持ってきて接続することにした。
CODESYS Control Winが32bit版だったので32Bit版も入れた。
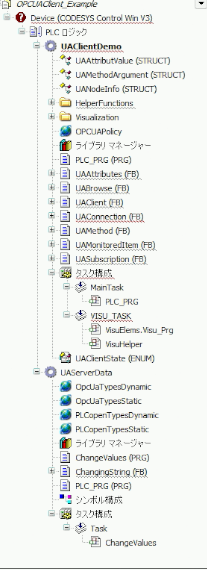
OPCUAClient Example
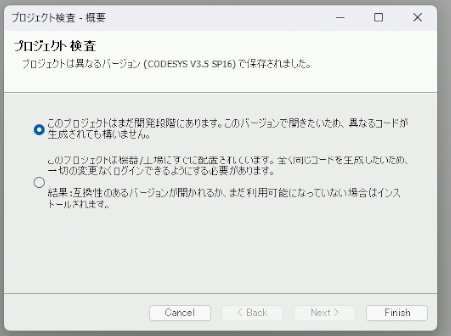
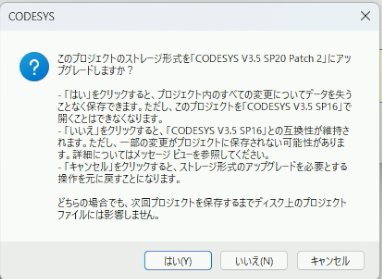
今のバージョンで開く
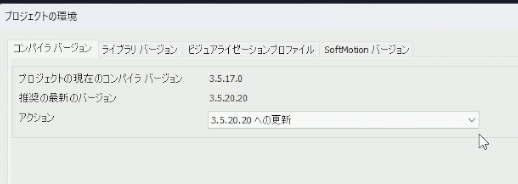
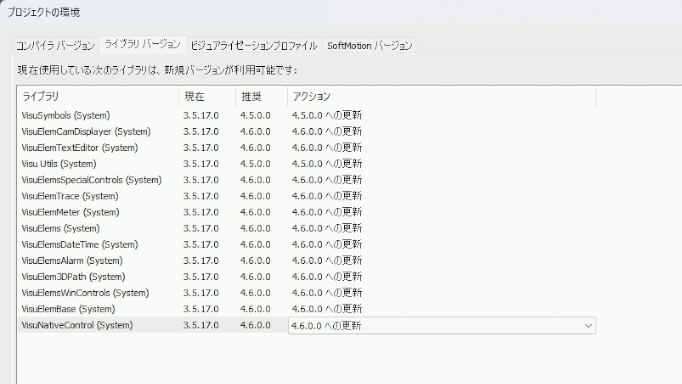
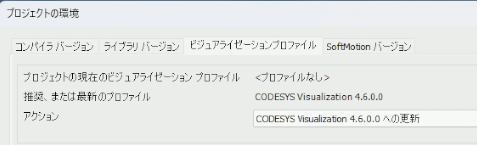
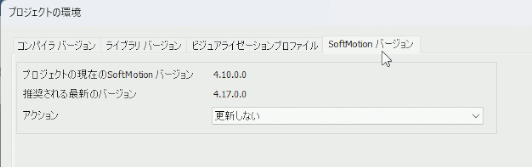
参照しているものは更新した
こっちもデバイスの更新をして更新
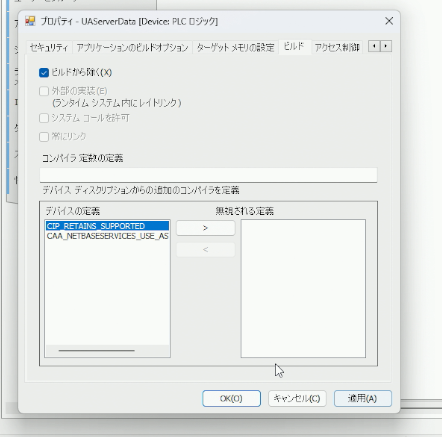
UAServerDataは使わないのでビルドから除いておいた
ビルドしてログイン
Visualization画面
Visualization画面で値を見るような感じになっていたので
Ua Expertのように設定するようになっていた。

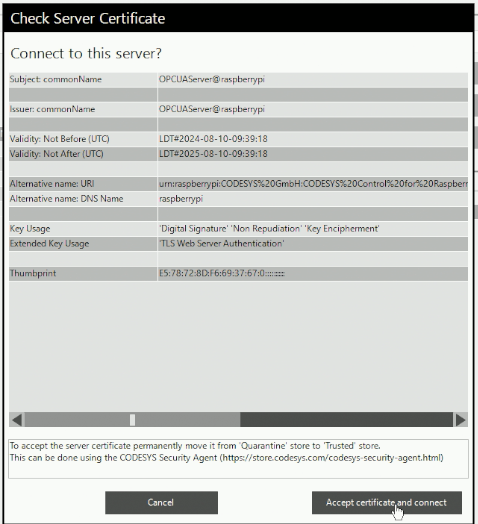
ラズパイの設定に合わせてユーザーパスを入力してConnectする
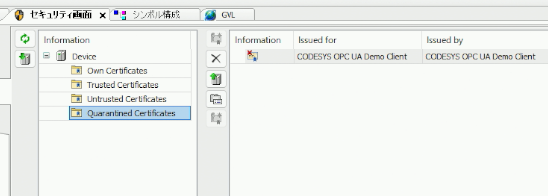
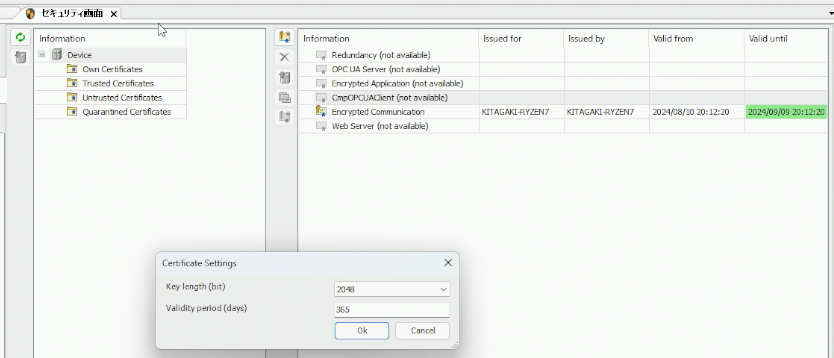
ラズパイ側のセキュリティ設定でTrustedに入れて
再度Connectしたところ接続できた。
モニタ
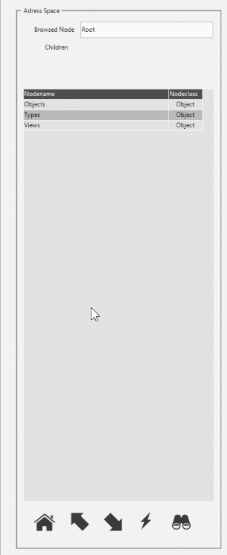
address Spaceで表示された画面から
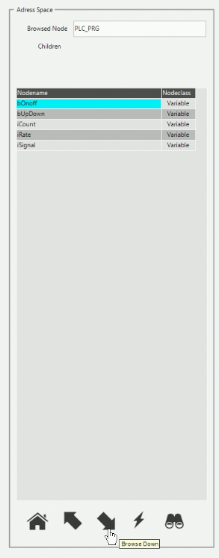
browser DownでPLC_PRGまで表示した
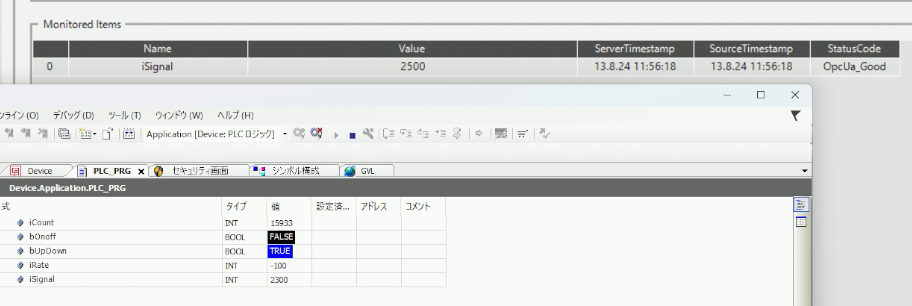
iSignalを選んでMonitor Valueを押すと
Monitored Items欄に表示された
書き込み
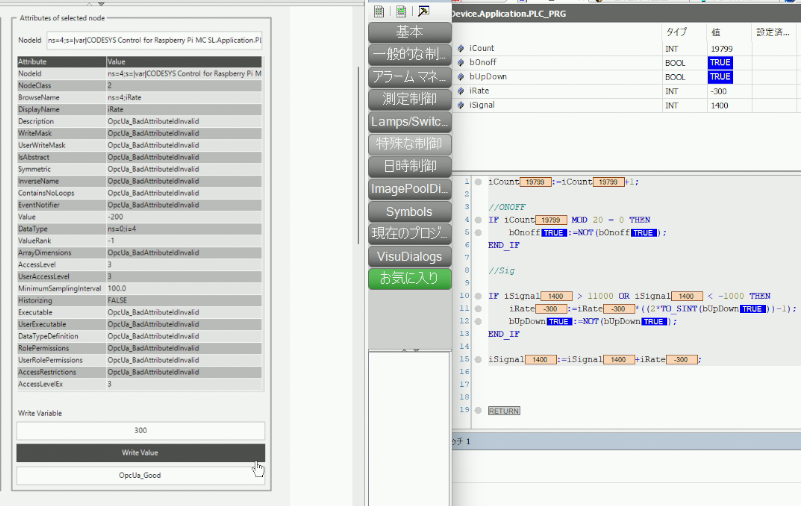
address SpaceでiRateを選んで
Attributes of selected nodeで
300と設定してWrite Valueで書き込み成功
CODESYS内では画面が小さくて使いずらいので
よく使う場合はブラウザで127.0.0.1:8080/webvisu.htmにアクセス
追記 AutoConnect
自動で接続するようにしてみた
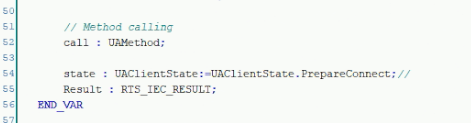
UAClient内のVer inputにセキュリティ設定があったので変更

//Method Callingに接続の状態があったのでPrepareConnectに変更
ポリシーはOPCUAPolicy内のSelectPolicyを2と設定したら自動で接続できるようになった。

おまけ CODESYS Control Win 64Bit
32Bitは勝手に作られた気がしたけどなかったので
追加した
ConnectしてAcceptしたら同じように接続できた。
参考URL