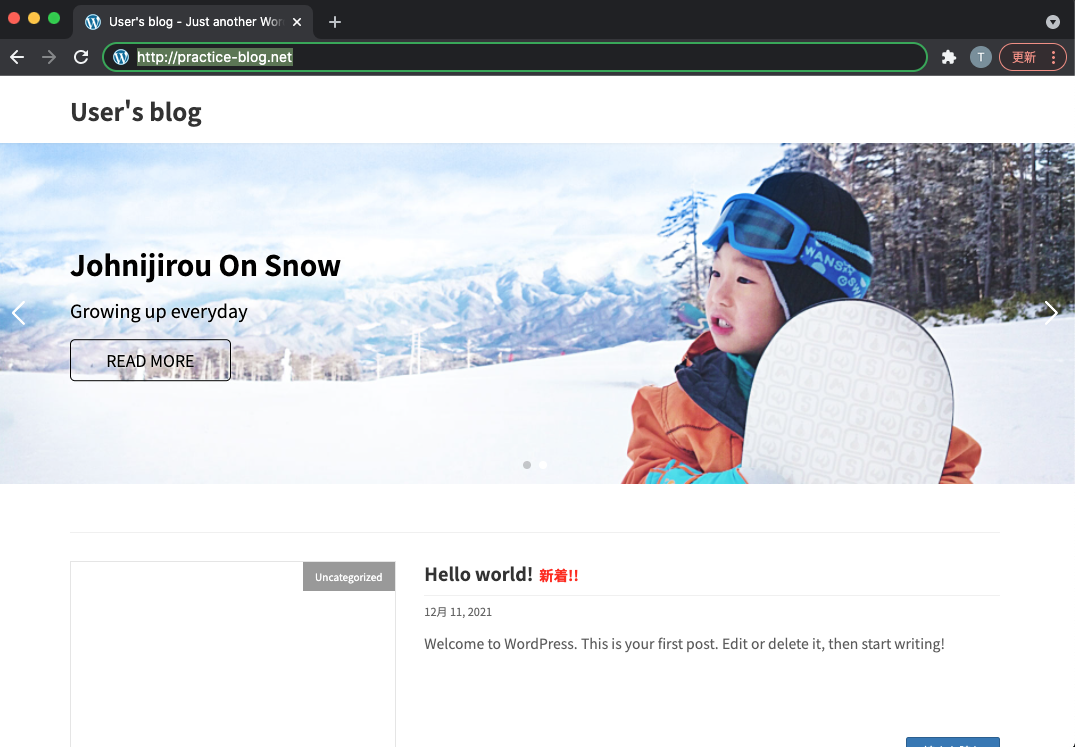
通常、個人ブログやWEBサイトの構築には、開発・運用の容易性の観点から初期費用+月額利用料を支払いレンタルサーバを契約するのが一般的です。
今回は以下の観点から、あえてレンタルサーバではなくAWS環境を利用し、個人ブログ・WEBサイトを公開するまでの構築作業を作業メモがてら記載します。
- 自己学習の要素も含めたい為、個人ブログ・WEBサイト用のレンタルサーバではなく、あえてAWSのサービスを利用。
- 利用しているプラットフォームはAWSサービスであり従量課金の為、利用しなければ停止する事で利用料は抑えられる。(※)
- 通常レンタルサーバの契約時に必要な初期費用も不要。利用状況に応じた、サーバの起動停止により利用料のコントロールも可能。(※)
注意事項
・以下手順は、「AWS Lightsail」を利用する為、インスタンスを停止していても定額の月額利用料(3.5USD)が掛かります。
・完全に従量課金(起動・停止で利用料をコントロール)としたい場合は、EC2等で構築する必要があります。
・またLightsailのインスタンスが不要になったら削除(インスタンスの停止ではなく)しないと月額利用料がかかります。
環境前提/環境構成
- AWSアカウントは作成済みの前提。
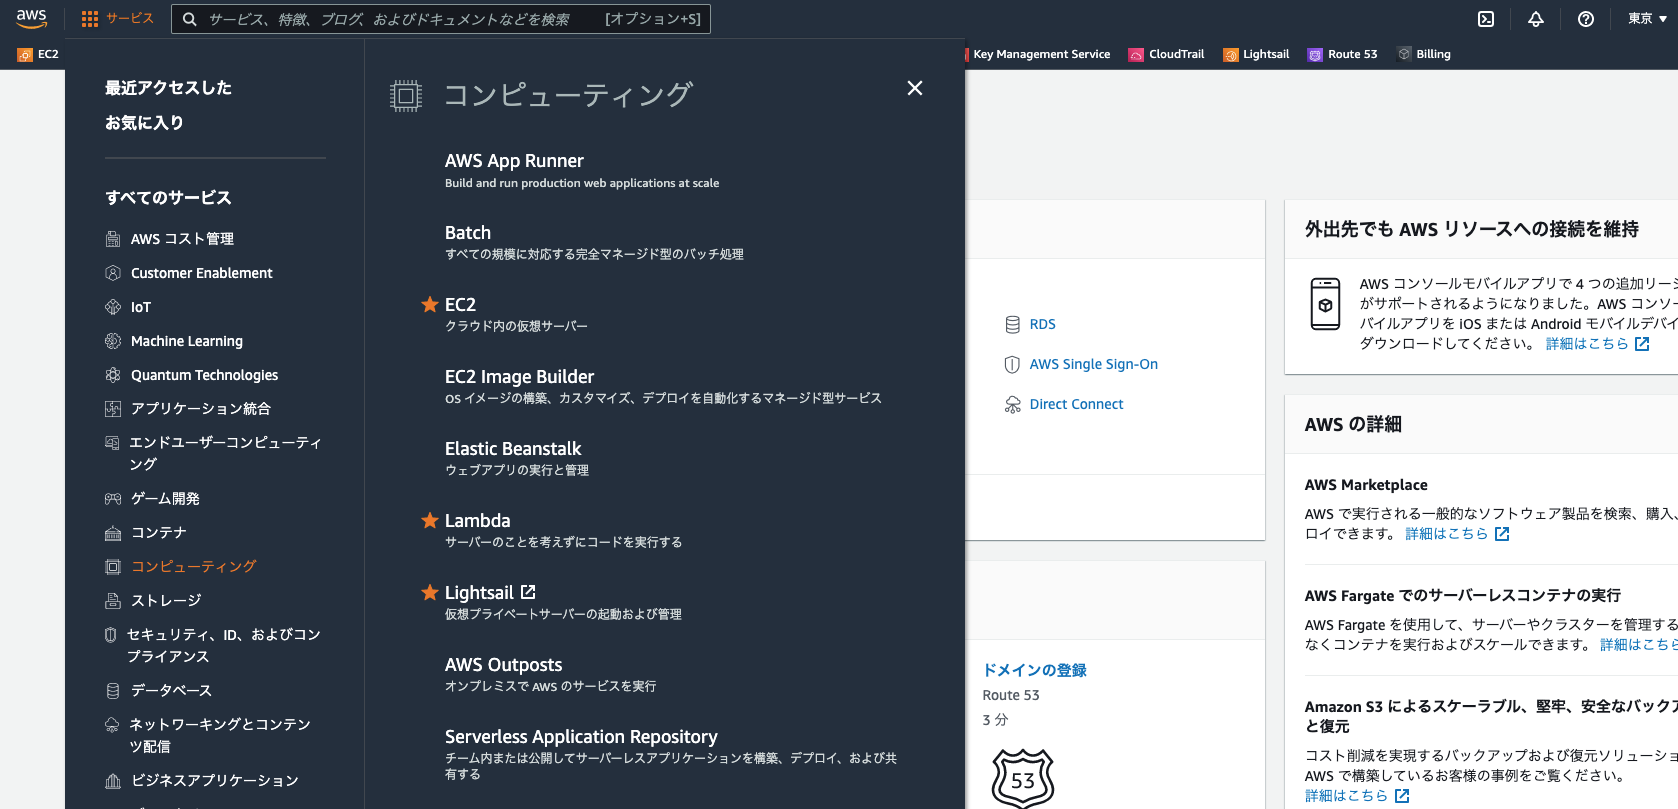
- AWSの「Amazon Lightsail」を利用し、bitnamiのWordPressにてサイトを構築。
作業内容
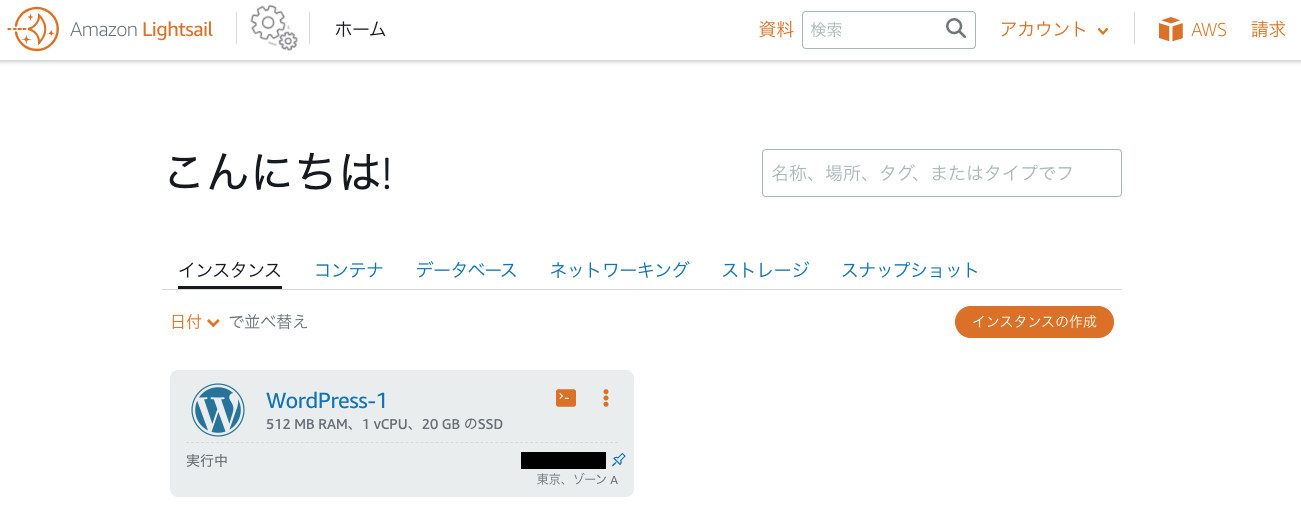
1. AWS LightsailよりWordPress用インスタンスの構築
2. WEBサイト用ドメインの取得とDNS設定
3. WEBサイトのSSL対応(HTTPS化)
1. AWS LightsailよりWordPress用インスタンスの構築
-
インスタンスプランの選択にて、最小スペックの[$3.5(メモリ:512MB、CPU:1vCPU、ストレージ:20GB)] を選択
-
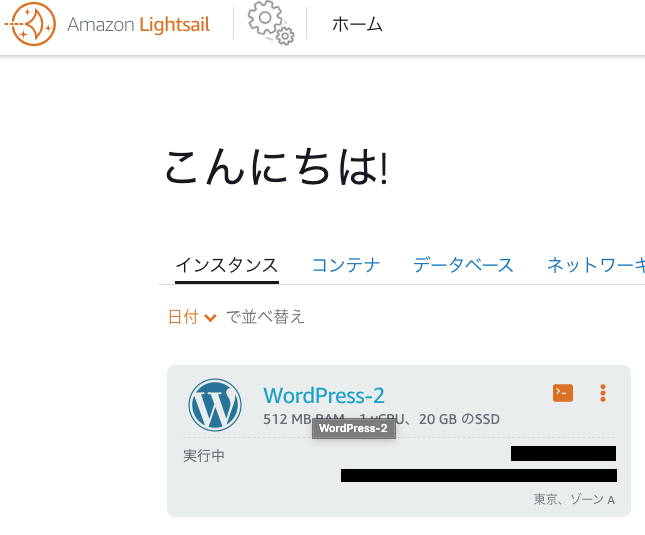
インスタンスを確認については、任意のインスタンス名(今回は、「WordPress-2」)を入力
-
[インスタンスの作成]ボタンを押下し、インスタンスを起動
-
後ほど、MacのTerminalからSSHでインスタンスにログインする為、キーペアをダウンロード
-
まずはLightsailのコンソールページからブラウザにてSSH接続確認
-
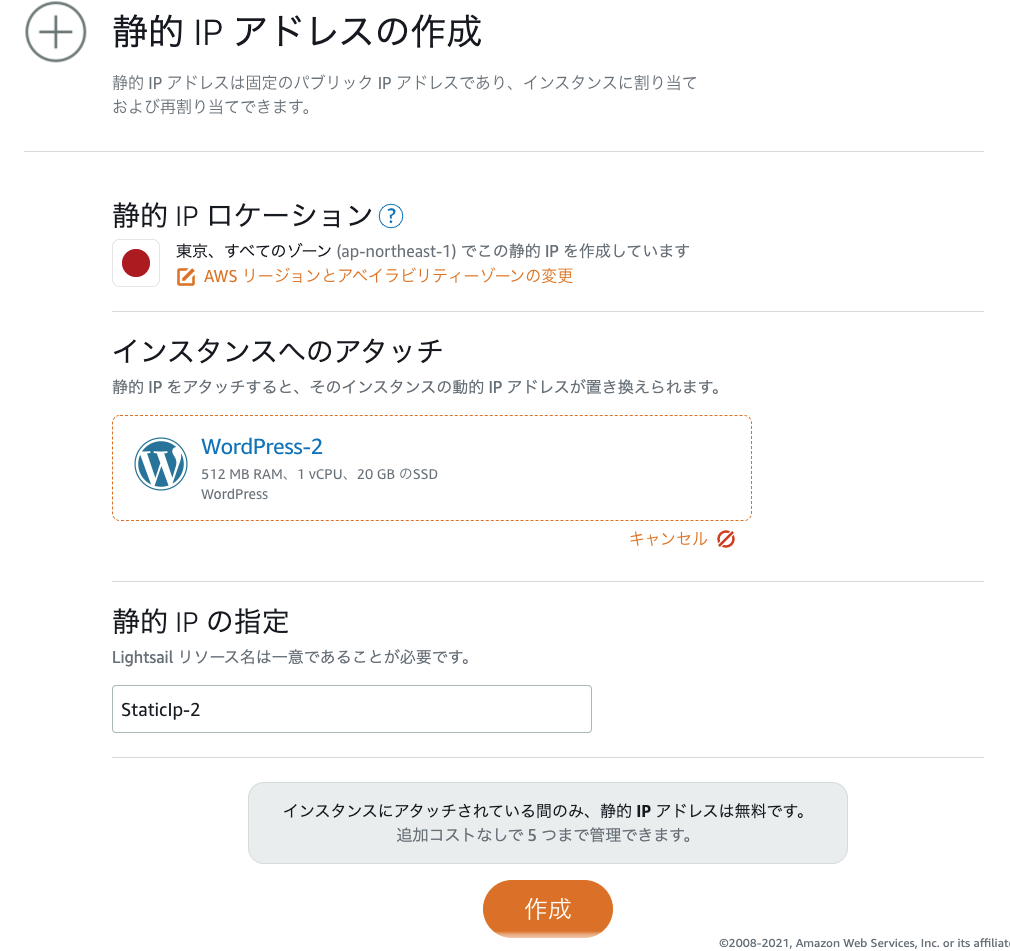
MacのTerminalからインスタンスにSSH接続する為、「ネットワーキング」タブから、インスタンスのパブリックIPアドレスを確認

-
先ほどダウンロードしたインスタンスの鍵、上記で確認したインスタンスのパブリックIPアドレスを指定しインスタンスにSSH接続
ssh -i [ダウンロードした鍵] bitnami@インスタンスのグローバルIPアドレス
[root@localhost lightsail]# ssh -i LightsailDefaultKey-ap-northeast-1_2.pem bitnami@111.222.333.444
Linux ip-172-26-3-107 4.19.0-18-cloud-amd64 #1 SMP Debian 4.19.208-1 (2021-09-29) x86_64

The programs included with the Debian GNU/Linux system are free software;
the exact distribution terms for each program are described in the
individual files in /usr/share/doc/*/copyright.

Debian GNU/Linux comes with ABSOLUTELY NO WARRANTY, to the extent
permitted by applicable law.
       ___ _ _                   _
      | _ |_) |_ _ _  __ _ _ __ (_)
      | _ \ |  _| ' \/ _` | '  \| |
      |___/_|\__|_|_|\__,_|_|_|_|_|

  *** Welcome to the WordPress packaged by Bitnami 5.8.2-4         ***
  *** Documentation:  https://docs.bitnami.com/aws/apps/wordpress/ ***
  ***                 https://docs.bitnami.com/aws/                ***
  *** Bitnami Forums: https://community.bitnami.com/               ***
Last login: Sat Dec 11 07:20:22 2021 from 123.123.123.123
bitnami@ip-172-26-3-107:~$
- WordPressにログインする為の、管理者用パスワードを以下の通り確認
bitnami@ip-172-26-3-107:~$ cat bitnami_application_password
aGxxxxxxxxt6
bitnami@ip-172-26-3-107:~$
-
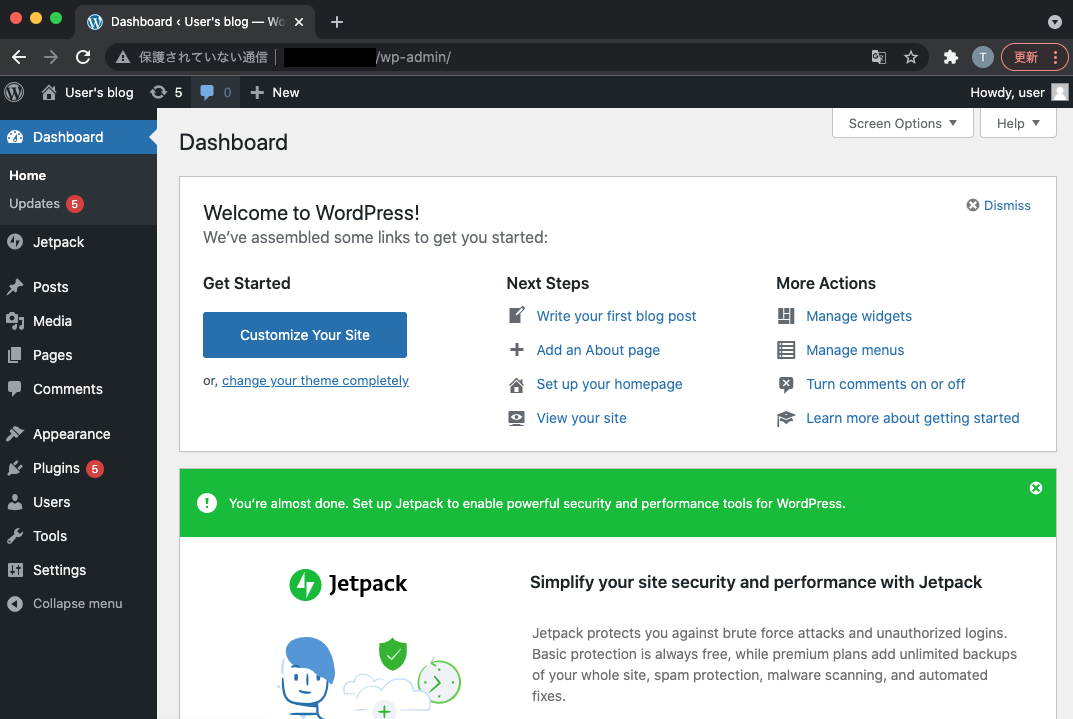
ブラウザから、以下のURLを指定しWordPressの管理者画面にアクセス
http://インスタンスのパブリックIPアドレス/wp-admin

-
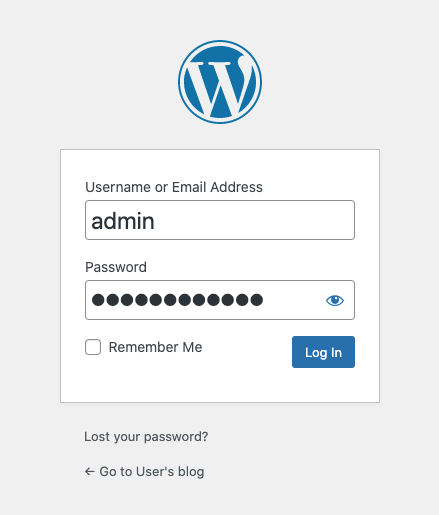
WordPressの管理者のログイン画面が表示される為、Username:
admin、Password:先ほど確認したPWを入力
-
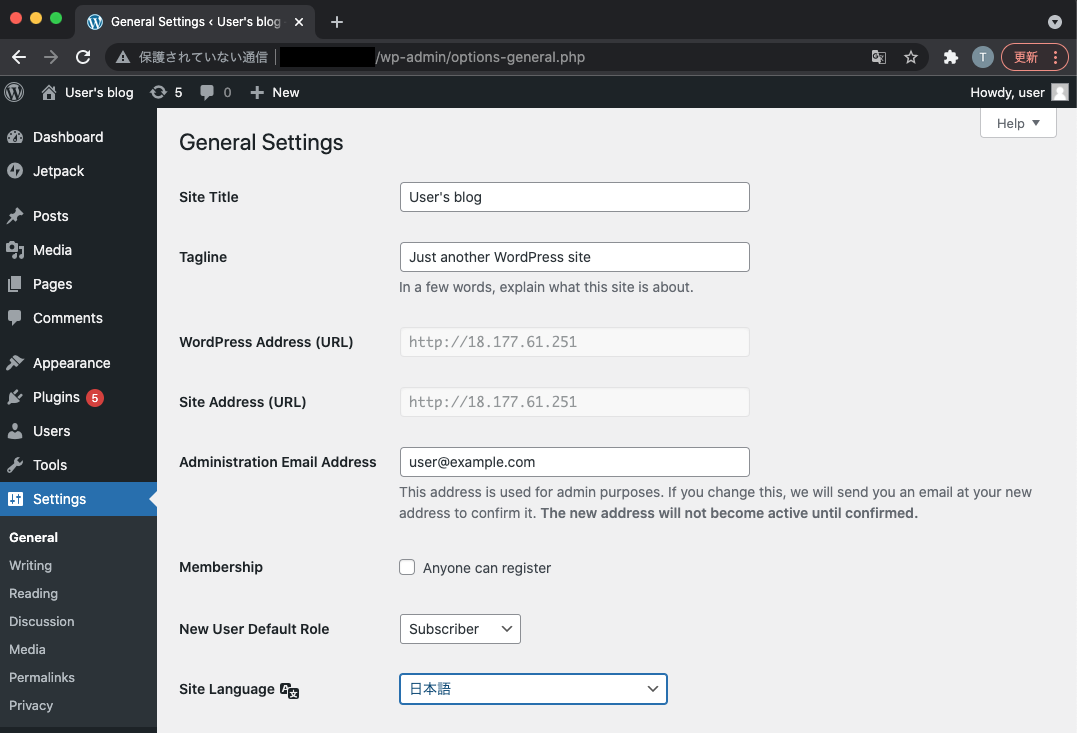
今回は、[lightning]というテーマを利用するため、[新規追加]の[検索フィルター]にテンプレート名を入力
2. WEBサイト用ドメインの取得とDNS設定
-
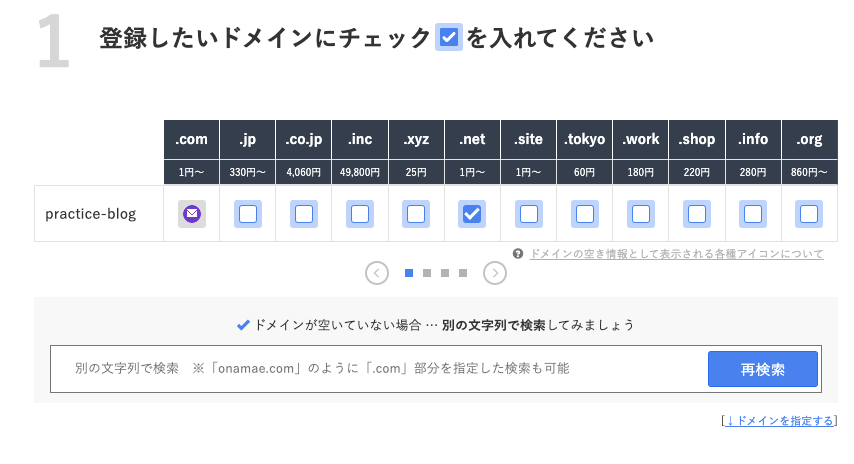
サイトにアクセスする際、インスタンスのパブリックIPアドレスではなく、ドメイン名でアクセスできるようドメインを取得する
-
今回は、GMOグループが提供する「お名前.com」にてドメインを取得する
https://www.onamae.com/ -
ドメインを利用する為のサーバは、Lightsailにて個別に構築しており、オプションは特に不要であるため、[利用しない]を選択

-
申し込み内容を確認(ドメイン利用料はクレジットカード決済)
-
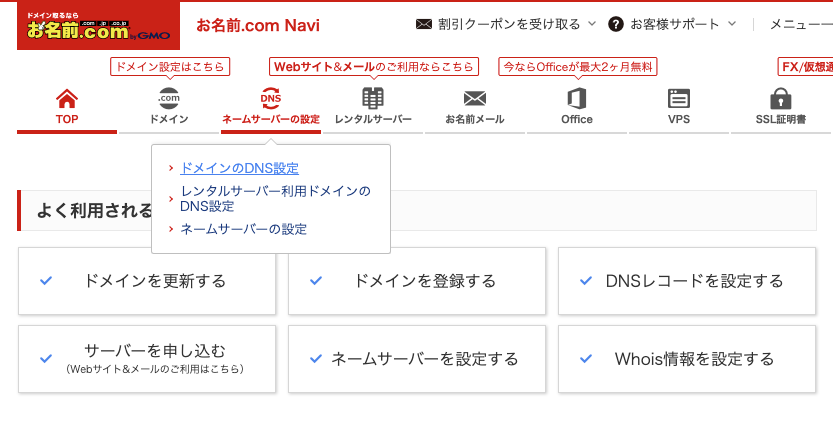
ドメインが取得できたら、取得したドメインをDNSサーバに登録
-
Aレコードとして登録する為、以下の通り入力後、[追加]を押下
ホスト名:空欄
TYPE:A
TTL:3600 (デフォルトのまま)
VALUE:LightsailインスタンスのグローバルIPアドレス
状態:有効(デフォルトのまま)

3. WEBサイトのSSL対応(HTTPS化)
- 現在のサイトはHTTPでのアクセスとなっており、通信が暗号化されておらず、アクセス時ブラウザに警告画面が表示される
- 通信の暗号化によりセキュリティレベルを向上させる為、HTTPS通信での接続設定を実施
- 今回はより低価格でサーバを運用する為、Lightsailで利用しているbitnamiのWordPressに含まれる「bncert-tool」を利用
- 以下手順によりサーバ証明書を生成し、HTTP通信はHTTPS通信にリダイレクトされるよう設定
入力する箇所については、「*****[コメント]*****」と記載
bitnami@ip-172-26-3-107:~$ sudo su -
root@ip-172-26-3-107:~#
root@ip-172-26-3-107:~# /opt/bitnami/bncert-tool
----------------------------------------------------------------------------
Welcome to the Bitnami HTTPS Configuration tool.

----------------------------------------------------------------------------
Domains

Please provide a valid space-separated list of domains for which you wish to
configure your web server.

Domain list []: practice-blog.net ← *****先ほど取得したドメインを入力*****

The following domains were not included: www.practice-blog.net. Do you want to add them? [Y/n]: n ← *****[n]を入力*****

Warning: No www domains (e.g. www.example.com) or non-www domains (e.g.
www.example.com) have been provided, so the following redirections will be
disabled: non-www to www, www to non-www.
Press [Enter] to continue: ← *****[Enter]を入力*****
----------------------------------------------------------------------------
Enable/disable redirections

Please select the redirections you wish to enable or disable on your Bitnami
installation.


Enable HTTP to HTTPS redirection [Y/n]: Y ← *****[Y]を入力*****


----------------------------------------------------------------------------
Changes to perform

The following changes will be performed to your Bitnami installation:

1. Stop web server
2. Configure web server to use a free Let's Encrypt certificate for the domains:
practice-blog.net
3. Configure a cron job to automatically renew the certificate each month
4. Configure web server name to: practice-blog.net
5. Enable HTTP to HTTPS redirection (example: redirect http://practice-blog.net
to https://practice-blog.net)
6. Start web server once all changes have been performed


Do you agree to these changes? [Y/n]: Y ← *****[Y]を入力*****


----------------------------------------------------------------------------
Create a free HTTPS certificate with Let's Encrypt

Please provide a valid e-mail address for which to associate your Let's Encrypt
certificate.

Domain list: practice-blog.net

Server name: practice-blog.net

E-mail address []: sample-email@gmail.com ← *****[E-Mailアドレス]を入力*****

The Let's Encrypt Subscriber Agreement can be found at:

https://letsencrypt.org/documents/LE-SA-v1.2-November-15-2017.pdf

Do you agree to the Let's Encrypt Subscriber Agreement? [Y/n]: Y ← *****[Y]を入力*****


----------------------------------------------------------------------------
Performing changes to your installation

The Bitnami HTTPS Configuration Tool will perform any necessary actions to your
Bitnami installation. This may take some time, please be patient.

----------------------------------------------------------------------------
Success

The Bitnami HTTPS Configuration Tool succeeded in modifying your installation.

The configuration report is shown below.

Backup files:
* /opt/bitnami/apache/conf/httpd.conf.back.202112110806
* /opt/bitnami/apache/conf/bitnami/bitnami.conf.back.202112110806
* /opt/bitnami/apache/conf/bitnami/bitnami-ssl.conf.back.202112110806
* /opt/bitnami/apache/conf/vhosts/wordpress-https-vhost.conf.back.202112110806
* /opt/bitnami/apache/conf/vhosts/wordpress-vhost.conf.back.202112110806

Find more details in the log file:

/tmp/bncert-202112110806.log

If you find any issues, please check Bitnami Support forums at:

https://community.bitnami.com

Press [Enter] to continue:

root@ip-172-26-3-107:~#
- 必要に応じてLightsailインスタンスの再起動後、HTTPSで先ほどのサーバにアクセスできるようになったことを確認(警告もなし)
https://設定したドメイン名← このURLが本WEBサイトのURLとなる

以上で、WEBサイトをインターネットに公開可能な状態まで設定完了。
後は、WordPressの管理者画面にログインし、固定ページや投稿する記事作成したり、デザインをカスタマイズしたりする。
