CustomVisionService を 簡単なサイトを作って使えるようにしたい
今週はMicrosoftAzureから画像認識を試したのでそちらの成果を簡単に使えるサイトを作ろうと
思いました。内容はせっかくなので本業にちなんでインテリアの画像から樹種を解析してくれるものを目指しました。
内装を考える時にテーマとなる樹種を一つ決めて組み合わせていくと空間にまとまりが出るので、
自分が良いなと思う家具や内装がどの樹種なのかを調べられると買う家具や似合う色が決まってきて
インテリアを構築する時の参考になると良いなと思いました。
環境
Node.js v10.16.3
Windows 10 pro
Visual Studio Code v1.39.1
概要
①MicrosoftAzureでアカウントを作成
②Microsoft Custom Vision Service を使用して画像解析のプロジェクトを作成、トレーニング
③作成したプロジェクトをAPIとして使用する
④APIを取得する為のコードを書く
参考資料
主に①~②の参考にいつもどおり先陣の知恵をお借りします。
【資料1】Microsoft Custom Vision Service を使用した鼓膜画像認識
③、④はこの資料を参考に。
[【資料2】Node.jsでAzure Face APIを使ってみる]
(https://qiita.com/n0bisuke/items/67e49a574e9e7e98ac87)
随時わからない所があるので補足でネットサーフィンしたログを
[【資料3】[axios] axios の導入と簡単な使い方]
(https://qiita.com/ksh-fthr/items/2daaaf3a15c4c11956e9)
[【資料3】JavaScript テキストボックスの値を取得/設定する]
(https://qiita.com/ksh-fthr/items/2daaaf3a15c4c11956e9)
①MicrosoftAzureでアカウントを作成
【資料1】を参考に、、、
②Microsoft Custom Vision Service を使用して画像解析のプロジェクトを作成
【Microsoft Custom Vision】の演習に沿って新たなプロジェクトを作ります。
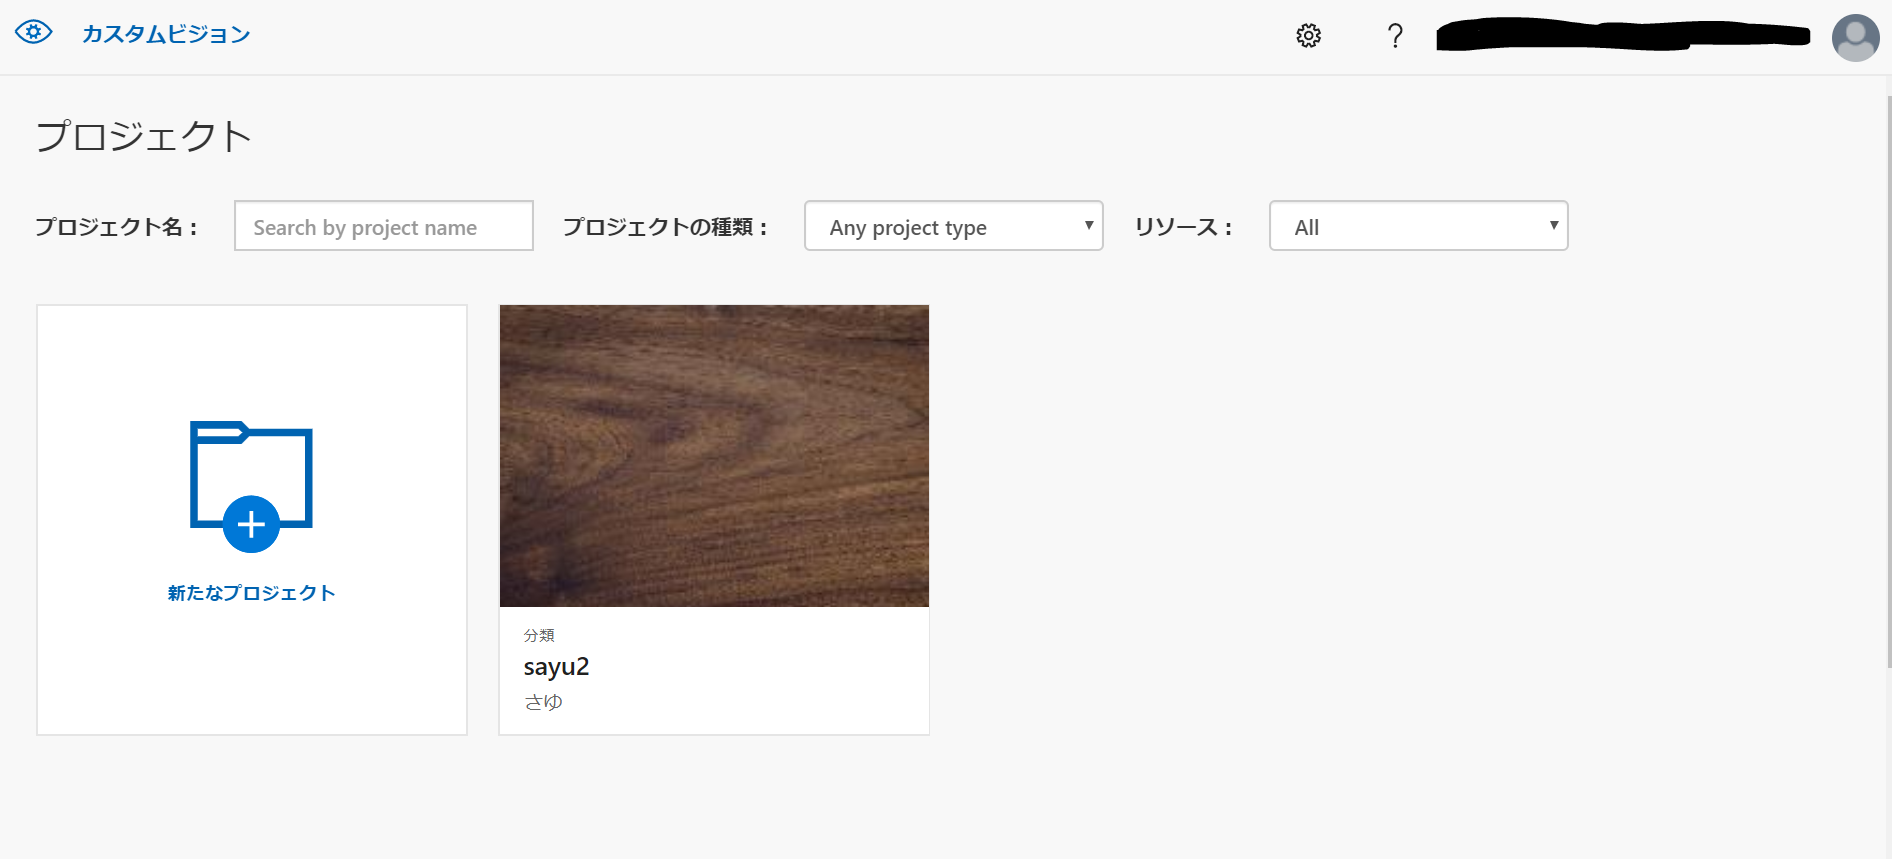
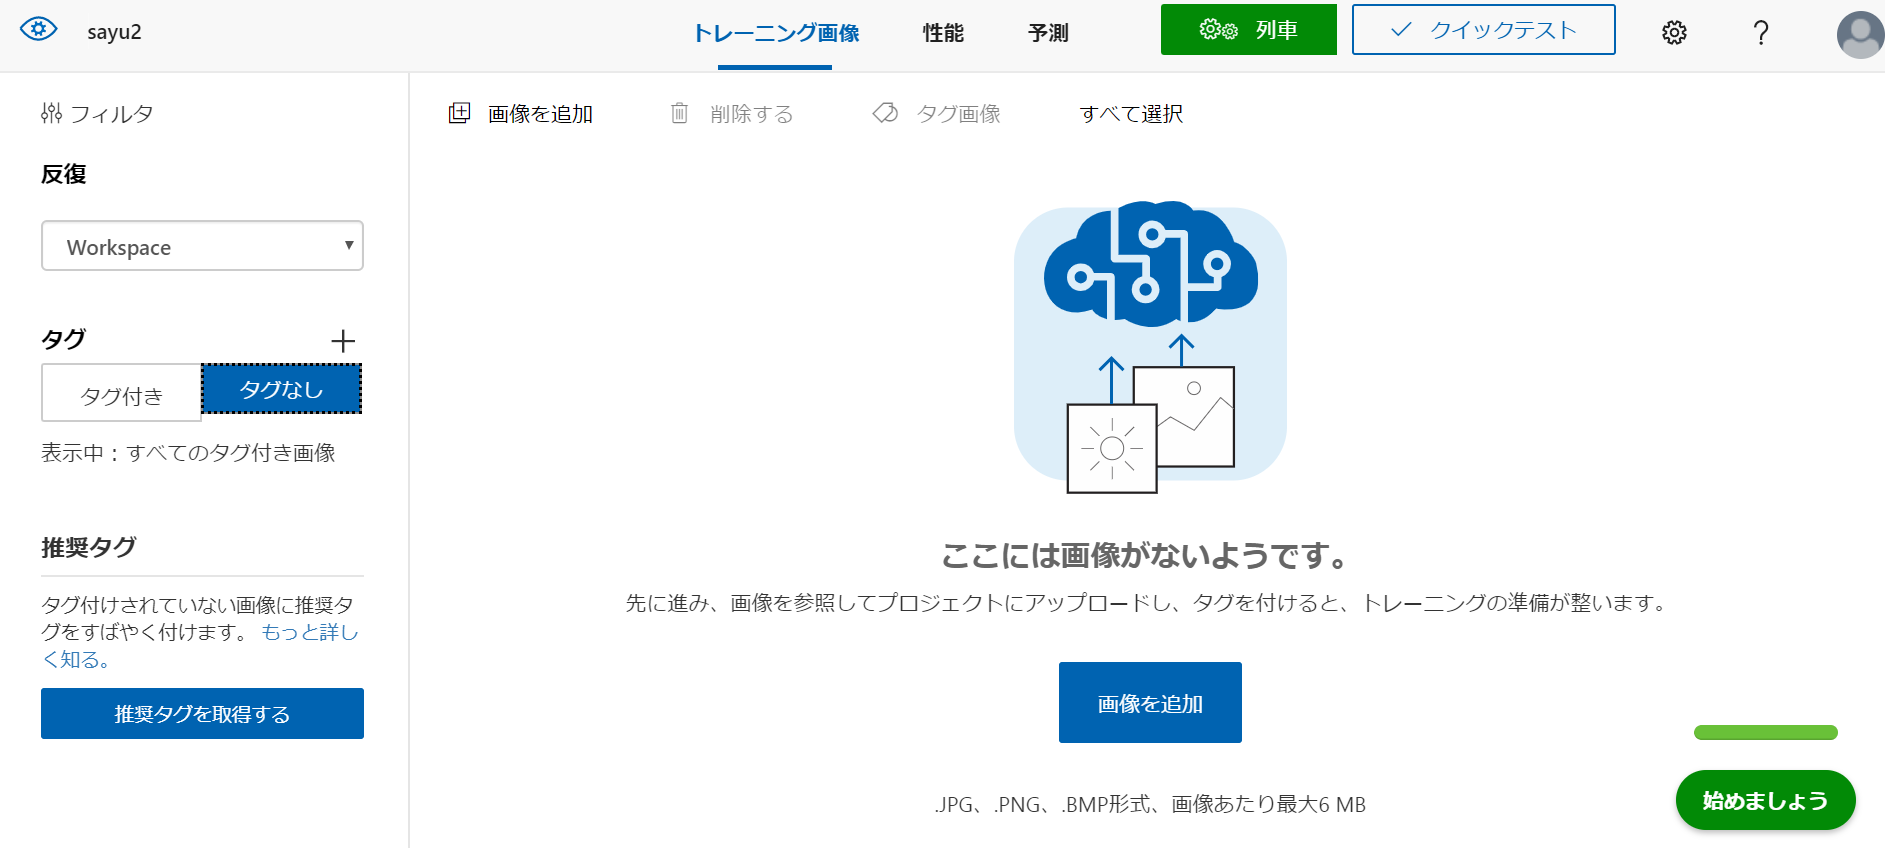
プロジェクトを開いたら画像を追加から画像をアップロードします。
今回は樹種を分析したいので、色味の違う樹種を三種類、
ウォルナット、チーク、メイプルの画像を用意しました。
また、分析結果が何に対してなのかわかりやすいように、用意した画像の項目を家具と部屋にわけました。
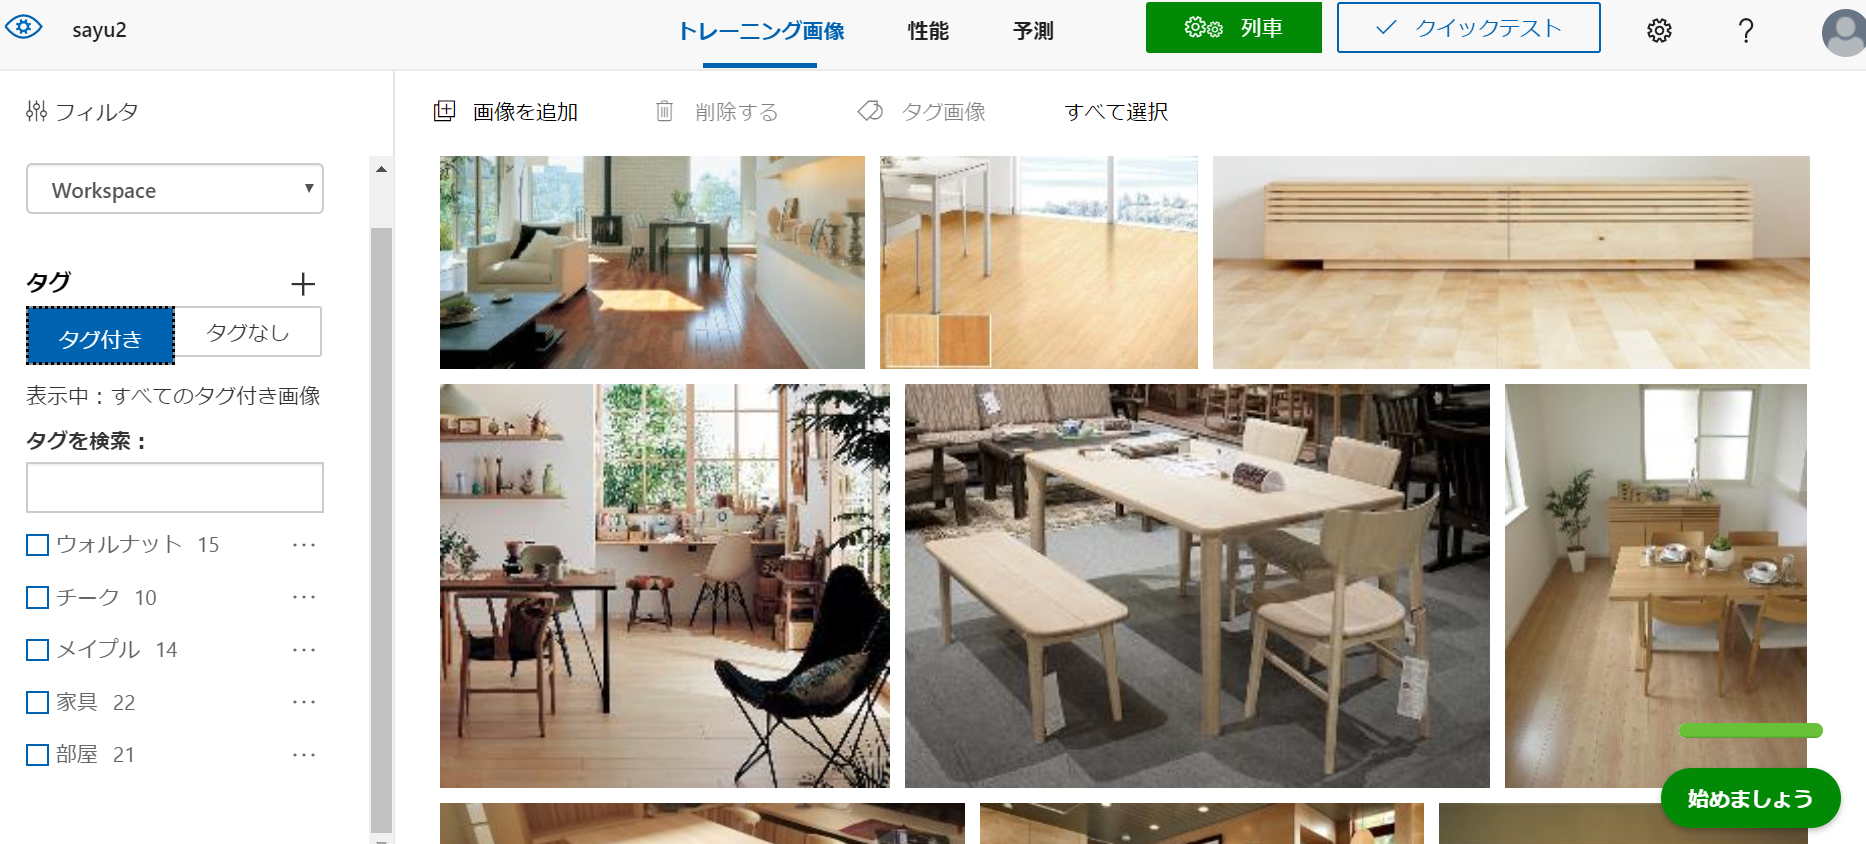
≪家具タグ≫

≪部屋タグ≫

分析結果
トレーニングで検証してみると、
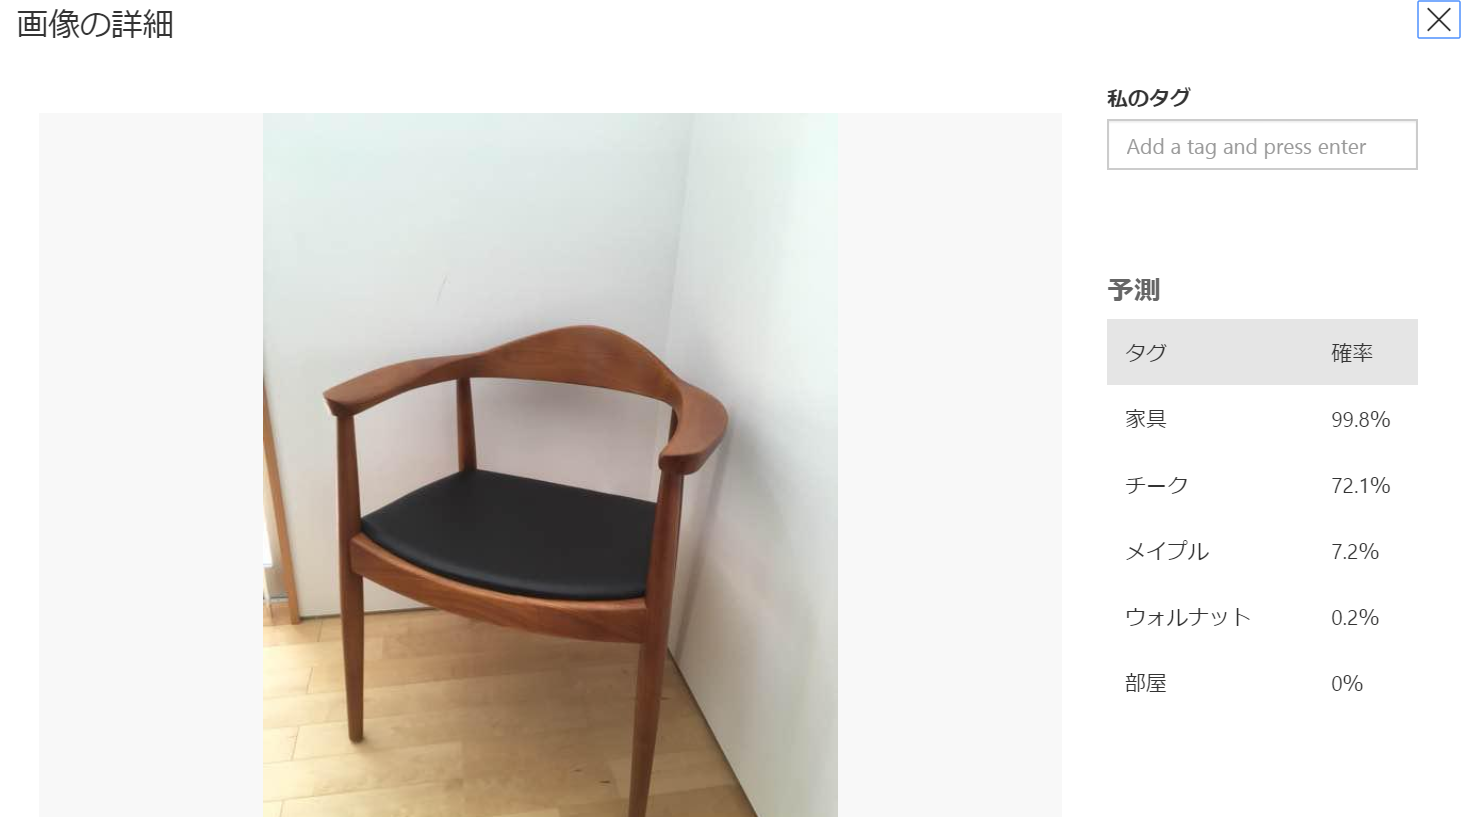
99.8%家具。ちゃんと見極めてます。
材質は72.1%チーク。
7.2%のメイプルは、、、床材ですかね。
写真の要素を読み取ってくれました。
③作成したプロジェクトをAPIとして使用する
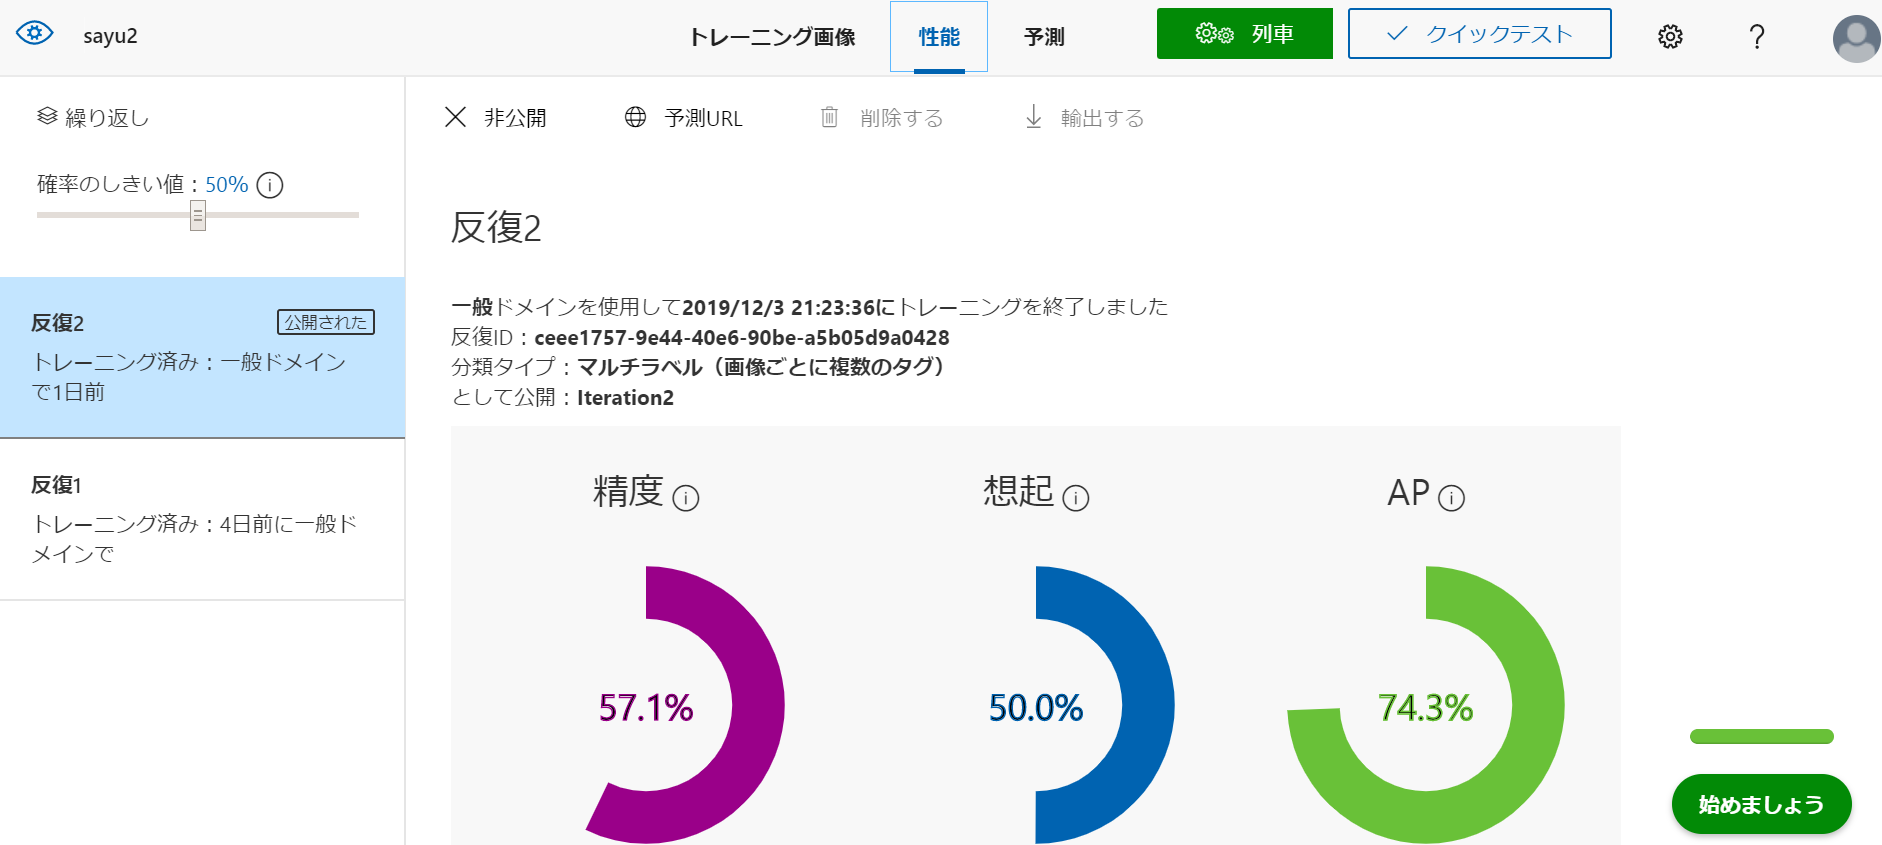
性能タブから公開し、予測URLを発行する。
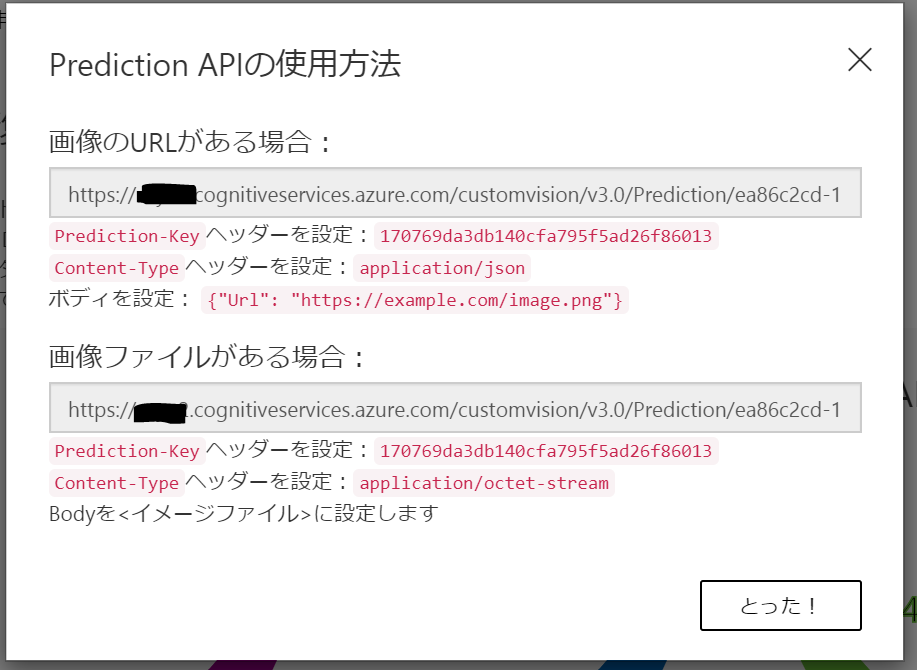
④APIを取得する為のコードを書く
フォルダ構成は前回と同じ。
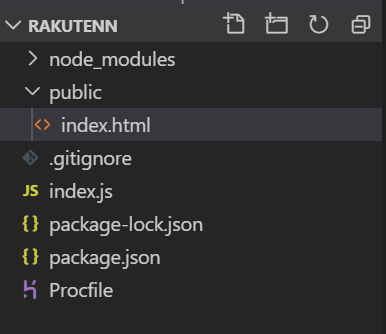
フォルダを作成し、中に >node_modules:node.jsのデータが入っているフォルダ
>public:htmlデータを入れるフォルダ
>index.html:サイトを構成する静的ファイル
>index.js:作成したpublicの静的ファイルをexpressで表示させるコード
>gitignore:herokuで実装する時に不要なデータを送らないよう指定するファイル
>package-lock.json:npm init -yで作成される
>package.json:npm init -yで作成される
インストールしたライブラリデータ等のパッケージが登録されている
>Procfile:Herokuを起動するのに必要なファイル
上記のファイルを作成し、Herokuまたは
http://localhost:8080/
で起動させ、確認しながら進める。
今回のコードを起動必要なライブラリは
npm init -y
npm i body-parser express
npm i axios
をそれぞれターミナルに入力し、インストール。
index.html
<!DOCTYPE html>
<html>

<head>
    <title>Step 01</title>
    <script src="https://unpkg.com/vue"></script>
</head>

<body>

    <p>画像URL  <span id="span1"></span></p>
    <form name="form1">
        <input
        type="text"
        name="text1"
        value="red"
        size="100"
        >

        <!--
           <input>タグ内で
           type="url" を指定するとURL入力欄の作成
            name="text1" フォーム部品の名前
          value="red"   送信される値を指定
            size="100"  表示される文字数
            maxlength="5" 入力できる最大文字数の指定

            -->
    </form>

    <input type="button" value="解析" onclick="clickBtn1()">
    <input type="button" value="クリア" onclick="clickBtn2()">

    <script>

        'use strict';
        // JavaScript内でuse strict を宣言すると、コードがstrict(厳格)モードで実行されるようになる。
        //strictモードでは、より的確なエラーチェックが行われ、
        //これまでエラーにならなかったような曖昧な実装がエラー扱いになる


        function clickBtn1() { // clickBtn1をクリックされた時の値を取得
            const t1 = document.form1.text1.value; //form1のtext1のvalueに入力値をt1に代入
            document.getElementById("span1").textContent = t1;
        }

        function clickBtn2() {
         document.getElementById("span1").textContent = "";
        }


    const axios = require('axios');// axiosを読み込む。require使う場合
    const subscriptionKey = ''; //キーを指定
    const uriBase ='https://url';
    const imageUrl = ti;

    // Request parameters.
    const params = {
    'returnFaceId': 'true',
    'returnFaceLandmarks': 'false',
    'returnFaceAttributes': 'age,gender,headPose,smile,facialHair,glasses,' +
    'emotion,hair,makeup,occlusion,accessories,blur,exposure,noise'
    };

    const config = {
    baseURL: uriBase,
    method: 'post',
    headers: {
    'Content-Type': ' application/json',
    'Prediction-Key': subscriptionKey
    },
    data: '{"url": ' + '"' + imageUrl + '"}',
    params: params,
    }

    axios.request(config)
    .then(res => {
    const jsonResponse = JSON.stringify(res.data, null, ' ');
    console.log('JSON Response\n');
    console.log(jsonResponse);
    })

    .catch(error => console.log(error.response.data));


    </script>
</body>

</html>

簡単なボタンが出来ました。
試しに画像のURL入力し解析をクリック。

ちゃんと の"span1"に反映されている為t1にはきちんと代入されているはず。

コードがうまく動かない。
ターミナルにヘロクのログを見るコードを打ち込んでみる。
heroku logs -t
2019-12-03T13:11:14.837911+00:00 heroku[router]: at=info method=GET path="/" host=s191127-sample.herokuapp.com request_id=1d9cfa53-4255-4901-8d40-72a1df83f945 fwd="114.69.33.94" dyno=web.1 connect=1ms service=4ms status=304 bytes=237 protocol=https
2019-12-03T13:11:54.832593+00:00 heroku[router]: at=info method=GET path="/" host=s191127-sample.herokuapp.com request_id=886df22d-3db7-4f66-8b38-92045a51b489 fwd="114.69.33.94" dyno=web.1 connect=1ms service=2ms status=304 bytes=237 protocol=https
2019-12-03T13:12:00.185770+00:00 heroku[router]: at=info method=GET path="/" host=s191127-sample.herokuapp.com request_id=5fe36a9e-5f40-4bfb-8bdf-6084058293c6 fwd="114.69.33.94" dyno=web.1 connect=1ms service=3ms status=304 bytes=237 protocol=https
2019-12-03T13:12:33.770914+00:00 heroku[router]: at=info method=GET path="/" host=s191127-sample.herokuapp.com request_id=474ad7cc-d4b9-4d21-9b81-05d9e0d0cf81 fwd="114.69.33.94" dyno=web.1 connect=1ms service=2ms status=304 bytes=237 protocol=https
2019-12-03T13:17:58.000000+00:00 app[api]: Build started by user sayu5713@gmail.com
2019-12-03T13:18:10.733484+00:00 heroku[web.1]: Restarting
2019-12-03T13:18:10.737606+00:00 heroku[web.1]: State changed from up to starting
2019-12-03T13:18:10.486482+00:00 app[api]: Release v4 created by user sayu5713@gmail.com
2019-12-03T13:18:10.486482+00:00 app[api]: Deploy e73341ab by user sayu5713@gmail.com
2019-12-03T13:18:10.000000+00:00 app[api]: Build succeeded
2019-12-03T13:18:11.420251+00:00 heroku[web.1]: Stopping all processes with SIGTERM
2019-12-03T13:18:11.483511+00:00 heroku[web.1]: Process exited with status 143
2019-12-03T13:18:12.514200+00:00 heroku[web.1]: Starting process with command `node index.js`
2019-12-03T13:18:14.818512+00:00 app[web.1]: server start! (heroku)
2019-12-03T13:18:15.462076+00:00 heroku[web.1]: State changed from starting to up
2019-12-03T13:18:17.019143+00:00 heroku[router]: at=info method=GET path="/" host=s191127-sample.herokuapp.com request_id=94efca27-f6a1-48a6-8ca7-ee2305b16ed5 fwd="114.69.33.94" dyno=web.1 connect=1ms service=22ms status=200
bytes=1087 protocol=https
2019-12-03T13:52:15.499404+00:00 heroku[web.1]: Idling
2019-12-03T13:52:15.508200+00:00 heroku[web.1]: State changed from up to down
2019-12-03T13:52:19.993362+00:00 heroku[web.1]: Stopping all processes with SIGTERM
2019-12-03T13:52:20.117700+00:00 heroku[web.1]: Process exited with status 143
2019-12-03T13:57:16.000000+00:00 app[api]: Build started by user sayu5713@gmail.com
2019-12-03T13:57:28.515154+00:00 heroku[web.1]: State changed from down to starting
2019-12-03T13:57:28.121717+00:00 app[api]: Deploy ba7a5e71 by user sayu5713@gmail.com
2019-12-03T13:57:28.121717+00:00 app[api]: Release v5 created by user sayu5713@gmail.com
2019-12-03T13:57:28.000000+00:00 app[api]: Build succeeded
2019-12-03T13:57:30.578721+00:00 heroku[web.1]: Starting process with command `node index.js`
2019-12-03T13:57:32.601844+00:00 app[web.1]: server start! (heroku)
2019-12-03T13:57:34.225781+00:00 heroku[web.1]: State changed from starting to up
2019-12-03T13:57:37.046079+00:00 heroku[router]: at=info method=GET path="/" host=s191127-sample.herokuapp.com request_id=4111dd64-a841-43a0-a582-e4e4bd3ac757 fwd="114.69.33.94" dyno=web.1 connect=1ms service=27ms status=200
bytes=2243 protocol=https
2019-12-03T14:32:17.716968+00:00 heroku[web.1]: Idling
2019-12-03T14:32:17.721462+00:00 heroku[web.1]: State changed from up to down
2019-12-03T14:32:18.890822+00:00 heroku[web.1]: Stopping all processes with SIGTERM
2019-12-03T14:32:18.992477+00:00 heroku[web.1]: Process exited with status 143
^Cバッチ ジョブを終了しますか (Y/N)? Y
(´;ω;`)ウゥゥ
今回はここで断念です、、、
どうにも力不足…また出直します。。。
ありがとうございました!!