はじめに
オープンソースのスケジュール調整アプリ cal.com を vs code の dev contaienr で起動できるようにします。
cal.com は Next.js / Prisma / Tailwind あたりの最近よく耳にする技術の多くを使っているので、手元で起動できるようにすれば大いに参考になると思います。
基本的には READ ME に従って進めていきます。
ソースコード
dev container で起動できるようにしたソースコードを公開します。
version 等
$ node -v
v16.15.1
$ yarn -v
1.22.19
また、OS は windows10 の WSL2 から起動しています
Setup
では早速 Setup から行っていきます。
git clone
$ git clone https://github.com/calcom/cal.com.git
早速お好きなディレクトリにリポジトリをクローンします。
dev container file の作成
- まずディレクトリを移動します。
$ cd cal.com - CTRL + SHIFT + P でコマンドパレットを起動し、
remote-containers.createDevContainerFileを選択します。 - image を聞かれるので node.js(16-bullseye) + postgreSQL を選択します。
- .dev-container ディレクトリの配下に Dockerfile, docker-compose.yml, dev-container.json ファイルが作成されます。
コマンドを選択するだけでそれに見合った docker-compose.yml 等が自動で作成されるので便利ですね!
default の docker-compose file だと足りないオプションがあるので追加します。
version: '3.8'

services:
  app:
    build:
      context: .
      dockerfile: Dockerfile
      args:
        # Update 'VARIANT' to pick an LTS version of Node.js: 18, 16, 14.
        # Append -bullseye or -buster to pin to an OS version.
        # Use -bullseye variants on local arm64/Apple Silicon.
        VARIANT: 16-bullseye

    volumes:
      - ..:/workspace:cached

    # Overrides default command so things don't shut down after the process ends.
    command: sleep infinity

    # Runs app on the same network as the database container, allows "forwardPorts" in devcontainer.json function.
    network_mode: service:db

    # Uncomment the next line to use a non-root user for all processes.
    # user: node

    # Use "forwardPorts" in **devcontainer.json** to forward an app port locally.
    # (Adding the "ports" property to this file will not forward from a Codespace.)

  db:
    image: postgres:latest
    container_name: postgres # container name を追加
    ports:
      - 5432:5432 # port を追加
    restart: unless-stopped
    volumes:
      - postgres-data:/var/lib/postgresql/data
    environment:
      POSTGRES_PASSWORD: postgres
      POSTGRES_USER: postgres
      POSTGRES_DB: postgres

    # Add "forwardPorts": ["5432"] to **devcontainer.json** to forward PostgreSQL locally.
    # (Adding the "ports" property to this file will not forward from a Codespace.)

volumes:
  postgres-data:
このように追記します。
dev container の起動
vs code のコマンドパレットから reopen container を選択します。
image を元に node コンテナと postgre コンテナが立ち上がります。
$ docker ps
CONTAINER ID   IMAGE                                              COMMAND                  CREATED        STATUS        PORTS                    NAMES
a772f67d78e4   vsc-cal.com-964f6bf5371d453f86bc1826c3c2ae82-uid   "/bin/sh -c 'echo Co…"   12 hours ago   Up 12 hours                            calcom_devcontainer_app_1
557c60b96295   postgres:latest                                    "docker-entrypoint.s…"   14 hours ago   Up 14 hours   0.0.0.0:5432->5432/tcp   postgres
windows のターミナルからコマンドを入力し、このように表示されていたら問題ないはずです。
依存関係の解決
$ yarn
上記のコマンドを dev container 内で入力し、依存関係を解決します。
.env の作成
$ openssl rand -base64 32
.env ファイルを作成し上記のコマンドを入力して出力された文字列を記載します。
NEXTAUTH_SECRET=<openssl rand -base64 32 の文字列を記載>
echo 'NEXT_PUBLIC_DEBUG=1' >> .env
こちらのコマンドも入力して env に追加します。
DB の設定
postgres を紐づける設定を行います。
-
packages/prisma/.envにDATABASE_URLを記載します。# DATABASE_URL='postgresql://<user>:<pass>@<db-host>:<db-port>' # ex DATABASE_URL="postgresql://postgres:@localhost:5450/calendso" DATABASE_URL='postgresql://postgres:postgres@localhost:5432/postgres'- DB の user, password, host, 設定した port 番号を設定します。
-
CALENDSO_ENCRYPTION_KEY に
openssl rand -base64 24を行い出力された値を入力します。CALENDSO_ENCRYPTION_KEY=<出力された文字列>※ この時、.env ファイルだけでなく、.env.example ファイルも変更しなければこの後入力するコマンドによって上書きされてしまうようなので注意が必要です。
-
DB をセットアップするために以下コマンドを入力します。
$ yarn workspace @calcom/prisma db-deploy -
開発環境を立ち上げます。
$ yarn dev -
localhost:3000 にアクセス

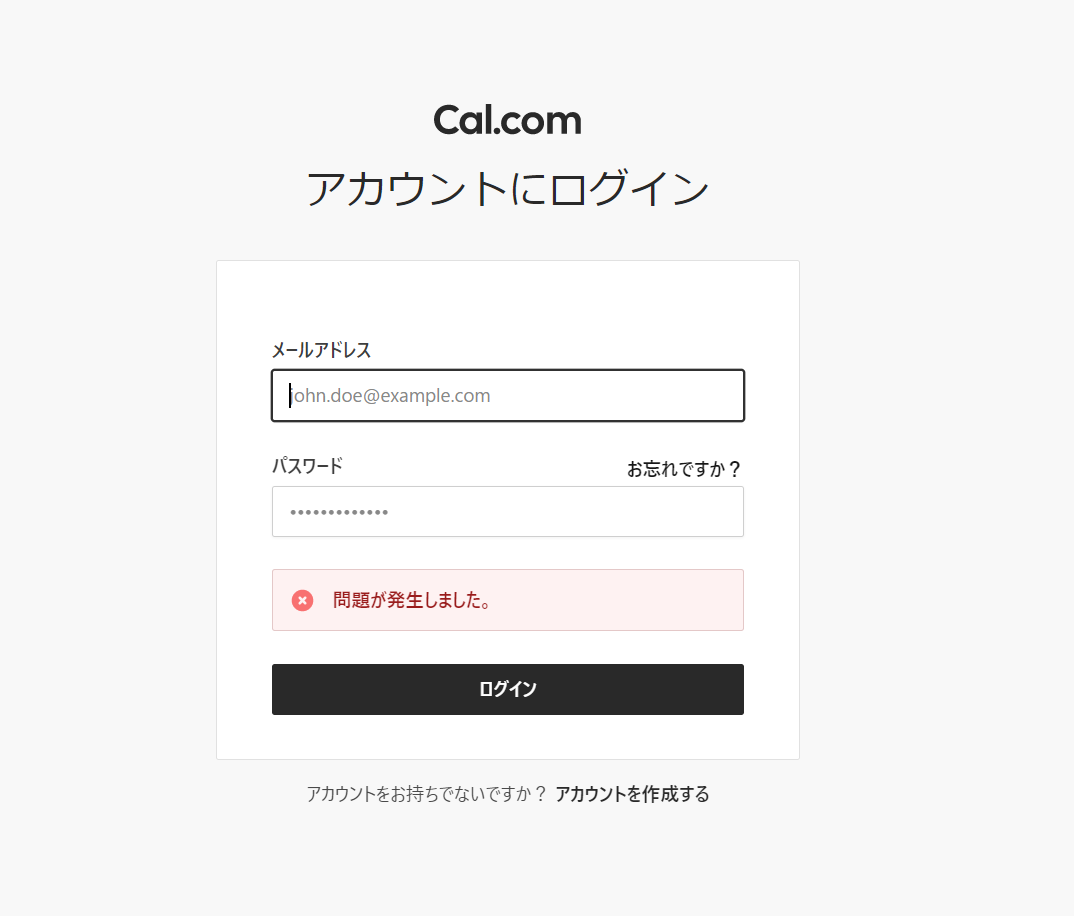
このような画面が表示されていれば開発環境は無事立ち上がっていると思います。
※ validation error は出ていないと思います。
Setting up your first user
ただ、このままですと user 情報を入力していないので、ログインできないはずです。そこで、DB にユーザー情報を登録します。
-
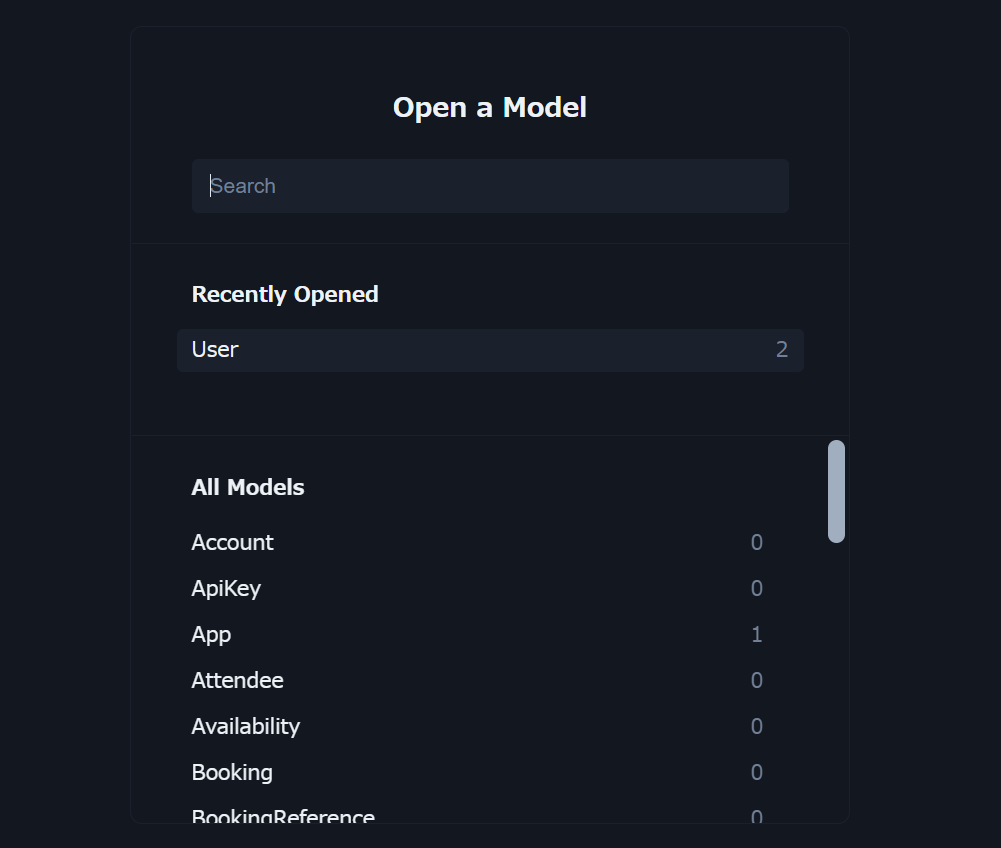
prisma studio にアクセス
-
早速 User を作りましょう。
-
email,username,password,metadata({} と入力)最低限このようなデータを埋めれば作成可能です。 - https://bcrypt-generator.com/
- password は上記のようなサイトで変換してから入力することを忘れずに。
-
ログイン情報を入力
先程の localhost:3000 画面にアクセスし、今作成したユーザー情報を入力します。
※ passward はあまり単純すぎるとバリデーションエラーが起きてしまうようです。
これで cal.com を手元で起動し、動かすことができるようになりました!
まとめ
Next.js や prisma を触るのは初めてだったのでわからない部分も多々ありますが、環境構築することができました。
今後はこのアプリを動かして Next.js や React, prisma をどのように使っているか学んでいきたいと思います。
再掲ソースコード
参考
