概要
当記事では
・Seleniumの実行環境設定
・IEモードの実行
の方法について説明します。
Seleniumの実行環境設定
jarファイルなど準備
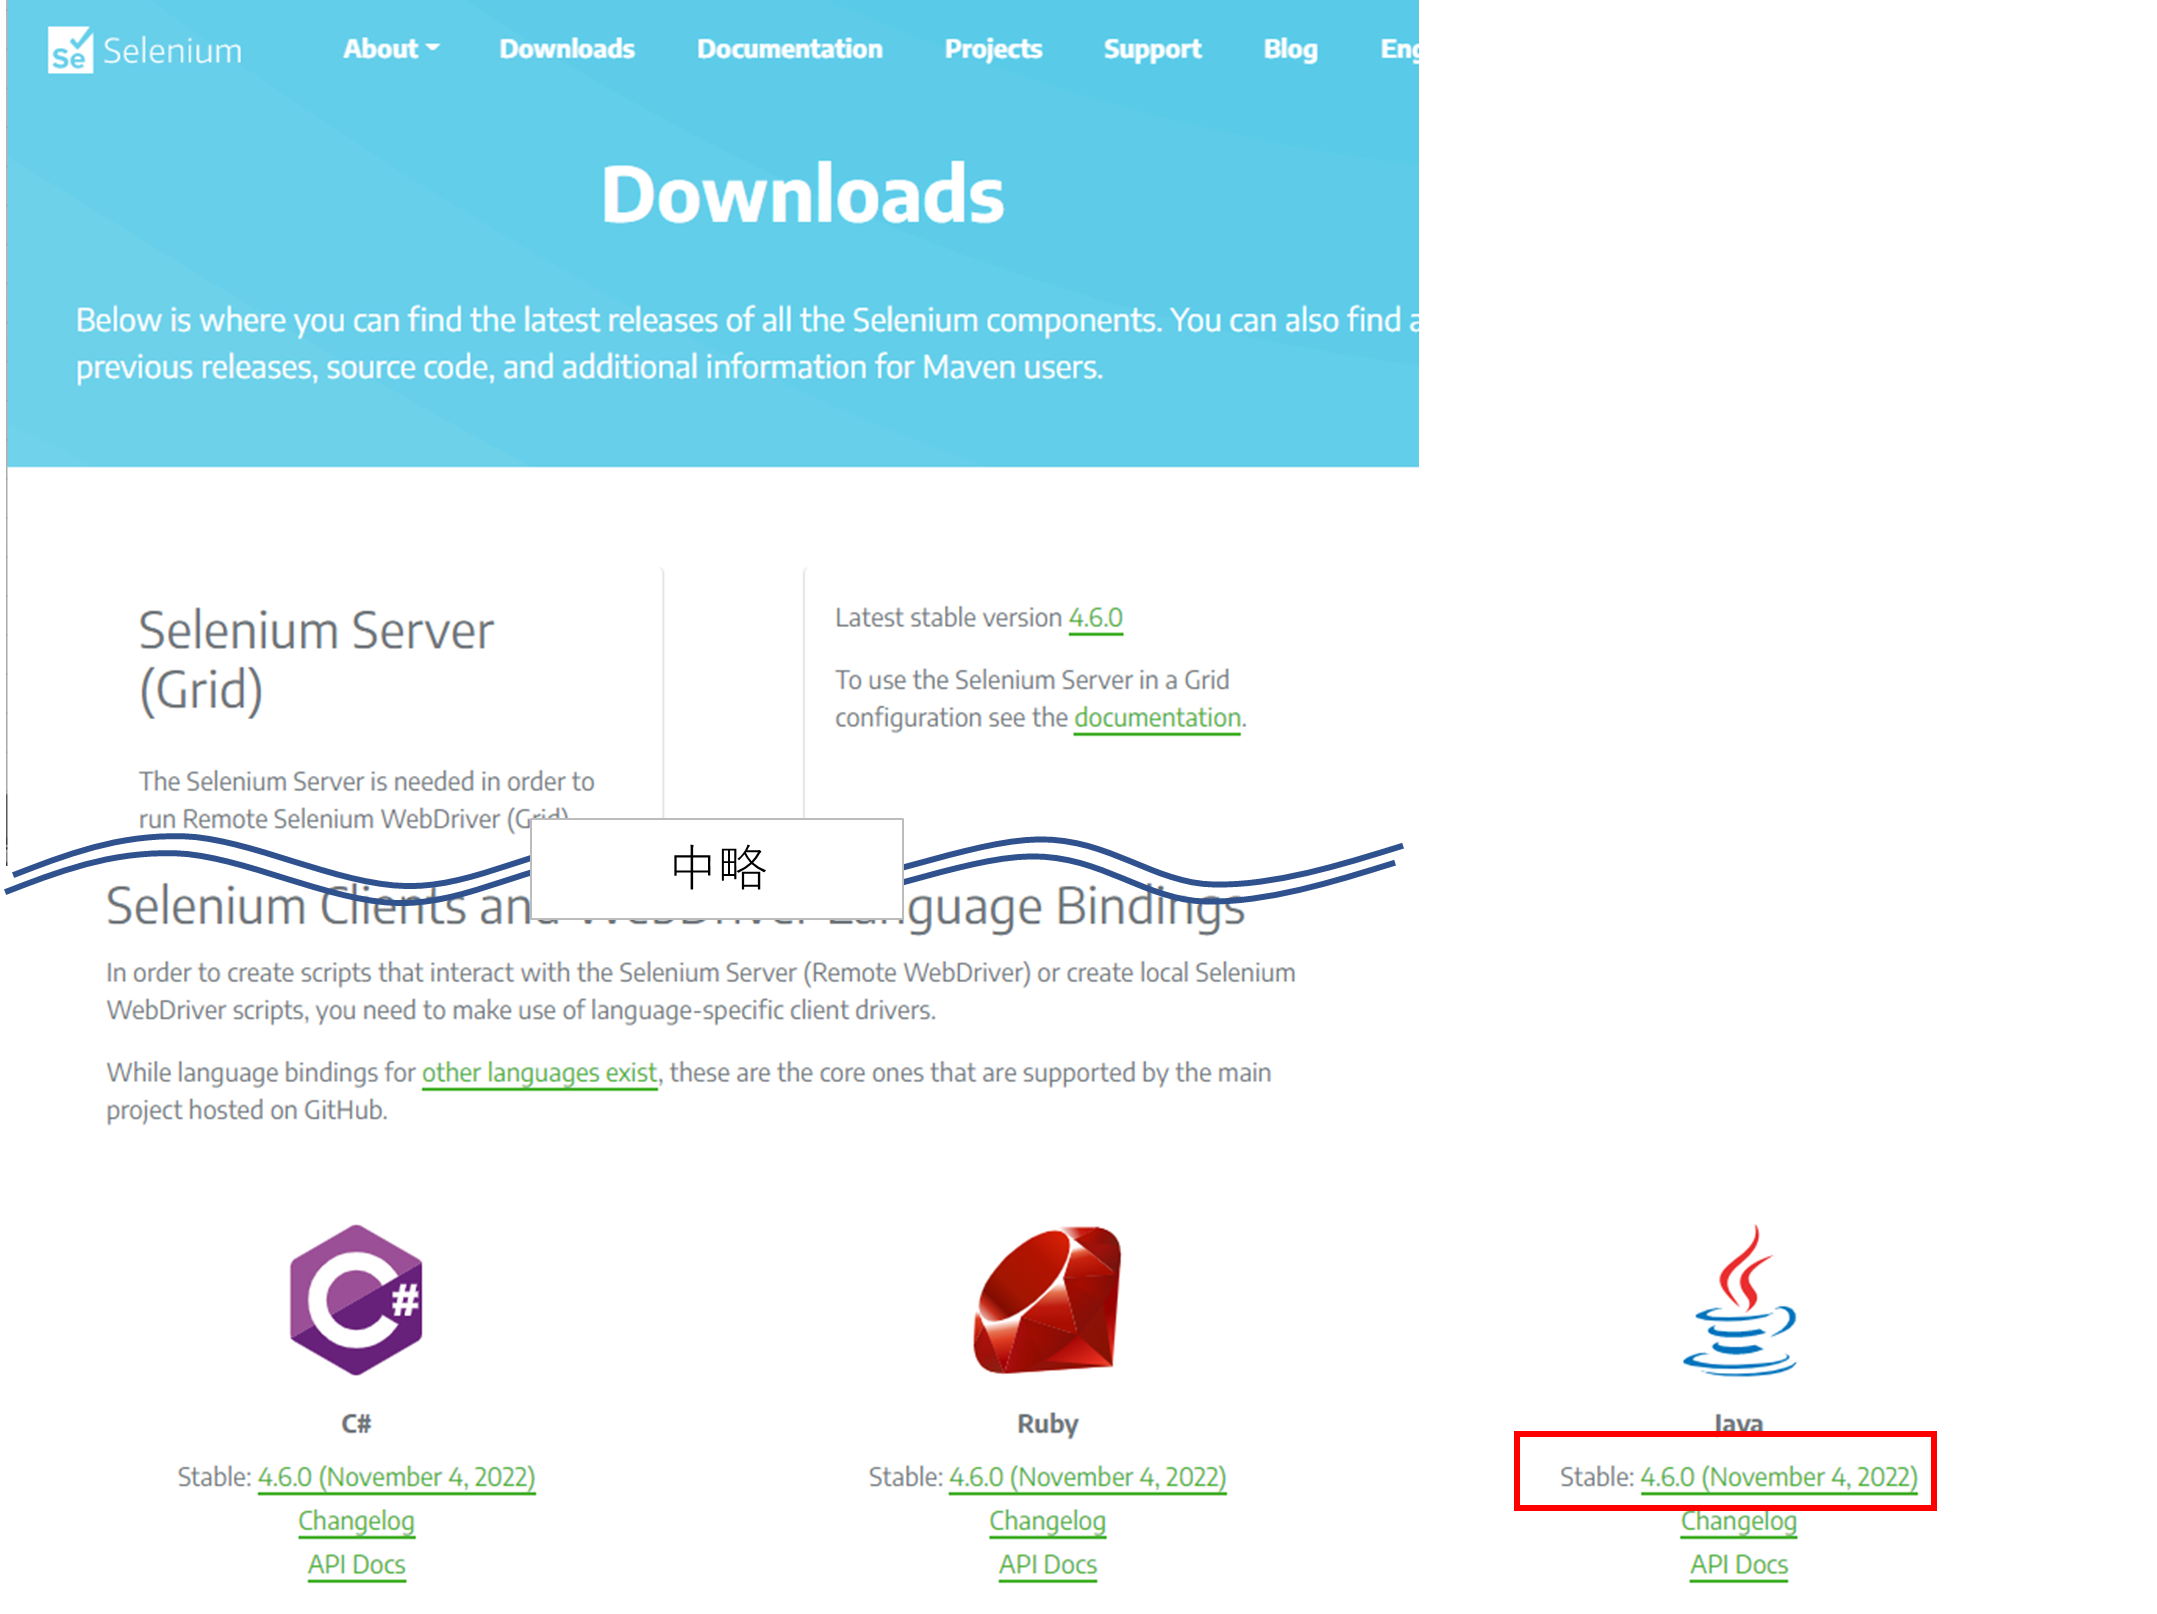
下記のサイトからzipをダウンロードし解凍。
https://selenium.dev/downloads/
eclipseのビルドパス設定
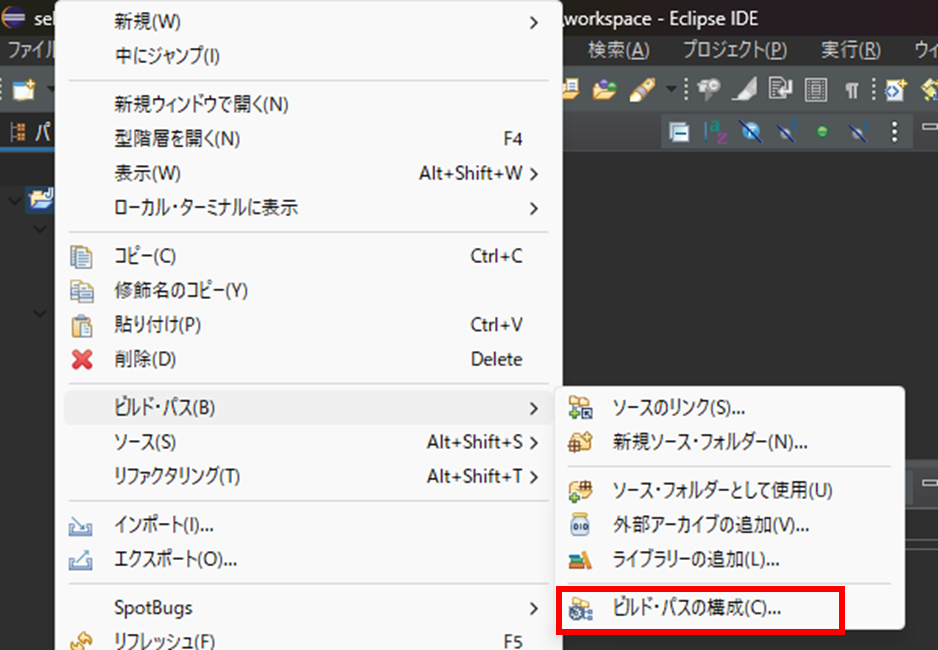
プロジェクトのコンテキストメニューから
ビルド・パス > ビルド・パスの構成
を選択

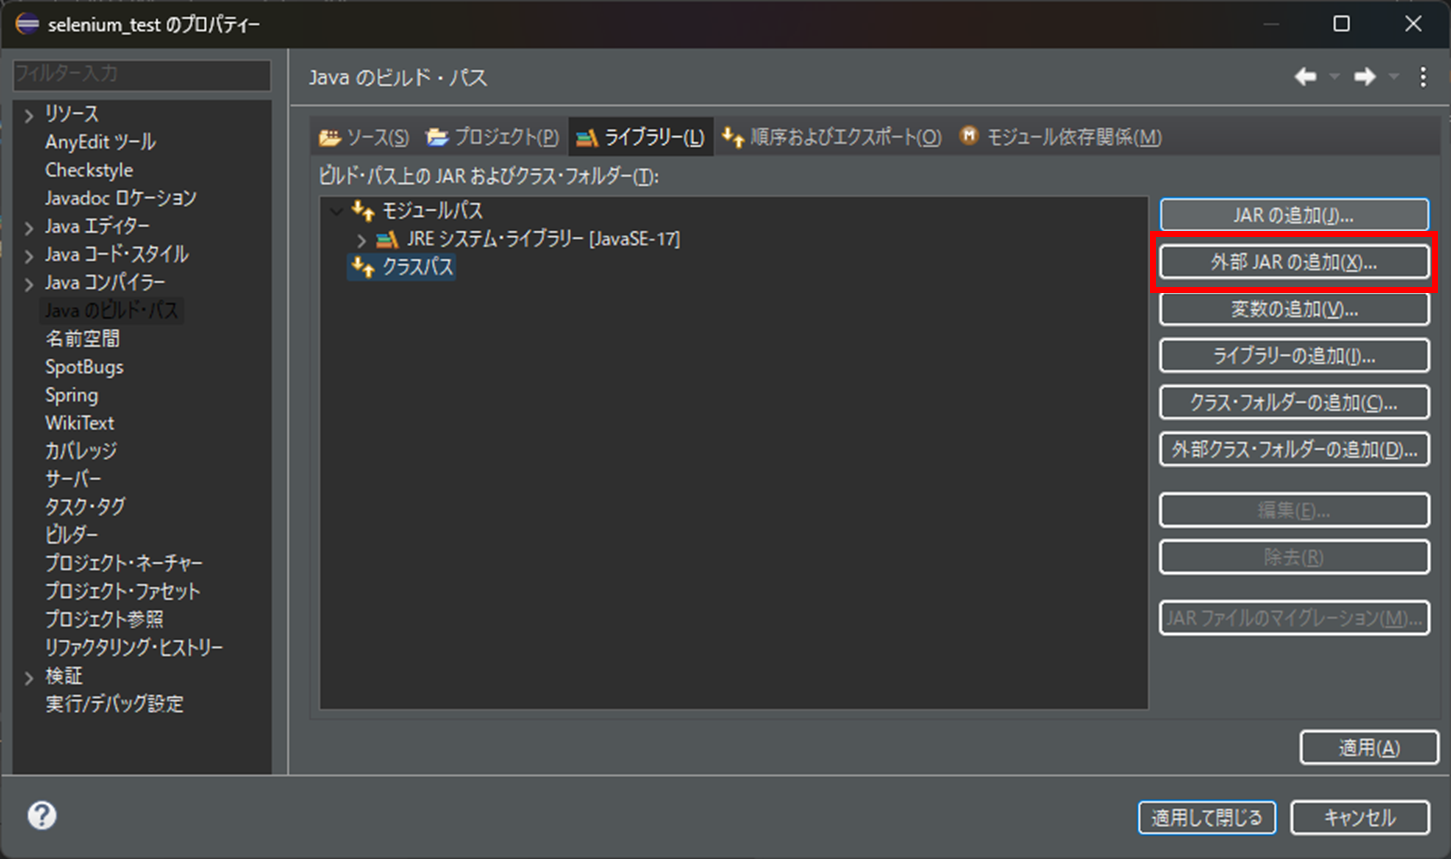
ライブラリータブを表示後、「外部JARの追加」をクリックするとファイル選択を求められるので、
必要なファイルを選択。
※私の場合とりあえず
・selenium-java-4.6.0 の直下
・selenium-java-4.6.0/lib の直下
を指定しましたが不要なものも含まれているため、良い子はマネしないでください。

IEDriverServerをダウンロード
下記のURLからZIPをダウンロードし解凍します。
※保存場所は任意ですが、後続の実装時にZIP内の「IEDriverServer.exe」のパスを指定します。
https://selenium.dev/downloads/

※「IEDriverServer.exe」が無いと、下記のエラーになります。
Exception in thread "main" java.lang.IllegalStateException: The path to the driver executable The path to the driver executable must be set by the webdriver.ie.driver system property; for more information, see https://www.selenium.dev/documentation/ie_driver_server/. The latest version can be downloaded from https://www.selenium.dev/downloads/
	at org.openqa.selenium.internal.Require$StateChecker.nonNull(Require.java:314)
	at org.openqa.selenium.remote.service.DriverService.findExecutable(DriverService.java:148)
	at org.openqa.selenium.ie.InternetExplorerDriverService.access$000(InternetExplorerDriverService.java:39)
	at org.openqa.selenium.ie.InternetExplorerDriverService$Builder.findDefaultExecutable(InternetExplorerDriverService.java:171)
	at org.openqa.selenium.remote.service.DriverService$Builder.build(DriverService.java:450)
	at org.openqa.selenium.ie.InternetExplorerDriver.setupService(InternetExplorerDriver.java:243)
	at org.openqa.selenium.ie.InternetExplorerDriver.<init>(InternetExplorerDriver.java:169)
	at org.openqa.selenium.ie.InternetExplorerDriver.<init>(InternetExplorerDriver.java:148)
	at selenium_test.Test$Driver$3.create(Test.java:91)
	at selenium_test.Test.main(Test.java:21)
インターネットオプション設定
下記の通り設定を変更しないと

の警告が表示され、Seleniumが正常に動作しません。

seleniumでの操作対象HTML準備
当記事では
親画面のHTMLを表示
↓
親画面のテキスト項目への入力
↓
親画面のリンクを押下して子画面(別ウィンドウ)を表示
↓
子画面(別ウィンドウ)のテキスト項目への入力
↓
親、子画面共にキャプチャを取得しファイルに保存
をやりたいと思います。
そのためにまずはSeleniumで使用するHTMLを下記の通り準備してください。
<html>
<head>
	<title>親画面</title>

<script type="text/javascript">
function disp(url){
	window.open(url, "window_name", "width=300,height=200,scrollbars=yes");
}
</script>
</head>
<body>
	<a id="child-link" class="child-link" href="子画面.html" target="window_name" onClick="disp('子画面.html')">
		子画面表示
	</a>
	<div class="main-form">
		氏名:<input class="name" type="text" />
	</div>
</body>
</html>
<html>
<head>
	<title>子画面</title>
</head>
<body>
	<header>
		子画面!!
	</header>
	<input type="text" id="child-name" />
</body>
</html>
selenium実装
実装は下記の通りです。
※実装の解説についてはプログラム内のコメントに記載しているので、
割愛させていただきます。
package selenium_test;

import java.io.File;
import java.io.IOException;
import java.nio.file.Files;
import java.time.Duration;

import org.openqa.selenium.By;
import org.openqa.selenium.OutputType;
import org.openqa.selenium.TakesScreenshot;
import org.openqa.selenium.WebDriver;
import org.openqa.selenium.WebElement;
import org.openqa.selenium.chrome.ChromeDriver;
import org.openqa.selenium.edge.EdgeDriver;
import org.openqa.selenium.ie.InternetExplorerDriver;
import org.openqa.selenium.ie.InternetExplorerOptions;
import org.openqa.selenium.support.ui.ExpectedConditions;
import org.openqa.selenium.support.ui.WebDriverWait;

public class Test {

	/**
	 * 待機時間(秒)
	 */
	public static final long SLEEP_SECONDS = 2L;

	/**
	 * msedge.exeのフルパス
	 */
	public static final String PATH_MSEDGE = "C:\\Program Files (x86)\\Microsoft\\Edge\\Application\\msedge.exe";

	/**
	 * IEDriverServer.exe"のパス
	 */
	public static final String PATH_IE_DRIVER = "{自身の環境に合わせて指定}\\IEDriverServer.exe";

	/**
	 * キャプチャの先フォルダパス
	 */
	public static final String PATH_CAPTURE = "{自身の環境に合わせて指定}";

	/**
	 * main
	 *
	 * @param args
	 * @throws InterruptedException
	 * @throws IOException
	 */
	public static void main(String[] args) throws InterruptedException, IOException {

		// ドライバ作成(ブラウザ起動)
		WebDriver driver = Driver.EdgeIeMode.create();

		// URLを開く
		driver.get("file:///{自身の環境に合わせて指定}/親画面.html");

		// 「.name」要素が取得できるまで最大10秒待機
		// 「親画面」のテキストボックスに入力
		WebElement nameEl = new WebDriverWait(driver, Duration.ofSeconds(10))
				.until(ExpectedConditions.elementToBeClickable(By.cssSelector(".name")));
		nameEl.sendKeys("親画面への入力");

		sleep();// 待機

		// 「子画面表示」リンクをクリック
		driver.findElement(By.cssSelector(".child-link")).click();

		// 「子画面」への切り替え
		String crrWinHdl = driver.getWindowHandle();
		for (String wh : driver.getWindowHandles()) {
			if (wh.equalsIgnoreCase(crrWinHdl)) continue;

			driver.switchTo().window(wh);
		}

		// 「子画面」のテキストボックスに入力
		driver.findElement(By.cssSelector("#child-name")).sendKeys("子画面への入力");

		sleep();// 待機

		//キャプチャを収集
		int i = 0;
		for (String wh : driver.getWindowHandles()) {
			i++;
			driver.switchTo().window(wh);

			saveCapture(driver, wh, "スクリーンキャプチャ_" + i + ".png");
		}

		sleep();// 待機

		driver.quit();// 終了
	}

	/**
	 * キャプチャを保存
	 *
	 * @param driver
	 * @param windowHandle
	 * @param fileName
	 * @throws IOException
	 */
	public static void saveCapture(WebDriver driver, String windowHandle, String fileName) throws IOException {
		driver.switchTo().window(windowHandle);

		File file = ((TakesScreenshot) driver).getScreenshotAs(OutputType.FILE);
		Files.copy(file.toPath(), new File(PATH_CAPTURE + fileName).toPath());
	}

	/**
	 * 待機
	 *
	 * @throws InterruptedException
	 */
	public static void sleep() throws InterruptedException {
		Thread.sleep(SLEEP_SECONDS * 1000);
	}

	/**
	 * ドライバー
	 *
	 * @author k.sasaki
	 */
	public enum Driver {
		/**
		 * Chrome用
		 */
		Chrome {
			@Override
			WebDriver create() {
				return new ChromeDriver();
			}
		},
		/**
		 * Edge用
		 */
		Edge {
			@Override
			WebDriver create() {
				return new EdgeDriver();
			}
		},
		/**
		 * Edge(IEモード)用
		 */
		EdgeIeMode {
			@Override
			WebDriver create() {

				File file = new File(PATH_IE_DRIVER);
				System.setProperty("webdriver.ie.driver", file.getAbsolutePath());

				InternetExplorerOptions ieOptions = new InternetExplorerOptions();
				ieOptions.attachToEdgeChrome();
				ieOptions.withEdgeExecutablePath(PATH_MSEDGE);

				return new InternetExplorerDriver(ieOptions);
			}
		};

		/**
		 * ドライバー生成
		 * @return WebDriver
		 */
		abstract WebDriver create();

	};

}
selenium実行
説明するまでもないですが、下記のボタンを押下し実行できます。

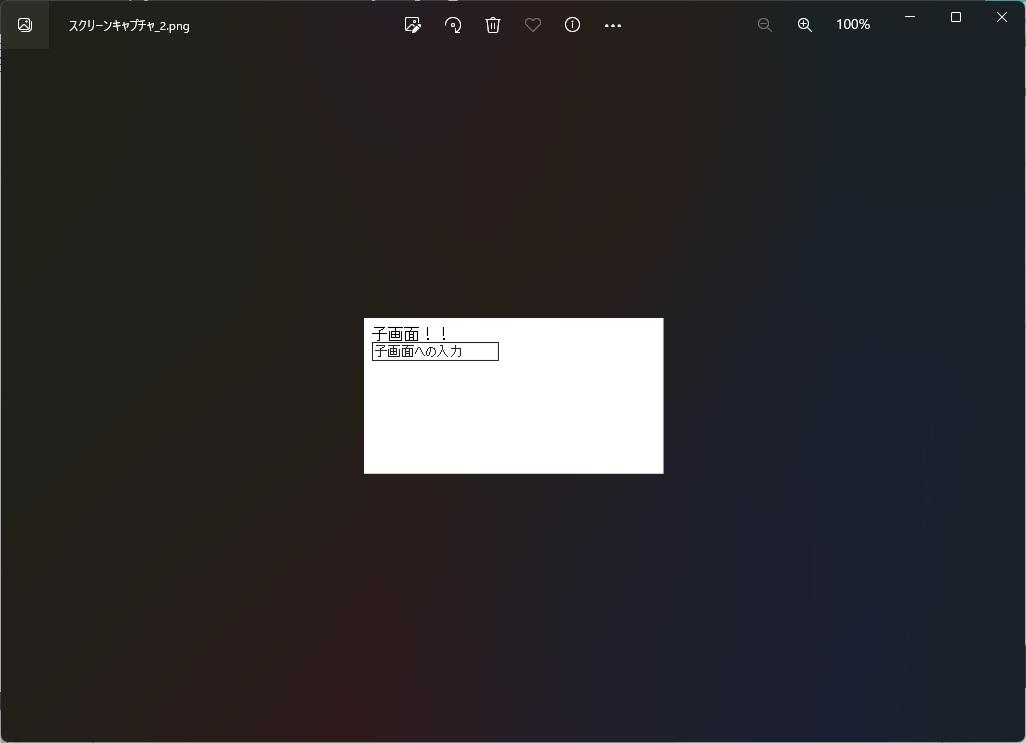
ことが確認できます。
実行後、キャプチャが保存されることも確認できます。

最後に
IEが終了したとはいえ、
会社、システムの都合によりIEモードを使用する場面があるかと思います。
IEモードを使用したシステムであってもSeleniumを使用することができるので、
ぜひご参考まで。


