LaravelをAPIサーバーとして使う場合の忘備録として導入手順をメモしていこうと思います。
基本的には、以下ドキュメントを見れば書いてあることではあります。
JavaScript & CSS Scaffolding
*この記事で使用しているLaravelのバージョンはLTSの6系です。
*Laravelのバージョンごとのドキュメントは以下を参考にしてみて下さい。
Laravel Document
Reactを導入する
まず、Laravelのuiパッケージをインストールする必要があります。
composer require laravel/ui:^1.0 --dev
次に以下コマンドでReactをインストールします。
Login機能を作成したい場合は、--authを追記しましょう。
(5系で使えてたmake:authコマンドは、6系から削除されています)
php artisan ui react --auth
その後、インストールメッセージに従って、npmコマンドを実行。
npm install && npm run dev
yarn使う場合は以下の通り
yarn install && yarn dev
これでLaravelでReactを使えるようになります。
resources/js/components配下のExample.jsが、Reactに書き換わってることが確認できると思います。
Reactでページを作ってみる
折角なんで、実際にReactでviewを書いて、確認してみましょう。
resource/js/app.jsには既に、Exampleを読み込む設定がされていますが、これをApp.jsに書き換えておきましょう。
/**
 * Next, we will create a fresh React component instance and attach it to
 * the page. Then, you may begin adding components to this application
 * or customize the JavaScript scaffolding to fit your unique needs.
 */

require('./components/App'); //ここをAppに書き換える
まず、ルートの定義をします。
Route::get('/{any}', function(){
    return view('App');
})->where('any', '.*'); //補足:.*は、正規表現で0文字以上の任意の文字列を意味する
次に、viewとcomponents配下に、App.jsを新規作成します。
まずは、ファイルの変更を監視するために、以下コマンドを入力。
npm run watch
<!doctype html>
<html lang="{{ str_replace('_', '-', app()->getLocale()) }}">
<head>
    <meta charset="utf-8">
    <meta name="viewport" content="width=device-width, initial-scale=1">
    <meta name="csrf-token" content="{{ csrf_token() }}">
    <title>{{ config('app.name', 'React導入テスト') }}</title>
    <script src="{{ asset('js/app.js') }}" defer></script>
    <link rel="dns-prefetch" href="//fonts.gstatic.com">
    <link href="https://fonts.googleapis.com/css?family=Nunito" rel="stylesheet">
    <link href="{{ asset('css/app.css') }}" rel="stylesheet">
</head>
<body>
<div id="app"></div>
</body>
</html>
import React from 'react';
import ReactDOM from 'react-dom';

const App = () => {
    return(
        <p>表示されてる?</p>
    )
}

if (document.getElementById('app')) {
    ReactDOM.render(<App />, document.getElementById('app'));
}
これで一旦、表示は確認できたかと思います。
ページ遷移のために、react-router-domを導入
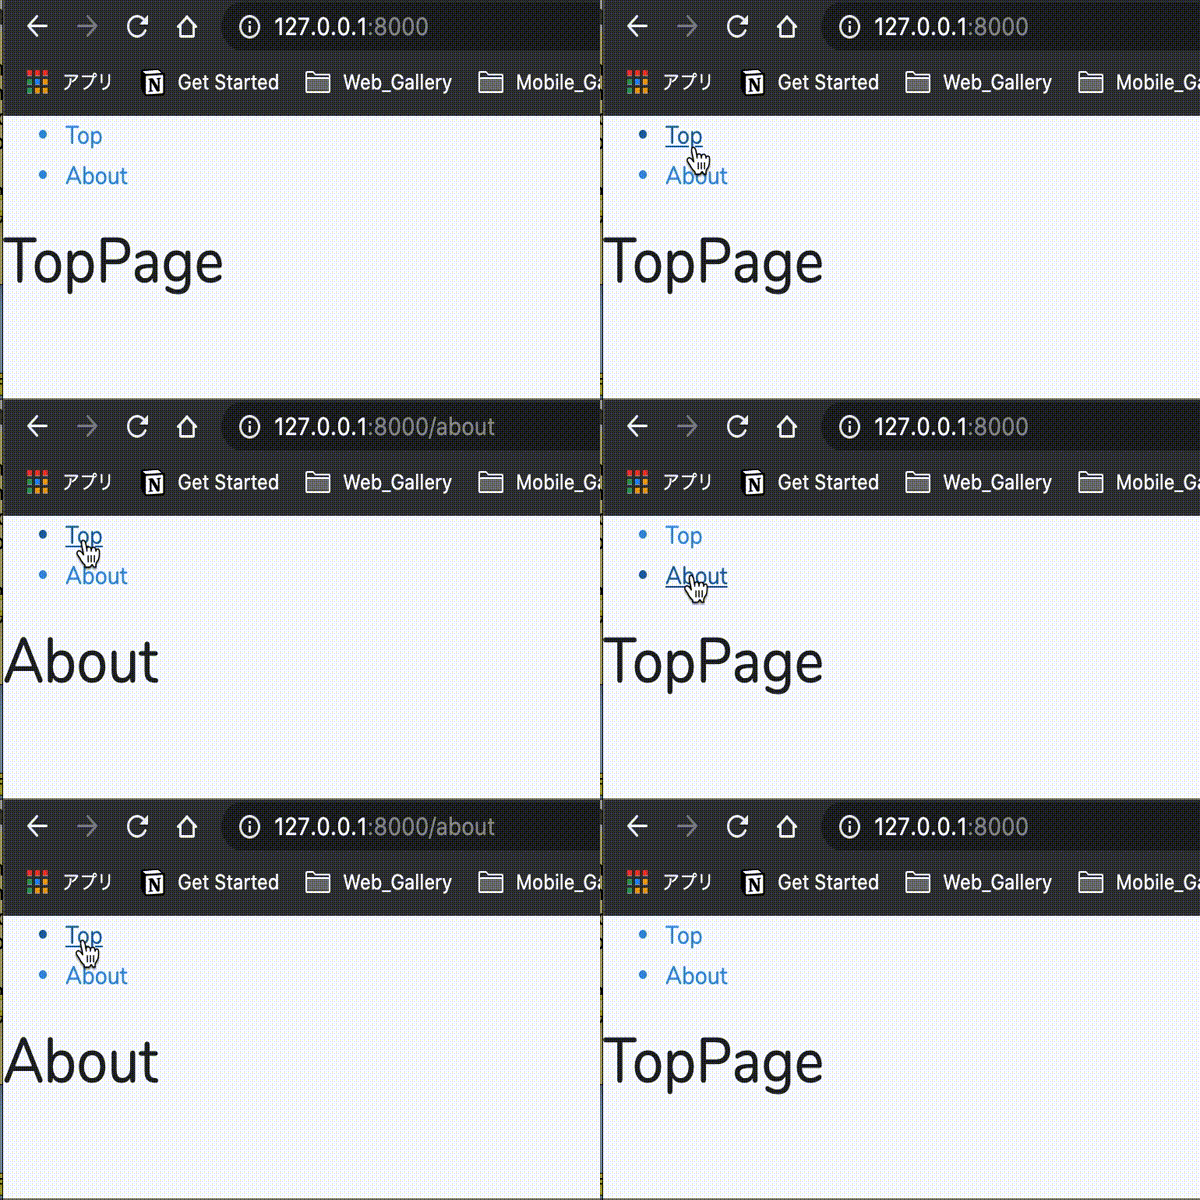
次にページ遷移の確認を。
Routingライブラリの react-router react-router-domをインストールしておきましょう。
react-router
react-router-dom
npm install react-router react-router-dom
yarn add react-router react-router-dom
検証用に以下、コンポーネントを作成。
import React from 'react';
import {Link} from 'react-router-dom';

const GlobalNav = () => {
    return(
        <nav>
            <ul>
                <Link to="/">
                    <li>Top</li>
                </Link>
                <Link to="/about">
                    <li>About</li>
                </Link>
            </ul>
        </nav>
    )
}

export default GlobalNav;
import React from 'react';

const Top = () => {
    return <h1>TopPage</h1>
}

export default Top;
import React from 'react'

const About = () => {
    return <h1>About</h1>
}

export default About;
App.jsで上記コンポーネントをインポートします。
import React from 'react';
import ReactDOM from 'react-dom';
import {BrowserRouter, Route, Switch} from 'react-router-dom';

import GlobalNav from './GlobalNav';
import Top from './Top';
import About from './About';

const App = () => {
    return(
        <BrowserRouter>
        <React.Fragment>
            <GlobalNav />
            <Switch>
          {/*完全一致のため、exactを付与*/}
                <Route path="/" exact component={Top} />
                <Route path="/about" component={About} />
            </Switch>
        </React.Fragment>
        </BrowserRouter>
    )
}

if (document.getElementById('app')) {
    ReactDOM.render(<App />, document.getElementById('app'));
}
react-router-domのタグについて補足
BrowserRouter
ルーティングを定義するために <BrowserRouter>か<HashRouter>、いずれかのコンポーネントを使用します。
BrowserRouterは、History APIを、HashRouterは、Window.locationを利用しています。
Switch
<Switch>内にルーティングを記述すると、urlにマッチした最初のルーティングだけがレンダリングされます。
タグで囲わなかった場合、上記例で言うと、TopコンポーネントとAboutコンポーネントの文字列が同時に表示されてしまうことになります。
Route
URLpathと、URLが一致した際にレンダリングするコンポーネントを指定します。
exact pathは、URLを完全一致させたいときに利用します。
