P&Dアドベントカレンダー10日目の記事です。まだ10日目です。UTC的にはまだ10日目です。
ブラウザで画像を切り取るとき
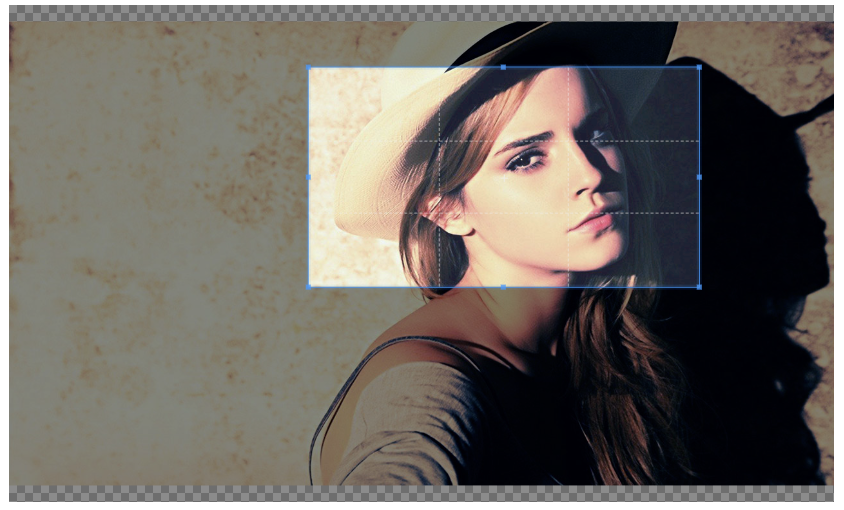
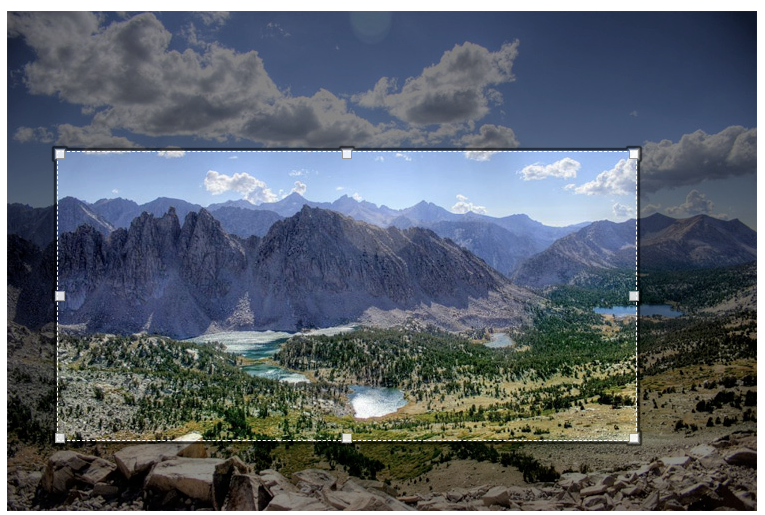
画像をトリミングするといえば、「Cropper.js」といったツールや他にも「Jcrop」などがあります。これらの共通点としては、画像のトリミング範囲をバウンディングボックスを動かす形で指定するところでしょう。
| Cropper.js | Jcrop |
|---|---|
 |
 |
|
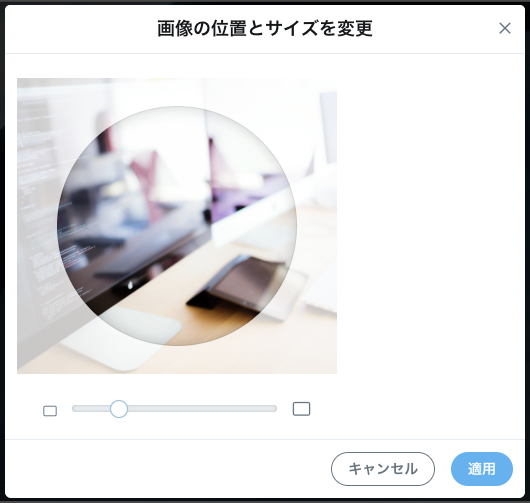
しかし、Twitterのような画像のトリミング方法を採用したとき、上記のライブラリだと厳しいものがある。

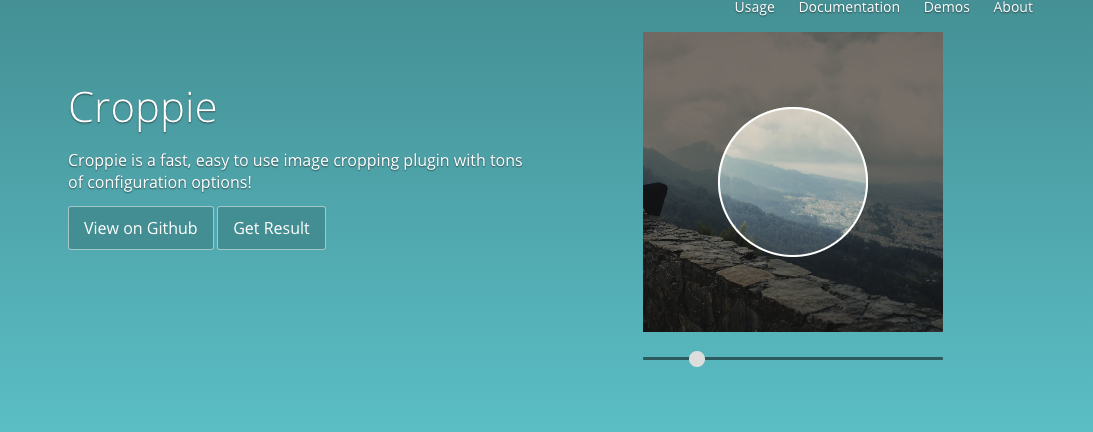
その時に活躍するライブラリが「Croppie」です。
Croppie
CroppieはPure JSでもjQueryでも使えるプラグインです。
詳しい使い方は公式ページを見ていただくとして、簡単な使い方を紹介します。
<div class="js-croppie"></div>
$(function() {
  var $preview = $('.js-croppie');

  var $uploadCrop = $preview.croppie({
    url: 'http://placekitten.com/500/800',
    viewport: {
      width: 200,
      height: 200
    },
    boundary: {
      width: 300,
      height: 300
    }
  });
 })
あらかわいい猫。
これだけでトリミングの画面ができます。viewportが内枠、boundaryが外枠の大きさになります。
結果を出力する
切り取った画像をbase64やblobといった形式で書き出すことができます。
<div class="js-croppie"></div>
<button class="js-crop">Crop!</button>

<div class="js-cropped-image"></div>
$(function() {
  var $preview = $('.js-croppie');

  var $croppie = $preview.croppie({
    url: 'http://placekitten.com/500/800',
    viewport: {
      width: 200,
      height: 200
    },
    boundary: {
      width: 300,
      height: 300
    }
  });

  // buttonを押したらクロップ
  $('.js-crop').on('click', function() {
    // 結果を出力
    $croppie.croppie('result', 'base64').then(function(base64) {
      $croppedImage = $('.js-cropped-image');
      $croppedImage.html('');
      $('<img>').attr('src', base64).appendTo($croppedImage);
    });
  })
 })
枠の座標を出力する
サーバで画像をトリミングするとき、画像の元データと座標データをサーバ側に送ることが多いです。
そのときはupdate.croppieイベントで座標を取ることができます。
左上x座標y座標、右下x座標y座標の値が返ってきます。
<div class="js-croppie"></div>

<div class="js-coord">
  <input type="text" name="x1">
  <input type="text" name="y1">
  <input type="text" name="x2">
  <input type="text" name="y2">
</div>
$(function() {
  var $preview = $('.js-croppie');

  var $croppie = $preview.croppie({
    url: 'http://placekitten.com/500/800',
    viewport: {
      width: 200,
      height: 200
    },
    boundary: {
      width: 300,
      height: 300
    }
  });

  $croppie.on('update.croppie', function(e, cropData) {
    $('input[name="x1"]').val(cropData.points[0]);
    $('input[name="y1"]').val(cropData.points[1]);
    $('input[name="x2"]').val(cropData.points[2]);
    $('input[name="y2"]').val(cropData.points[3]);
  })
デモ
Codepenにデモを書いているので参考にしてください。
https://codepen.io/1060ki/pen/aQxqwJ
追伸
http://placekitten.com/ は猫好きはぜひ使うべきだと思うんです。

