やりたいこと
- Expoで開発中、staging向きのビルドをApp Store Connectにアップロードし、TestFlightをつかった確認をよくする
- しかし、どのビルドがstaging向きで、どれが本番向きかがパッ見とで区別がつかない
- 区別がつかないと、うっかりミスをいつかやってしまうかもしれない
- 間違ってstaging向きのビルドを公開してしまうとか
- stagigだと思って操作してたら本番だったりとか
- そこで、App Store Connect上でぱっと見でstagingビルドなのか本番ビルドなのか区別がつくようにしたい
- 今回はstagingと本番でアプリアイコンを変えるというアプローチを紹介する

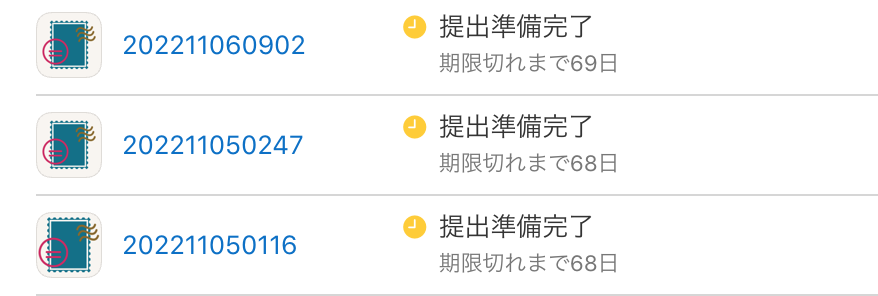
↑何もしないとどれがstagingビルドかこれだけだとわからない・・・

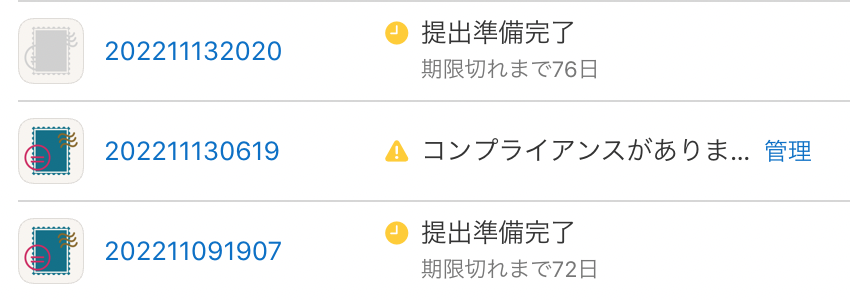
↑アイコンがグレーのものがstagngビルド。こうすれば一目瞭然
app.config.tsで環境に合わせてアプリアイコンを設定する
Expoでアプリの諸々の設定が書かれたapp.jsonはapp.config.tsから動的に設定することができる。(jsで書いてる場合はapp.config.js)
環境ごとにアイコンを変えるためにはこのようにする。
process.env.APP_ENVでビルドの環境ごとにiconのパスを変えている。
androidの場合はadaptiveIconを書きかえる必要があるので注意
export default ({ config }: ConfigContext): ExpoConfig => {
    // 通常のアプリアイコンのパス
    let icon = "./assets/icon.png"
    let adaptiveIcon = "./assets/adaptive-icon.png"
    switch (process.env.APP_ENV) {
        case "staging":
            // staging用のアイコンのパス
            icon = "./assets/icon-stag.png"
            adaptiveIcon = "./assets/adaptive-icon-stag.png"
            break;
        case "production":
            break;
        default:
            break;
    }
    return {
        ...config,
        name: config.name ?? "",
        slug: config.slug ?? "",
        // 上書きする
        icon: icon,
        android: {
            ...config.android,
            // 上書きする
            adaptiveIcon: {
                ...config.android.adaptiveIcon,
                foregroundImage: adaptiveIcon,
            },
        },
    }
};
あとはpackage.jsonのビルドスクリプトをこんな感じに書き換えて
"scripts": {
    "start": "expo start",
    "android": "expo start --android",
    "ios": "expo start --ios",
    "web": "expo start --web",
    "eject": "expo eject",
    "build:ios:stag": "eas build --profile staging --platform ios --auto-submit-with-profile=staging",
}
build:ios:stagを実行すればよい。
--profile stagingオプションをつけることで、process.env.APP_ENVがstagingとなる。
--auto-submit-with-profile=stagingをつけることで、そのままApp Store Connectにビルドをアップロードしてくれる。
まとめ
環境ごとにアプリアイコンを変えればうっかりミスを防止できてよい!
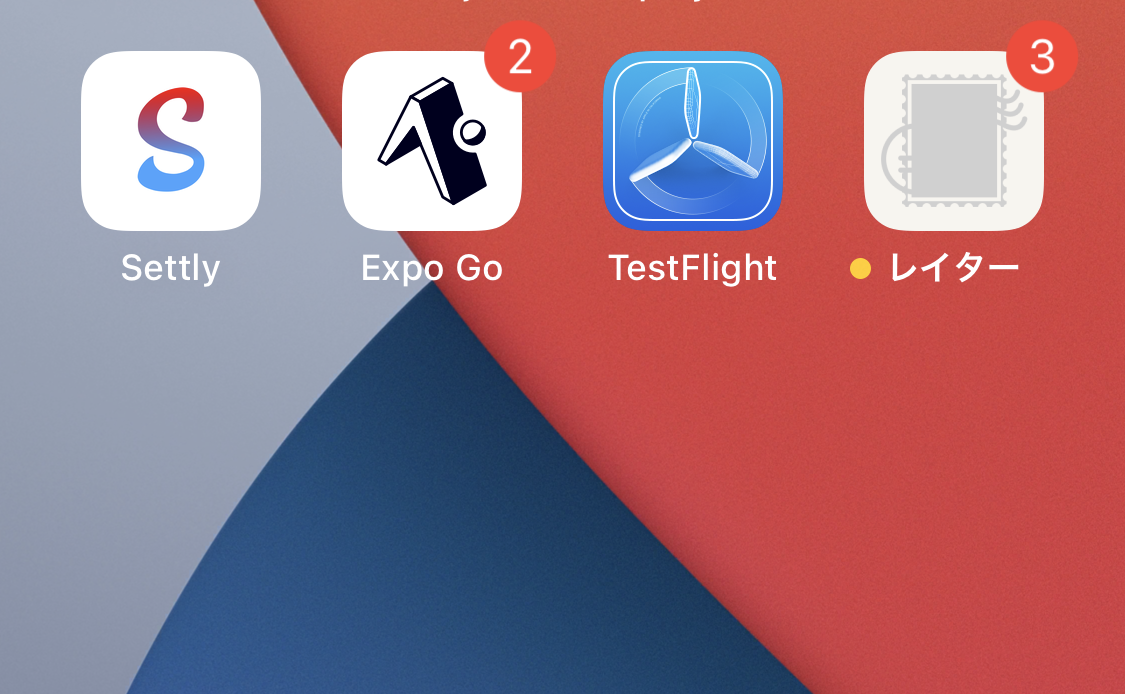
もちろんインストールした時にもアイコンで環境の区別がつくのでわかりやすい。

ちなみにこのアイコンのアプリは↓で紹介してます。
【個人開発】「後で」返事ができる文通チャットアプリ「レイター」を作った話:技術編
Twitterもやってるので、よければフォローお願いします。
→https://twitter.com/ObataGenta