はじめに
Spring Boot + Thymeleaf のサンプルプログラムをEclipseで作ってみよう。
開発環境
Windows 10 Pro 1709(16299.192)
Eclipse pleiades-4.7.3
java 1.8.0_162
spring-boot-2.0.2.RELEASE
thymeleaf-3.0.9.RELEASE
手順
1.Eclipse Pleiades All in One のインストール
のちのち他言語でも使いたいので、フルバージョンをインストールします。
「Ultimate」:Java以外でも開発可能(C/C++、Python...)
「Full Edition」:コンパイラや実行環境を含む
2.STSのインストール
3.プロジェクトの作成
4.サンプルプログラム"従業員表示"作成
M(Model): Form (Javaクラス)
C(Controller) : Controller (Javaクラス)
V(View) : html(template)
5.動作確認
1.Eclipse Pleiades All in One のインストール
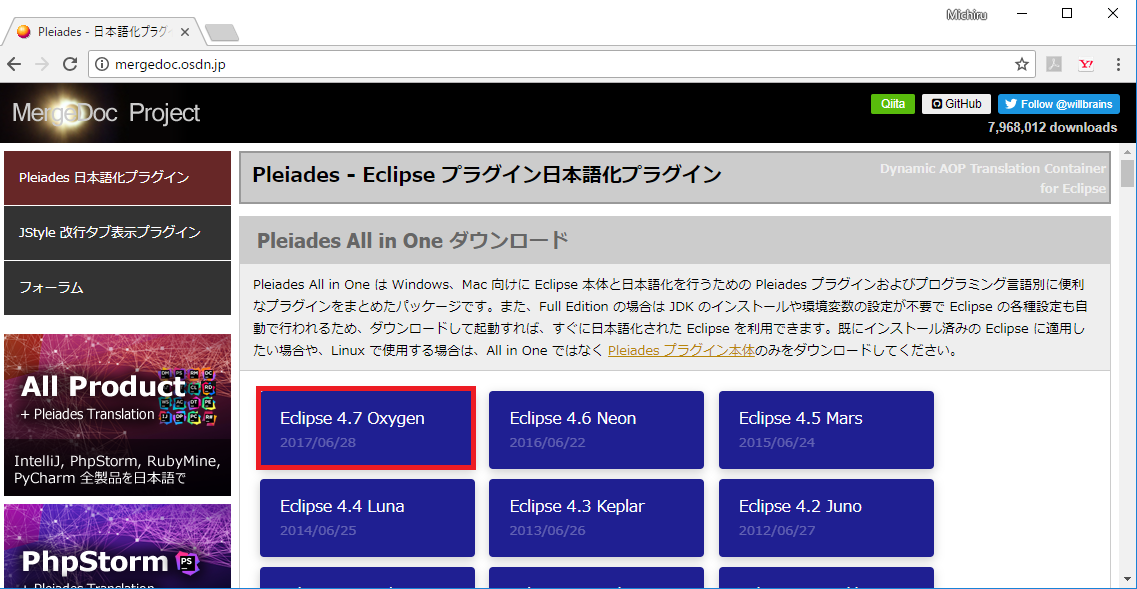
URL
http://mergedoc.osdn.jp/
インストール手順
1. 「Eclipse 4.7 Oxygen」クリック
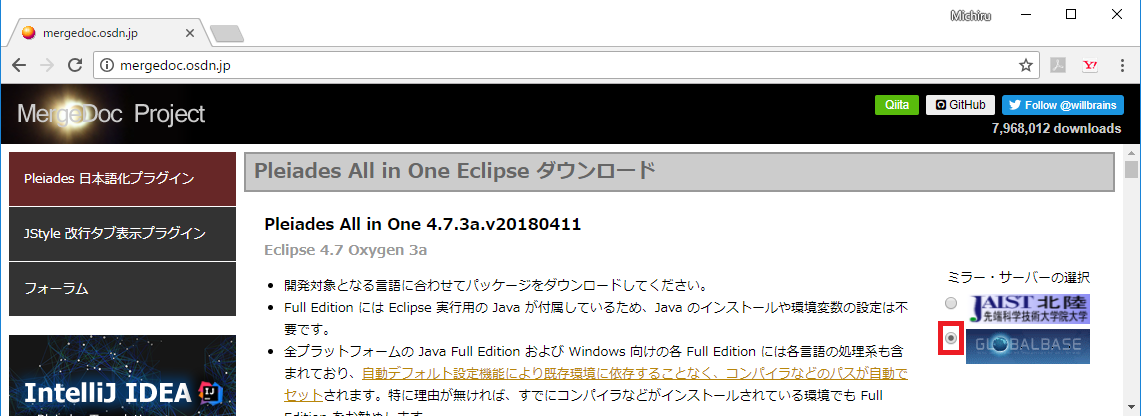
2. ミラー・サーバを変更する ( 3.でタイムアウトしてしまう場合があるので。)
3. Windws 64bitの「Ultimate」「Full Edition」をクリック
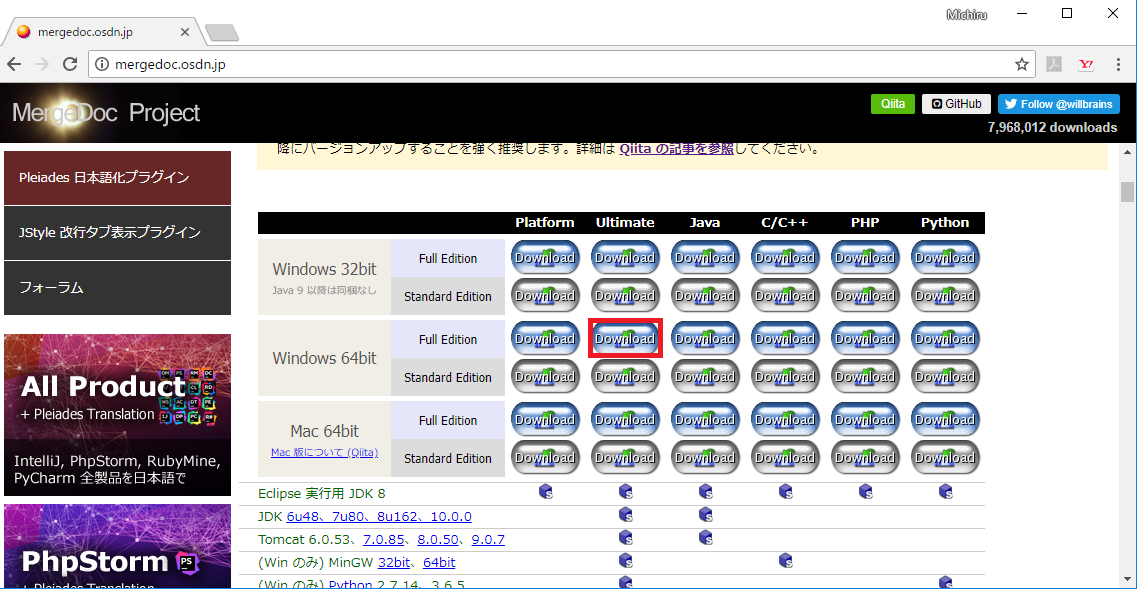
4.ダウンロードファイルを作業フォルダーに解凍する

2.STSのインストール
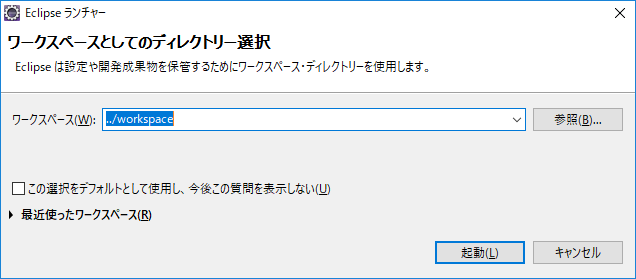
1. 「eclipse.exe」をダブルクリック

2. 「起動」ボタンをクリック
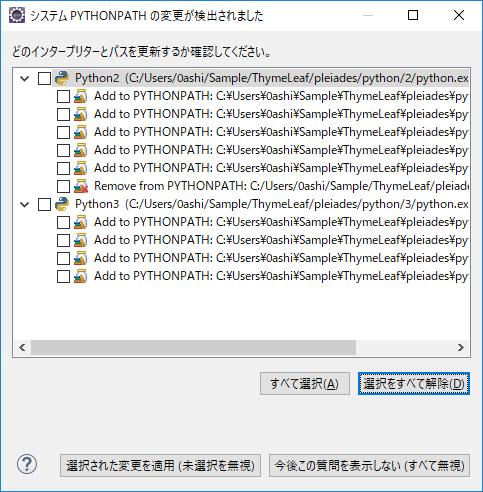
3. Pythonは使用しないので「選択をすべて解除」ボタンをクリックし、「選択された変更を適用」ボタンをクリック
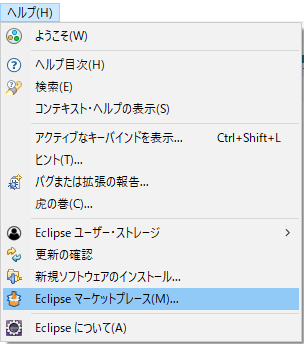
4. 「ヘルプ」「Eclipseマーケットプレース」メニュ選択
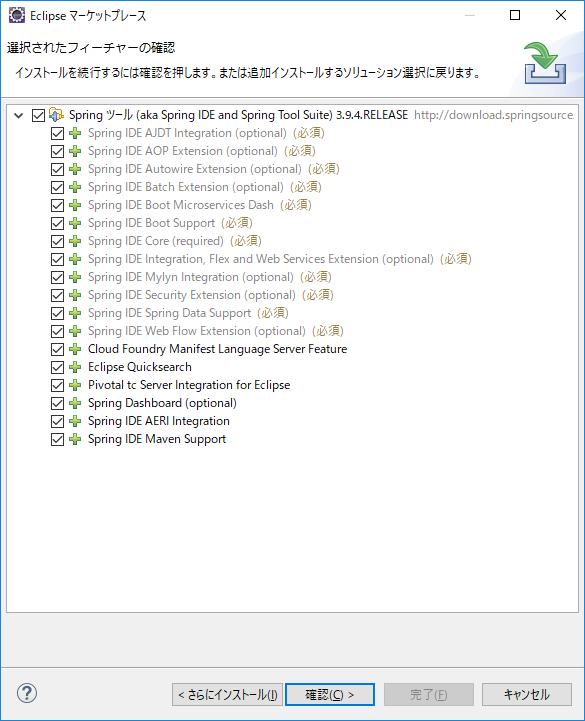
5. 「検索」に"STS"と入力し、Enterキー押下後、「インストール」ボタンクリック

6. 「確認」ボタンクリック
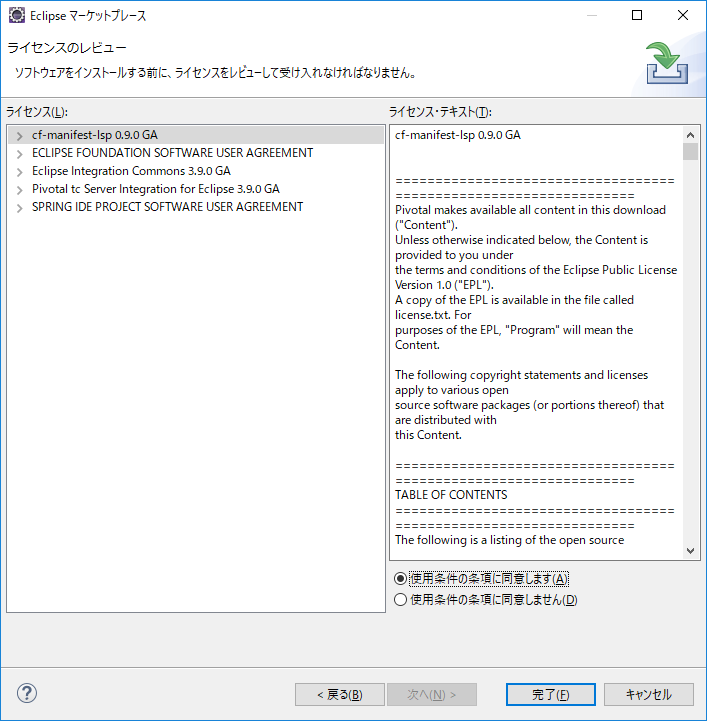
7. 「使用条件の条項に同意します」を選択し、「完了」ボタンクリック
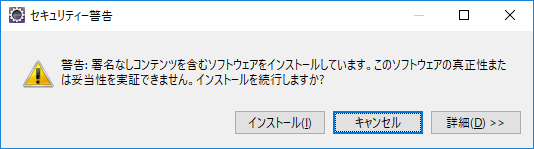
8. 「インストール」ボタンクリック
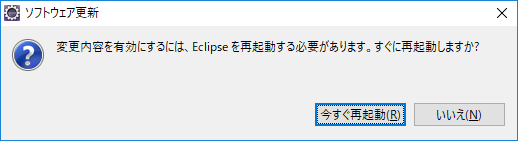
9. 「今すぐ再起動」ボタンクリック
3.プロジェクトの作成
3-1.Springパースペクティブを開く
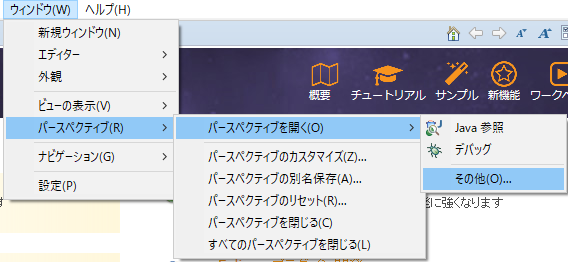
1. 「ウィンドウ」「パースペクティブ」「パースペクティブを開く」「その他」メニュ選択
2. 「Spring」を選択し「開く」ボタンクリック

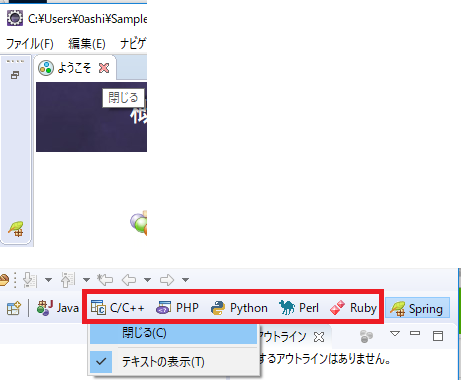
3. 「ようこそ」を閉じ、「C/C++」「PHP]「Python」「Perl」「Ruby」も閉じておく
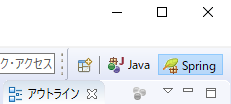
4. Springをクリックし、Springパースペクティブを開く
3-2.Springプロジェクト作成
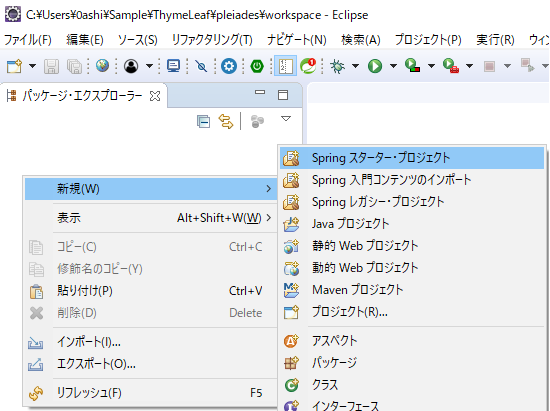
1. パッケージ・エクスぷローラー上の右メニュで「新規」「Springスターター・プロジェクト」メニュ選択
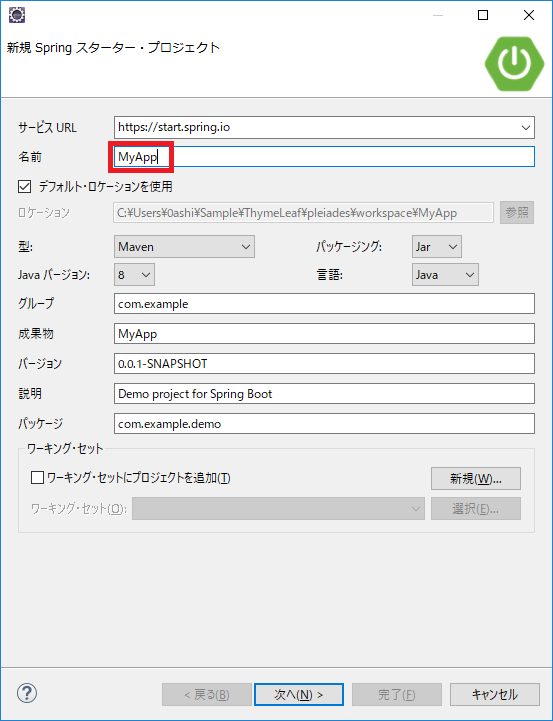
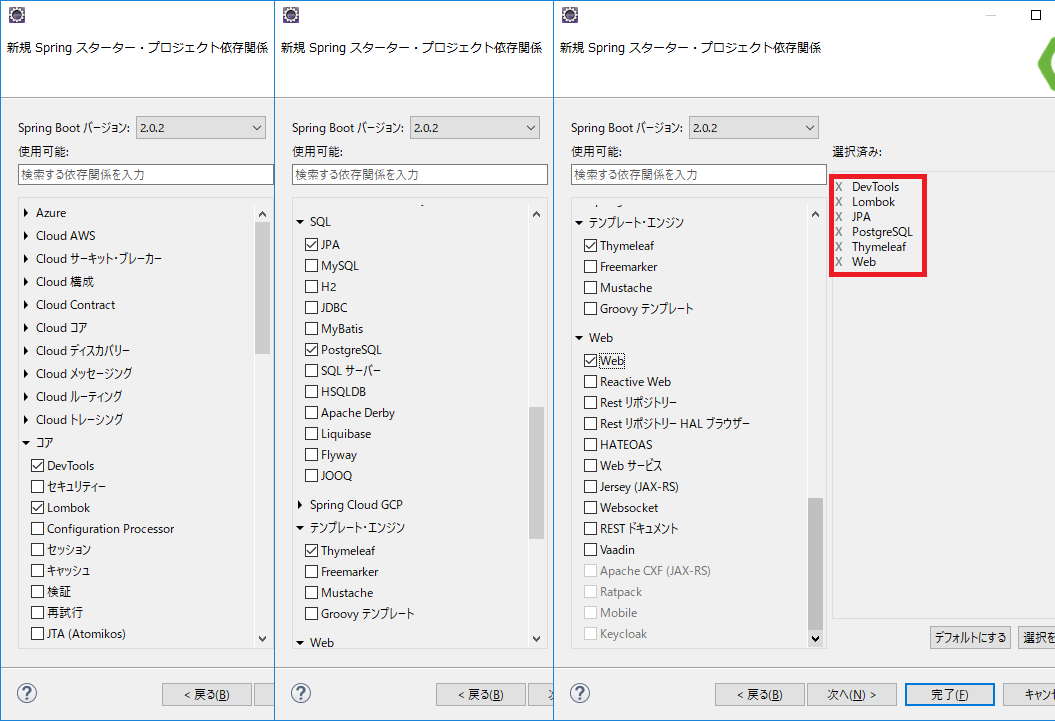
2. プロジェクト名、その他を入力し、「次へ」ボタンクリック
3. 依存関係の選択「DevTools」「Lombok」「Thymeleaf」「Web」を選択し、「完了」クリック(「JPA」「PostgreSql」は後ほどDBのサンプルプログラム作成で使用。)
4. 「JPA」「PostgreSql」を選択した場合は、application.propertiesに以下を追加
application.properties
spring.datasource.url=jdbc:postgresql://localhost:5432/postgres
spring.datasource.username=postgres
spring.datasource.password=admin
spring.datasource.driverClassName=org.postgresql.Driver

# disable driver's feature detection
spring.jpa.properties.hibernate.temp.use_jdbc_metadata_defaults = false

# without detection you have to set the dialect by hand
spring.jpa.properties.hibernate.dialect = org.hibernate.dialect.PostgreSQLDialect
4.サンプルプログラム"従業員表示"作成
4-1.Model(Form)作成
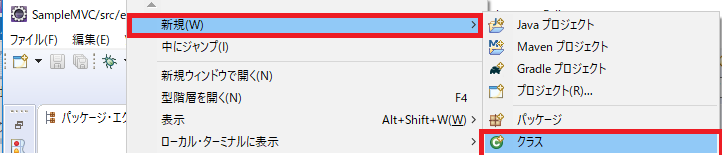
1. 「ファイル」->「新規」->「クラス」メニュ選択
2. 「Javaパッケージ」と「クラス名」を入力し、「完了」ボタンクリック
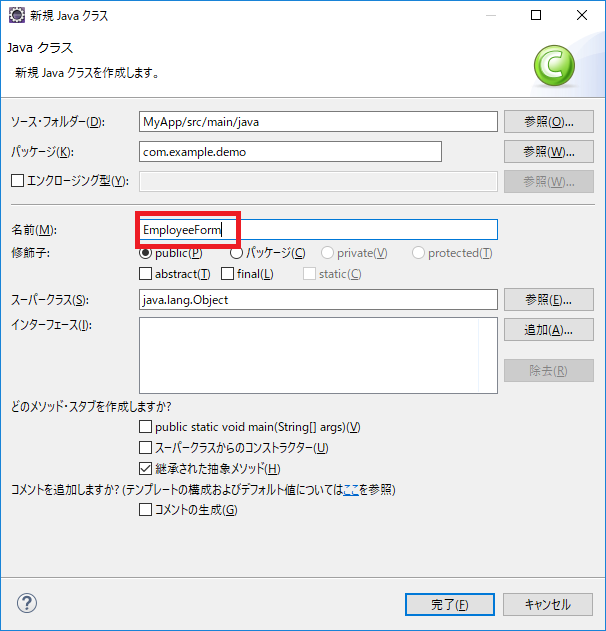
3. コード作成
EmployeeForm.java
package com.example.demo;

import lombok.Data;

@Data
public class EmployeeForm {

    private String id            = "";
    private String name          = "";
    private String email         = "";

}
4-2.Controller作成
1. 「ファイル」->「新規」->「クラス」メニュ選択
2. 「Javaパッケージ」と「クラス名」を入力し、「完了」ボタンクリック
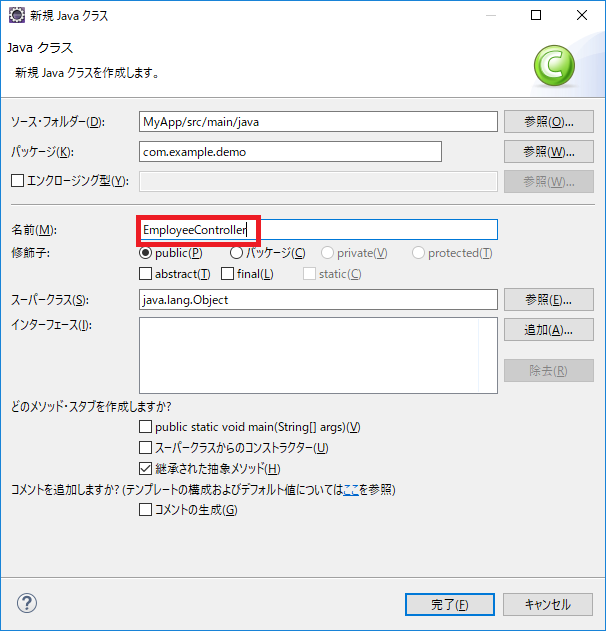
3. コード作成
EmployeeController.java
package com.example.demo;

import org.springframework.stereotype.Controller;
import org.springframework.web.bind.annotation.RequestMapping;
import org.springframework.web.servlet.ModelAndView;

@Controller
public class EmployeeController {

    @RequestMapping("/show")
    public ModelAndView show(ModelAndView mav) {
    	EmployeeForm form = new EmployeeForm();
    	form.setId("1");
    	form.setName("Ken");
    	form.setEmail("ken@mail.coml");

    	mav.addObject("employeeForm", form);
    	mav.setViewName("employee");

        return mav;
    }

}
4-3.View(HTML)作成
1. 「ファイル」->「新規」->「その他」メニュ選択
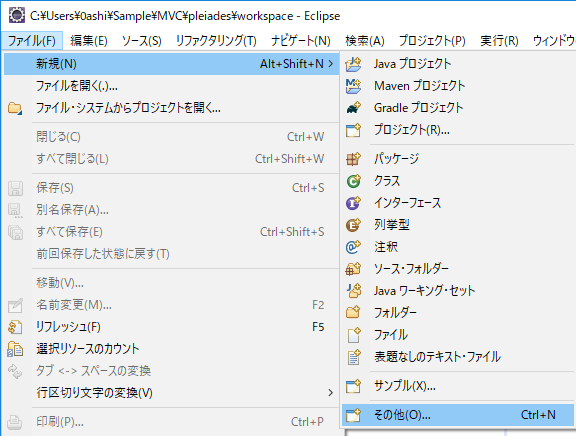
2. 「HTMLファイル」を選択し、「次へ」ボタンクリック
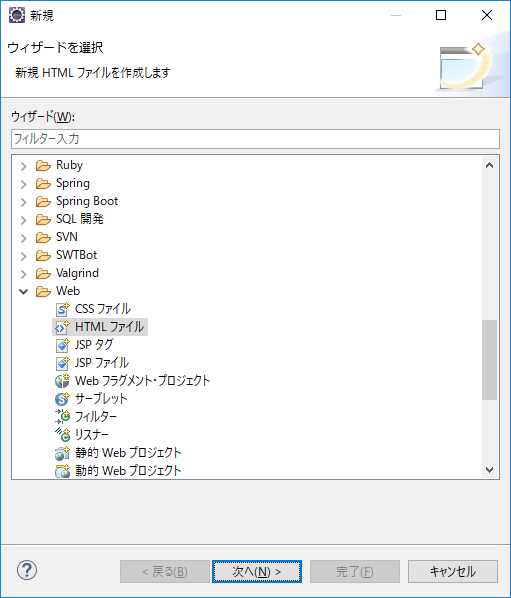
4. 「フォルダー」と「ファイル名」を入力し、「完了」ボタンクリック
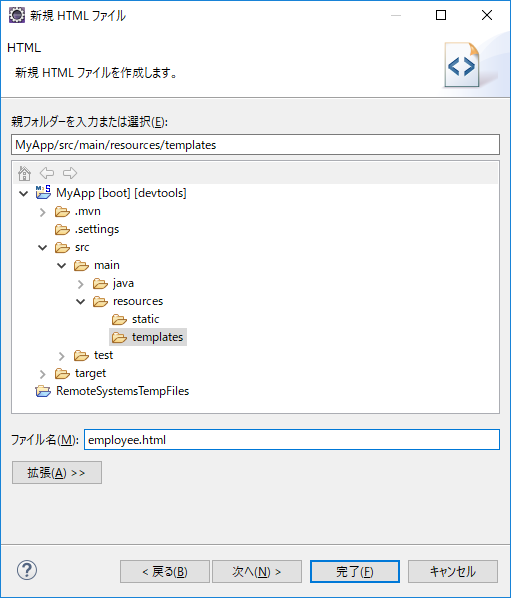
5. コード生成
employee.html
<!DOCTYPE html PUBLIC "-//W3C//DTD HTML 4.01 Transitional//EN" "http://www.w3.org/TR/html4/loose.dtd">
<html xmlns:th="http://www.thymeleaf.org">
<head>
<meta http-equiv="Content-Type" content="text/html; charset=UTF-8">
<title>Hello, Spring Boot!</title>
</head>
<body>
<h1>Hello, Spring Boot!</h1>

<form th:action="@{/show}" th:object="${employeeForm}" method="post">
	<table>
		<caption>
			<strong>従業員検索</strong>
		</caption>
		<thead>
			<tr>
				<th>ID</th>
				<th>NAME</th>
				<th>EMAIL</th>
			</tr>
		</thead>
		<tbody>
			<tr>
				<td th:text="*{id}"></td>
				<td th:text="*{name}"></td>
				<td th:text="*{email}"></td>
			</tr>
		</tbody>
	</table>

    <p>Name (optional): <input type="text" th:field="*{name}" />
       <em th:if="${#fields.hasErrors('name')}" th:errors="*{name}">Name Error</em></p>
    <p><input type="submit" value="Submit" /></p>
</form>
</body>
</html>
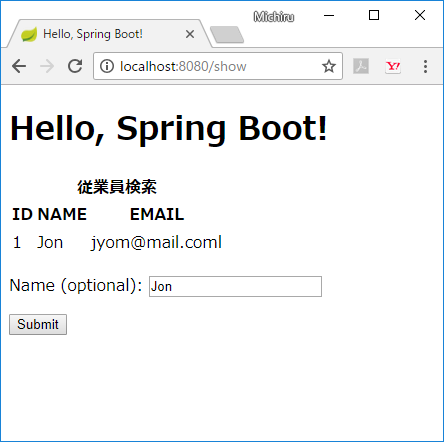
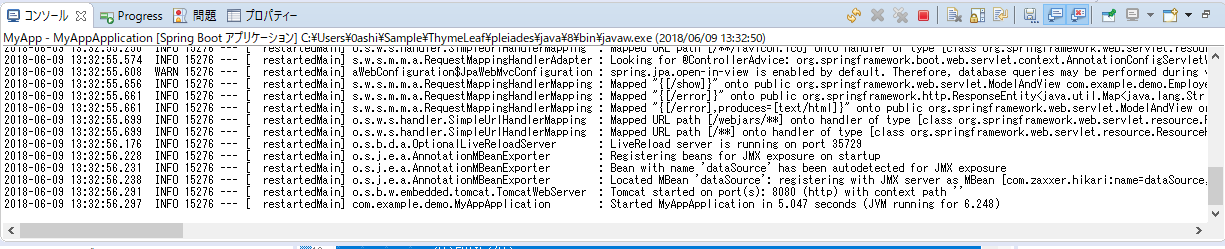
5.動作確認
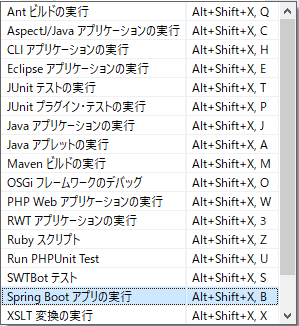
1. ショートカットキー「Alt+Shift+X」+ B でSpring Bootアプリ実行
2. ブラウザのurlに、http://localhost:8080/show と入力