はじめに
ローコードでワークフローを構築することができる Azure Logic Apps のフローを使って ARM テンプレートを格納しておくことができる ARM テンプレートスペックに格納された ARM テンプレートをデプロイしてみます。
Logic Apps からさらに PowerShell コマンドを実行する Azure Functions を呼び出してデプロイする例はいくつか見られますが、今回は Logic Apps だけでフローを構築してみます。
やってみる
前提
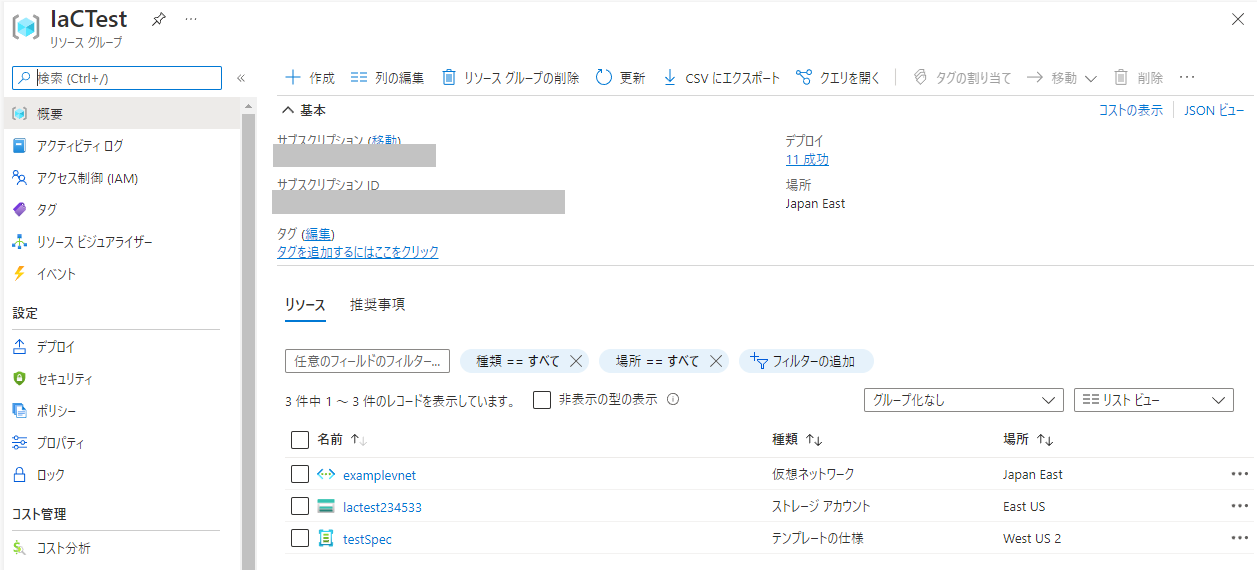
すでに何らかのテンプレートが格納されて ARM テンプレートスペックが存在するところから始めます。まだ ARM テンプレートスペックがない場合はこの記事に方法が記載してあります。今回はこのようなテンプレートを用意しました。
@minLength(3)
@maxLength(24)
@description('Provide a name for the storage account. Use only lower case letters and numbers. The name must be unique across Azure.')
param storageName string

resource virtualNetwork 'Microsoft.Network/virtualNetworks@2021-05-01' = {
  name: 'examplevnet'
  location: resourceGroup().location
  properties: {
    addressSpace: {
      addressPrefixes: [
        '10.0.0.0/16'
      ]
    }
    subnets: [
      {
        name: 'Subnet-1'
        properties: {
          addressPrefix: '10.0.0.0/24'
        }
      }
      {
        name: 'Subnet-2'
        properties: {
          addressPrefix: '10.0.1.0/24'
        }
      }
    ]
  }
}

resource exampleStorage 'Microsoft.Storage/storageAccounts@2021-06-01' = {
  name: storageName
  location: 'eastus'
  sku: {
    name: 'Standard_LRS'
  }
  kind: 'StorageV2'
}
Logic Apps の作成
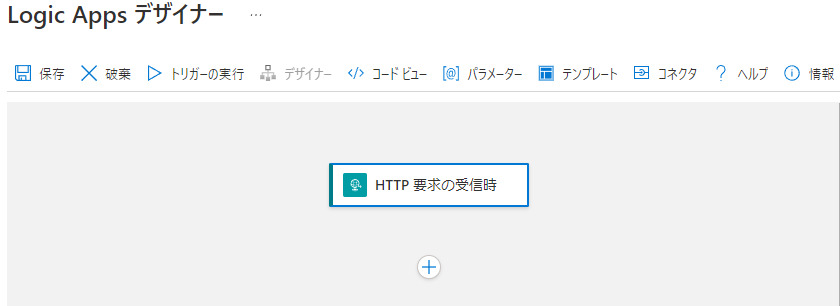
Logic Apps を作成して「編集」からワークフローエディターを開きます。

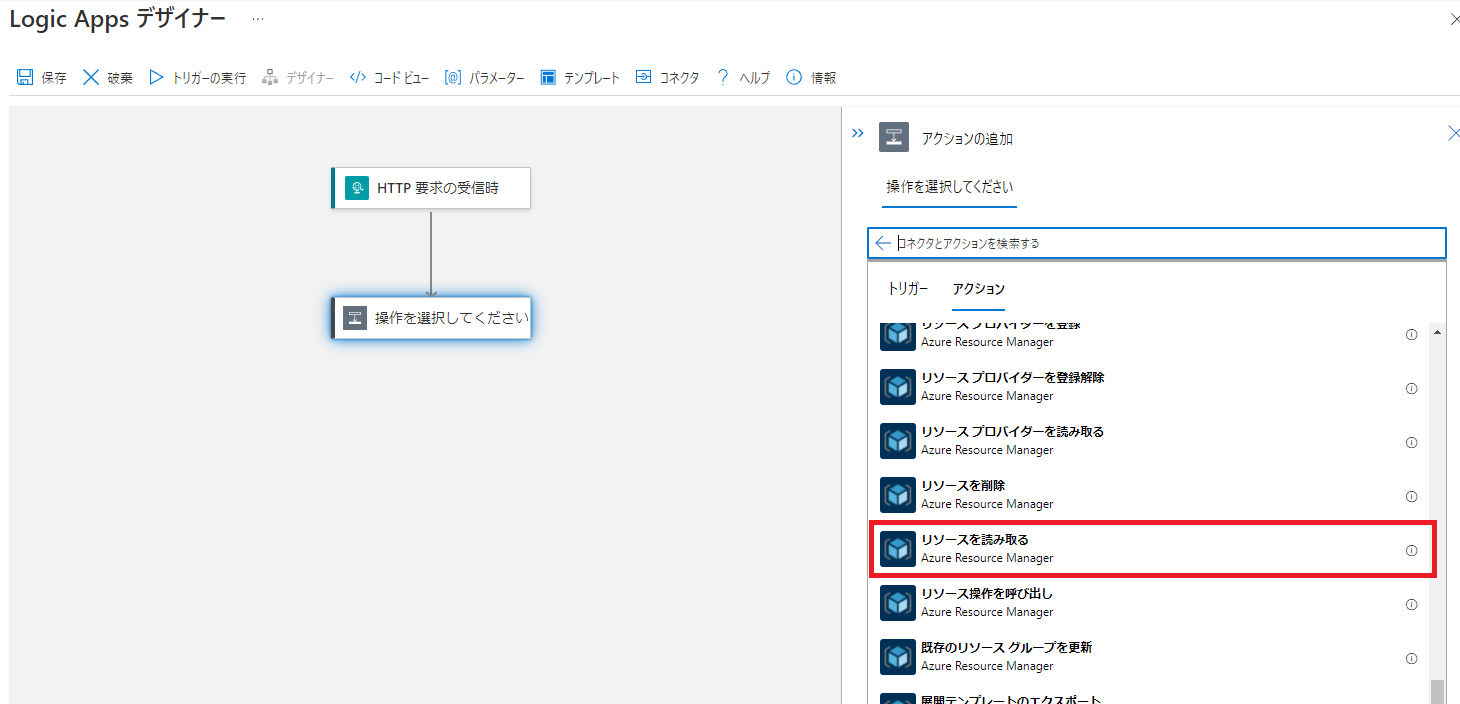
トリガーとアクションの追加
-
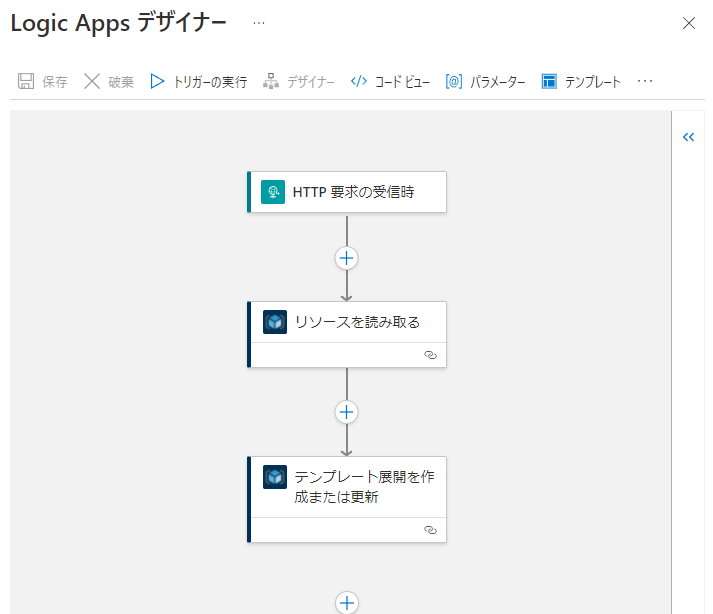
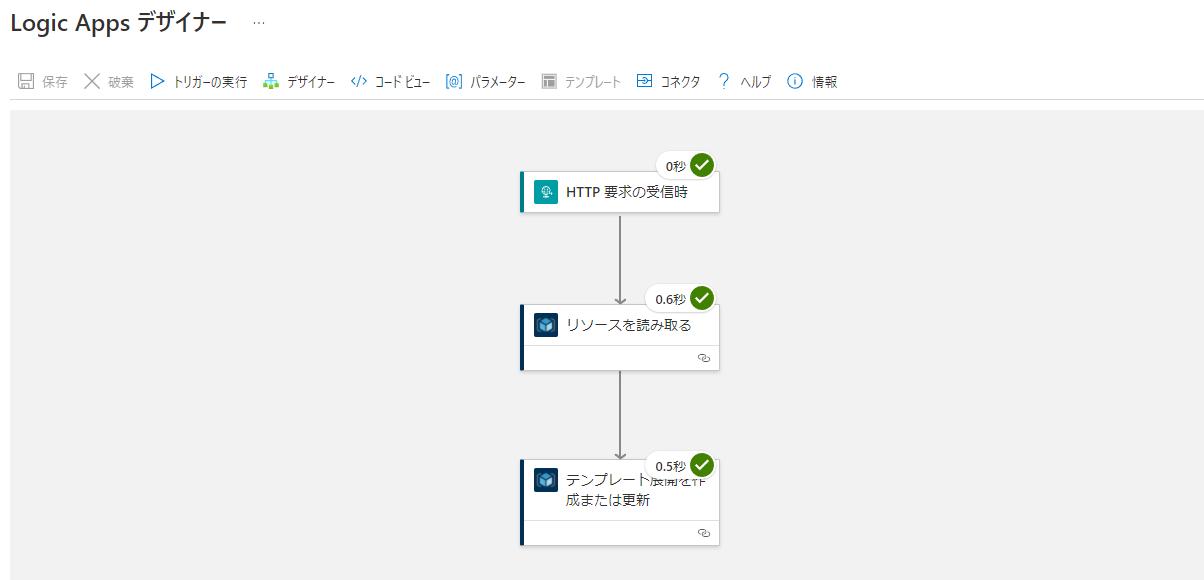
同じ手順でさらにアクションを追加して「Azure Resource Manager」→「テンプレート展開を作成または更新」を追加します。
フローの設定
-
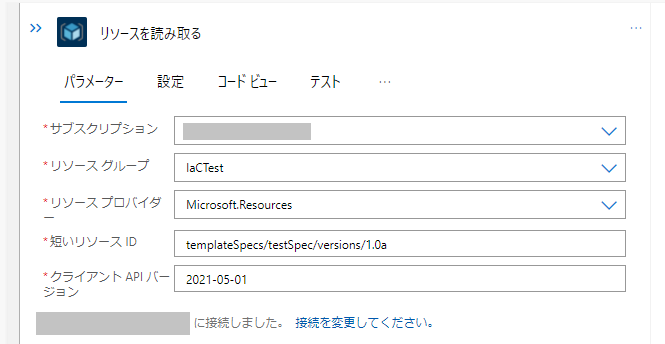
「リソースを読み取る」アクションを選択して設定パネルを開き、以下のような設定をします。APIバージョンの選択肢はこのドキュメントに記載されています。
ここで「短いリソースID」にはデプロイ対象のARMテンプレートスペックのIDをtemplateSpecs/{スペック名}/versions/{対象バージョン}の形式で記載します。
-
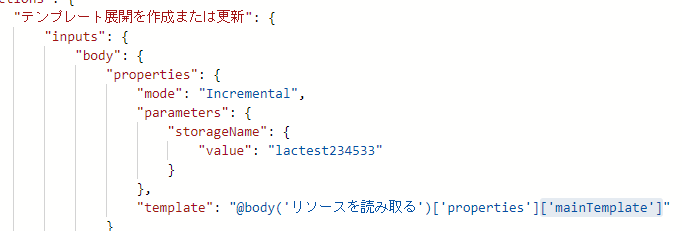
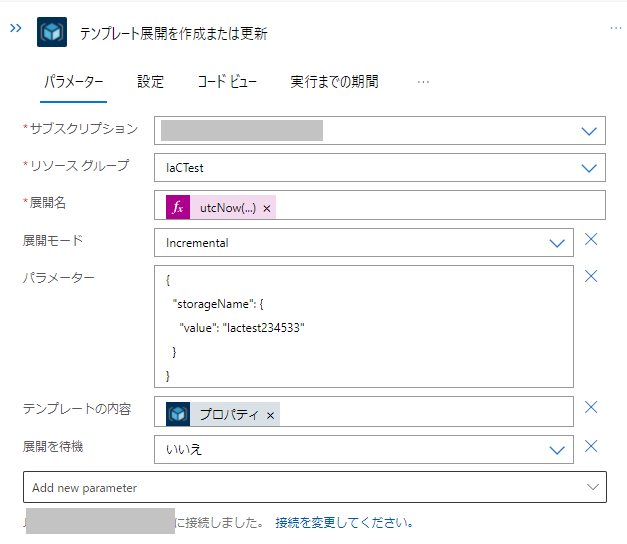
「テンプレート展開を作成または更新」アクションを選択して設定パネルを開き、以下のような設定をします。展開名は識別できるように現在時刻をフォーマットして入れています。設定の表示直後に「テンプレートの内容」が表示されていない場合は「Add new parameter」から追加して「リソースを読み取る」アクションの結果の「プロパティ」を設定します。
-
テンプレートを保存します。
実行してみる
メニューバー上部の「トリガーの実行」→「実行」をクリックします。
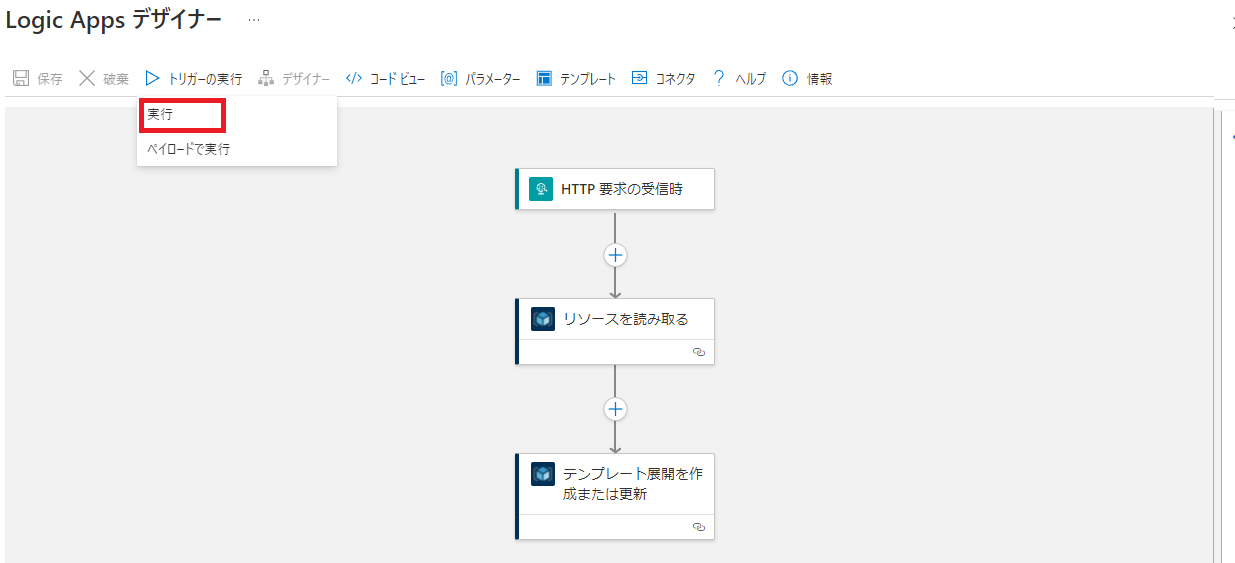
正常に完了するとすべてのトリガーとアクションにチェックマークがつきます。
ハマりどころとしてはパラメータとして渡すstorageNameが世界で一意である必要があるのでそれがかぶってエラーになることがあるかもしれません。
最後に
今回はほとんどの設定をべた書きでやってみましたが、Logic Appsはトリガーから与えられたペイロードを使用することもできるので対象のサブスクリプションやテンプレートを外から与えてあげるということも可能です。
参考
